Make Beautiful Wood Slice Christmas Ornaments
These Christmas ornaments are very similar to the Valentine’s we made a few years ago. They are simple: paint, wood, and ribbon. They don’t take long to make, and they look fabulous tied to a package or as a gift in and of themselves. Spend an evening making a dozen, and you have a lovely and very inexpensive gift for anyone on your list.
Materials:
Slices of wood: 3” diameter (more on that below)
Sand paper or a sander
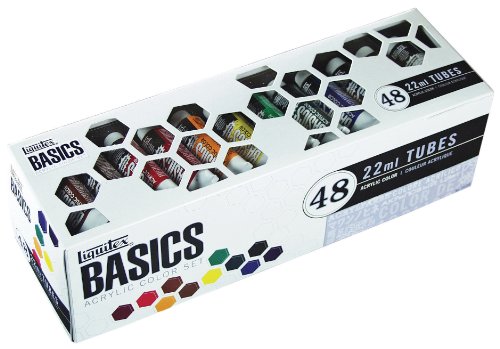
Acrylic Paint (red, gold, green, white, and silver)
Paint Brushes
a Sharpie
Ribbon
A drill


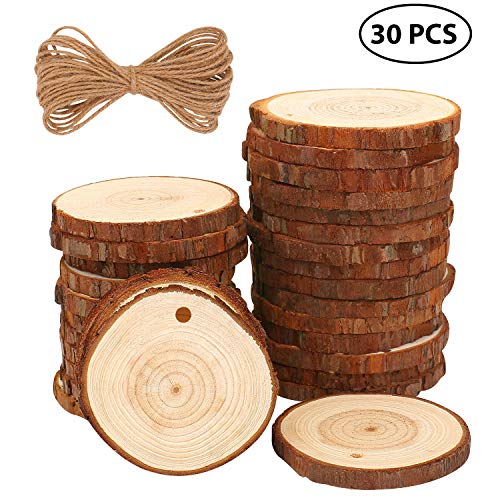
Wood Slices
When we bought this house, there was a huge pile of garbage in the backyard. And in that pile was the trunk of a Christmas tree. Most people would just compost the sucker, but not me. I had an idea. I had my husband cut that tree trunk into a ton of wood slices.
Now, they were sappy and sticky and my husband swears he will never do it again because it got sap all over the saw. But the slices are awesome! And I have used them for a bunch of different projects.
Don’t have a tree or a circular saw? You can buy wood slices at a craft store, on Etsy, or online. Just look for slices that are about 3” in diameter for this project.
Sand & Bake the Wood Slices
If you buy your wood slices, they are probably already seasoned and aren’t sappy. However, if like me you cut your own, you will want to bake them for a few hours to harden any sap left — otherwise they will be sticky and won’t take paint well.
Sand each slice first so that you have a smooth finish. I used a sander, but a piece of sandpaper would be fine, too.
Line a cookie sheet with tin foil or parchment paper, and then place your slices in a single layer on the cookie sheet.
Bake at the lowest setting on your oven (150 º F on my oven). I baked them for about 2 hours — checking on them every 30 minutes or so.
I watched to make sure they weren’t browning (they didn’t) and that the sap didn’t run off the tin foil.
Let them cool completely before painting!
NOTE: your house will smell AMAZING after doing this — like a forest!
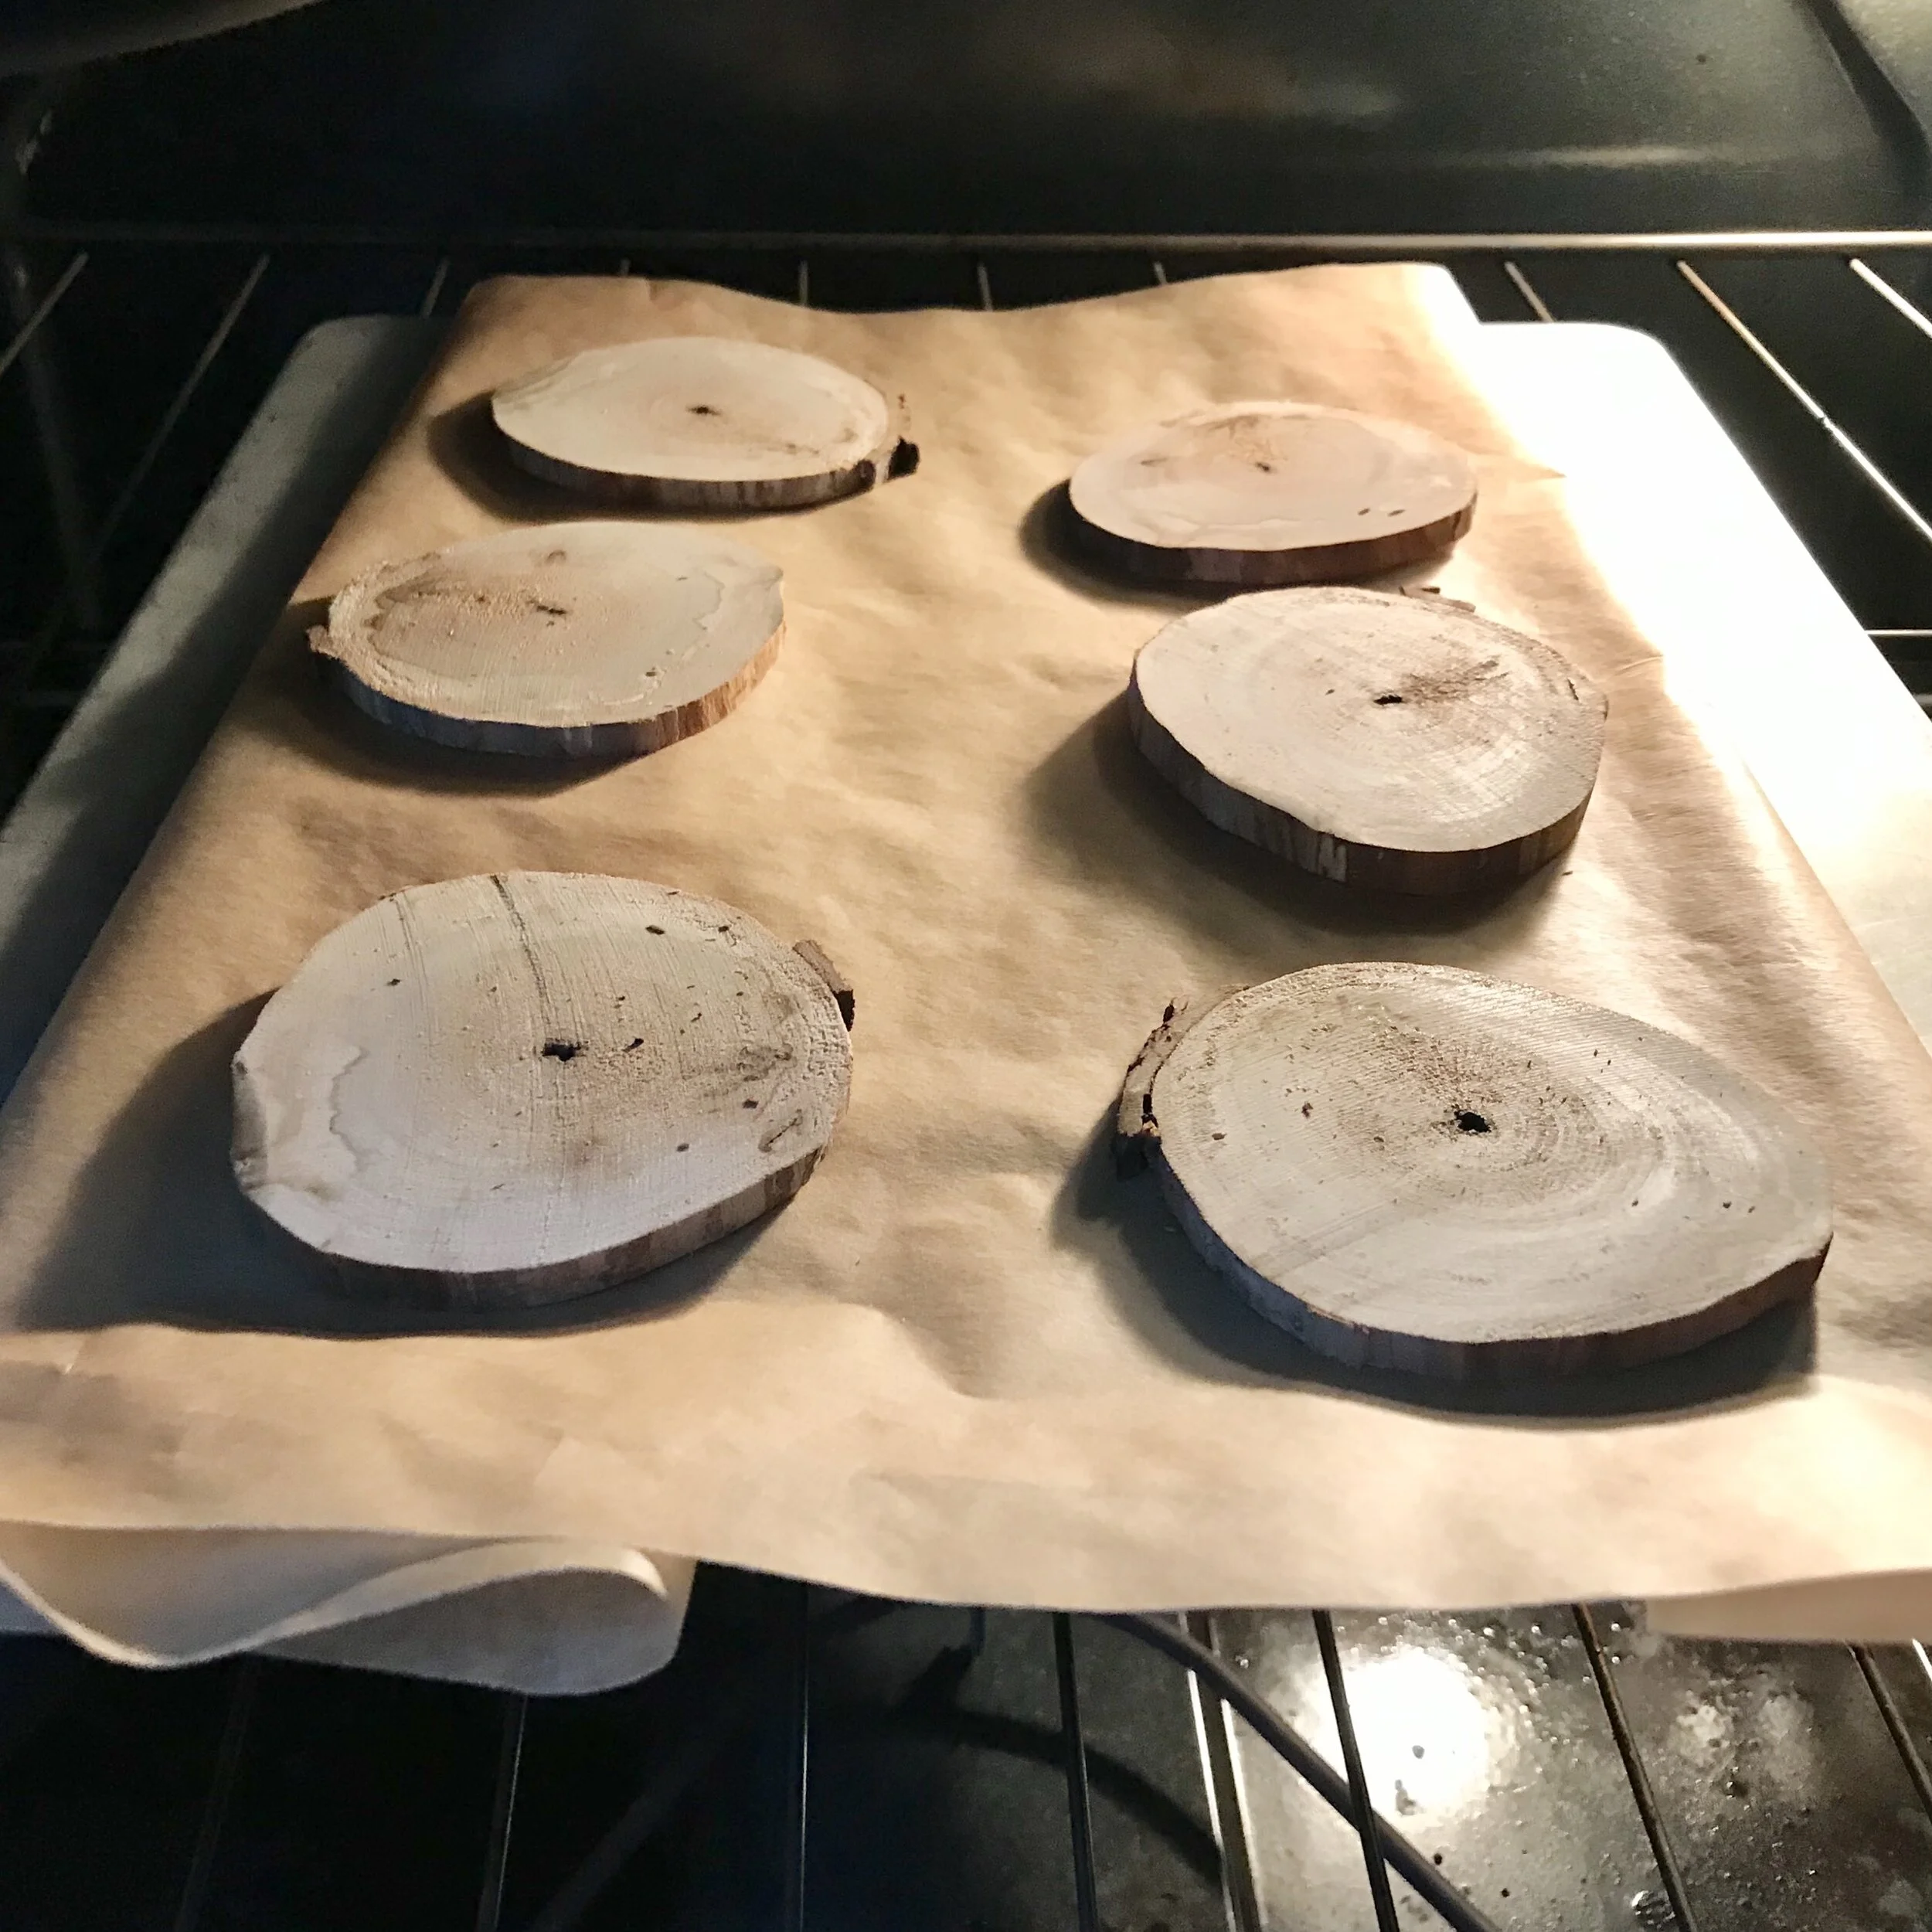
Wood slices in the oven
Don’t worry about cracks or checks in the wood. Work with the natural shape, and the ornament will be gorgeous.

Painting
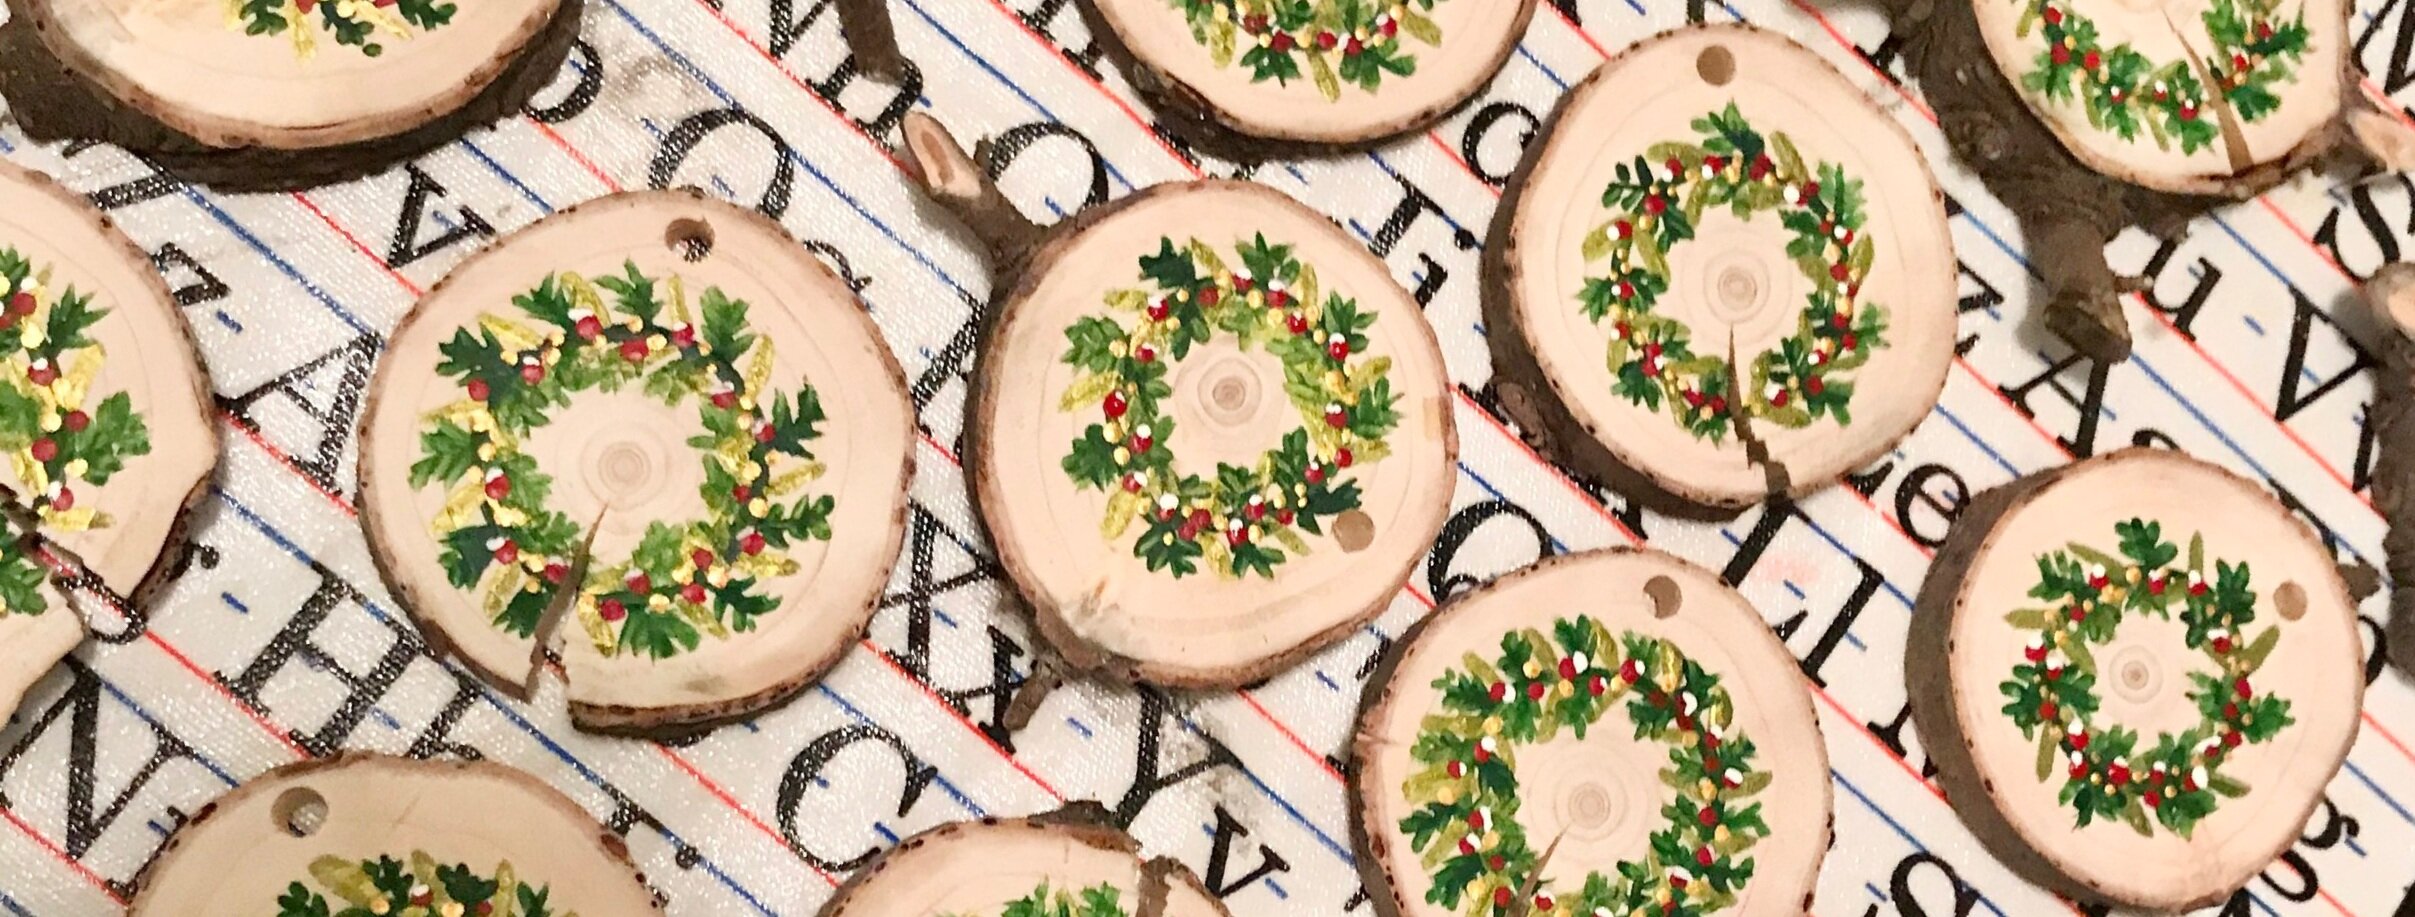
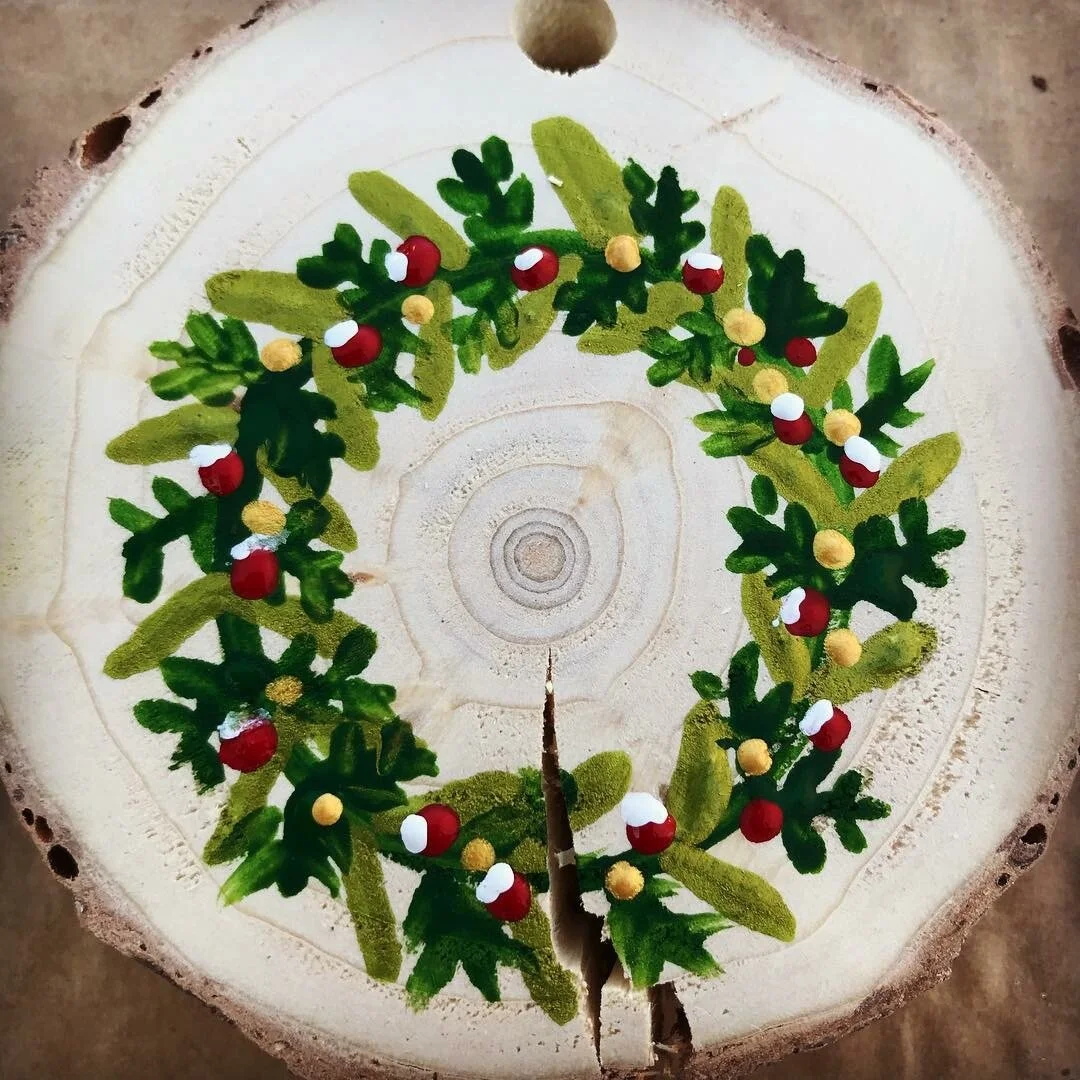
You can paint any pattern you choose on your wood slices. I chose to make wreaths following the tree rings which gave me an easy circle to follow.
If you are working on multiple ornaments, complete each step on all ornaments before beginning the next step. This gives the paint a chance to dry a bit and prevents mixing. You can also use a hairdryer to hasten the drying process.
How To paint a wreath

Place small amounts of paint on a palette or a paper plate. This makes everything so much easier! To create depth, I mixed green with a bit of gold which gave me two shades of green to use.
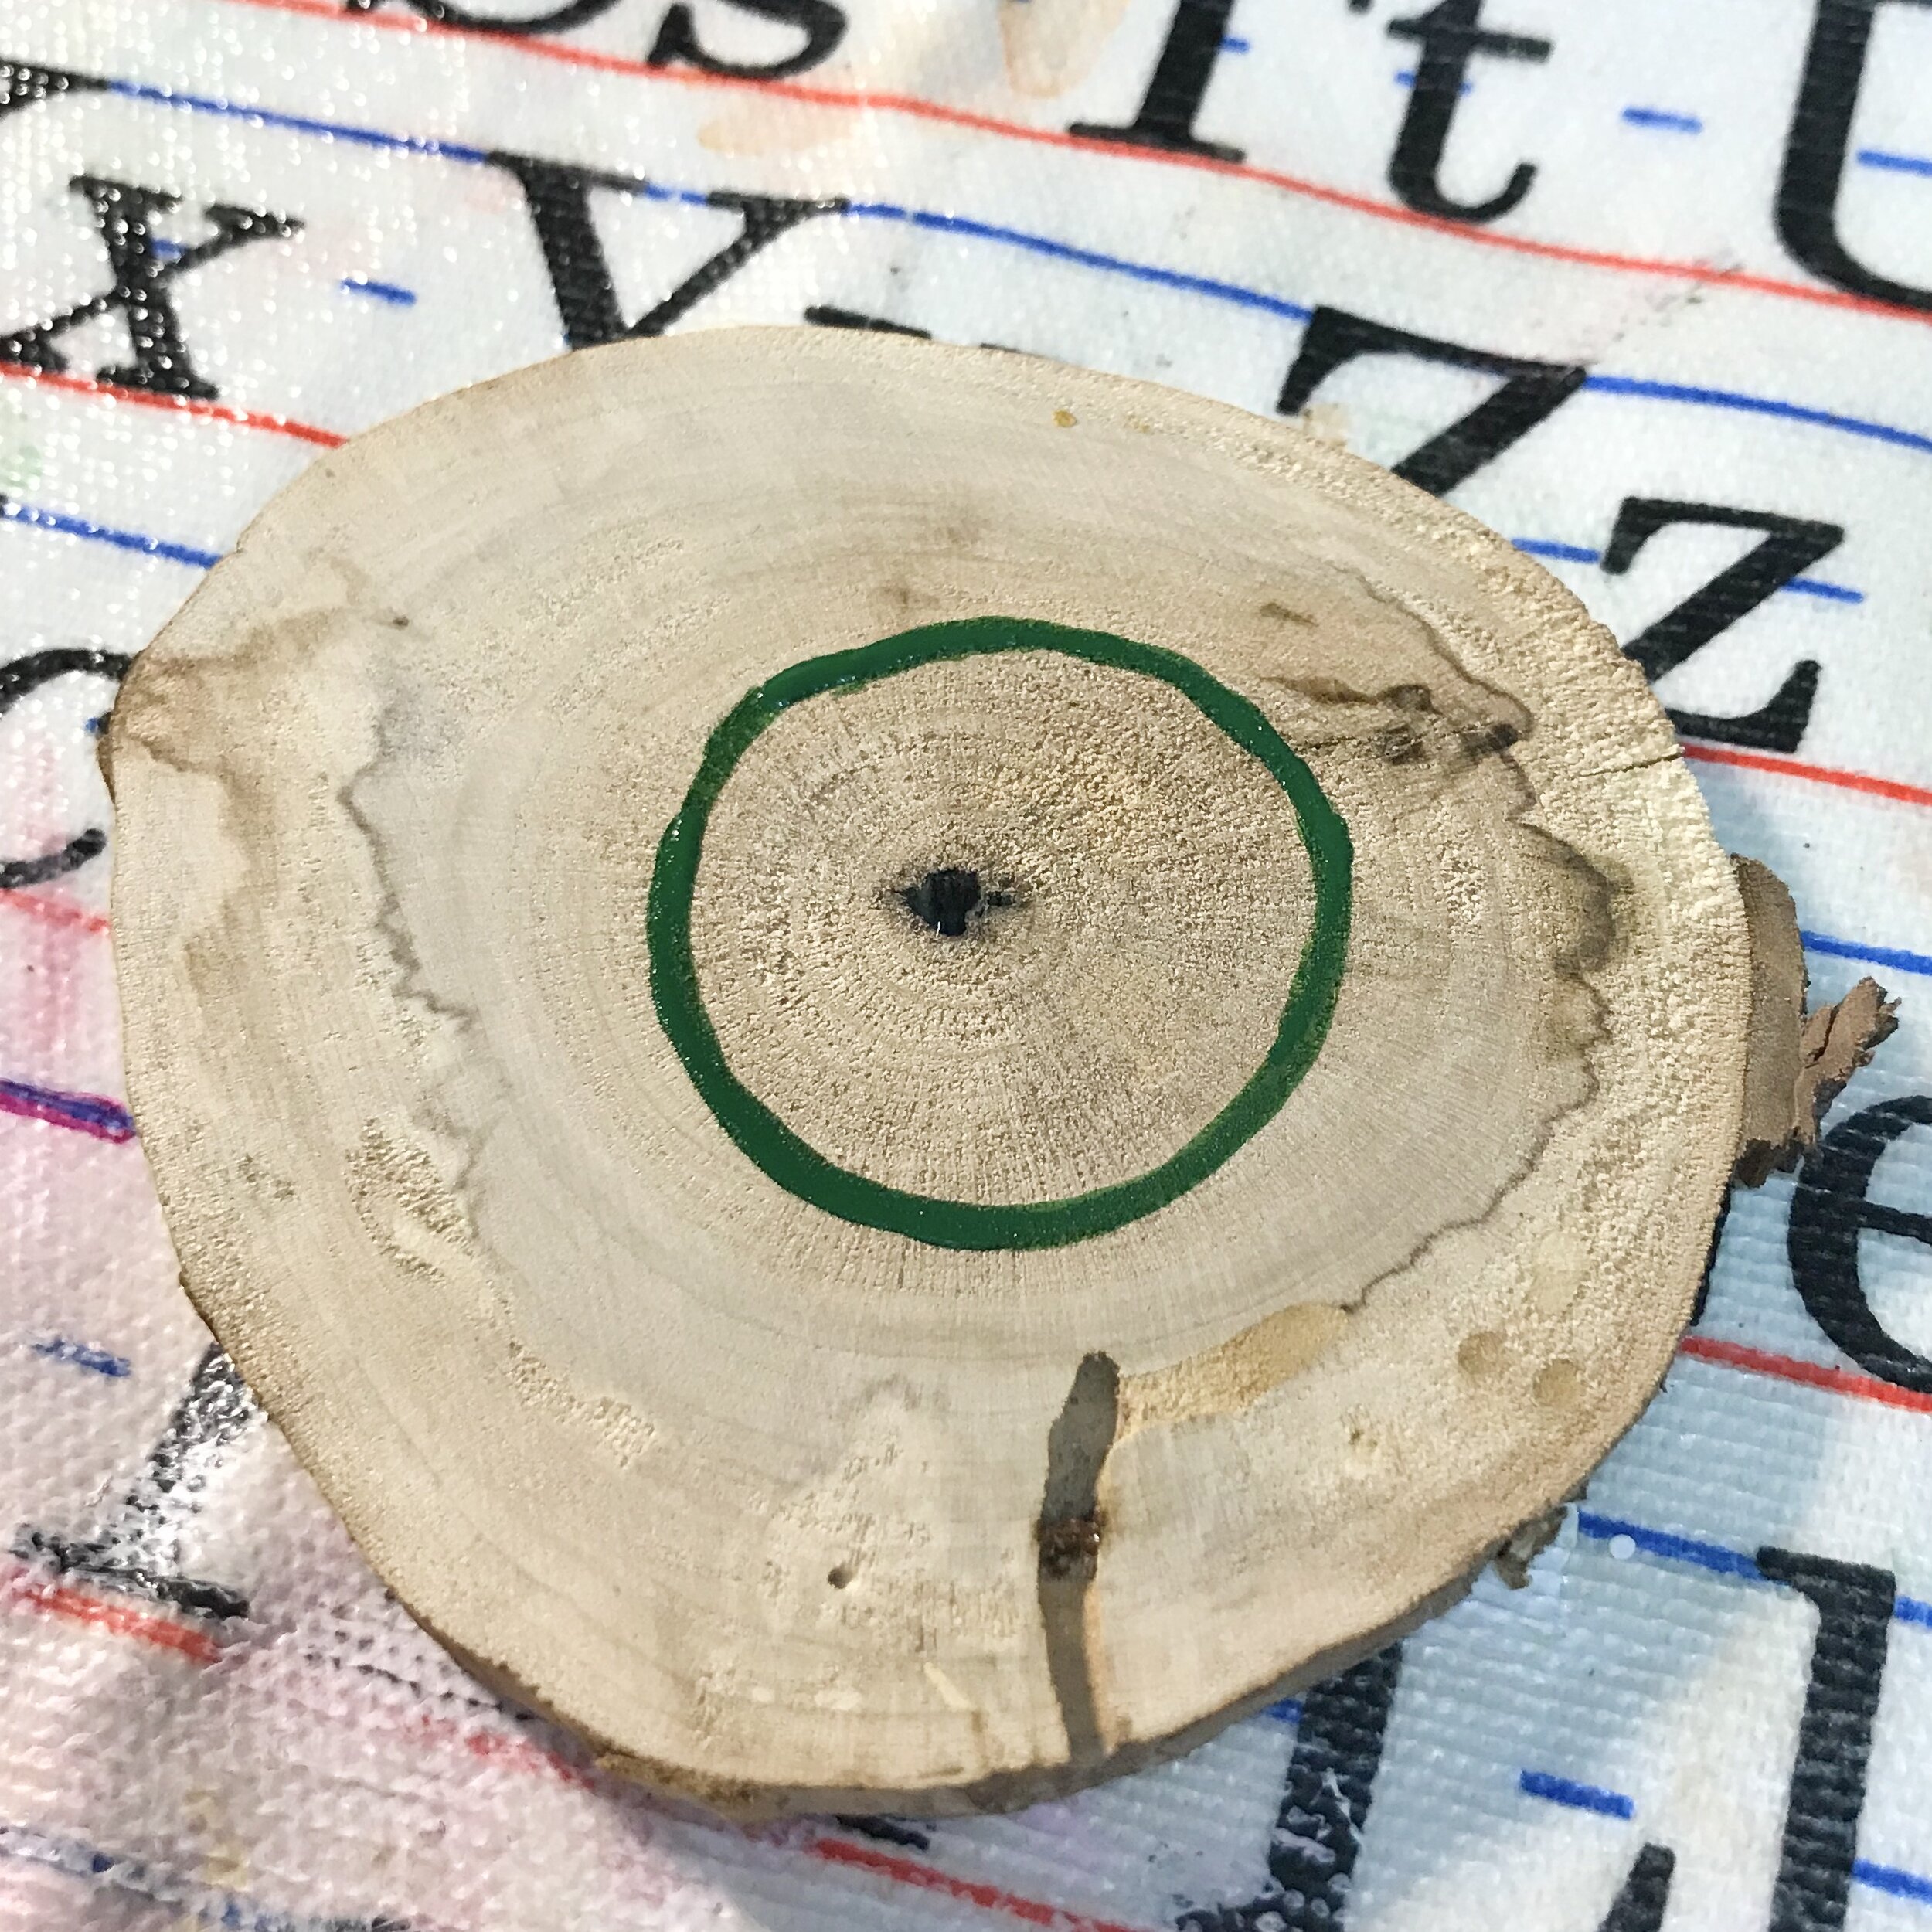
Choose a tree ring to use as your guide. Using a fine brush, trace the ring with green paint.
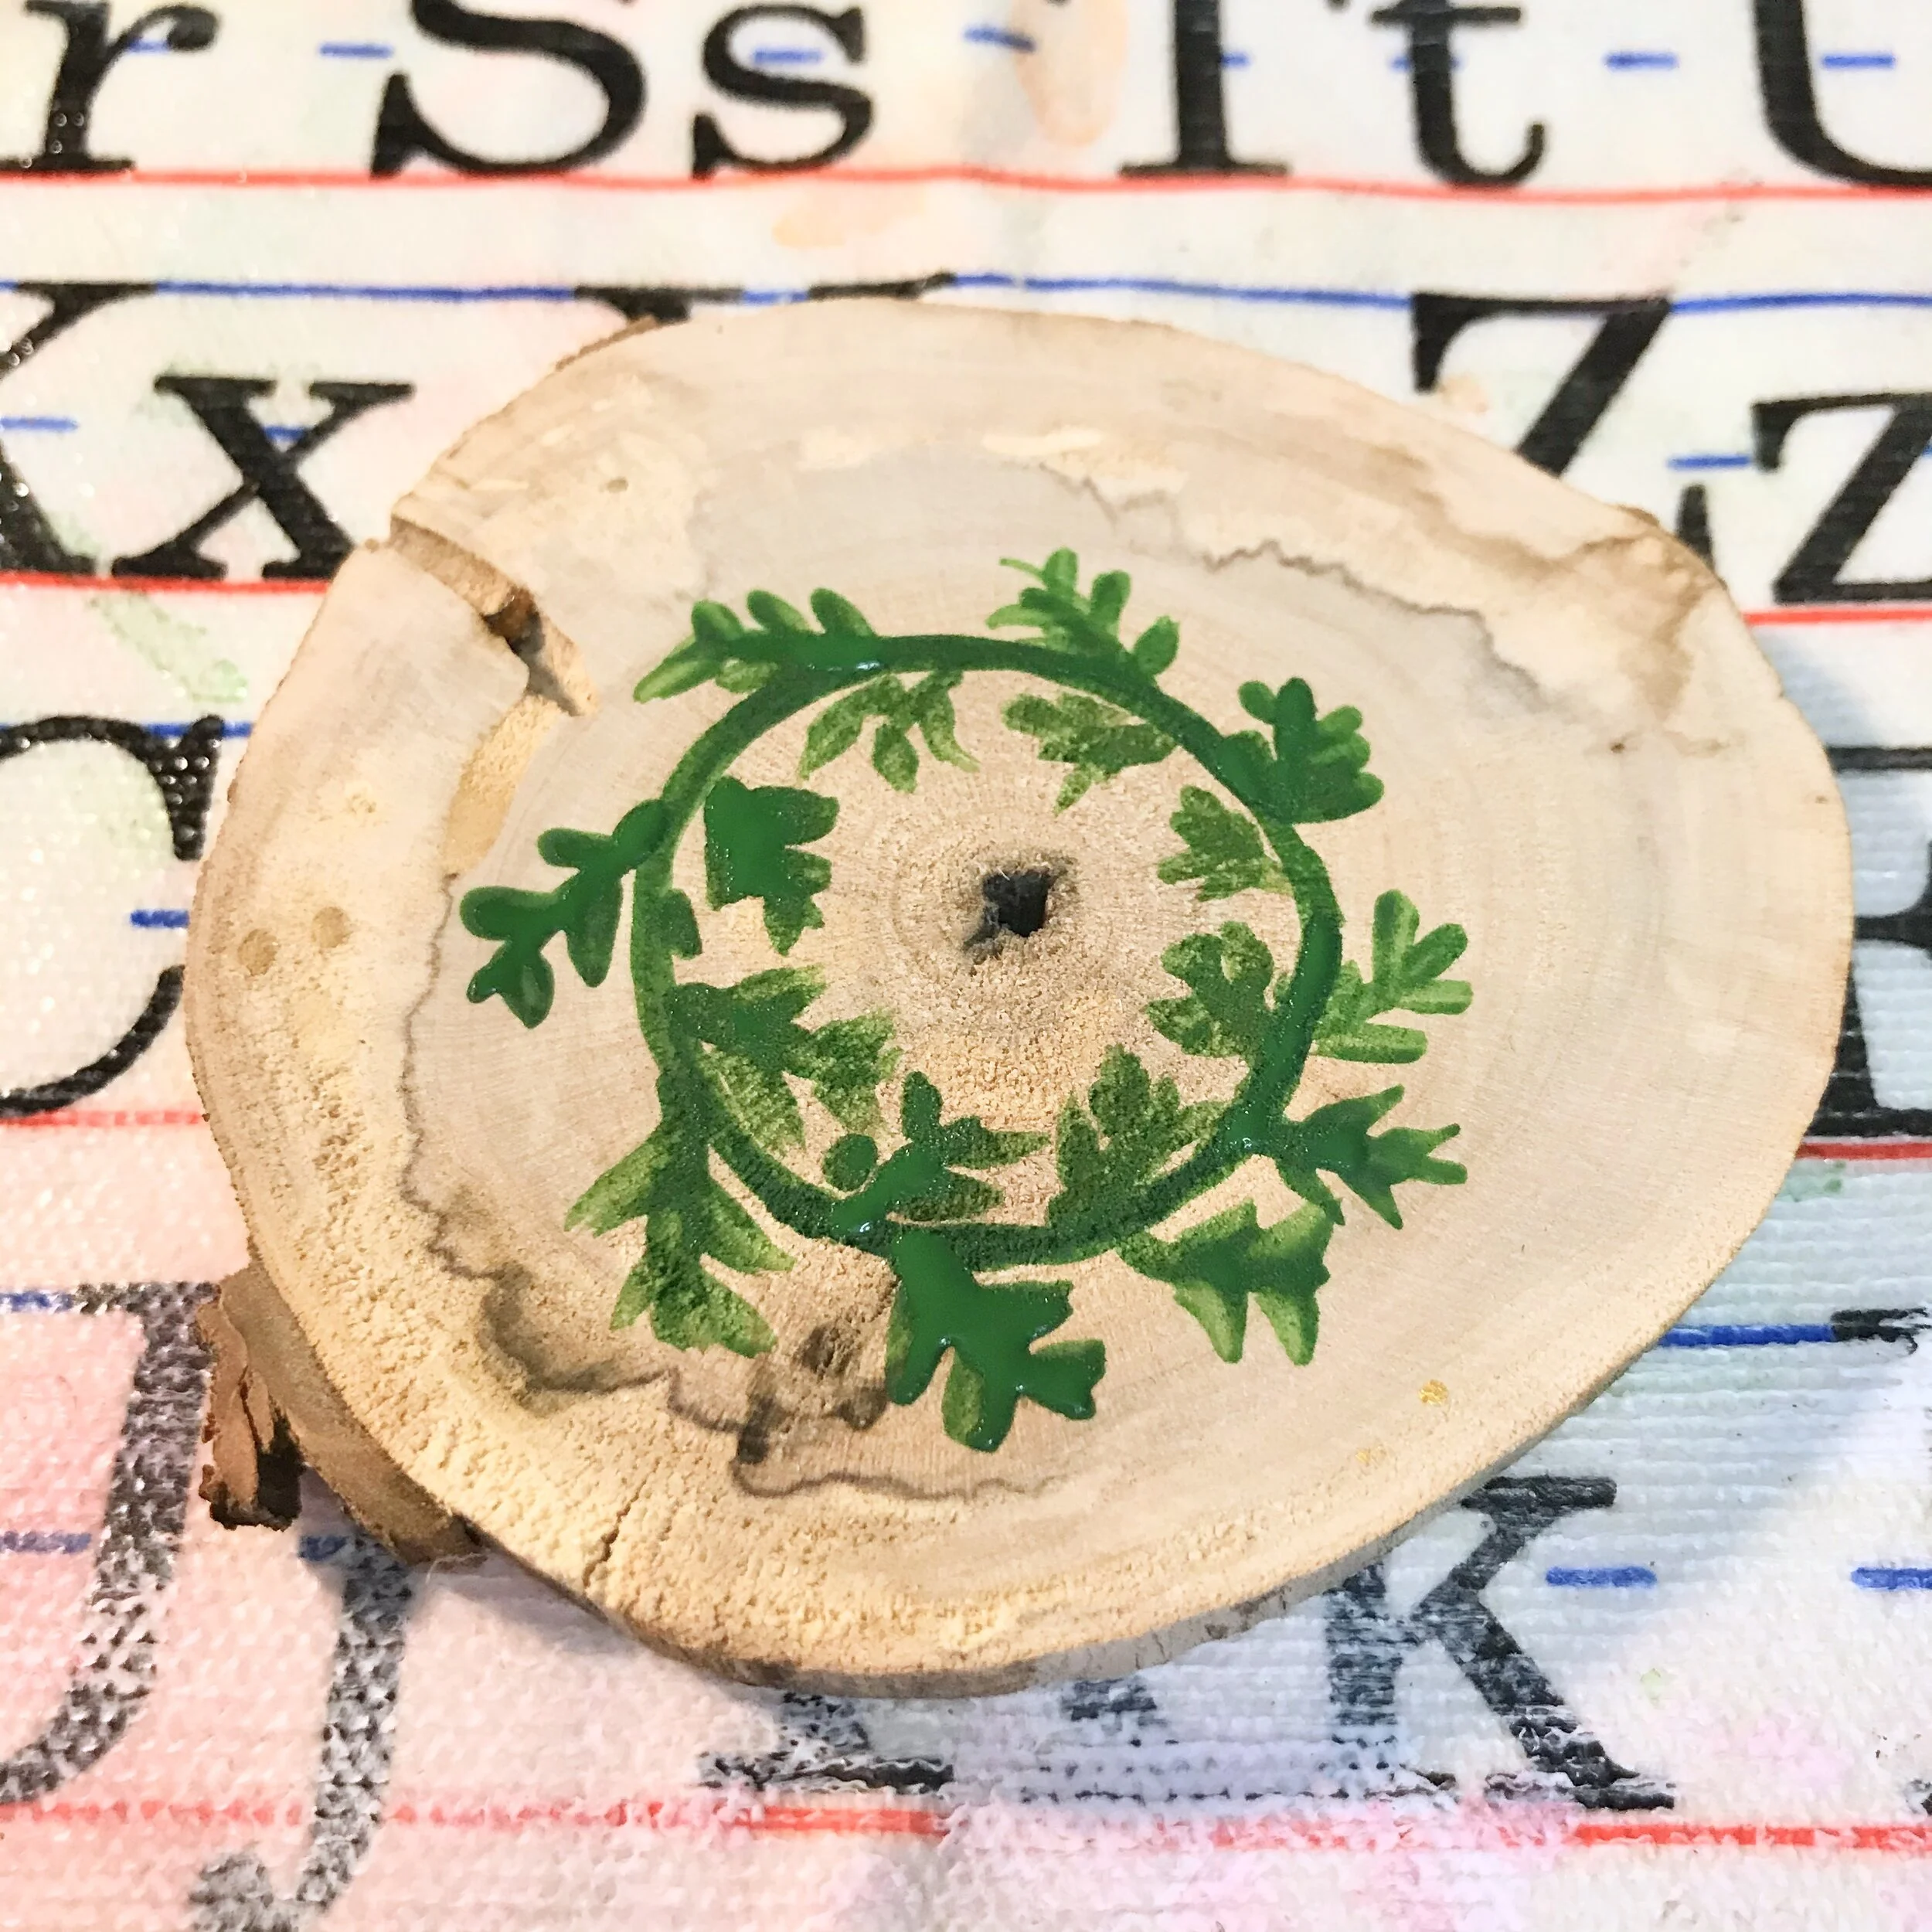
With a fine, small brush start by painting the dark greenery with short strokes first on the outside of your chosen ring. Then do the same on the inside of the wreath.
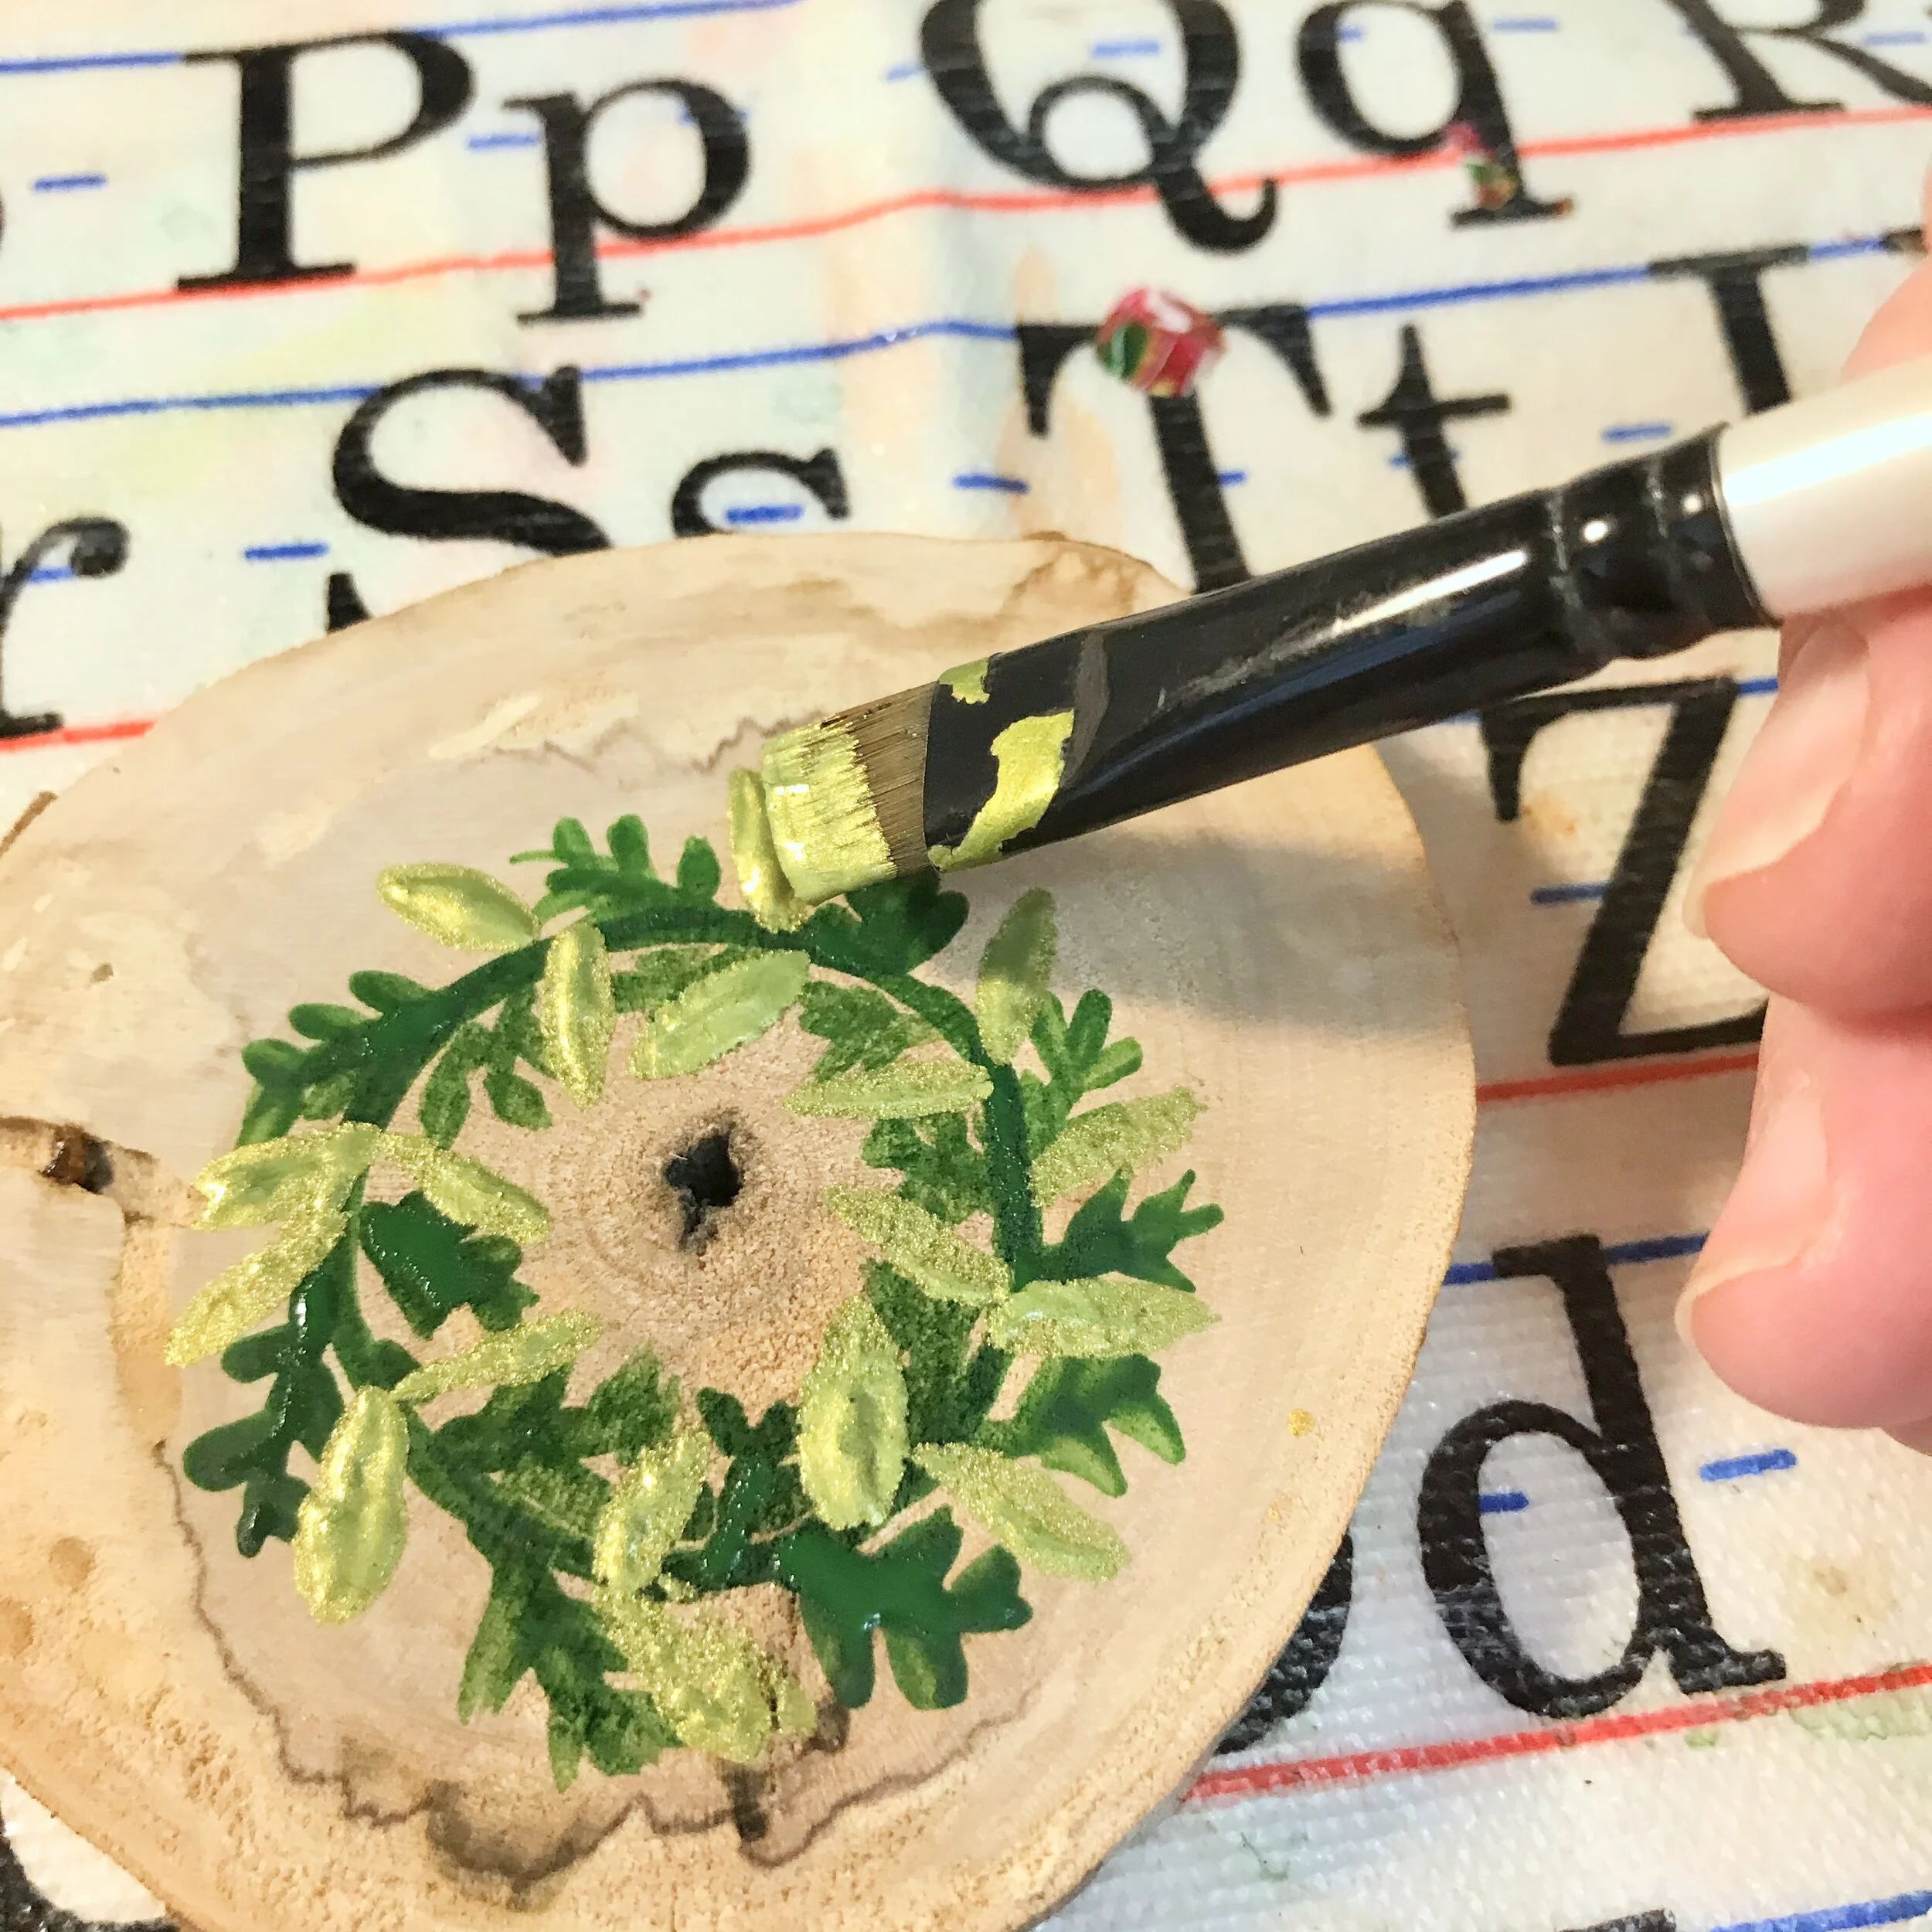
Now fill in the greenery with the second shade of green. Use a flat brush to create a different leaf shape.
Allow this to dry a bit.

With a small, fine-tipped paint brush, add small red dots for berries.

Again, with a tine-tipped brush, add white details to the red dots.
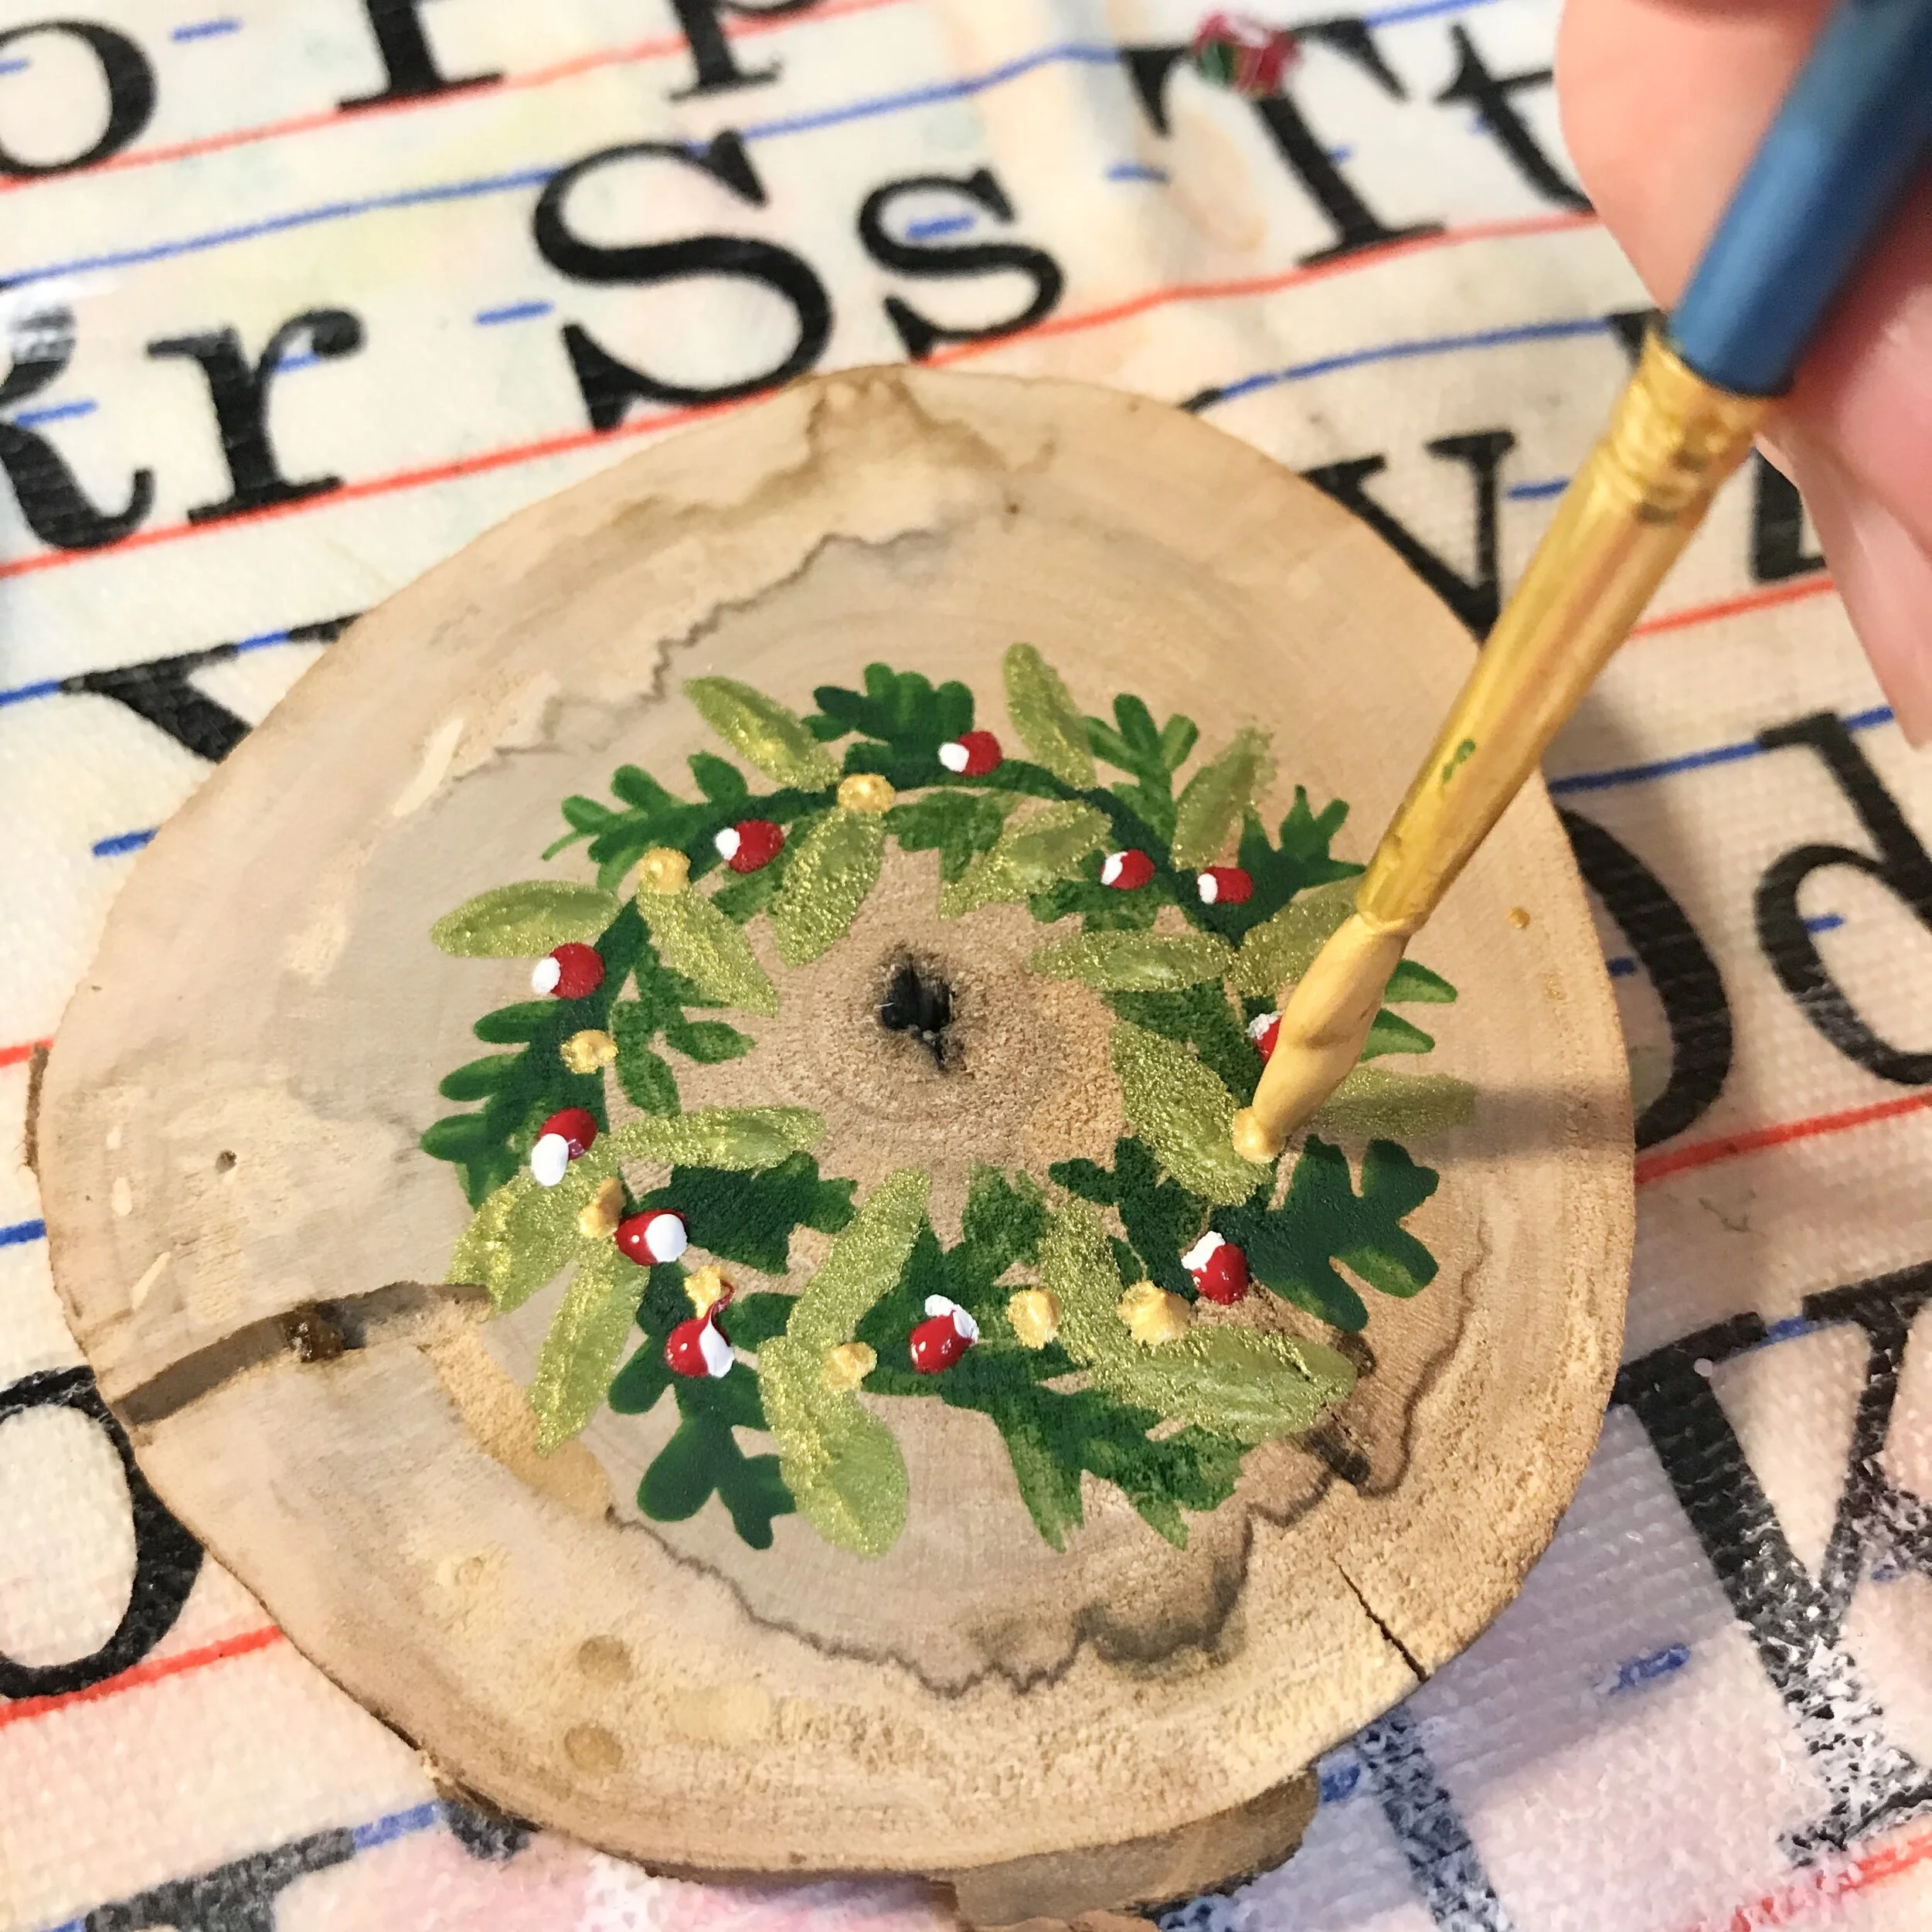
Finally, using a fine-tipped brush add gold dots on the wreath.
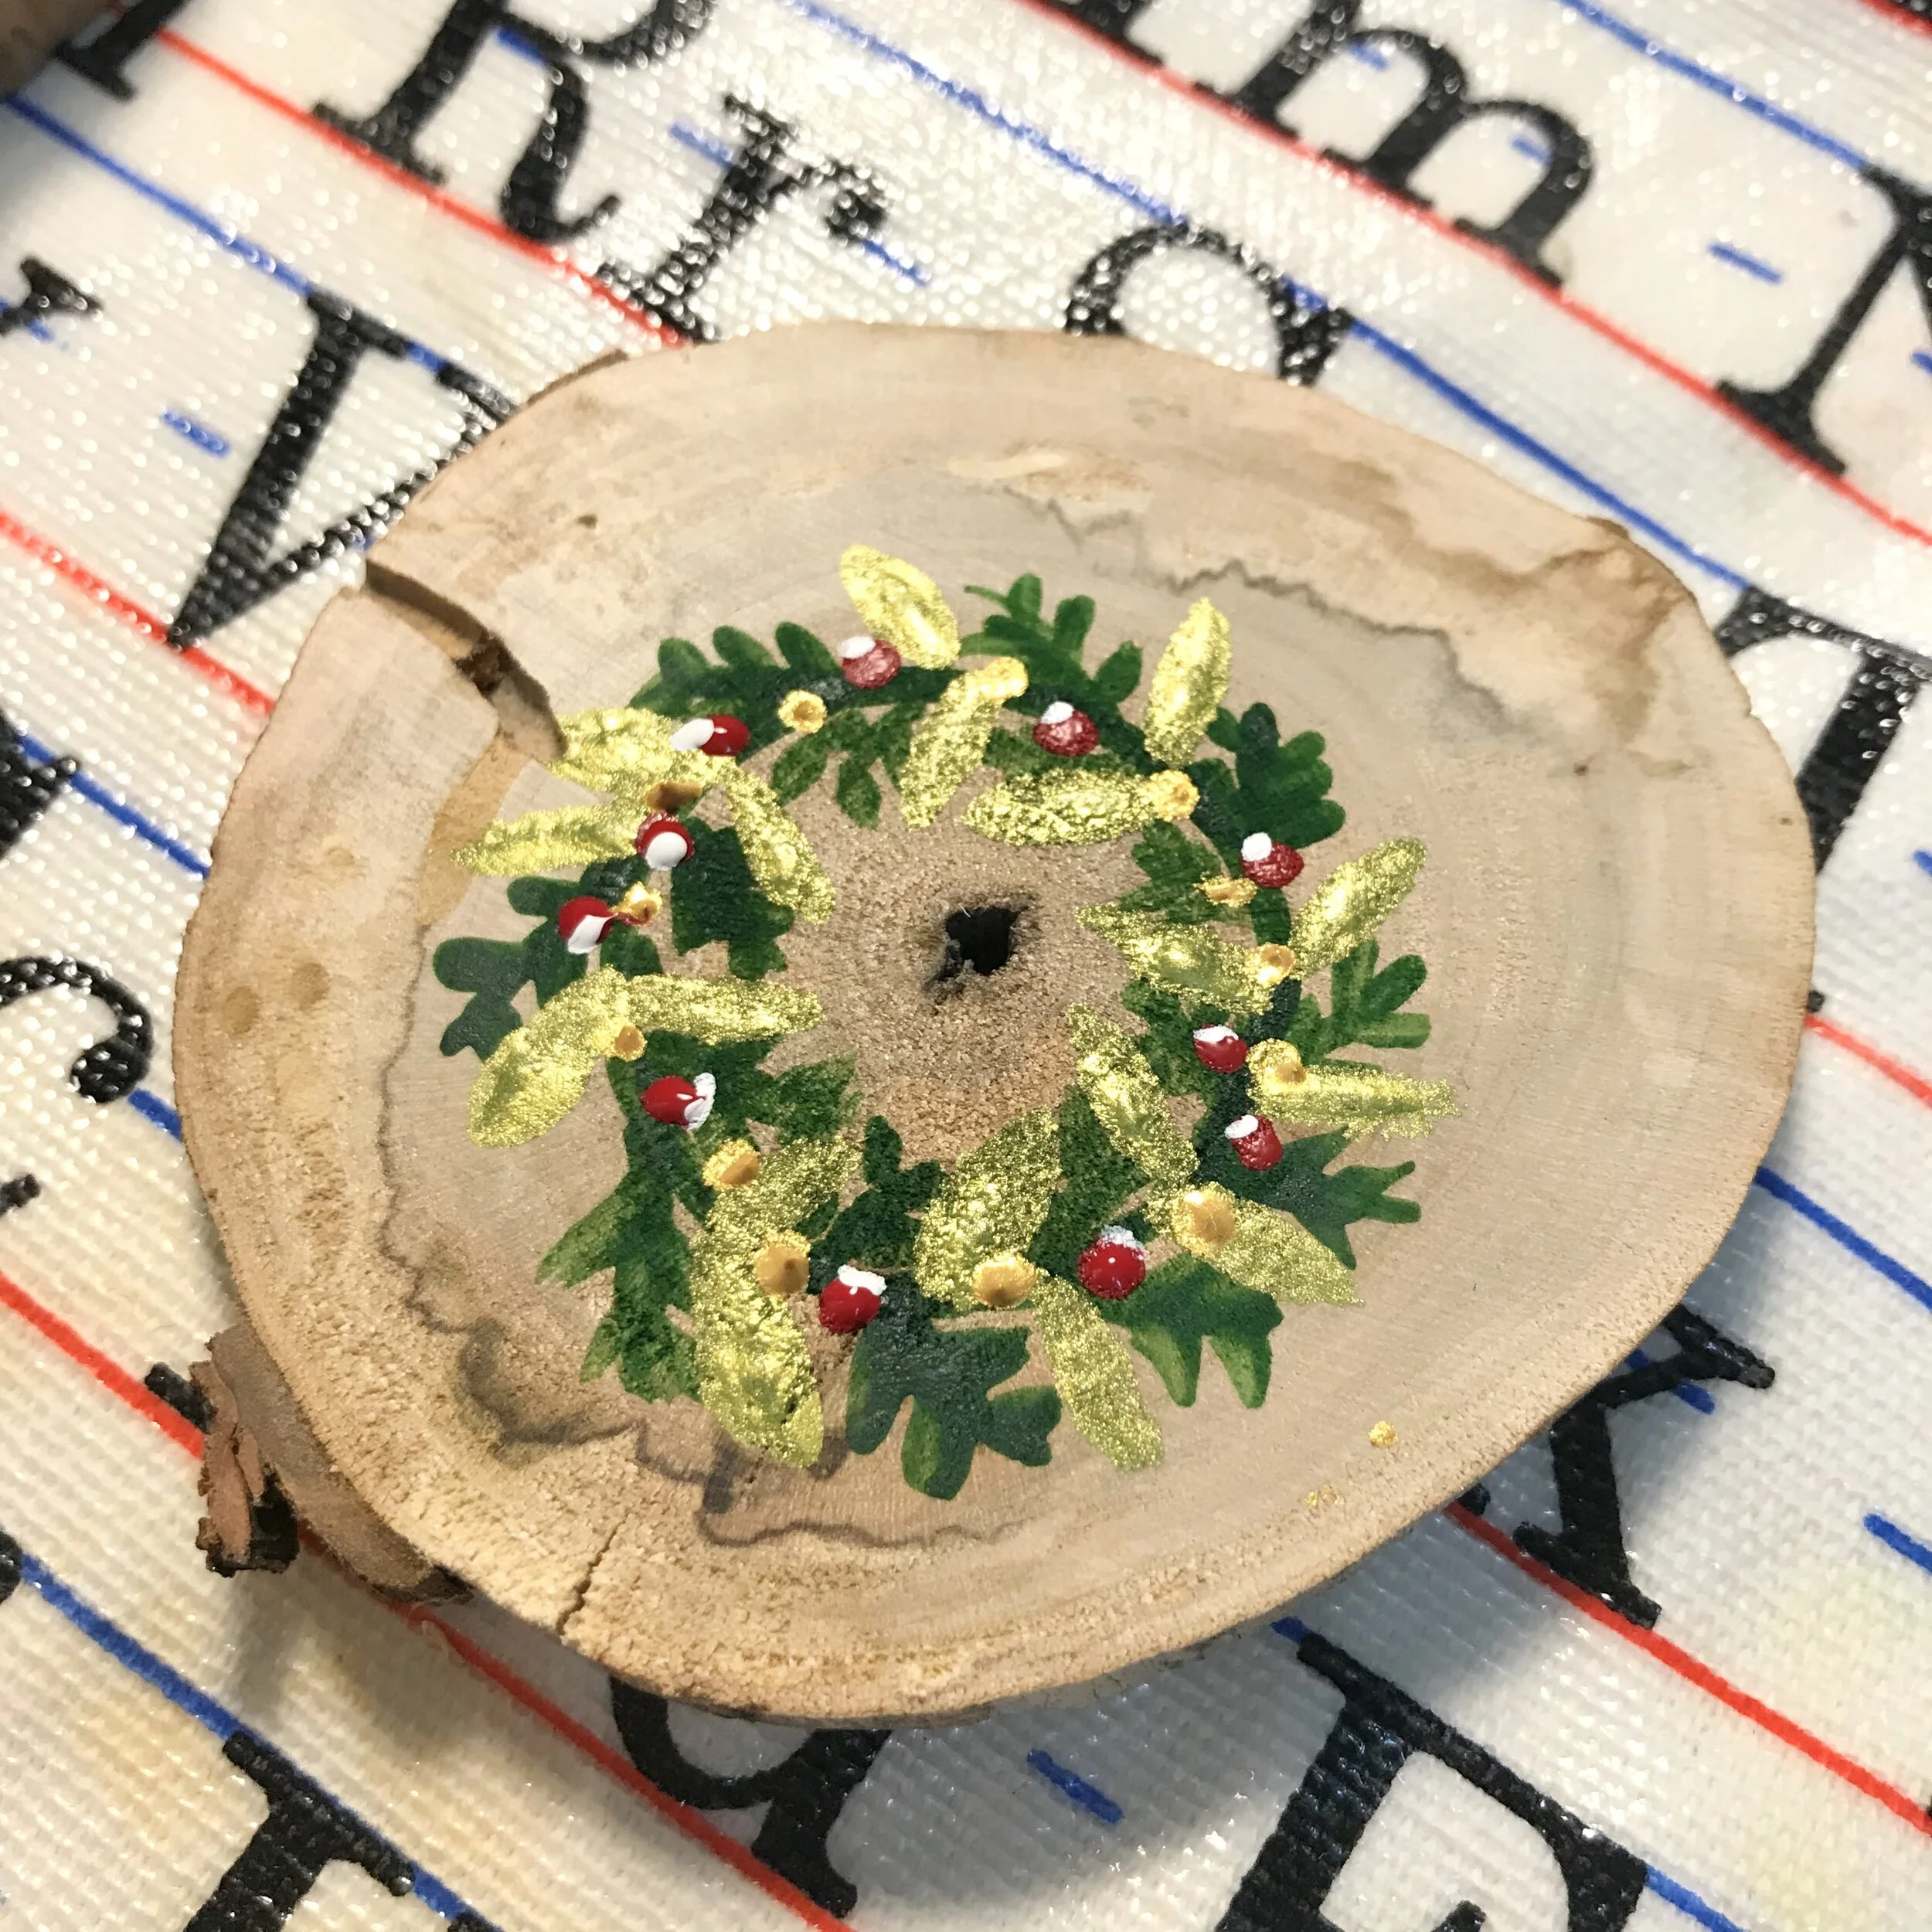
Allow the paint to dry thoroughly.
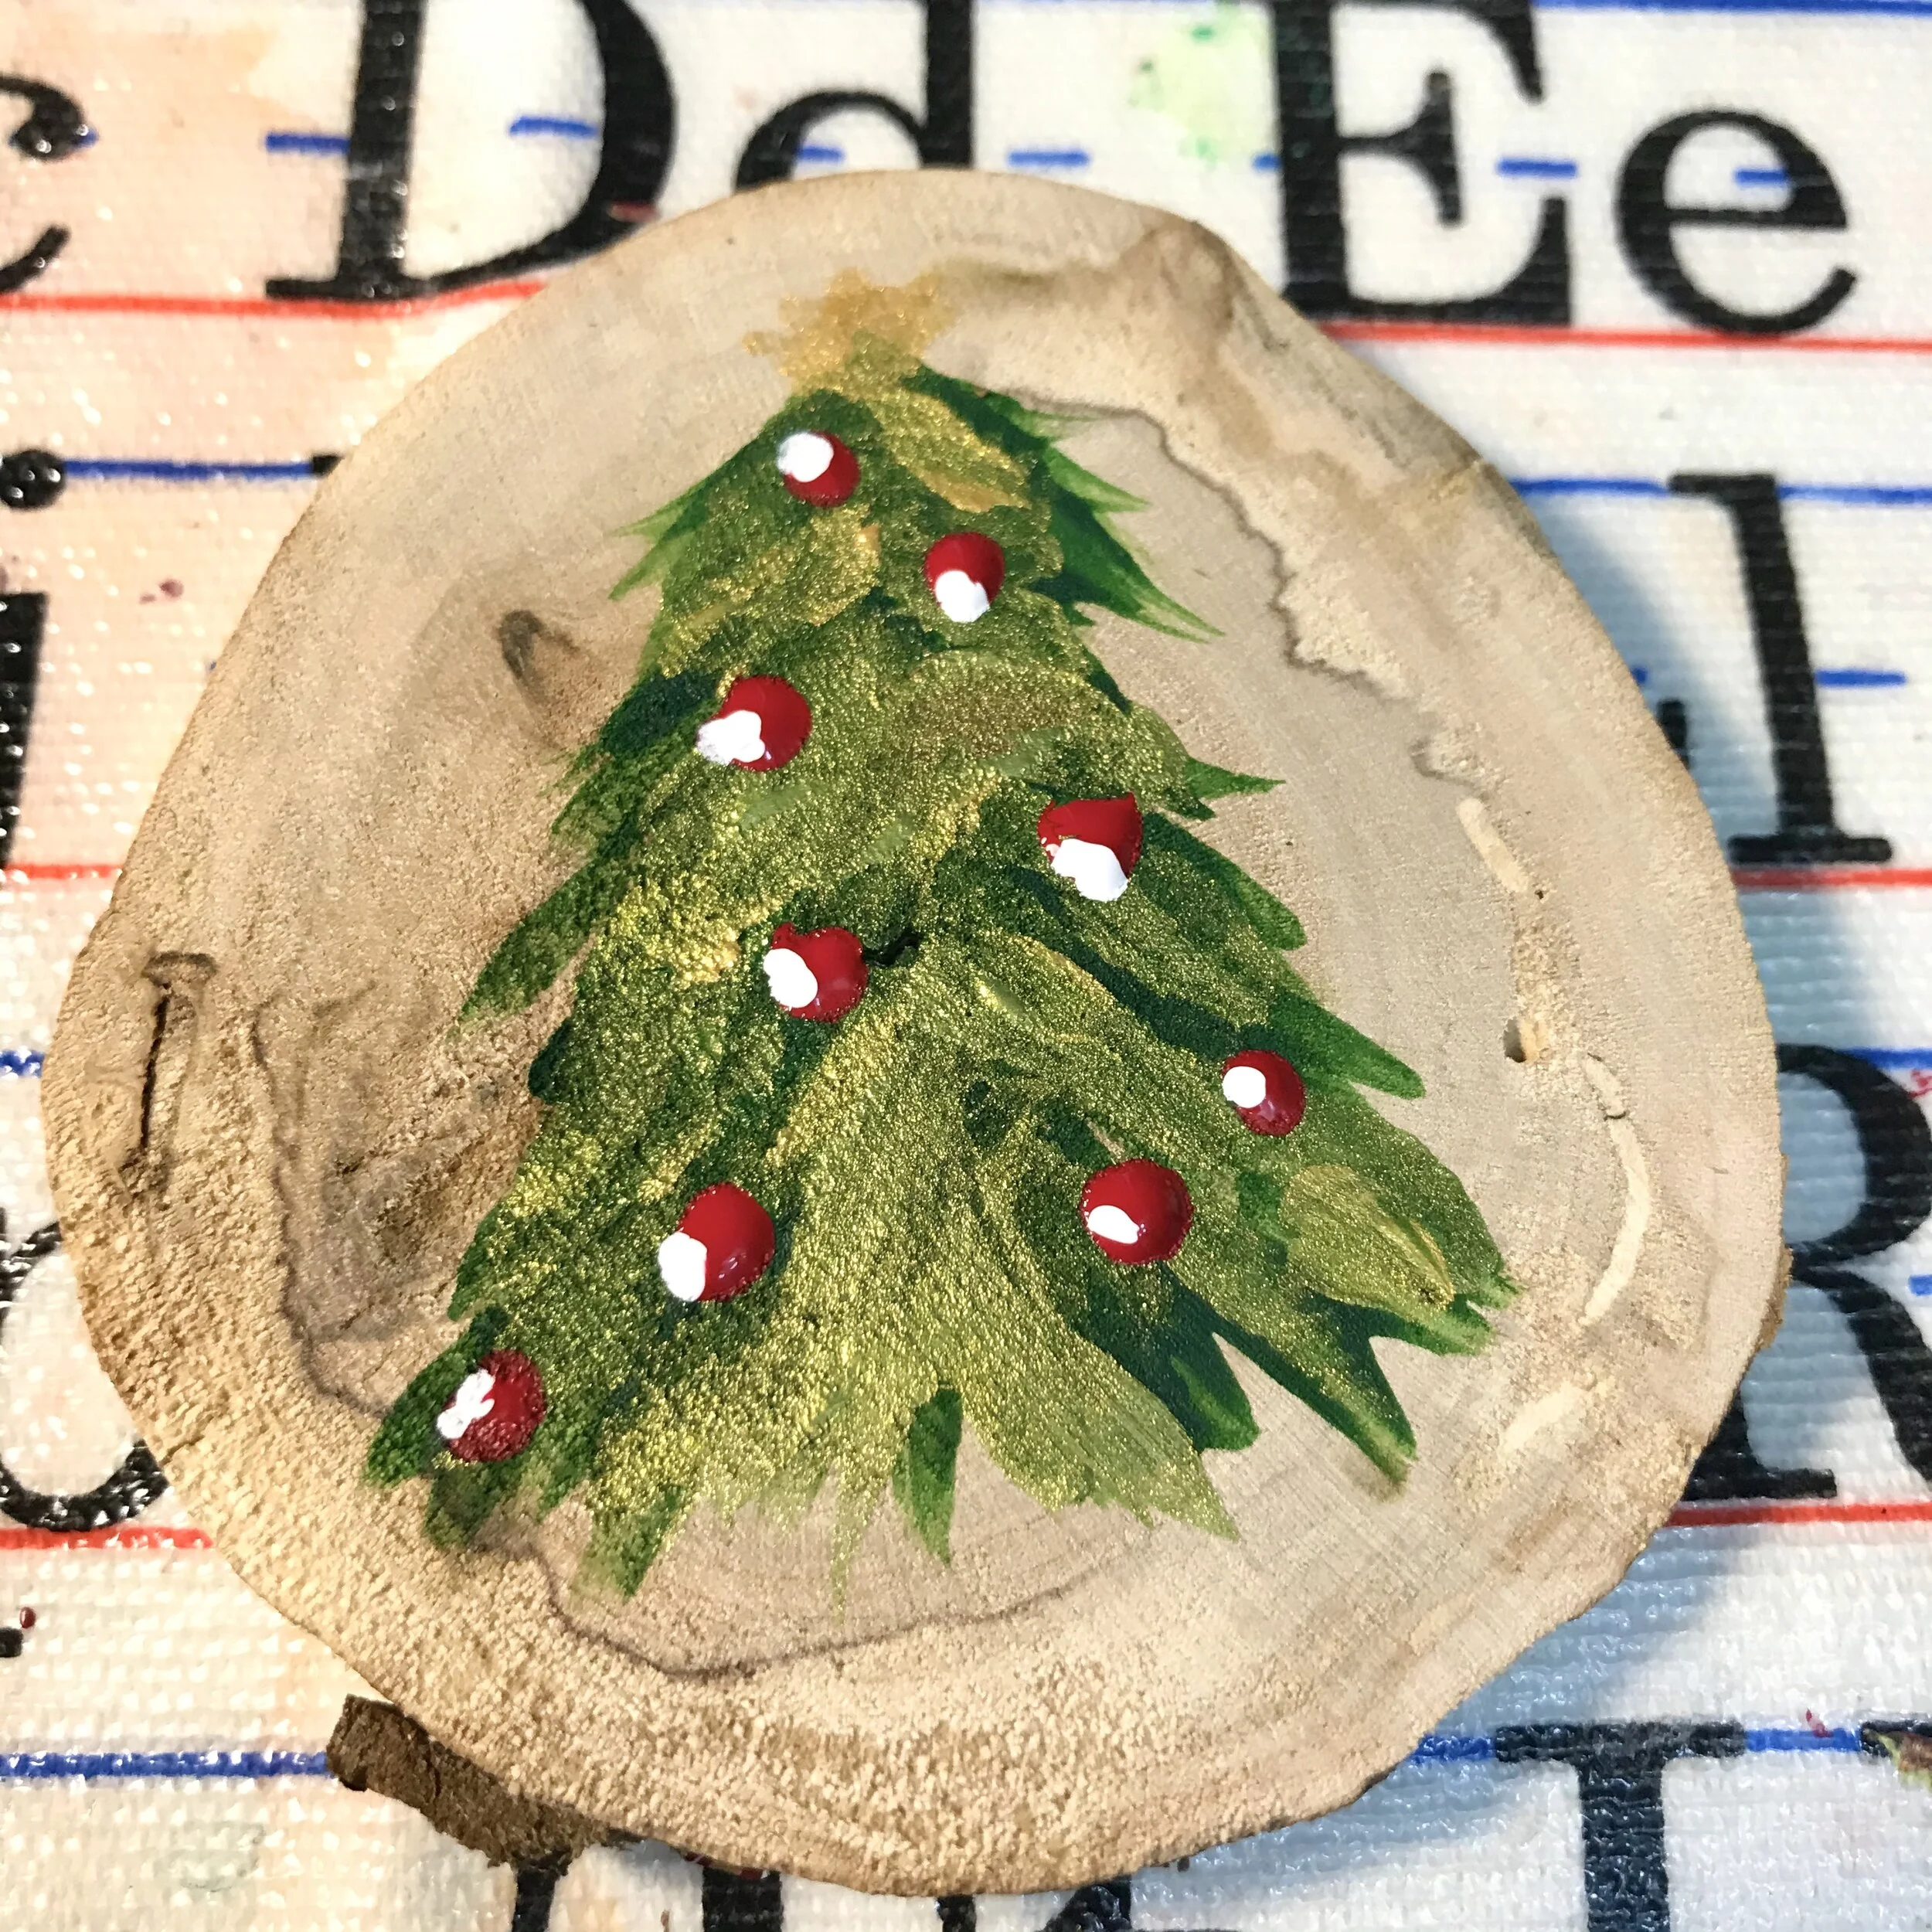
Use the same simple colors and techniques to create other designs like this Christmas tree.
Once the paint has dried (at least an hour — I waited overnight), drill a hole in the “top” of each ornament. Cut a length of ribbon, loop it through, and tie a bow.
Your ornaments are ready to give to friends and neighbors!