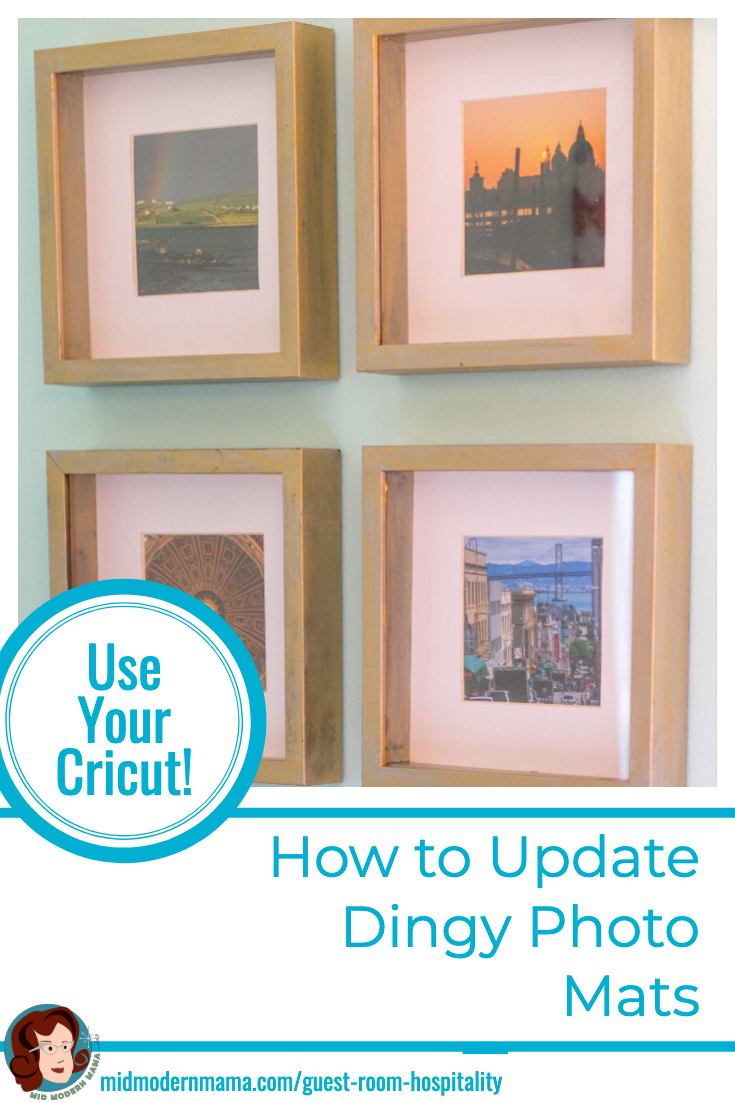
Updating Dingy Photo Mats
Photo mats. Why are they so expensive? But they make such a difference, and can make a cheap frame look more luxe. They set off a photograph of a piece of art, and a good mat can really make it pop.

Painted frame with yellowed mat
For the Guest Room Refresh, I needed a LOT of mats — ten. Ten mats. I did not have the budget for ten mats. So, I strategized. I spent big money on the two biggest mats: for the vintage map of Hawaii and for the framed vintage handkerchief. Those I had cut professionally.
But for the two smaller groupings of photographs, I needed to be more creative. I was using some Ikea frames which I have had in storage for almost eight years. They have been moved four times — across the country twice. But we just never used them. In that time, the mats in the frames yellowed — or maybe they were more yellow than I remember? Anyway, they didn’t look crisp or clean anymore.
But I didn’t have money to buy eight new mats.
What to do?
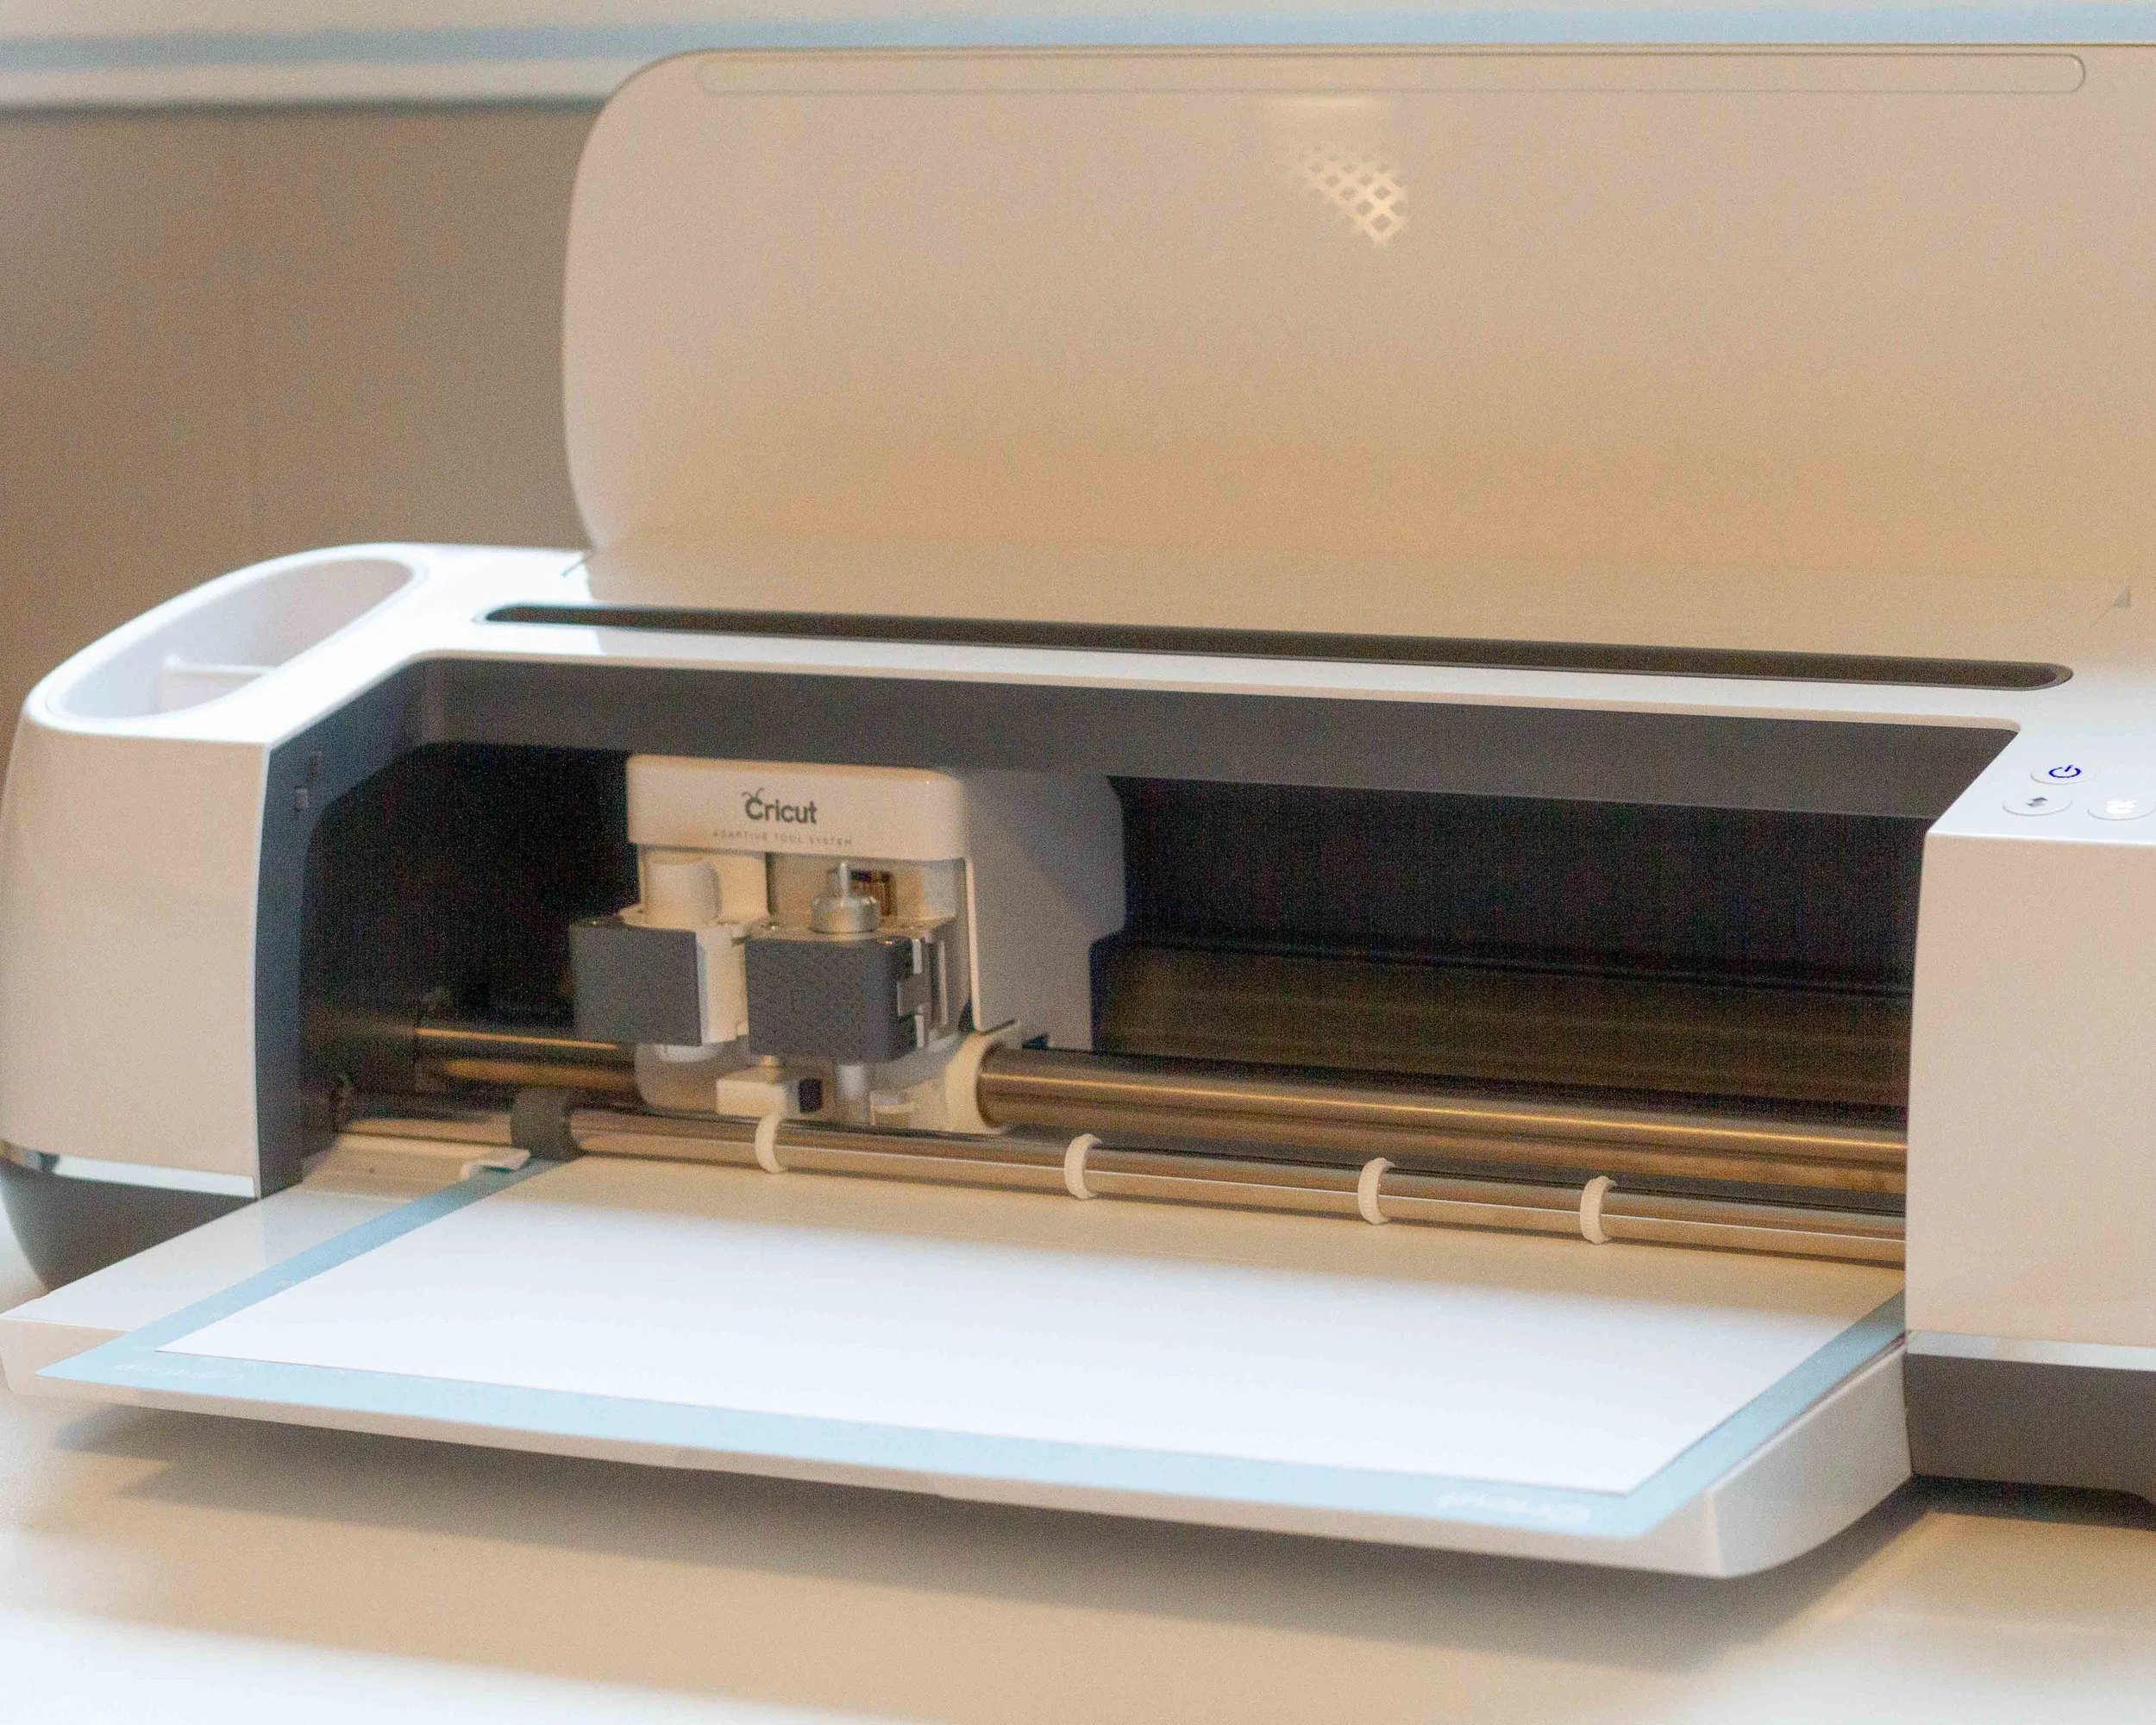
I thought about paint, but that seemed iffy at best. And then I remembered my Cricut Maker — precise cuts from heavy paper and a perfect solution.
If you don’t have a Cricut, you may have a friend who does! Ask around. Or perhaps there is one you can use at your local library of community art center. Our city’s maker space has several! But honestly, having eight custom mats cut would have been almost the same cost as a Cricut. If only they would create a blade that cuts mats on an angle…
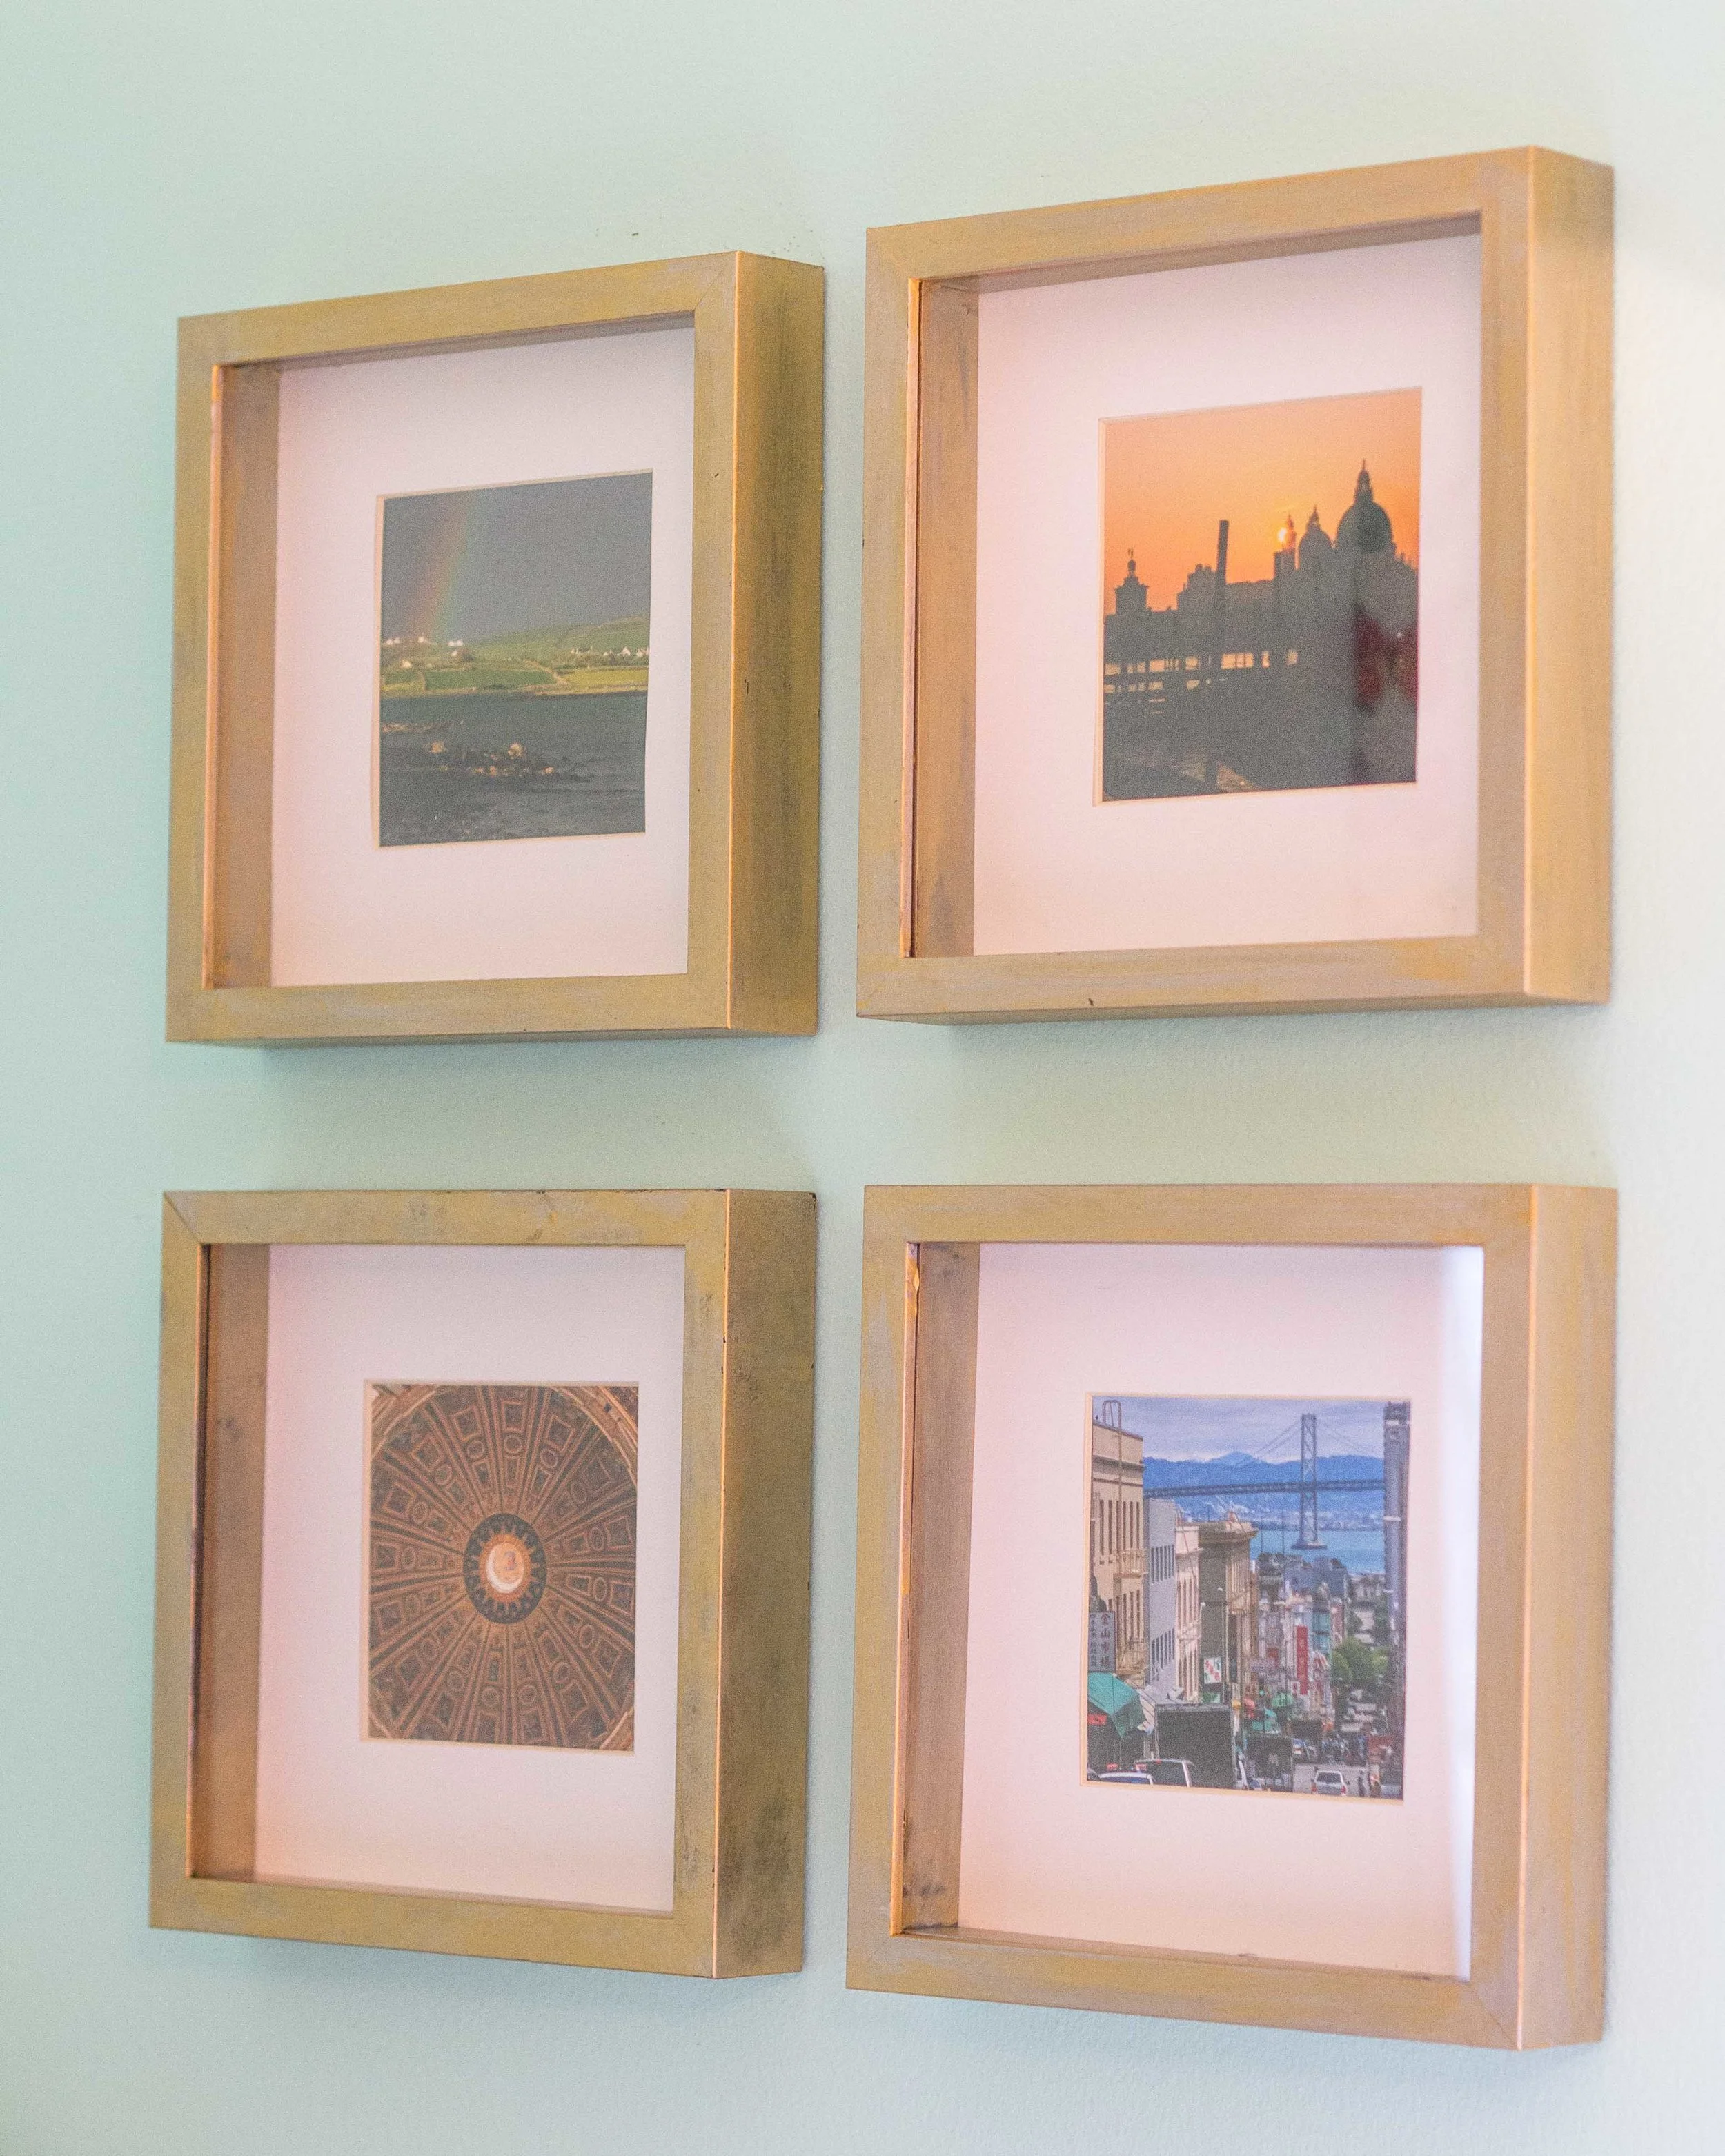
Anyway, this is a quick and inexpensive way to update a dirty mat or to change the color of a mat that is outdated. By cutting the cardstock opening just slightly larger, the original mat’s beveled reveal is still there, but the cardstock covers up the original color.
You could also just use the cutout as a mat; it won’t have the depth that matte board has, but from afar it will have a similar effect.

Materials:
Cricut or Silhouette
Ruler or measuring tape
Heavy cardstock in your color choice
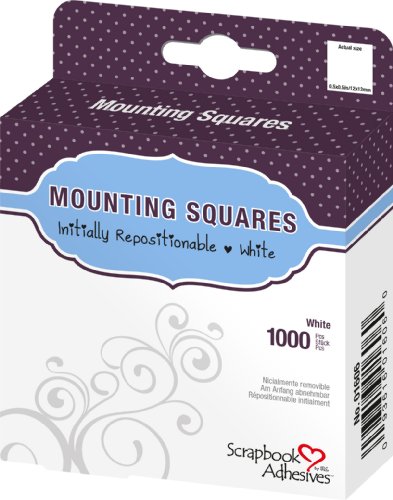
Double-stick tape or photo squares
Artwork or photographs
Frame and old mat


Step 1: Measure your Mat
If you are working with an old mat, measure both the mat’s size as well as the opening size. Be very careful and precise with both measurements.
If the opening in your mat isn’t centered or the edges aren’t the same width, measure those as well.
Step 2: Cut the Cardstock
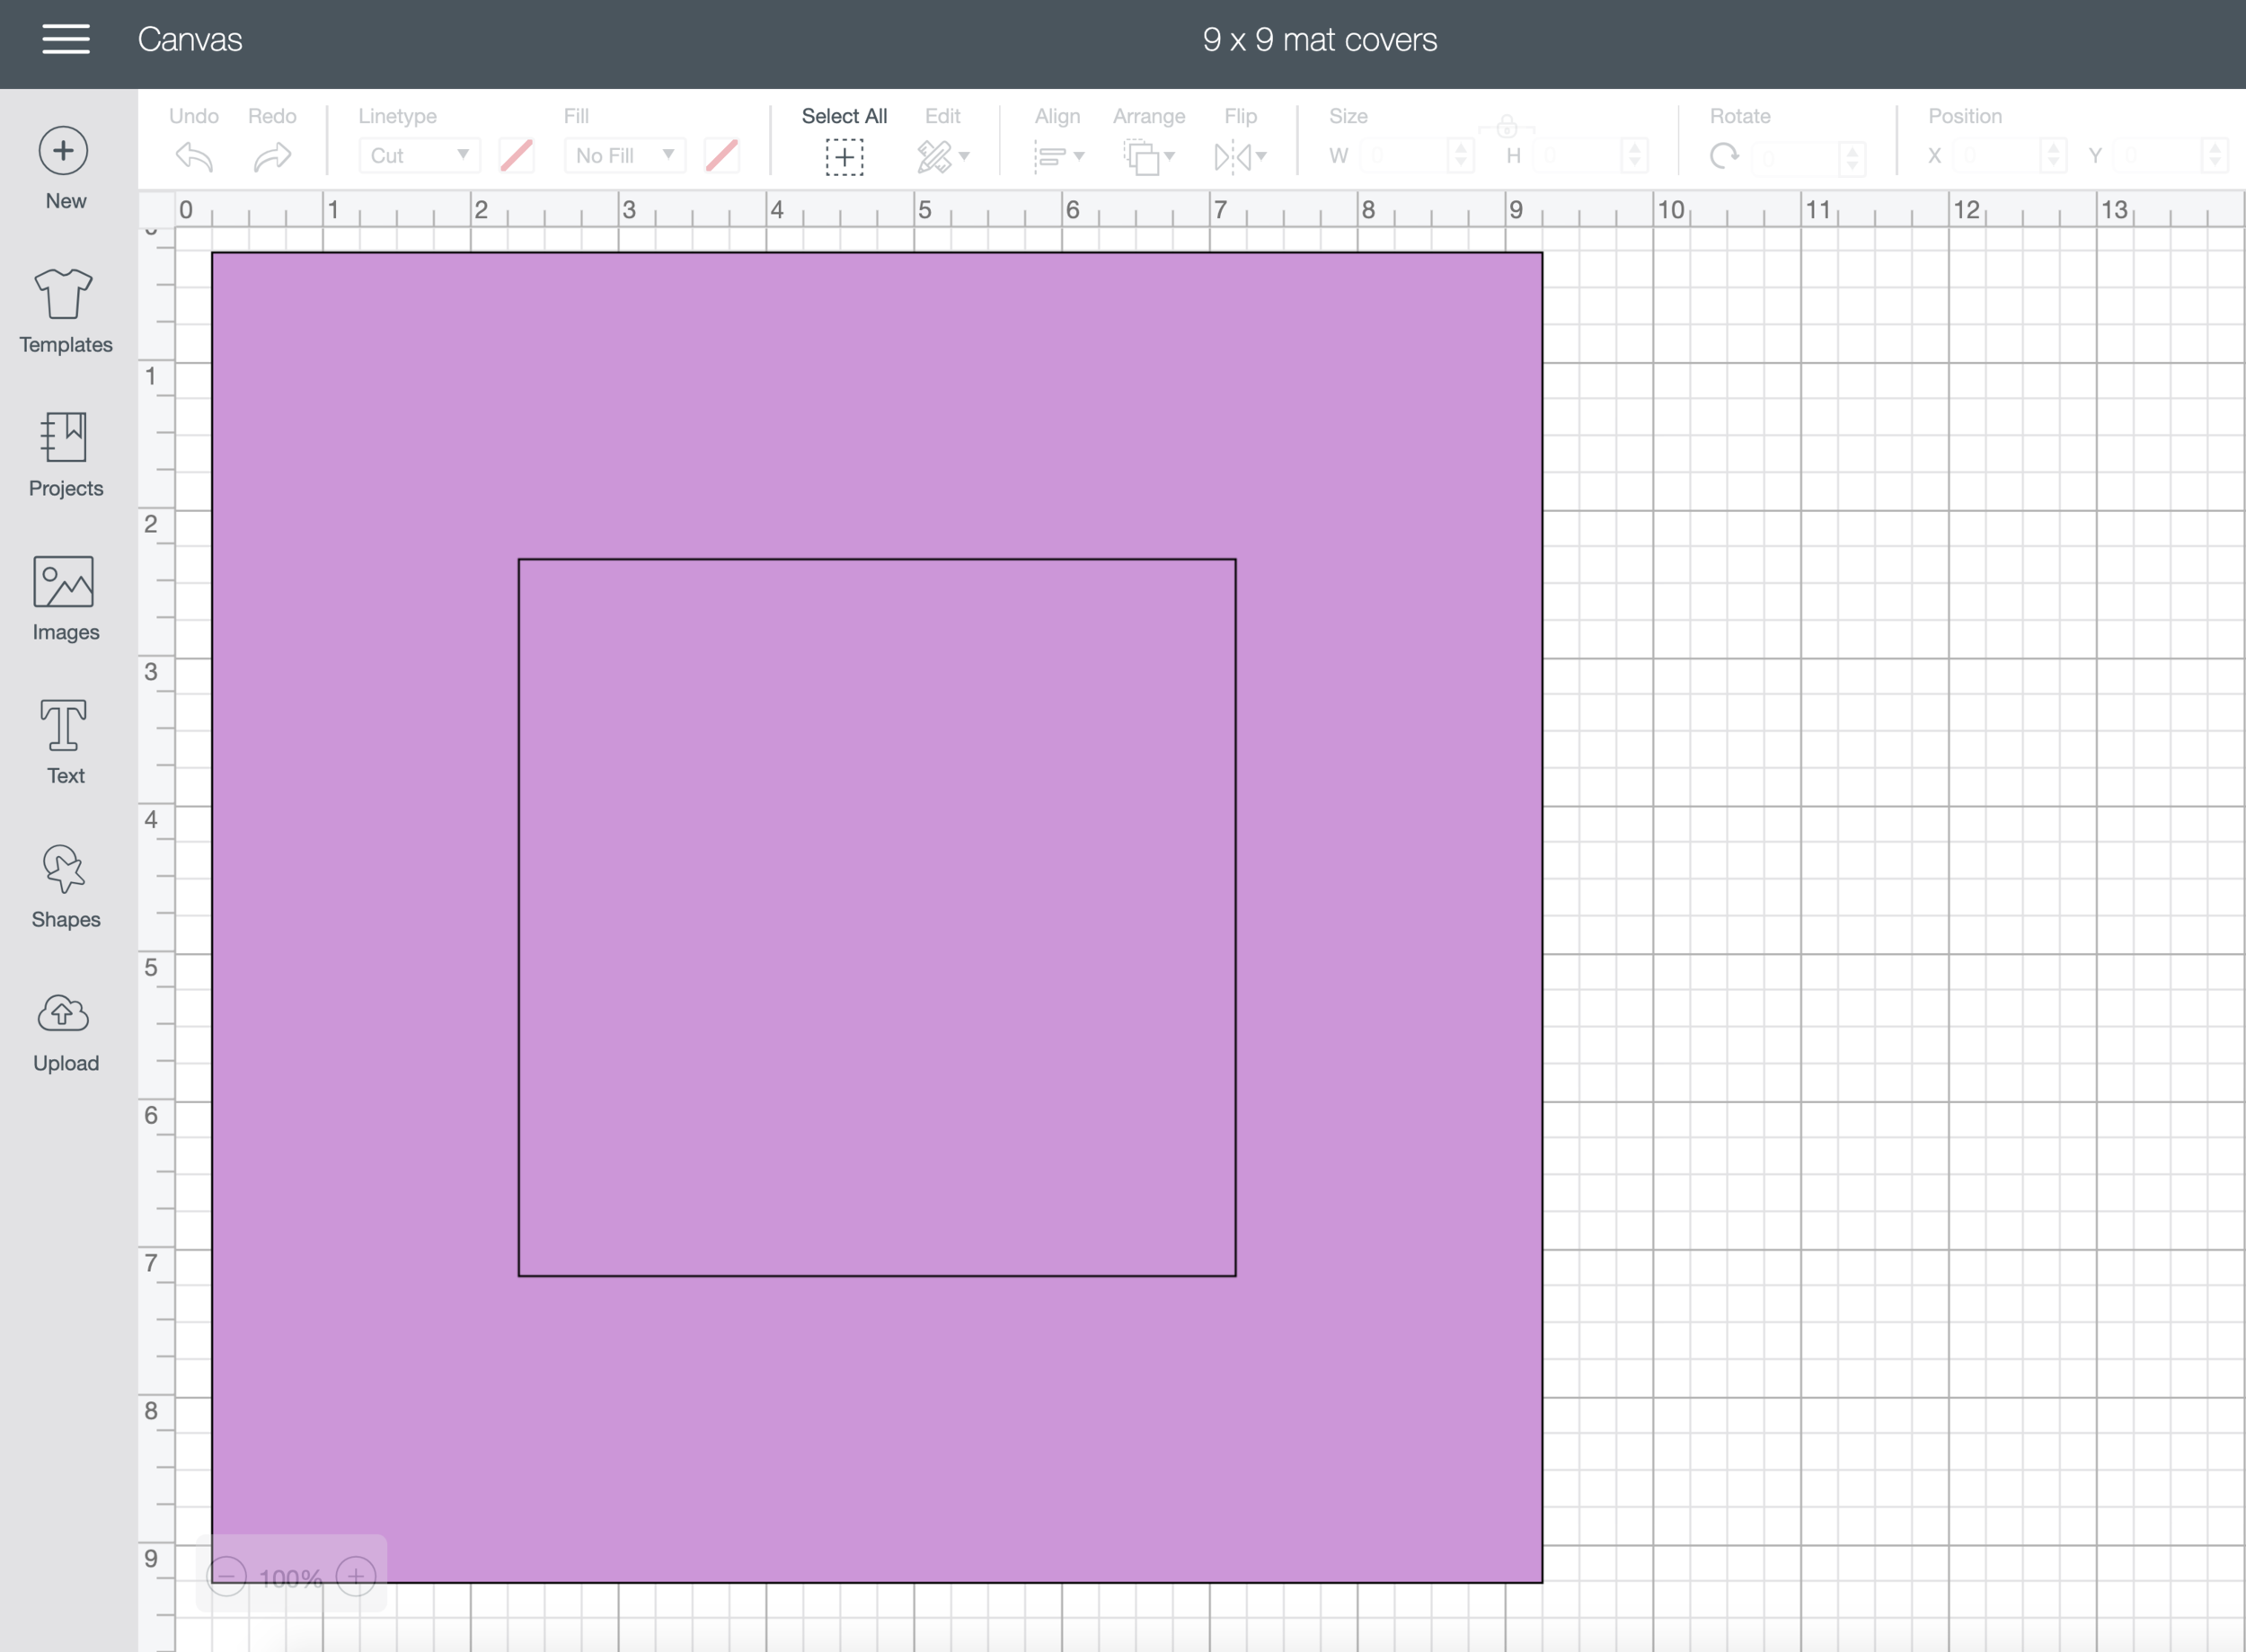
In the Cricut Design Space, create two shapes: one with the dimensions of the mat’s outside edge, and the other with the mat’s opening dimensions. Center the opening shape in the larger mat shape — or position it so that it is in the right spot.
Now, make the opening shape 1/8” larger on all sides. This will allow for the bevel of your old mat to show. If your matte board is thicker, you may need more than 1/8”.
Make sure the lines are set to cut, and attach the two images. Then cut the cardstock.

Step 3: Add Double-stick Tape
While the cardstock is being cut, apply double-stick tape or a photo square to each of the corners of the old mat. This just keeps everything lined up once you have it all centered.

Step 4: Line Them Up Carefully and Stick
Once the cardstock is cut, carefully line up the openings of the cardstock and the mat. Then smooth from the center to the corners, making sure the cardstock is taped down.

Step 5: Place the Photo or Artwork
Place your photo or artwork in the mat and reassemble the frame.
Step 6: Hang & Enjoy
I used simple white cardstock, but since it comes in a whole rainbow of colors, your choices are many! I hope this tutorial serves as inspiration for many framing projects to come.
This post is part of a series: the DIY Guest Room Refresh. I hope you’ll check out some of the other projects and ideas from this renovation project.
Be Our Guest
One Room Challenge