
How to Plan and Order the Right Seeds for Your Garden
It’s sooo easy to get swept away when you are looking at seed catalogs. They are beautiful and enticing, and in winter everything seems possible and easy. But buying too many seeds or seeds of the wrong varieties can be a major waste of money. So before you plunk down your hard-earned cash for a few seed packets, walk through this easy decision-making process. It will help you focus your buying — at least a little — and will help to make a fun and fulfilling garden in the end, too.
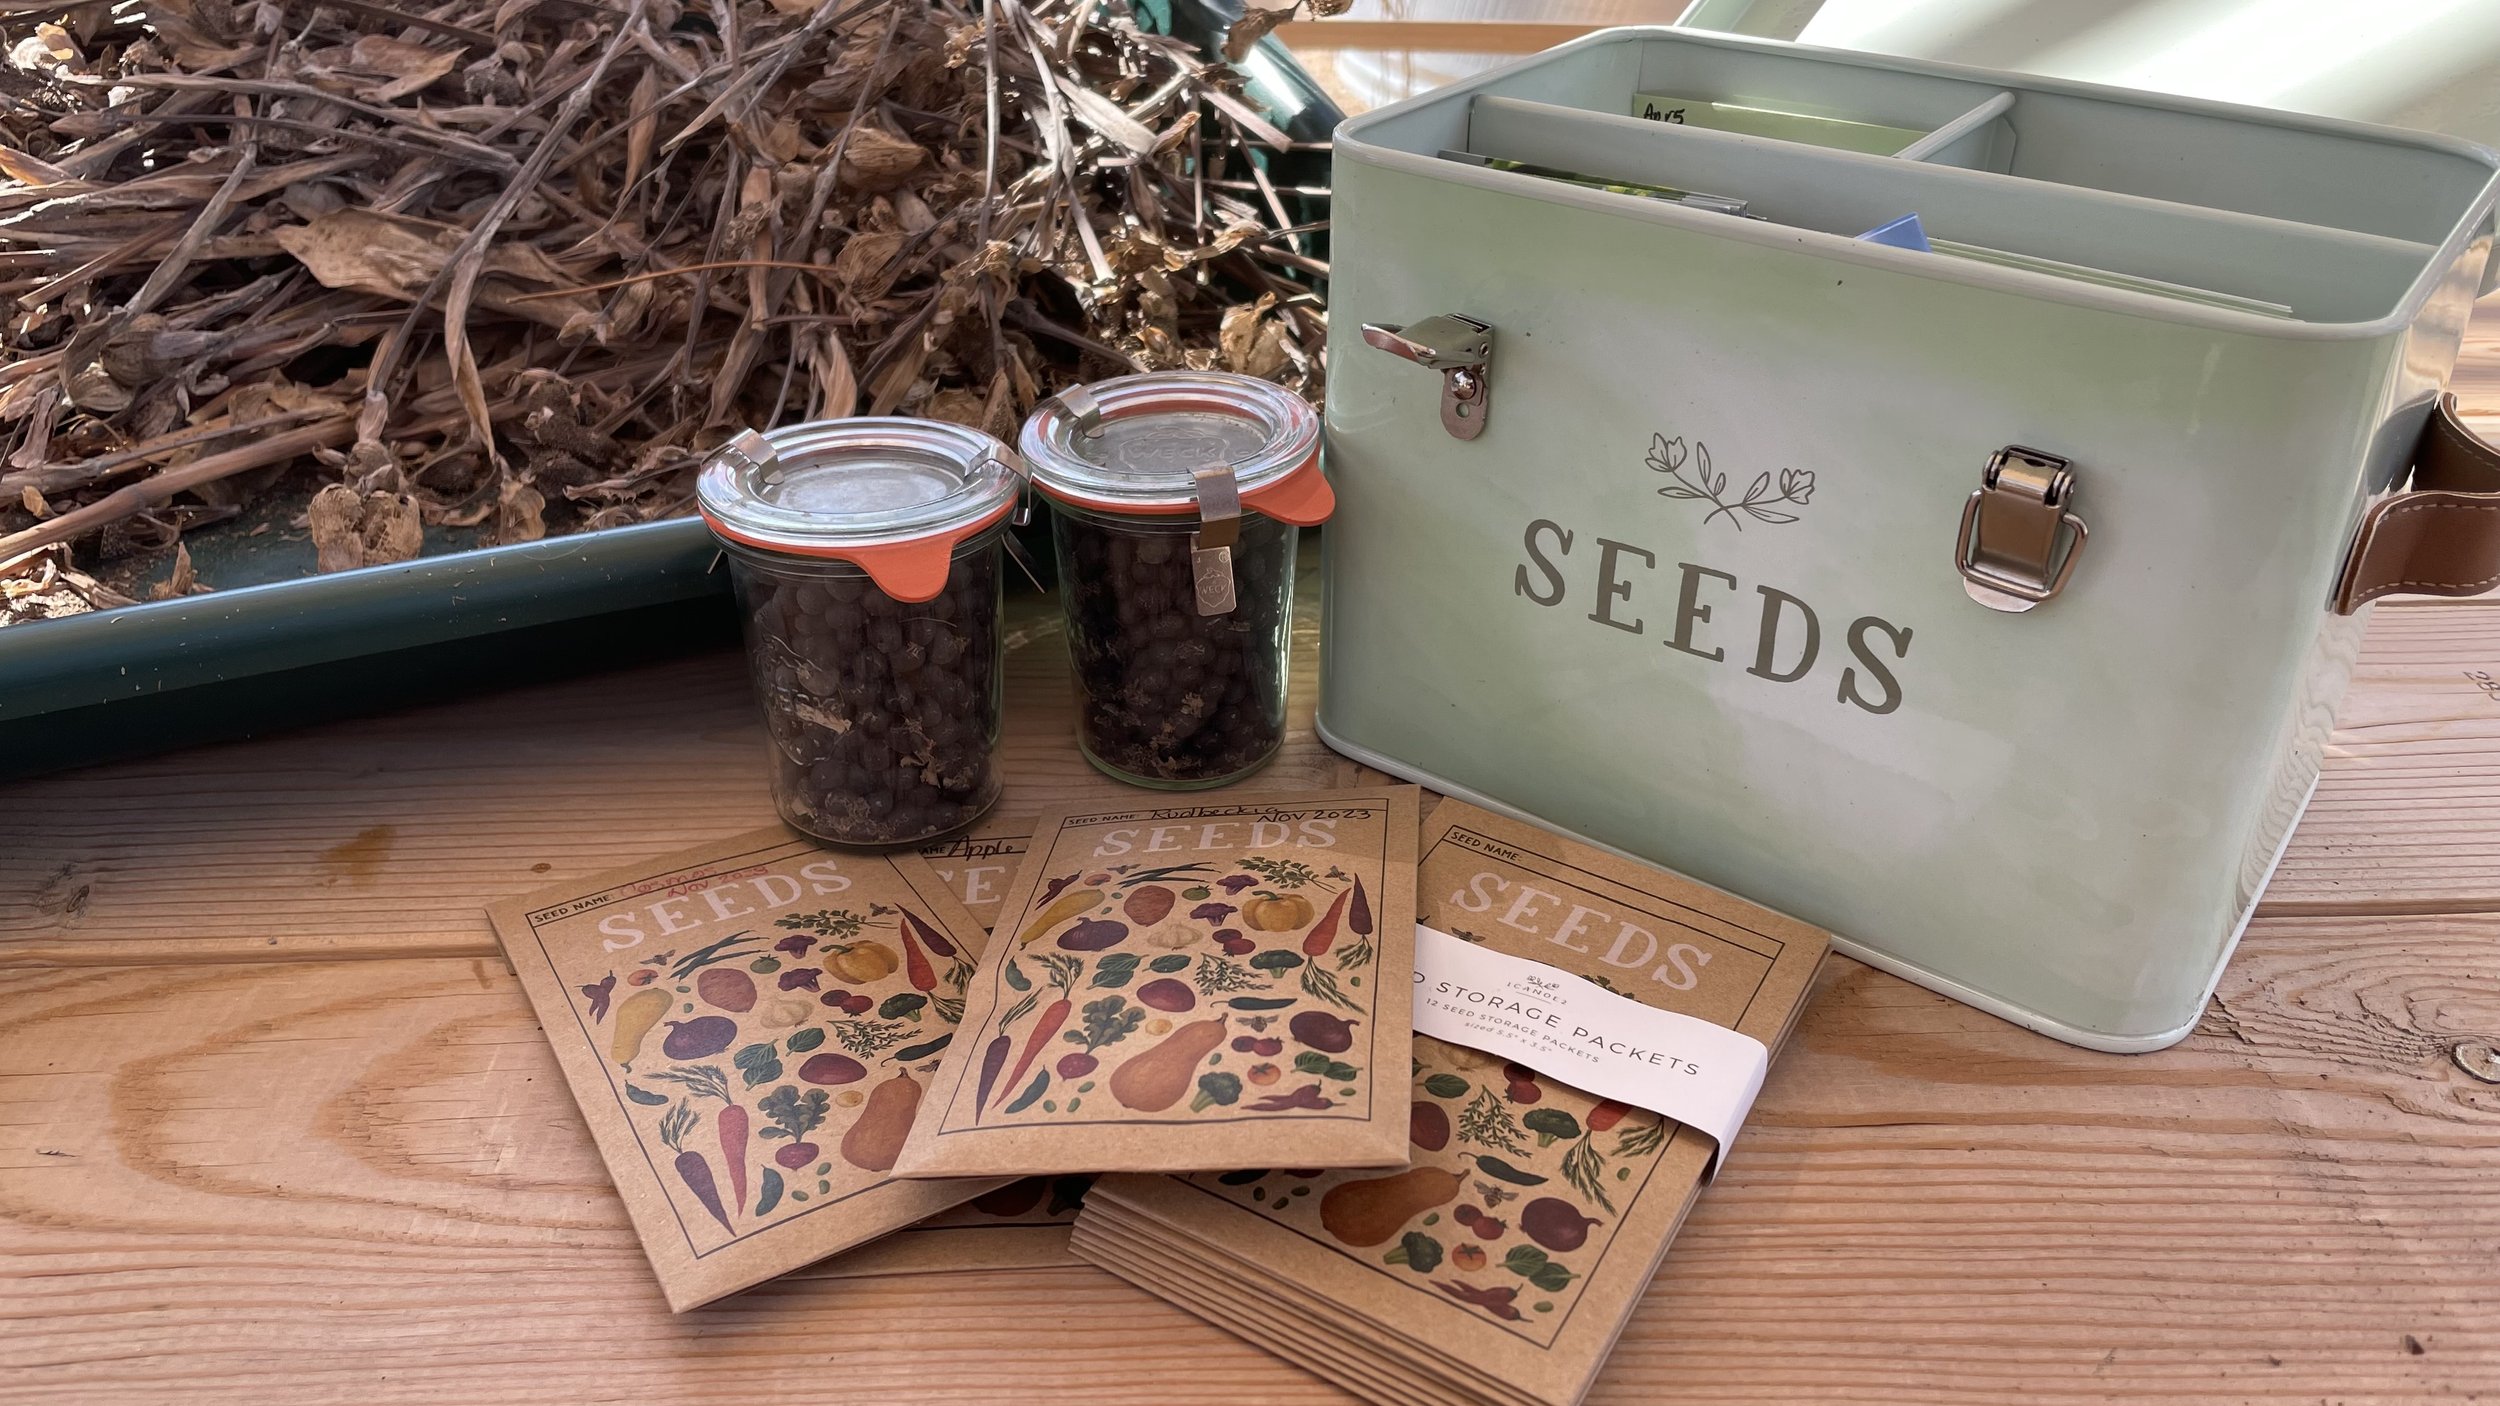
Step 1: Check the Seeds You Already Have
When I am sitting on the couch in the evening, paging through a seed catalogue, the easiest thing in the world is to just say, "Oh, yes! I need more Salvia seeds." And click – I order them on my phone. And then I look in my drawers and find – I have PLENTY of Salvia seeds. Again.
So, before you ever open a catalogue or cruise a website, LOOK at your seeds! Maybe even make a list in your gardening journal. Just so you aren't ordering more than you need.
Then evaluate those seeds for quality. If your seeds are really old, for example, they may have very low germination rates as those rates decrease over time. Consider these questions:
Have they been stored properly? If not, it might be time to replace them. Here are some tips on seed storage to help you make decisions.
How old are they? Is it time to toss some of them?
Do you need to do a viability test on some of them? This post tells you how long most seeds will last, and how to check for viability. This is a good time to do that if you have some older seed packets.
Are there seeds you'll just never grow? Maybe it's time to donate them.

Step 2: Donate Your Seeds
If you have unopened packets of seed that you know you won't use, consider donating them. You may have a seed library or seed exchange locally – at your library or community center or your county extension office – where seeds can be exchanged. This is a great way to get free seeds, too! Check with your local seed library or seed exchange, but in general seed libraries accept:
Seeds collected from your garden if they are clean, dated, and packaged in an envelope or other container.
Unopened packets of commercially-available seeds from the last 3 years.
Opened packets might be accepted for programming use or other purposes, but generally they can't be used in seed libraries.

Step 3: Evaluate Your Space, Inside and Out
The hardest thing to do when planning a garden is to honestly evaluate your space! I suggest doing a measured drawing on graph paper. Then make copies or scan it, so that you can do some sketching and make a plan. It may take several iterations to get it right.
From there you will know what you'll need to get started!
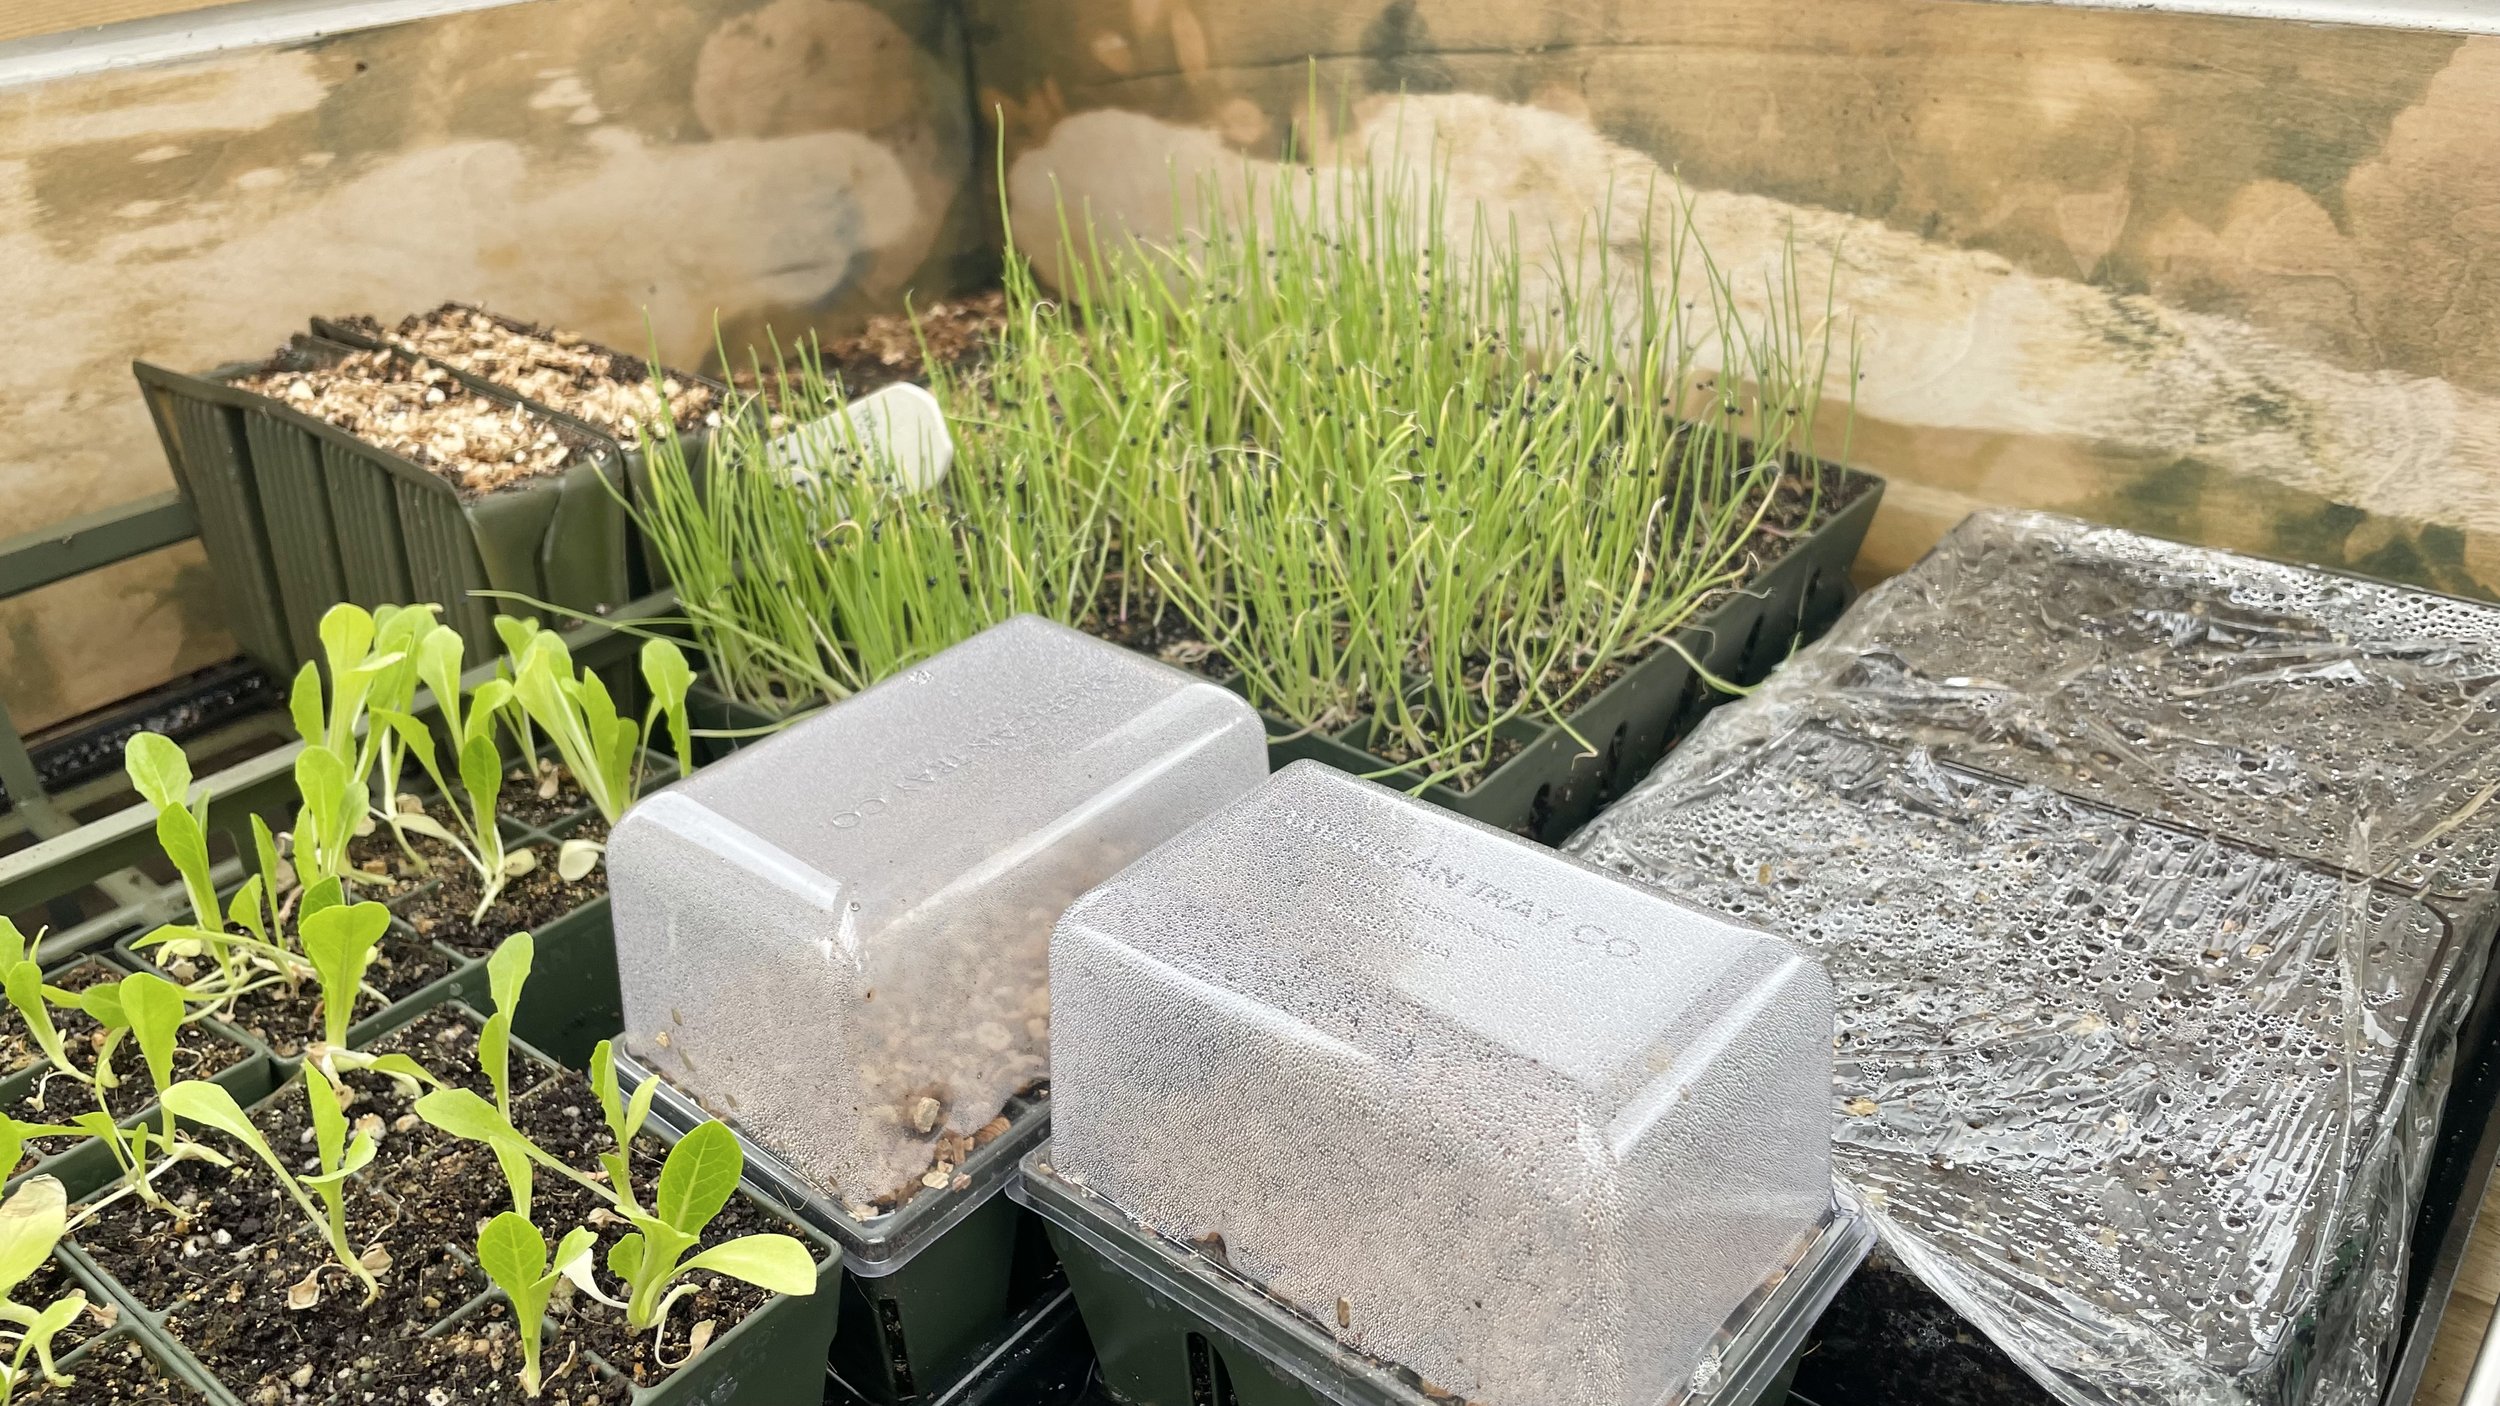
Another consideration: how much seed-starting space do you have?
Inside: you'll need a sunny windowsill at a minimum. Most seeds need light and warmth to germinate. Grow lights and plant trays can make this even easier. Here are some of the seed-starting supplies I think are helpful!
Outside: you'll need to wait for your temperatures to be consistently warm, and you'll need to have gear nearby to protect from late-spring frosts – or just be prepared to bring it all inside.
Winter Sowing: you can also consider sowing seeds in milk jugs and other containers which make tiny greenhouses and can give you a head start as a way to get seeds growing earlier.
Step 4: Make a List of What You Want to Grow
What are you hoping to grow this year? Be realistic – and I know that can be hard – but less can be more, especially if you are a beginner gardener. But also: try a few things you have never tried before! It's always fun to see what comes up and how it does!
I work very hard to stick to a budget each spring, and I wait to place all of my orders together to stay on budget. And then I walk away from the seed catalogs. Or I'll be tempted to buy more!
If you have no idea where to start, here are a few suggestions:
Veggies:
if your aim is to grow vegetables, consider starting with
Carrots: best sown in the spring, take a long time to grow, but are pretty easy as long as you keep them watered
Lettuce: choose cut-and-come-again varieties which means you can cut them and get 2-3 harvests per plant. They are easier to grow than head lettuces and are quicker, too.
Spinach: one of the easiest and most gratifying crops to grow! I like my spinach young, so I treat it like a cut-and-come-again crop. I harvest it over and over again until it gets too hot and starts to bolt (set seeds).
Tomatoes: choose a cherry tomato variety – you'll have them all summer long! And one or two larger tomato varieties depending on how much space you have. Pressed for space? Choose patio varieties which are intended to be grown in containers and are quite compact.
Onions: onions are really easy to grow from seed. I start mine inside and then plant them out in late April.
Flowers:
if you are wanting a beginner flower garden, think about starting with these:
Sunflowers: there are varieties that are HUGE and many that are petite, but there is a sunflower for every garden, and they are a keystone species in North America. They will tell the bees and bugs: "This garden has it all!" And they are easy to start from seed. I just put the seeds directly in the soil about 3 weeks before my last frost date.
Marigolds: another easy flower to start from seed. Marigolds can be a good supplement to a veggie garden. I grow them with my tomatoes. Their flowers also attract the pollinators who will then pollinate your tomatoes as well.
Dill: dill is a host for multiple butterfly species, plus it is delicious! So I grow it both for the flowers and for the leaves (fabulous on salmon). The flat shape of the flowers makes dill an ideal landing spot for butterflies, so definitely plant some!
Zinnias: another easy flower, and Zinnias are native to North and Central America. Their cheerful flowers make any garden prettier, and they are another plant that is easy to grow inside or out. I start mine inside and direct sow them outside as well.
Snapdragons: while the bees love them, I grow snapdragons for me! They are so beautiful, and they come in so many lovely colors. I love them in a bouquet on my table.
All of these plants – veggies and flowers – are annuals meaning that they will only last one growing season in most growing zones. However, if you are in Zone 9 or higher, there are a few perennial varieties which will live for more than one growing season. And most tomatoes are actually perennial! But that's a topic for another time!


Step 5: Choose Your Varieties
How do I choose the right seeds for my garden? The right varieties depend on your garden's location, climate, soil type, and the growing season. If you are growing perennials, you'll need to understand your USDA Hardiness Zone and select seeds that are well-suited for your region. But if you are growing annuals, and most vegetables are annuals, you'll be much more concerned about moisture levels, irrigation, and heat/cold.
Once you know WHAT you want to grow, I suggest reaching out to your county extension office to chat with the Master Gardeners who can make recommendations about specific varieties that do well in your area. For example, they may have a Top Ten Tomatoes for Tennessee list. Those MGs are a great, free resource!

FAQs
-
Here are a few of my favorite resources:
-
The USDA Hardiness Zone Map divides the country into regions based on average minimum winter temperatures. The zone map is really only relevant for growing perennial plants (which I highly recommend). Check out this post for more info on the USDA Hardiness Zone map.
-
Ideally, you should order seeds 6-12 weeks before your last frost date. This allows enough time for them to be delivered and for you to start seeds indoors if necessary, giving them a head start before planting outdoors. Learn more about your last frost date here!
-
It depends on the plant. Some seeds can be sown directly outdoors, while others need to be started indoors and transplanted once the weather warms up. Check the seed packet or grower's guide for specific instructions.
-
The success of your seeds depends largely on your soil type (e.g., clay, loamy, sandy). Conduct a soil test to determine pH and nutrient levels, and choose plants that are compatible with your soil's characteristics. Your county extension office should be able to help you get a soil test done. To have more control over your soil conditions, particularly when growing vegetables, I recommend growing in raised beds. Many vegetables that don't grow well in the soil of a home garden will thrive in a raised bed, because you can fill it with a better soil mix for that type of plant.
-
Common mistakes include ordering seeds that aren't suited for your climate, over-ordering seeds, or choosing plants that require more care or maintenance than you can provide. Make sure to research the needs of each plant before committing to them.
-
Yes! Many plants allow you to save seeds, especially heirloom varieties. Make sure to harvest and store them correctly to maintain their viability for the next planting season.
-
Companion plants are species that grow well together, often improving soil health, pest control, and pollination. When ordering seeds, consider which plants will complement each other for better growth and garden harmony. There isn’t a lot of science behind most companion planting suggestions, but there are some reasons that anecdotal pairings might work. It isn’t a cure-all, but it doesn’t hurt!
-
Assess factors like sunlight, space, and moisture when planning your garden layout. Ensure that your plants will have enough room to grow, and check the light and water requirements to avoid overcrowding or poor growth. That’s a very short answer to a much bigger question. Keep reading! You’ll learn so much over time! Gardening is a marathon, not a sprint!
I hope these tips are helpful! For more gardening advice and tips as well as an amazing community of gardeners, join my Substack!