Easy DIY Pillow Cover
Put your child’s artwork (or anything) on a pillow cover

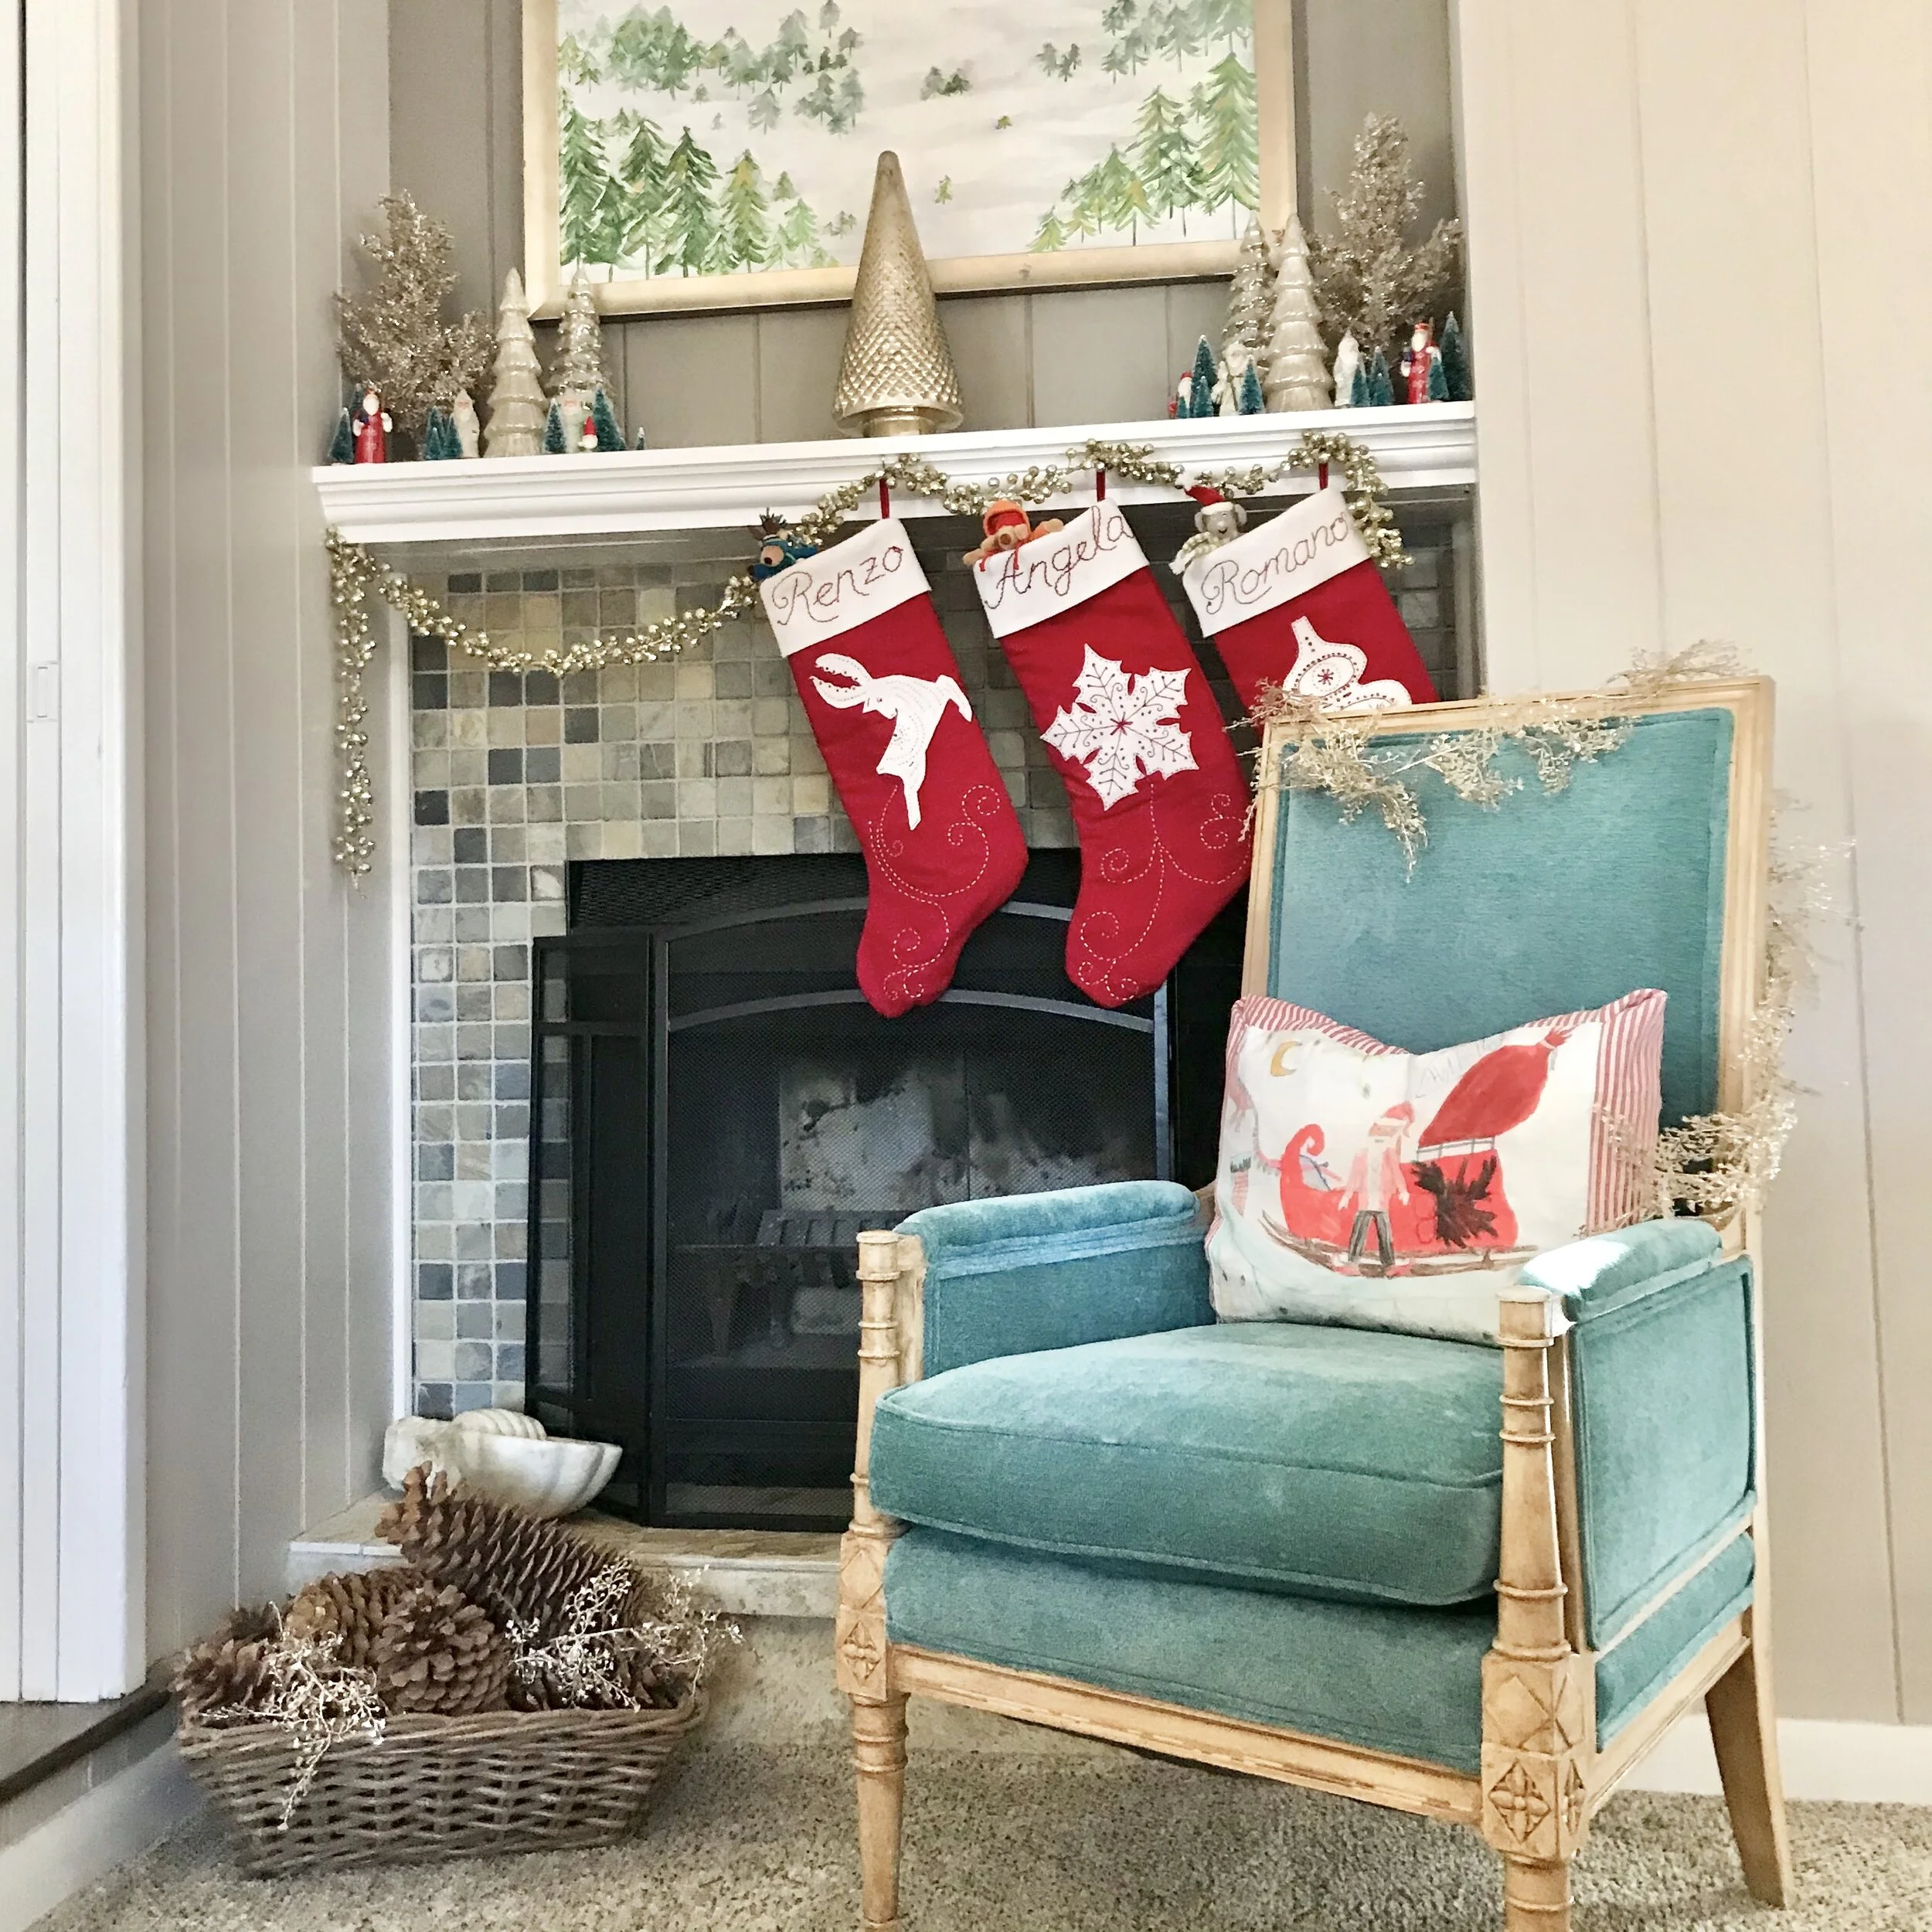
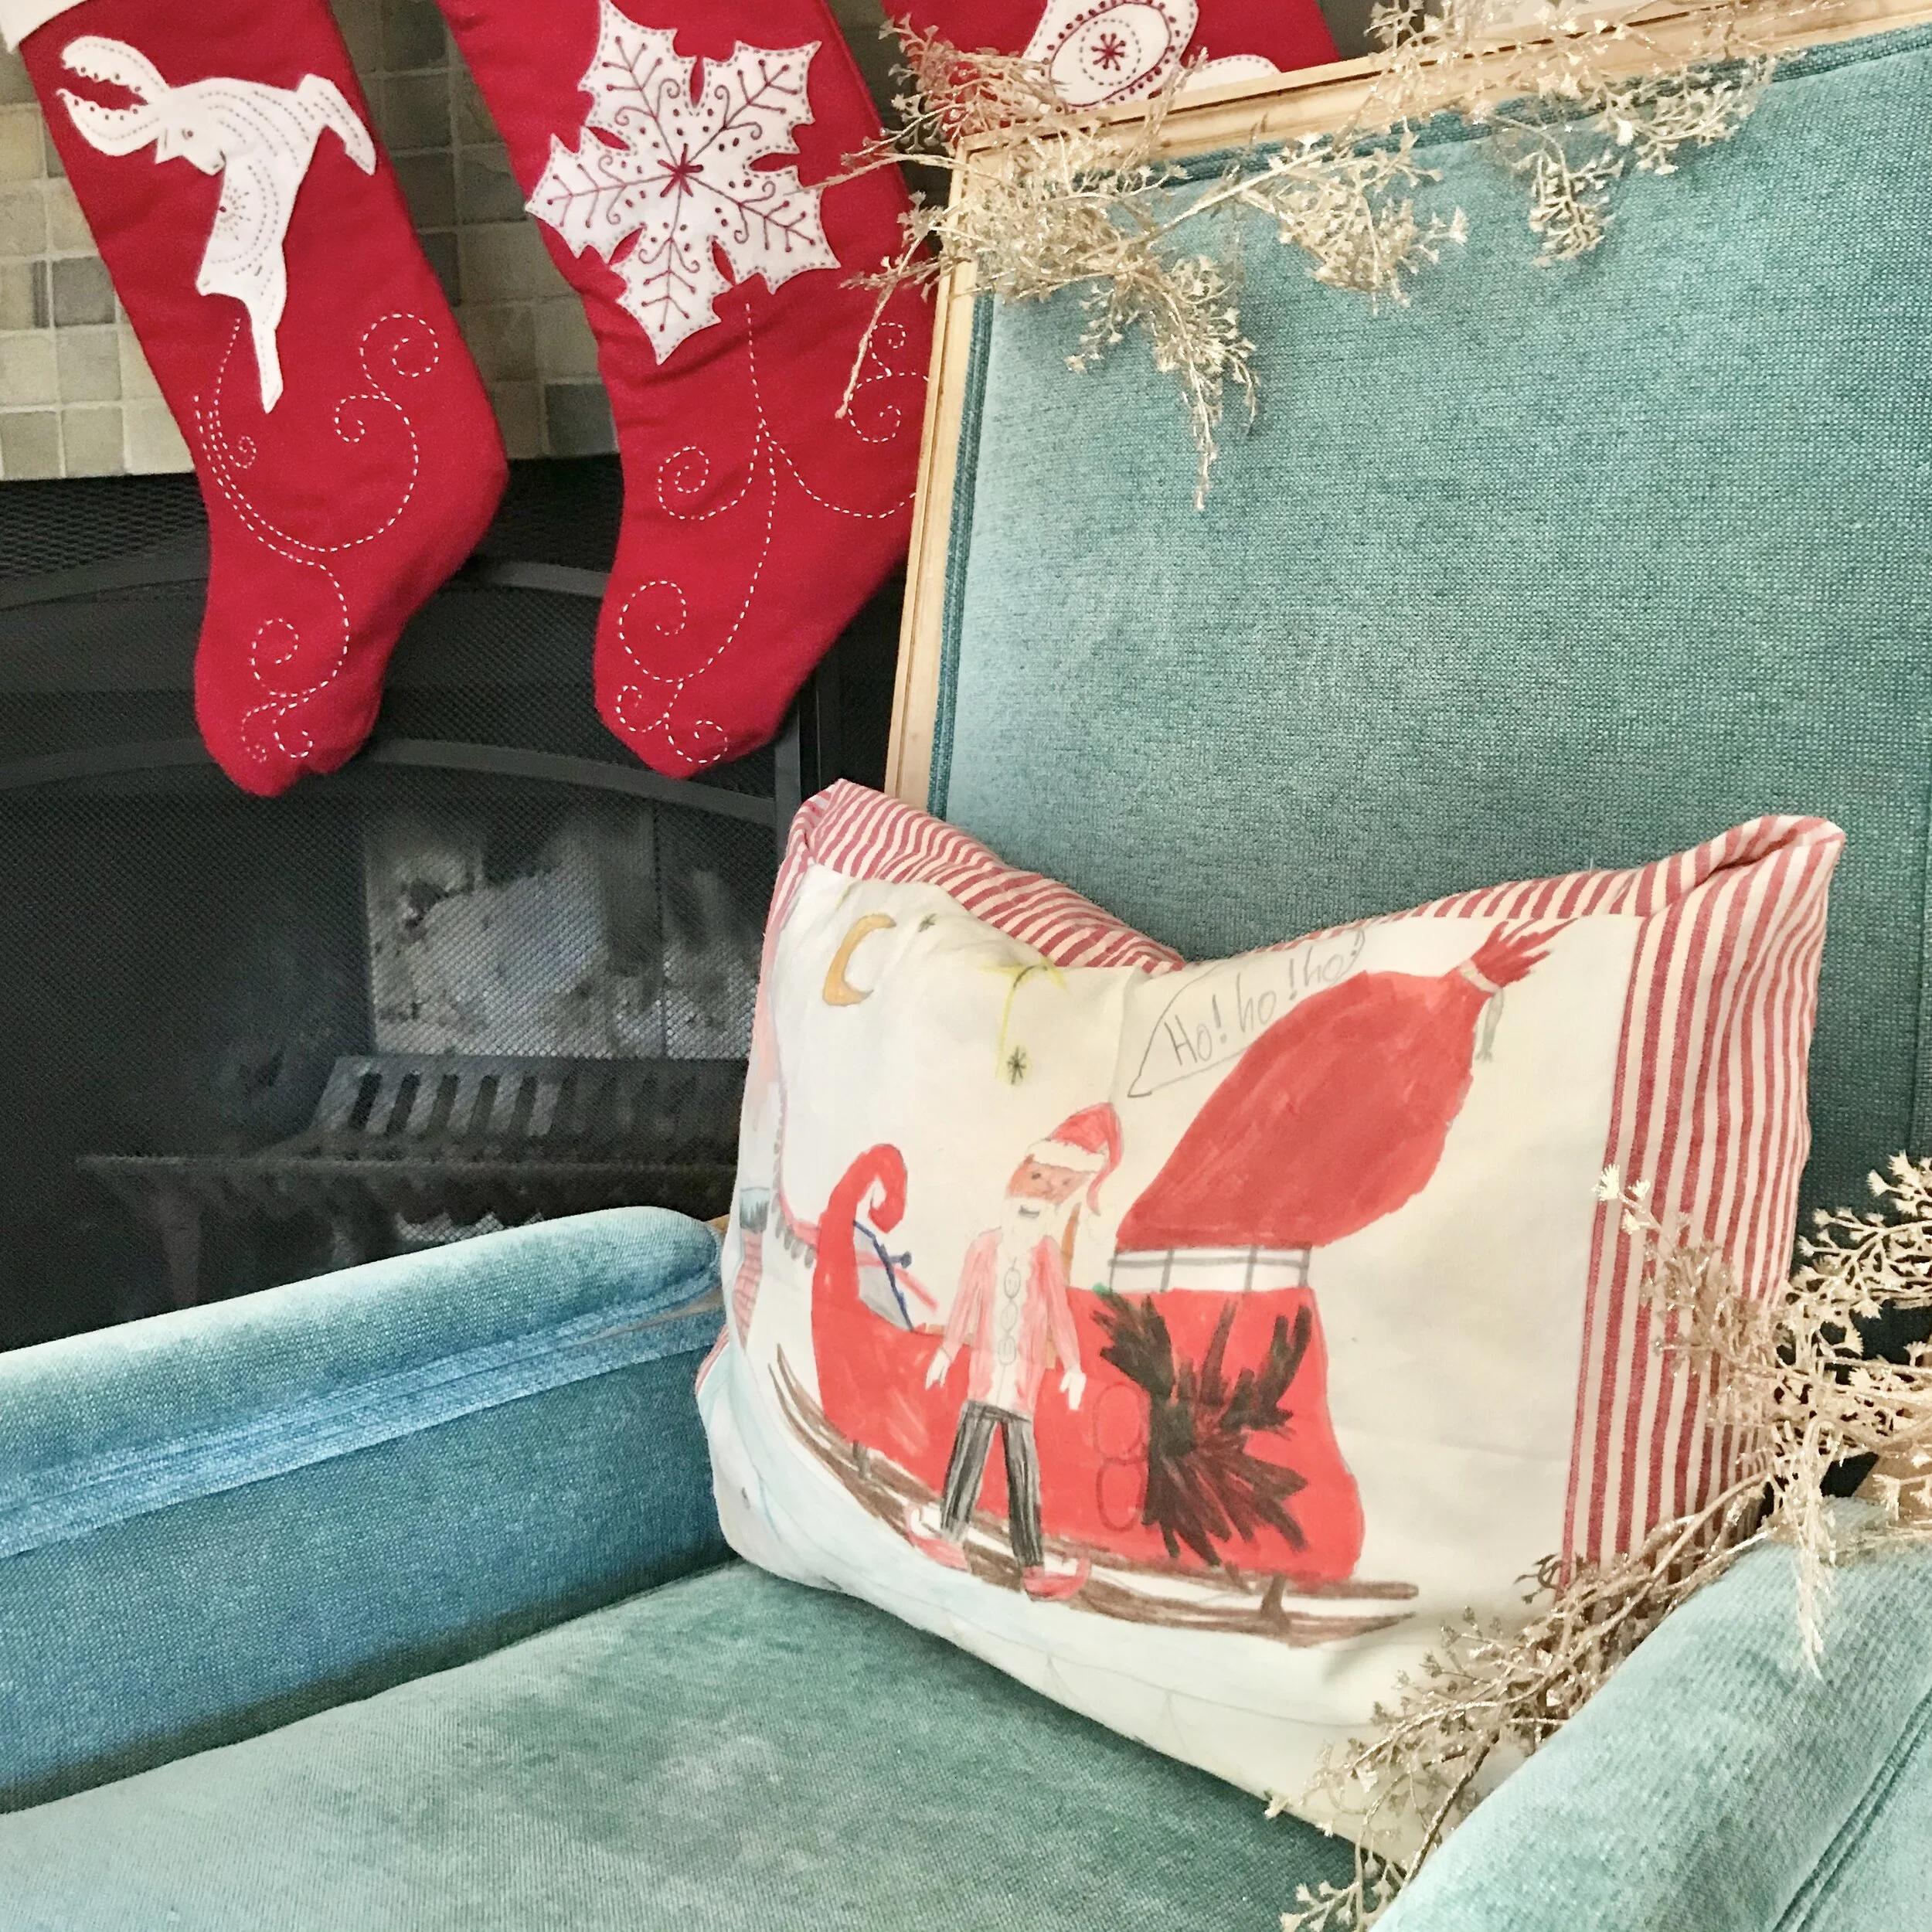
My chair next to the fireplace needed a pillow. Bambino had just done a cute drawing of Santa with his sleigh, so I decided to turn it into a pillow for what has become Santa’s throne.
But this project is super-easy and flexible. You could do this with any artwork — your own, your child’s. Or another special piece of fabric — a vintage item, for example, or a piece of a dress or a t-shirt that is sentimental. Use your imagination!
This pillowcase is a basic envelope pillowcase using two napkins with artwork inset in the center. It isn’t fussy. You could add trim and make it a more formal project as desired.
Ordering from Spoonflower.com
I wanted something simple and easy, so I turned to Spoonflower — my new favorite source of custom fabrics! I have ordered from them before, and I love the quality of their fabrics as well as the print quality. So the first thing I did was order a fat quarter with Bambino’s artwork printed TWICE on it. When you upload an image to be printed, Spoonflower gives you several options for arranging the image on the fabric. I had it printed twice and chose 1 fat quarter for the yardage.
Shipping time varies, but leave a few weeks to get your fabrics from Spoonflower.
NOTE: I also changed my image to a PNG with a transparent background in Photoshop before ordering. This isn’t necessary, but this way the white in the image is not printed but is the natural fabric color. That’s just a detail that if you have those skills and tools, do it. If not, it should be ok either way.

Spoonflower offers several layout choices. I used basic and arranged the image so there were two copies on a fat quarter.
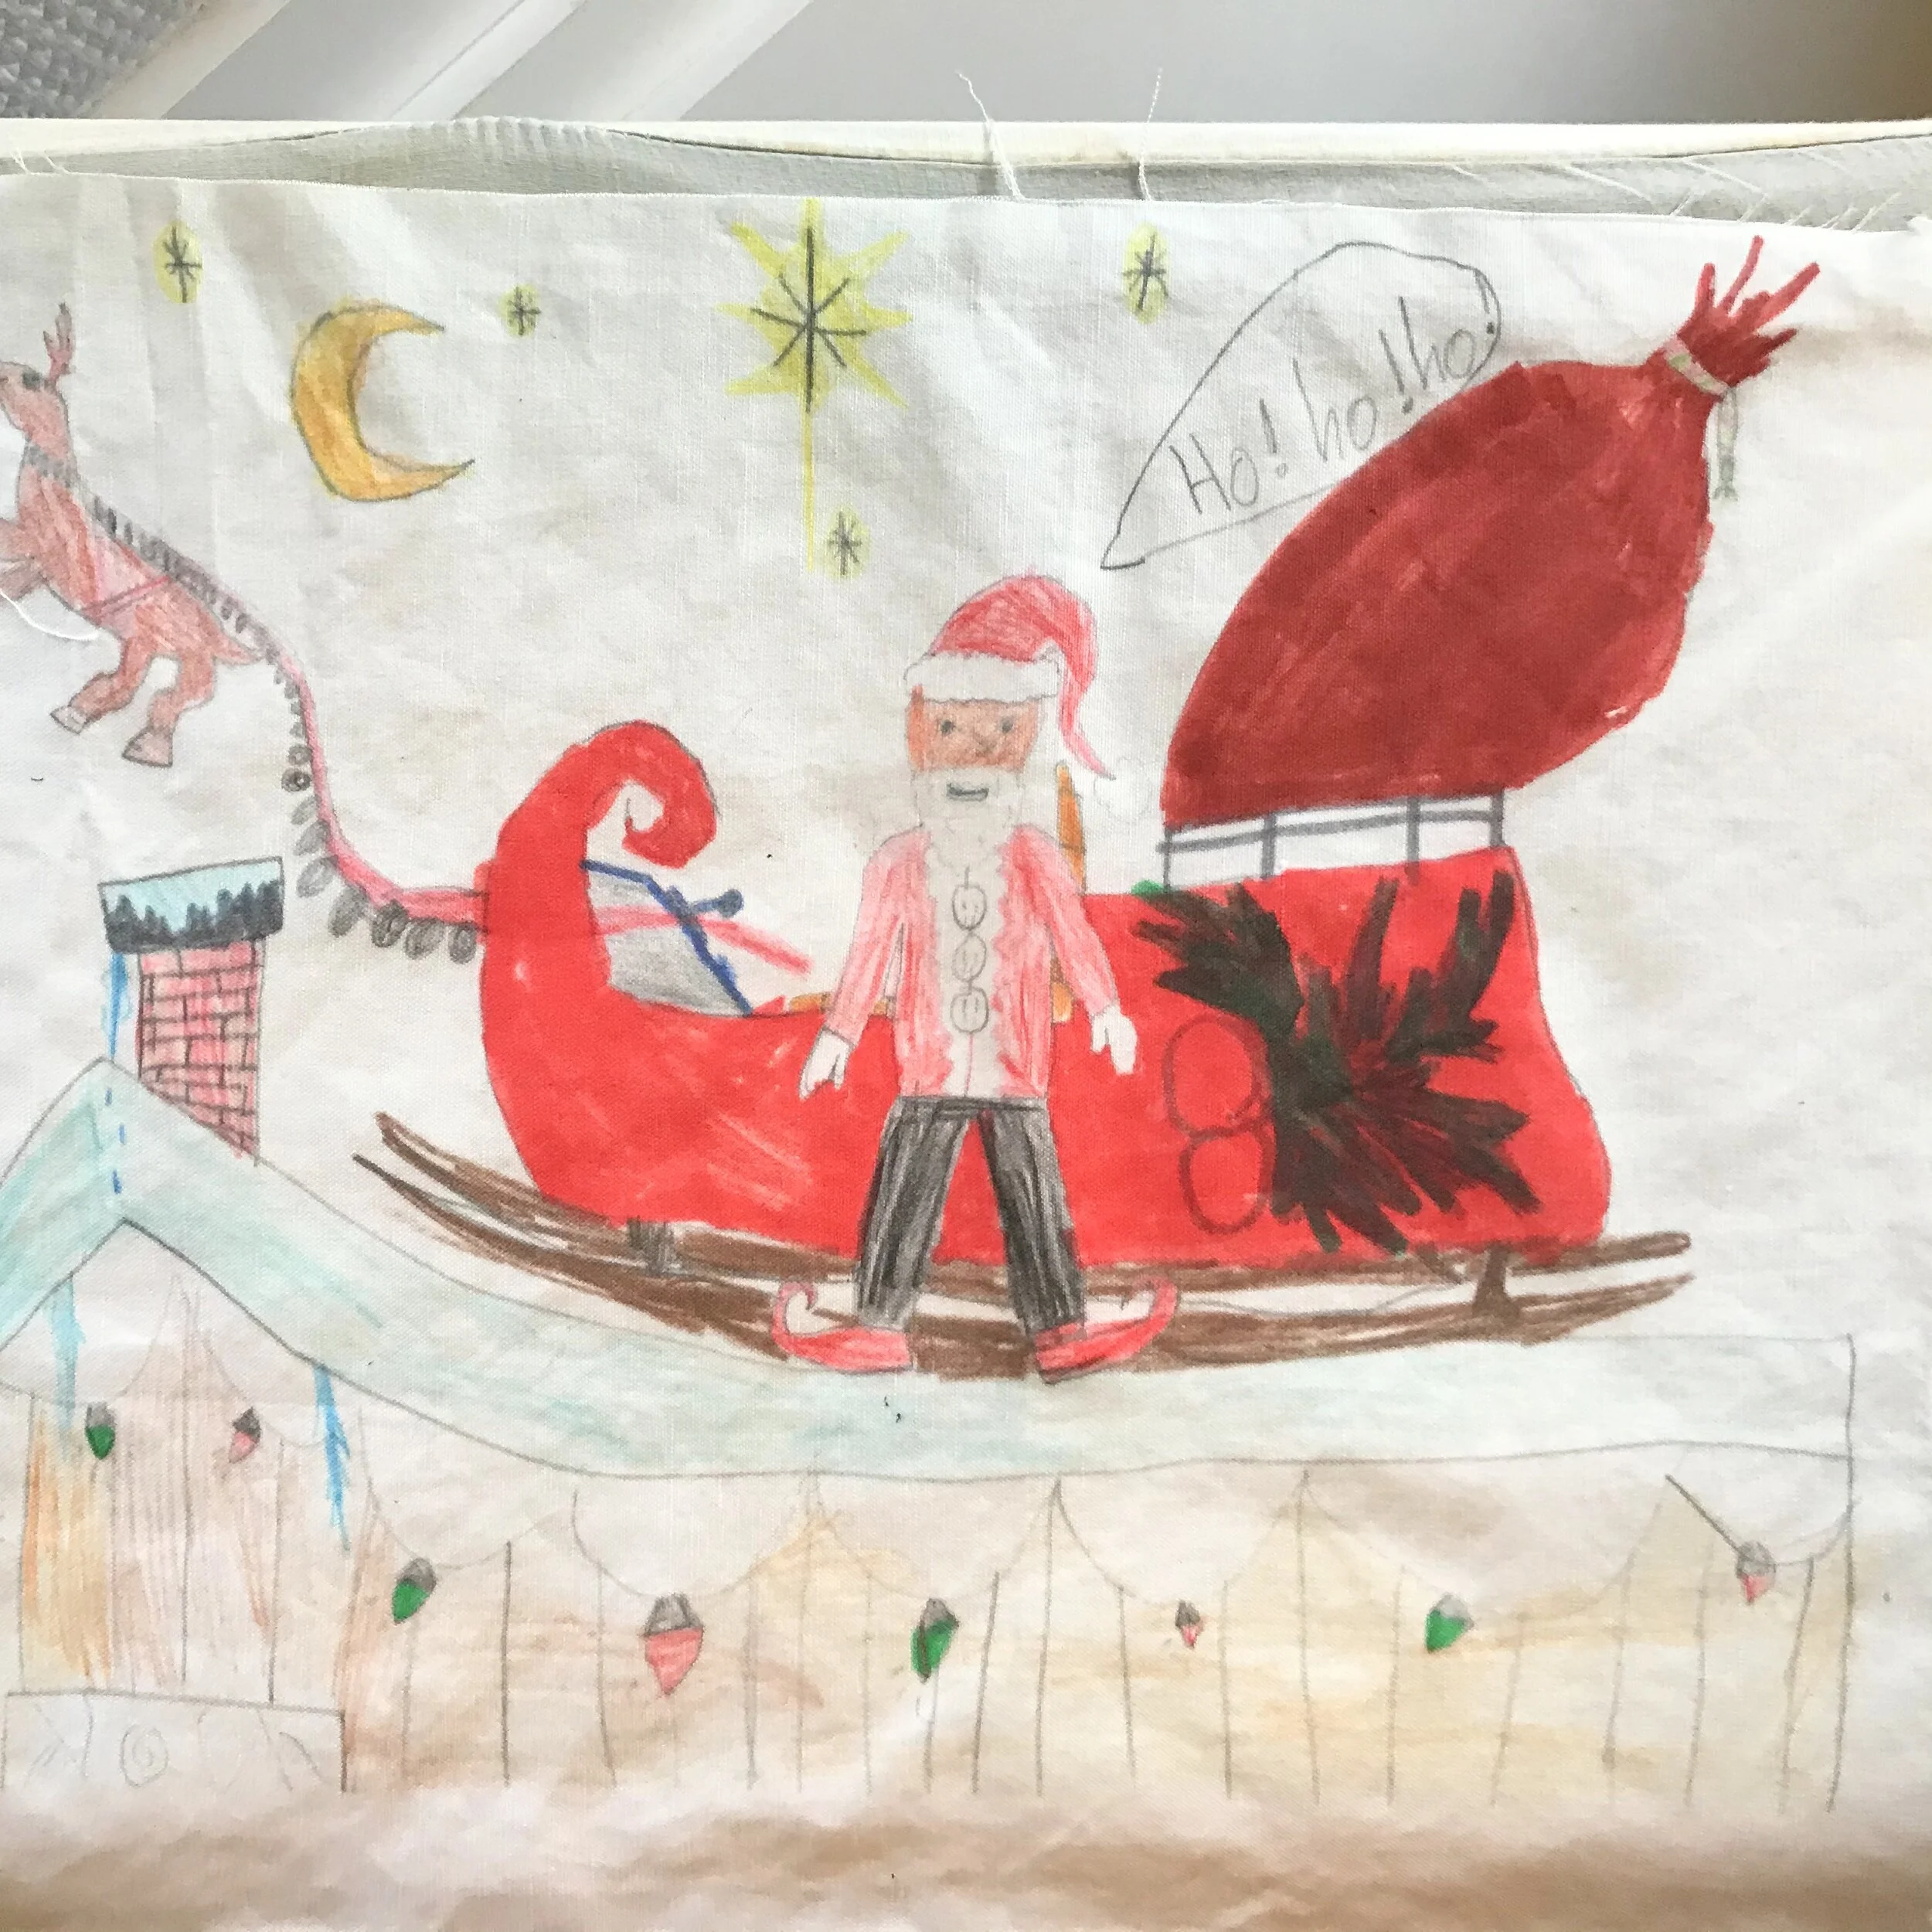
Bambino’s Santa printed on fabric from Spoonflower
Materials (for 1 pillow)
Fabric with child’s artwork printed (1/2 of a fat quarter)
2 cloth dinner napkins or yardage
Coordinating thread
Sewing machine
Pins or clips
Scissors
Iron
Pillow form: I used a 16” x 20”, but this could easily be adapted for other sizes.

I couldn’t find the fabric I wanted at the fabric store, but when I was at Pottery Barn I found the perfect red striped napkins — and they were on sale. So, I designed this project around using cloth napkins. They are pre-hemmed which removes a few steps. And they are inexpensive. Obviously, you could also use yardage for this project. You’ll need about 1/3 yard (depending on the size of your pillow form) for each pillow.
Sewing it all together
This pillow cover only has 4 seams, but getting it all together takes a little imagination. Be sure you pin or clip everything before you sew. That way your seams will be straight, and your pillow will come together perfectly.
In a nutshell: you’ll sew the two short ends of the rectangle first. Then you’ll sew the two long ends. The corners create a mitered effect when it is done.
Preparations
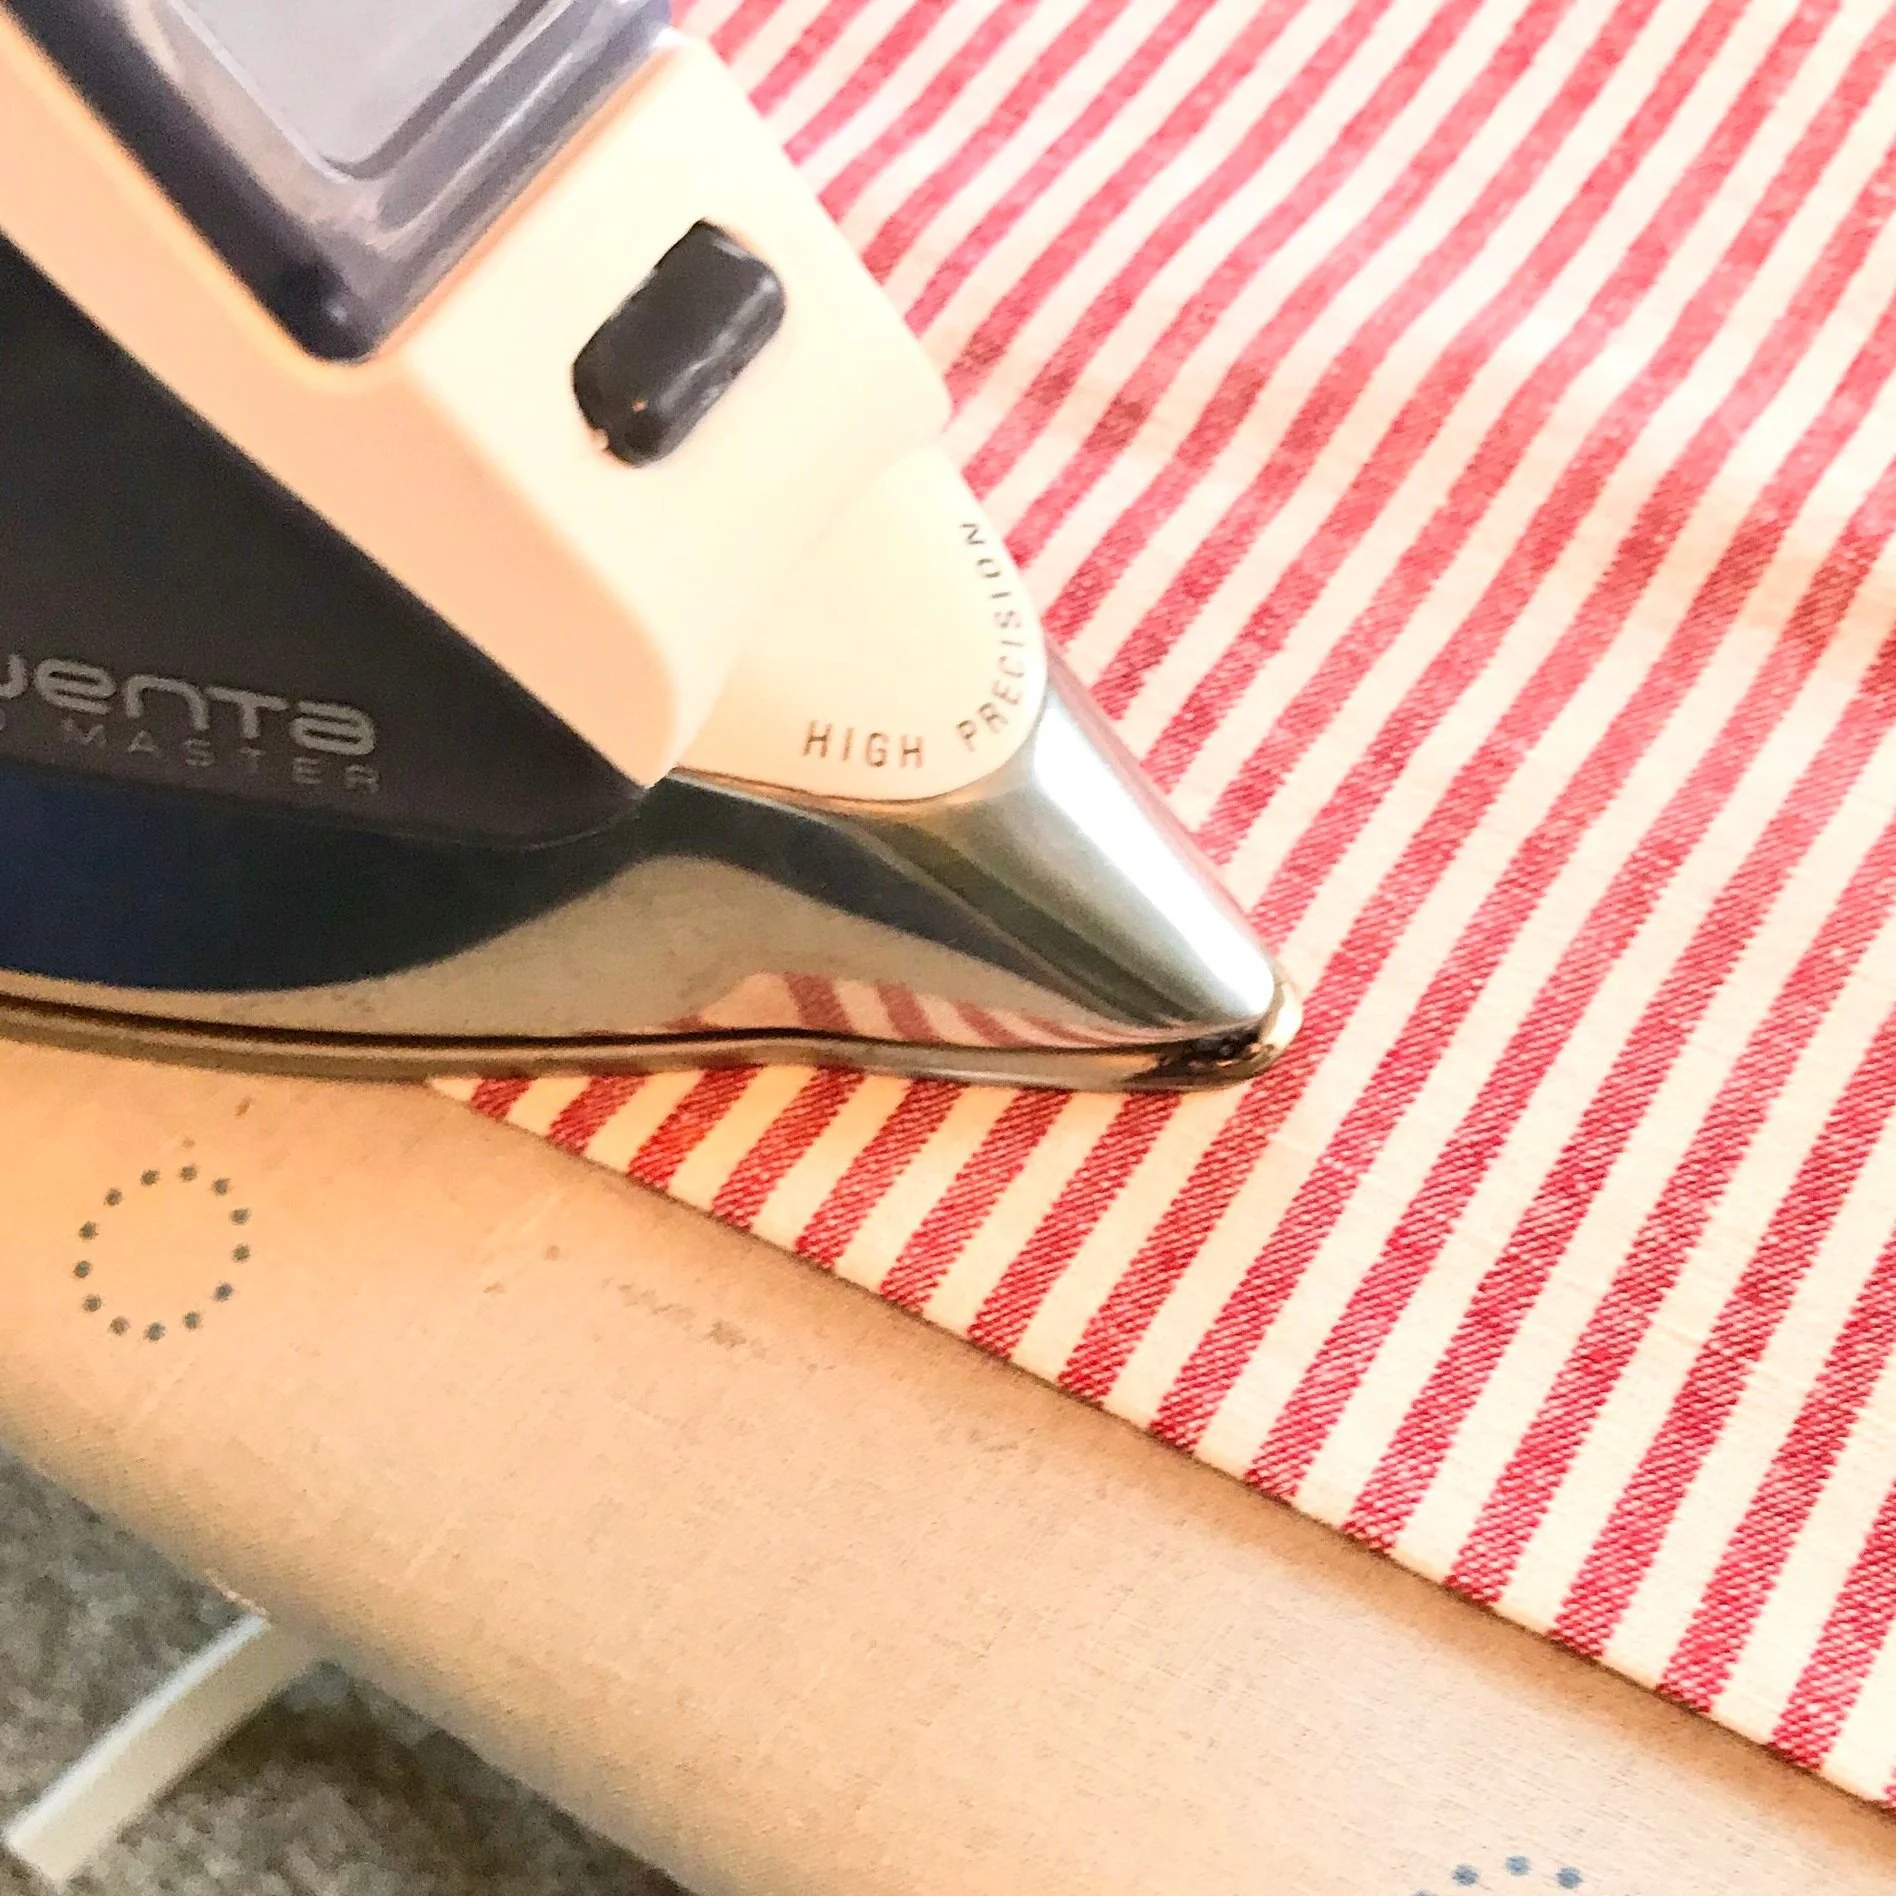
Wash, dry, & Iron Fabric
Always wash, dry, and iron your fabric before you begin. Cut the two pieces of artwork apart and trim the fabric down leaving about 1/4” seam allowance around the artwork.
Mark the Middles
You could do this with dressmaker’s chalk, too, but I simply folded the artwork in half horizontally and pressed it forming a crease. I did the same with each napkin.
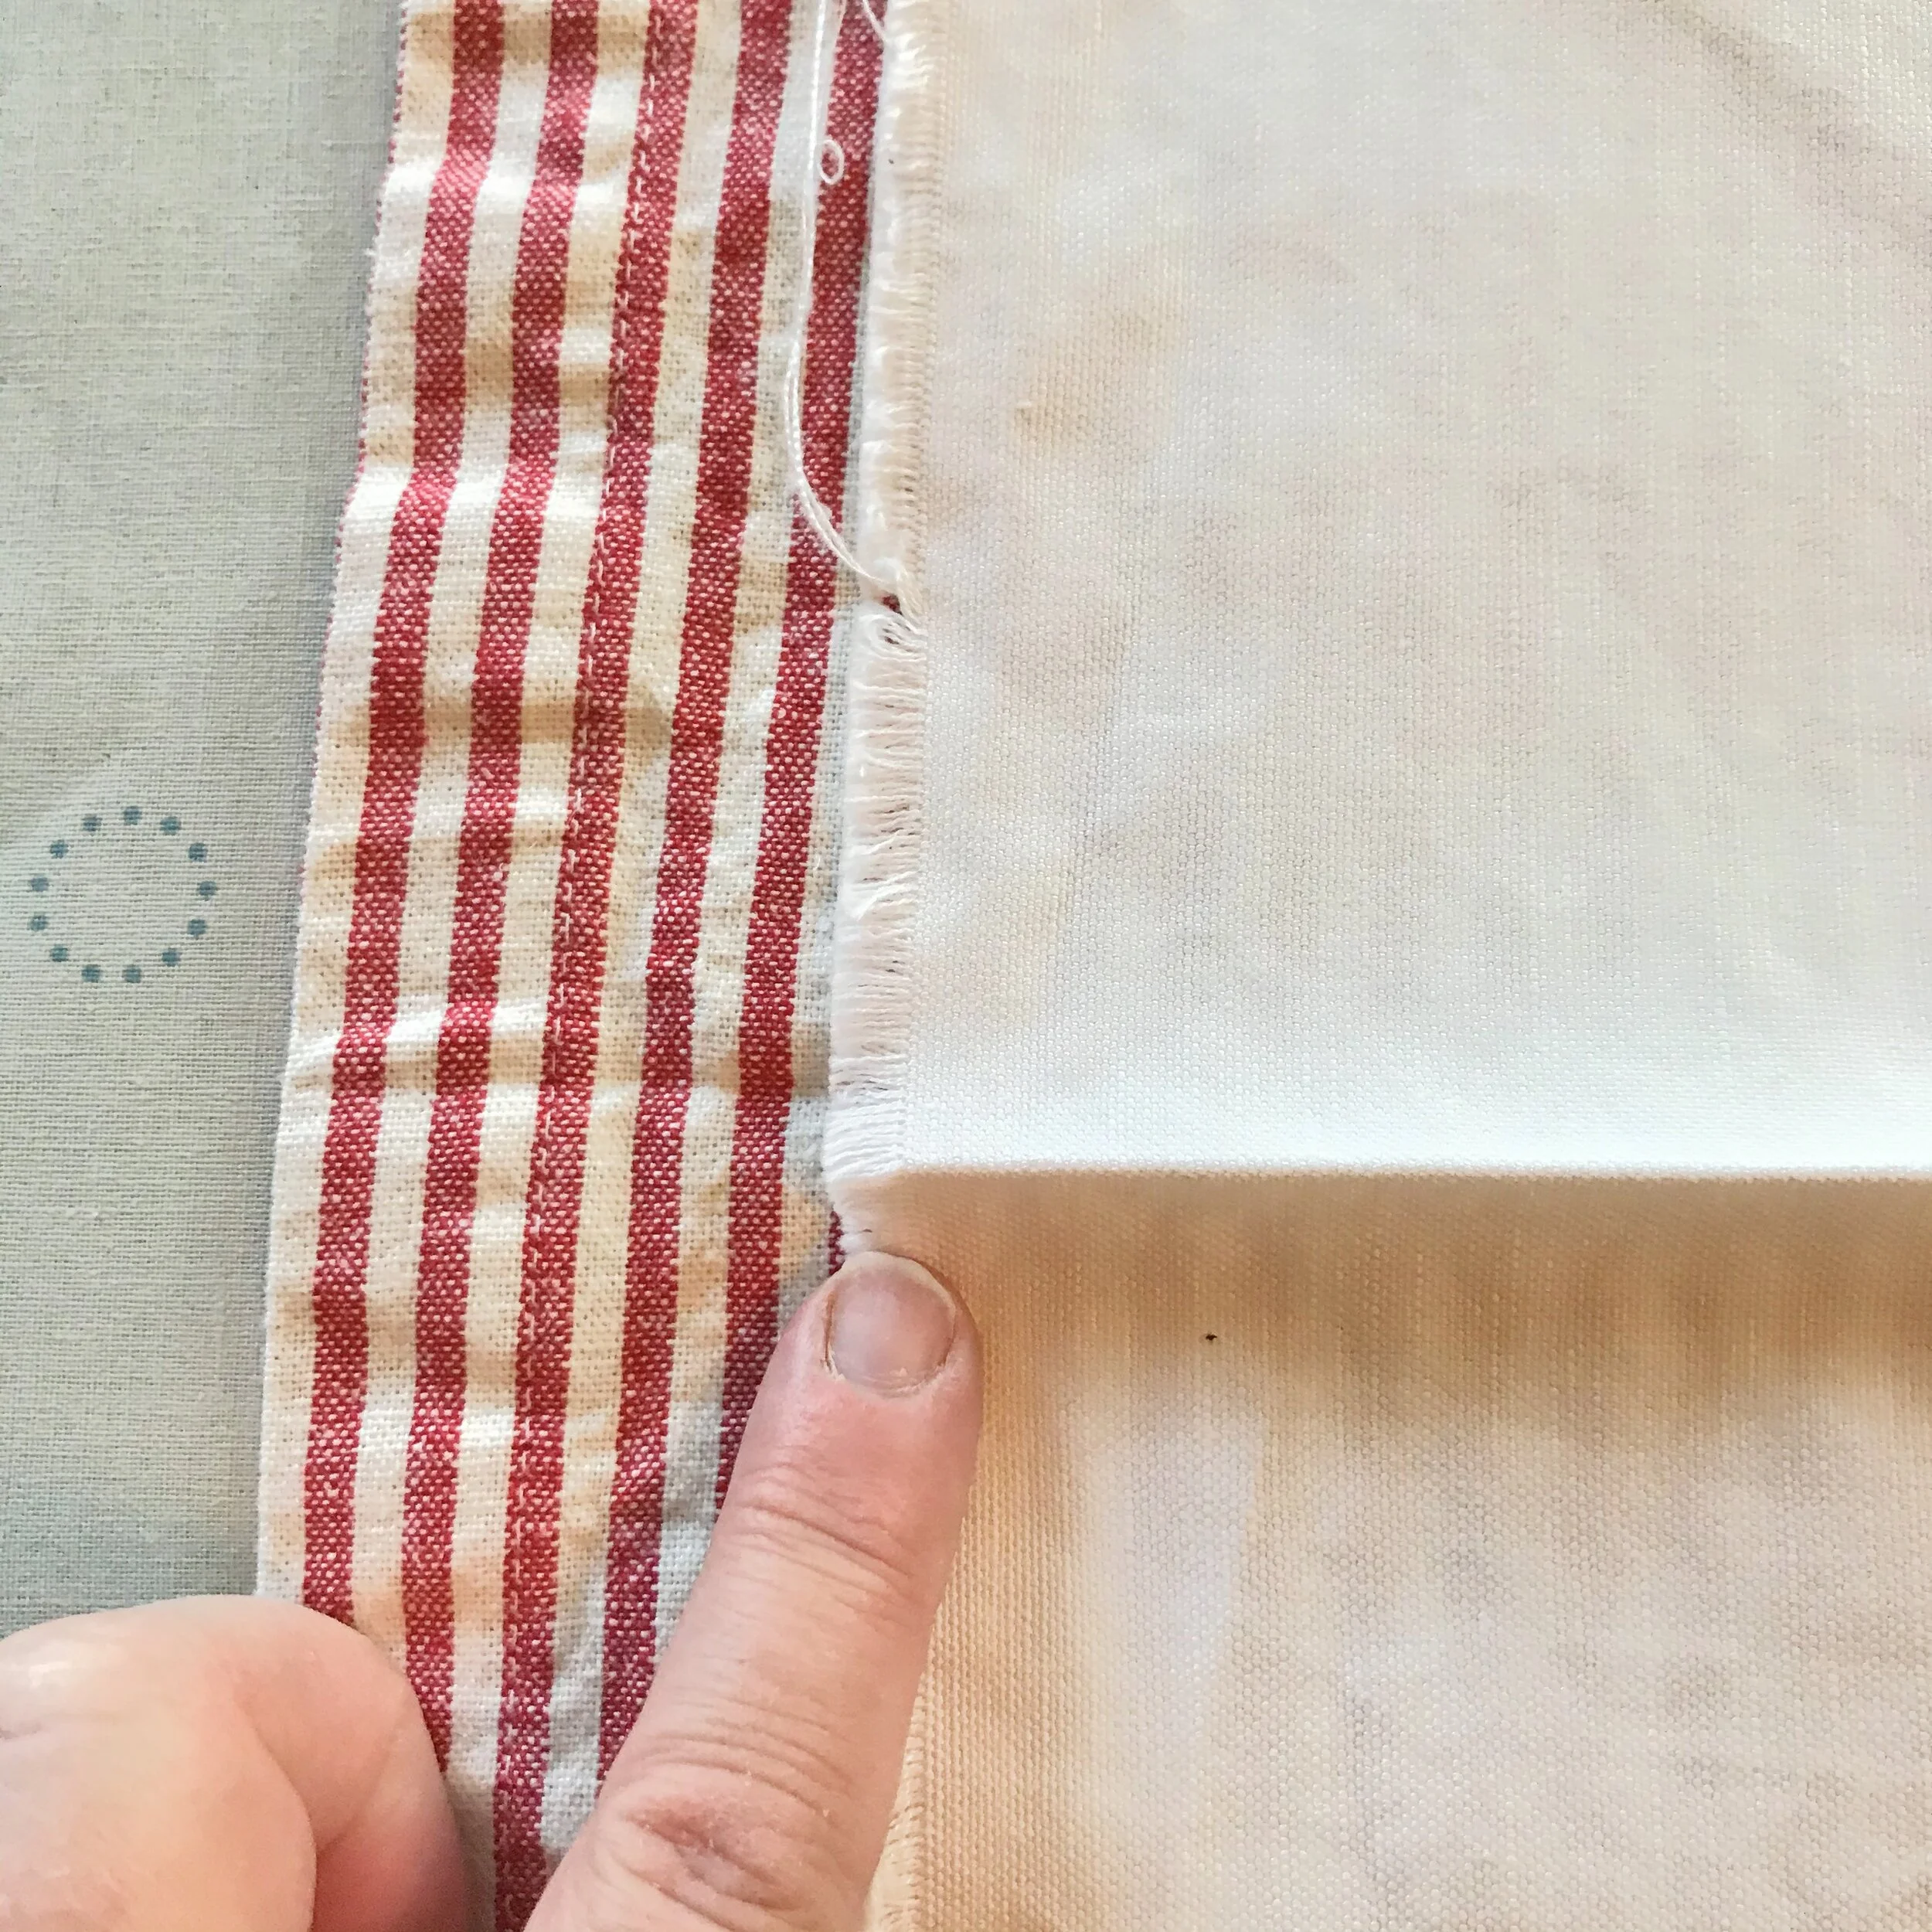
Short Edges: Sew One Napkin to Each End
To begin, you will end up with a napkin sewn at each end of the artwork — matching the middles.

Match the Middles & Clip
With right sides together, match the middle of one napkin with the middle of the artwork at one end. Clip in place along the edge.
Repeat at the other end of the artwork.
The Napkins will be Longer
The napkins will extend longer than the artwork at both the top and the bottom. This is just fine.
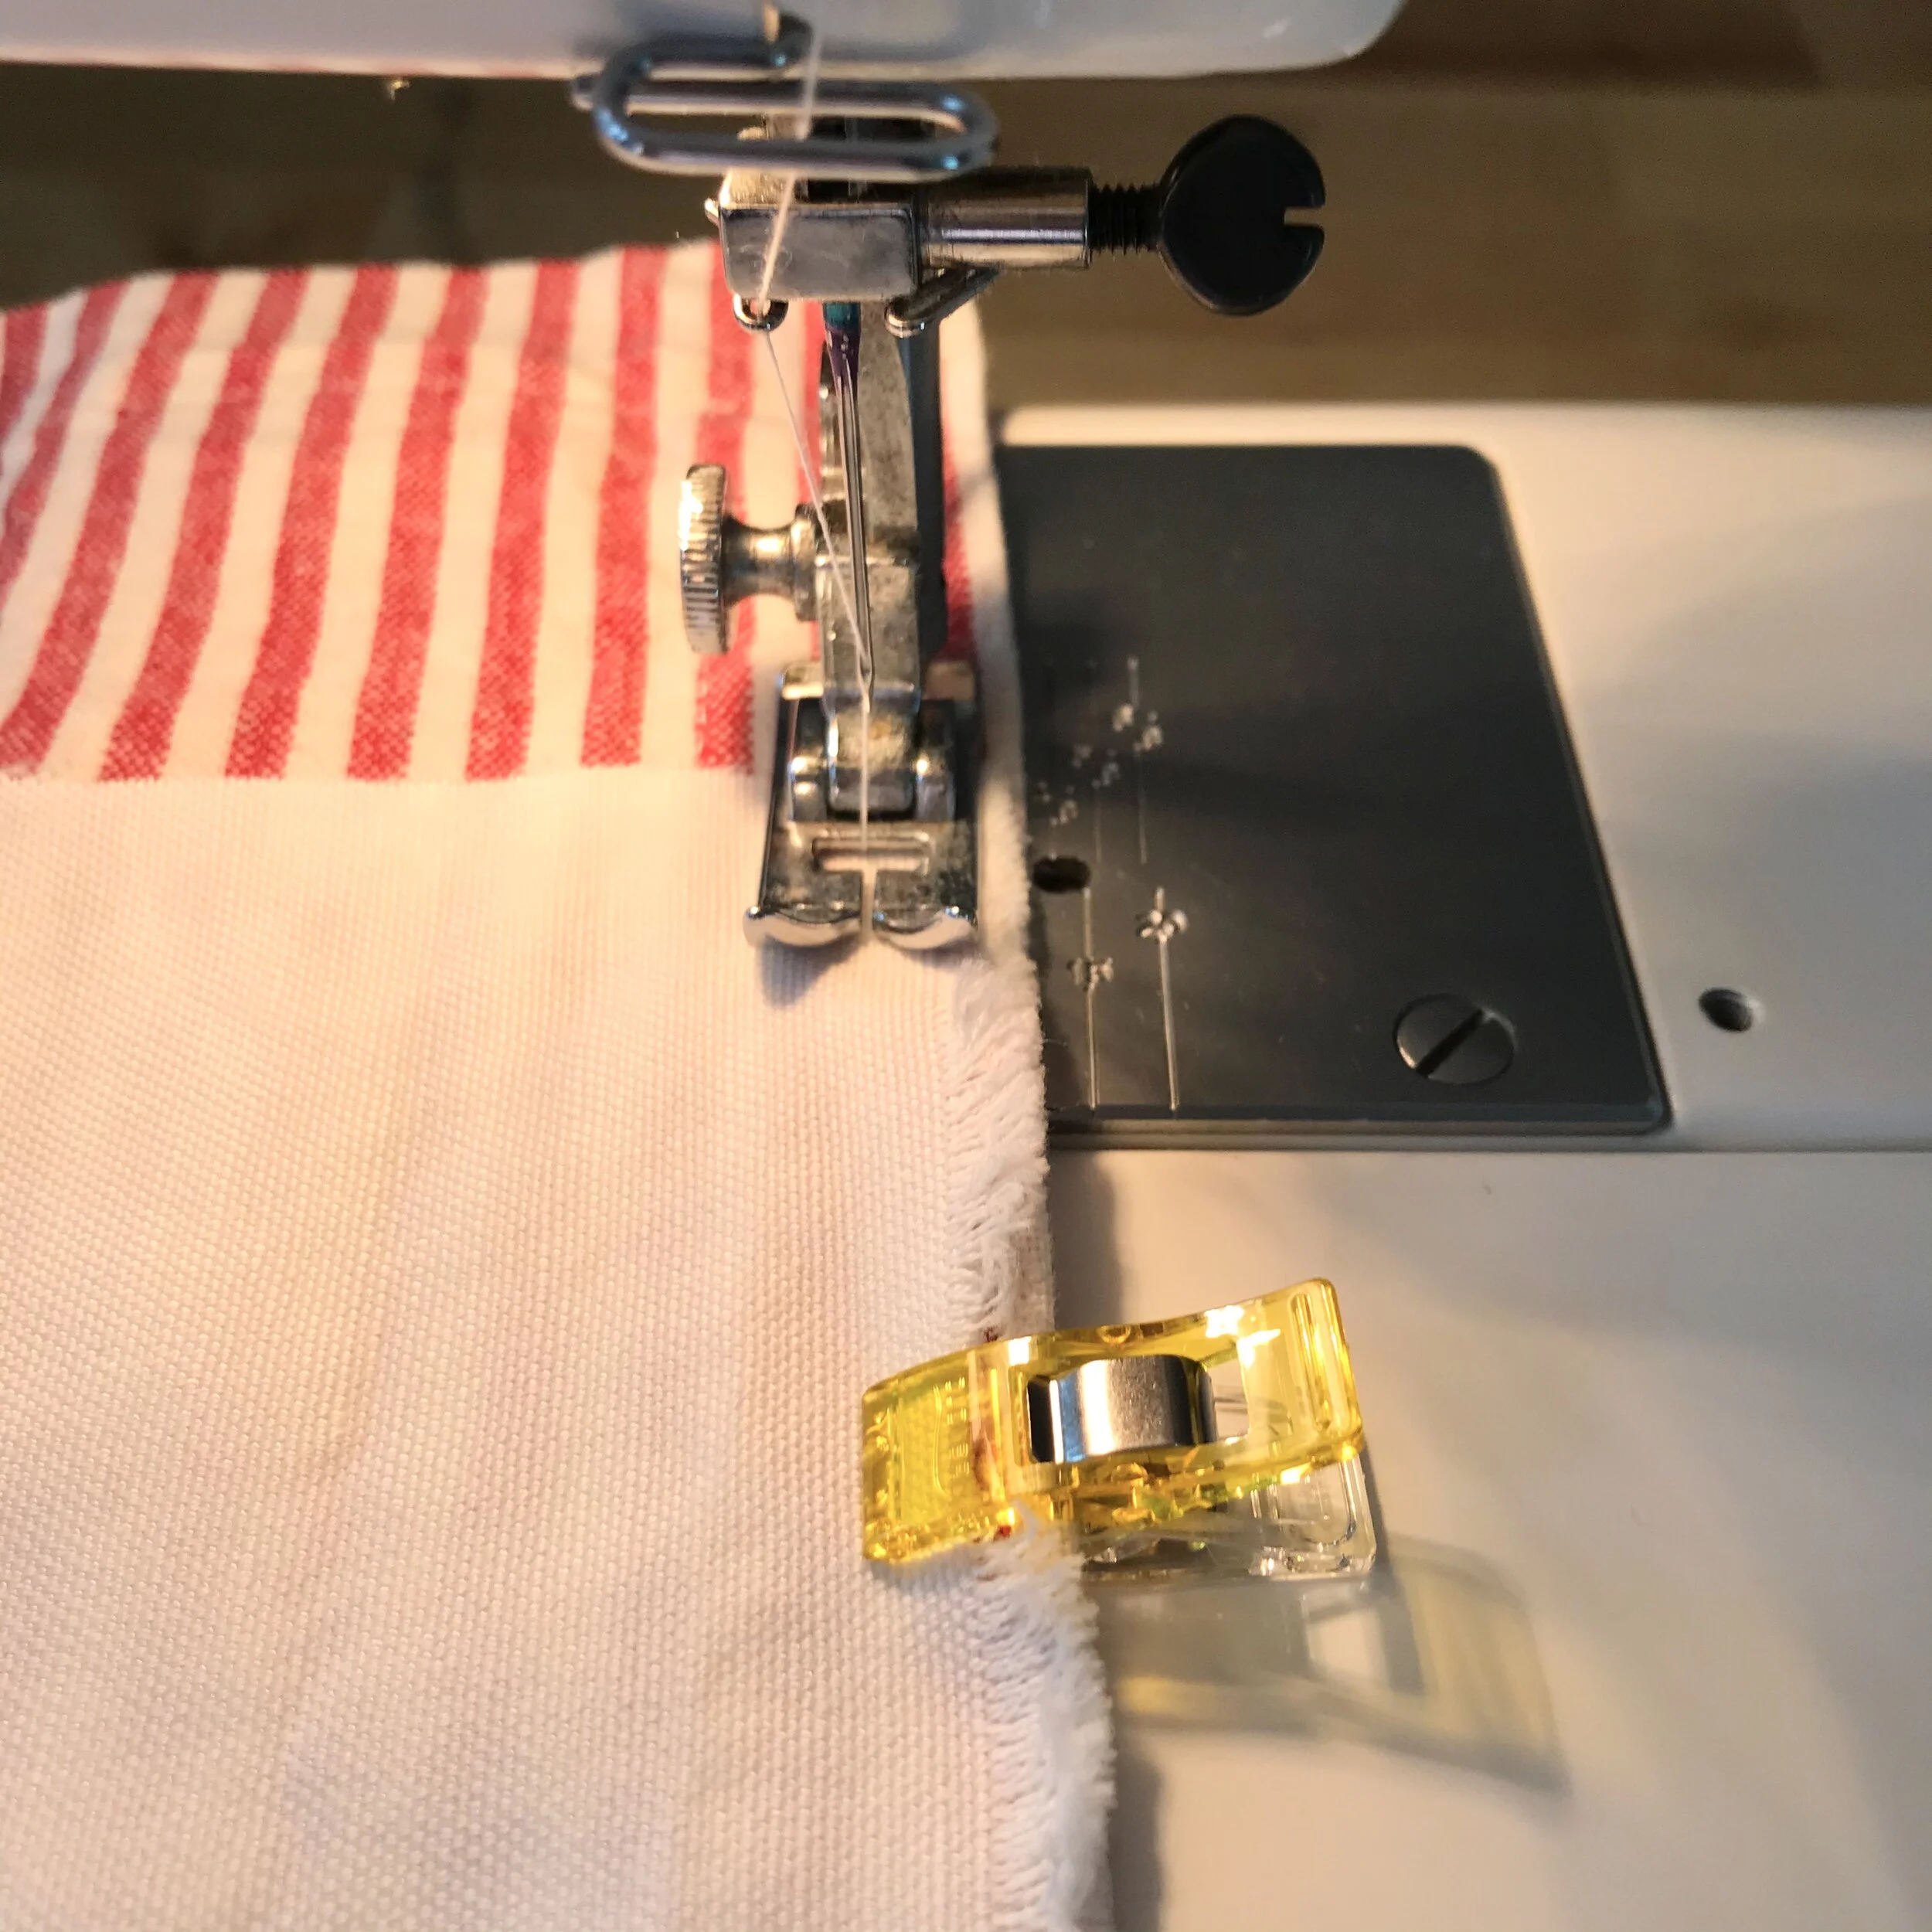
Sew a Napkin to Each End
Use a 1/4” or 1/2” seam allowance, and stitch along both edges.
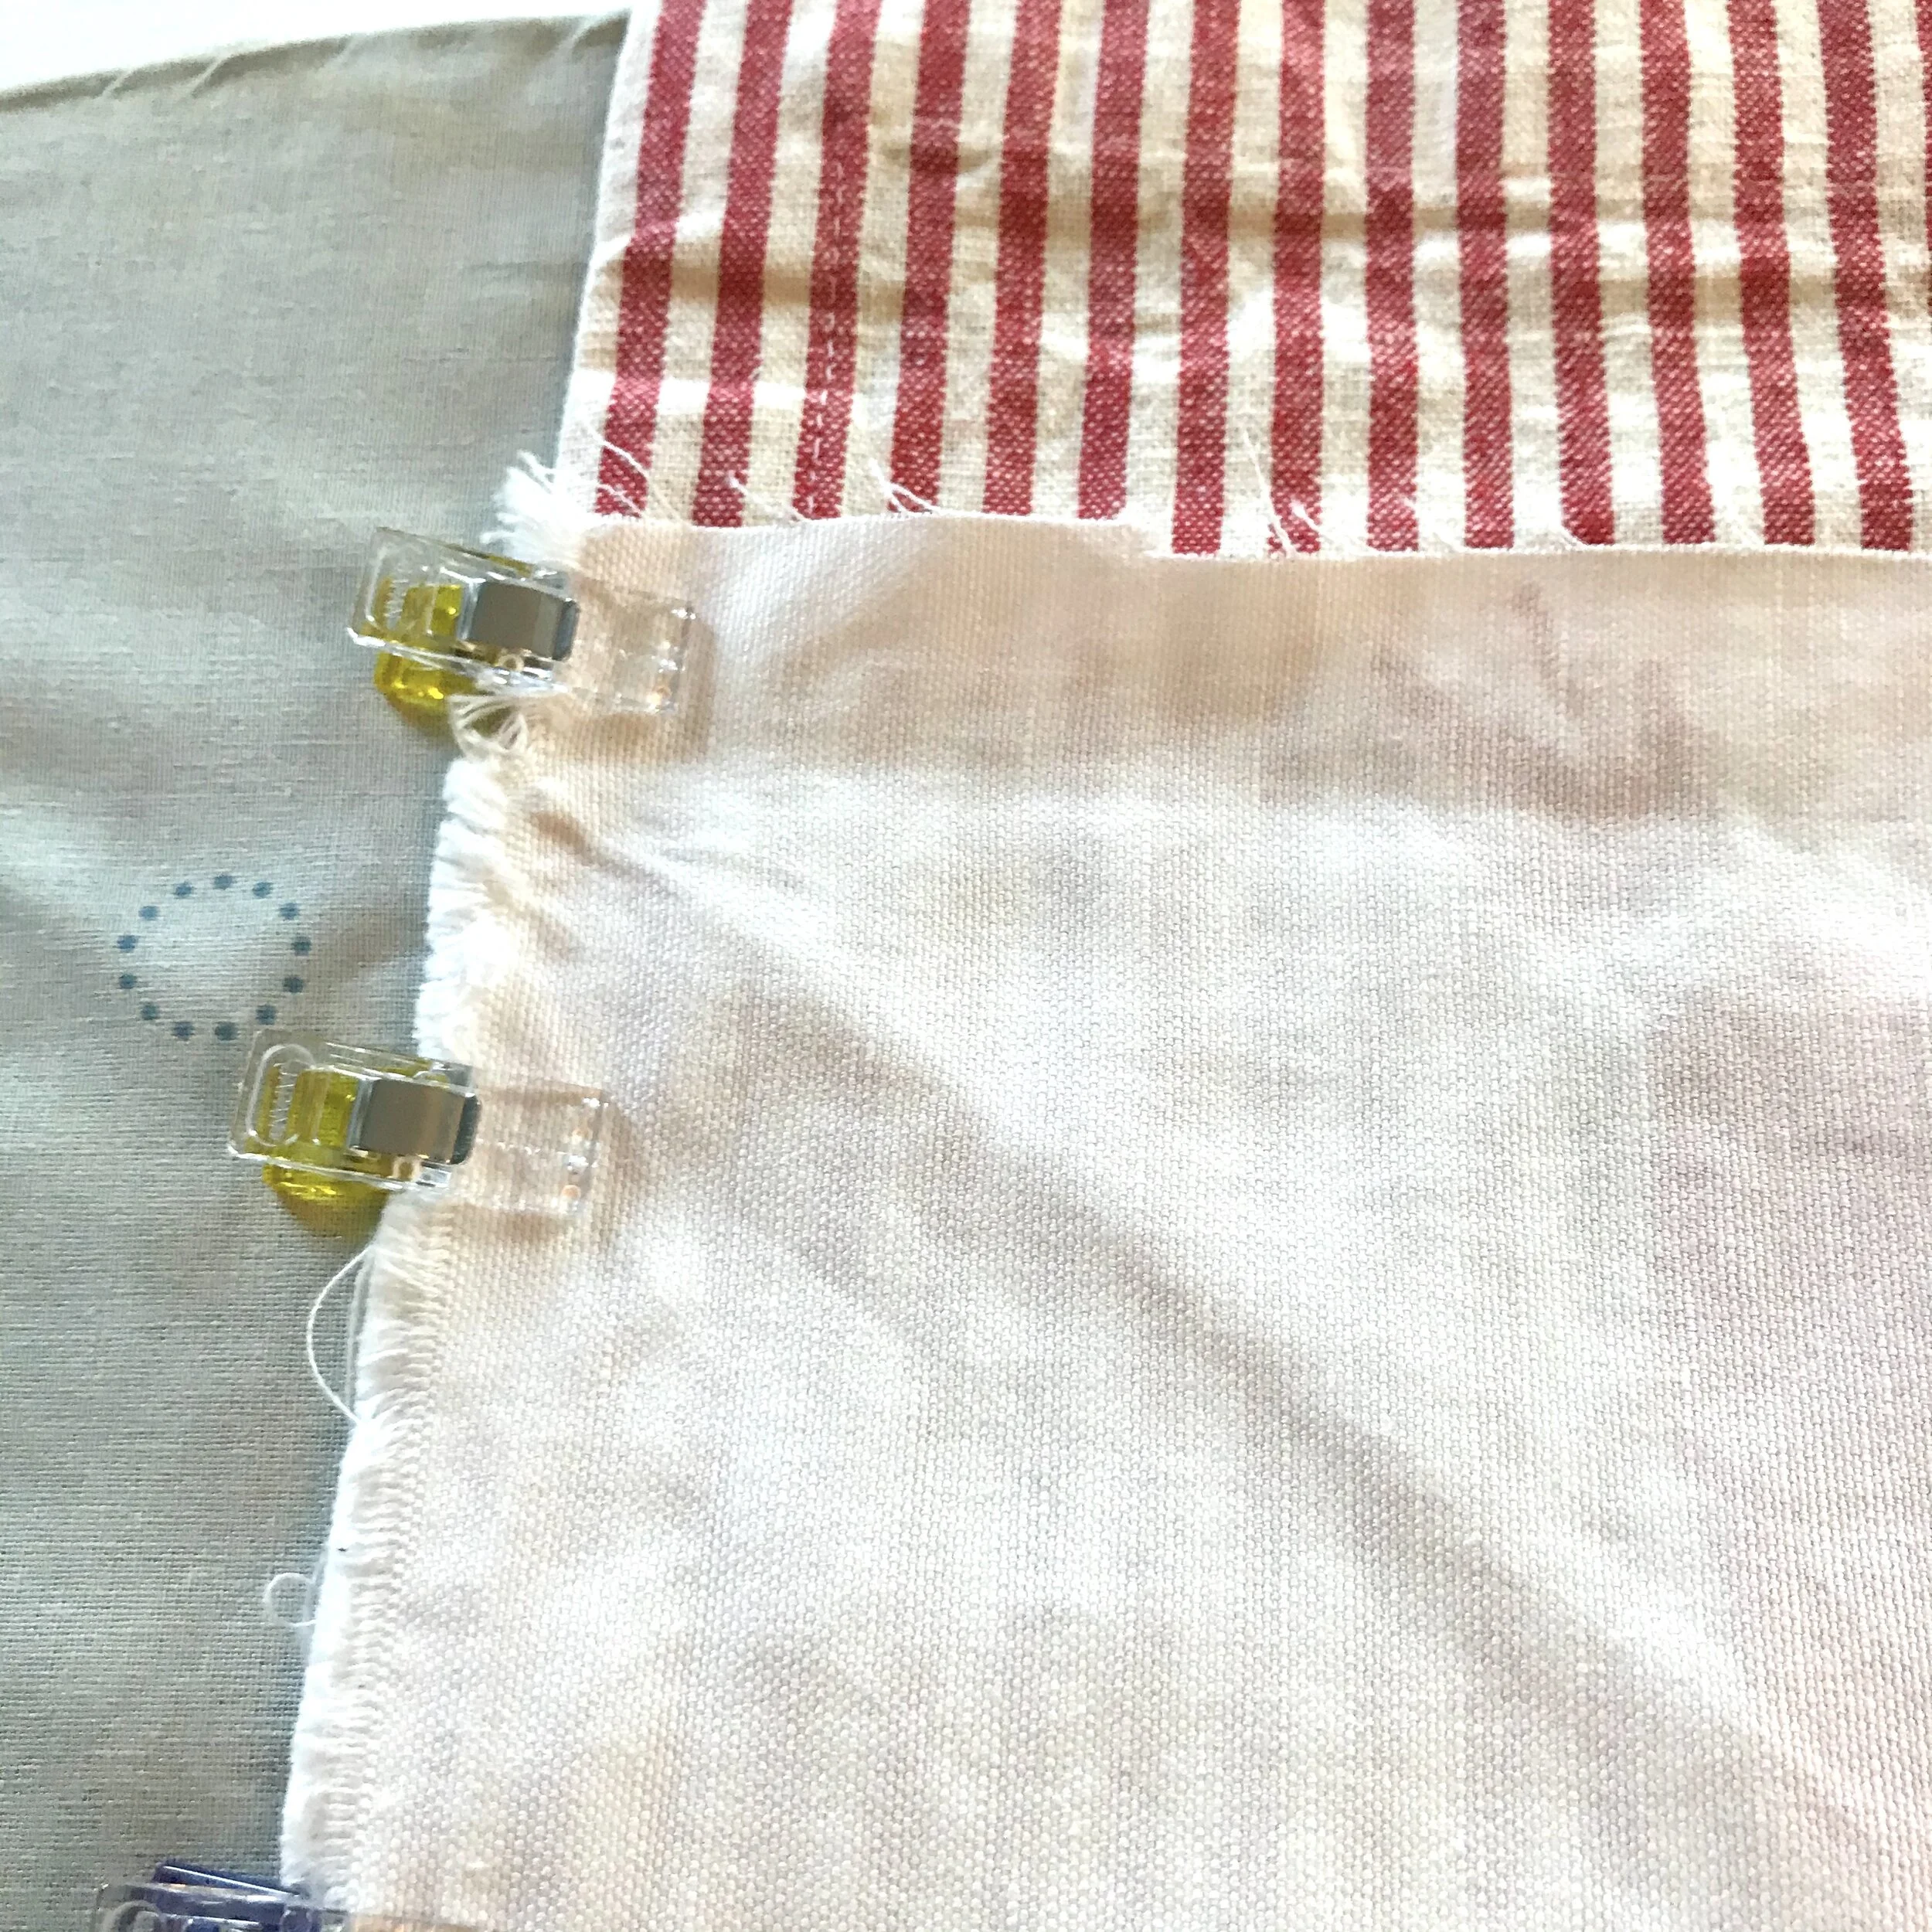
Long Edges & the Envelope Opening
Now it’s time to sew the longer edges of the artwork and to create the envelope opening in the back.
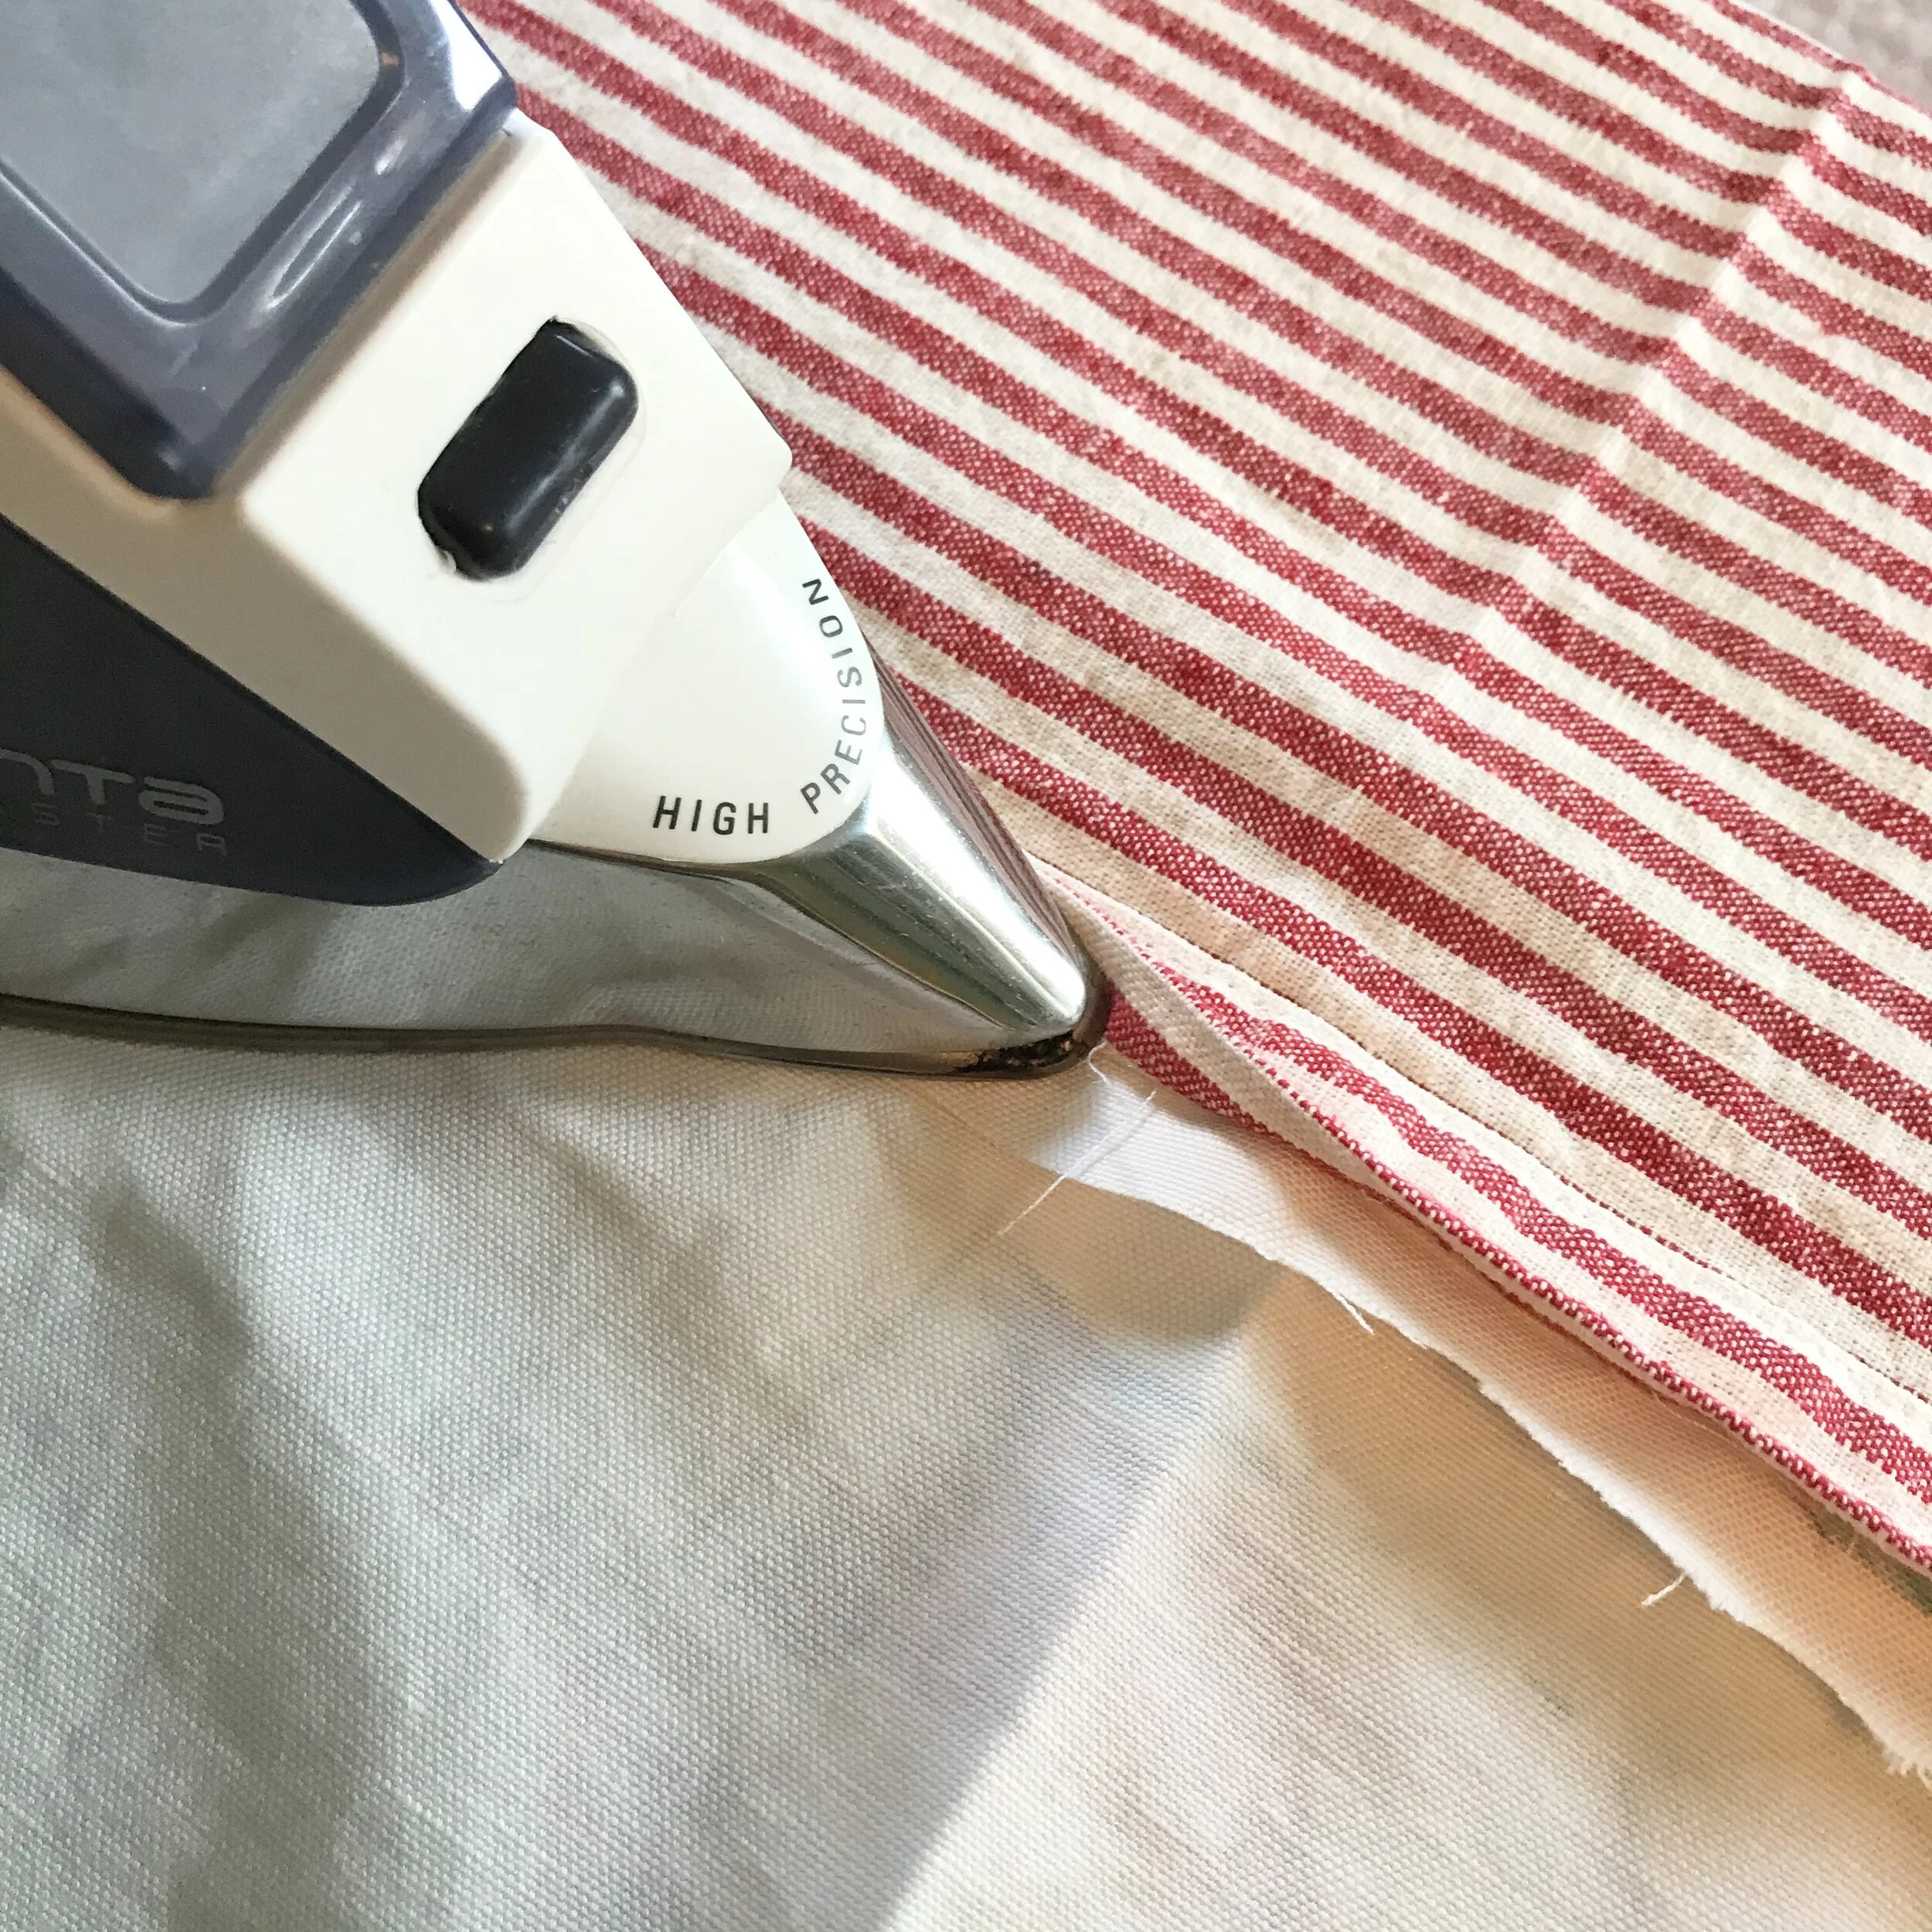
Press the seams open
Using a hot iron, press open both of the seams you just sewed.

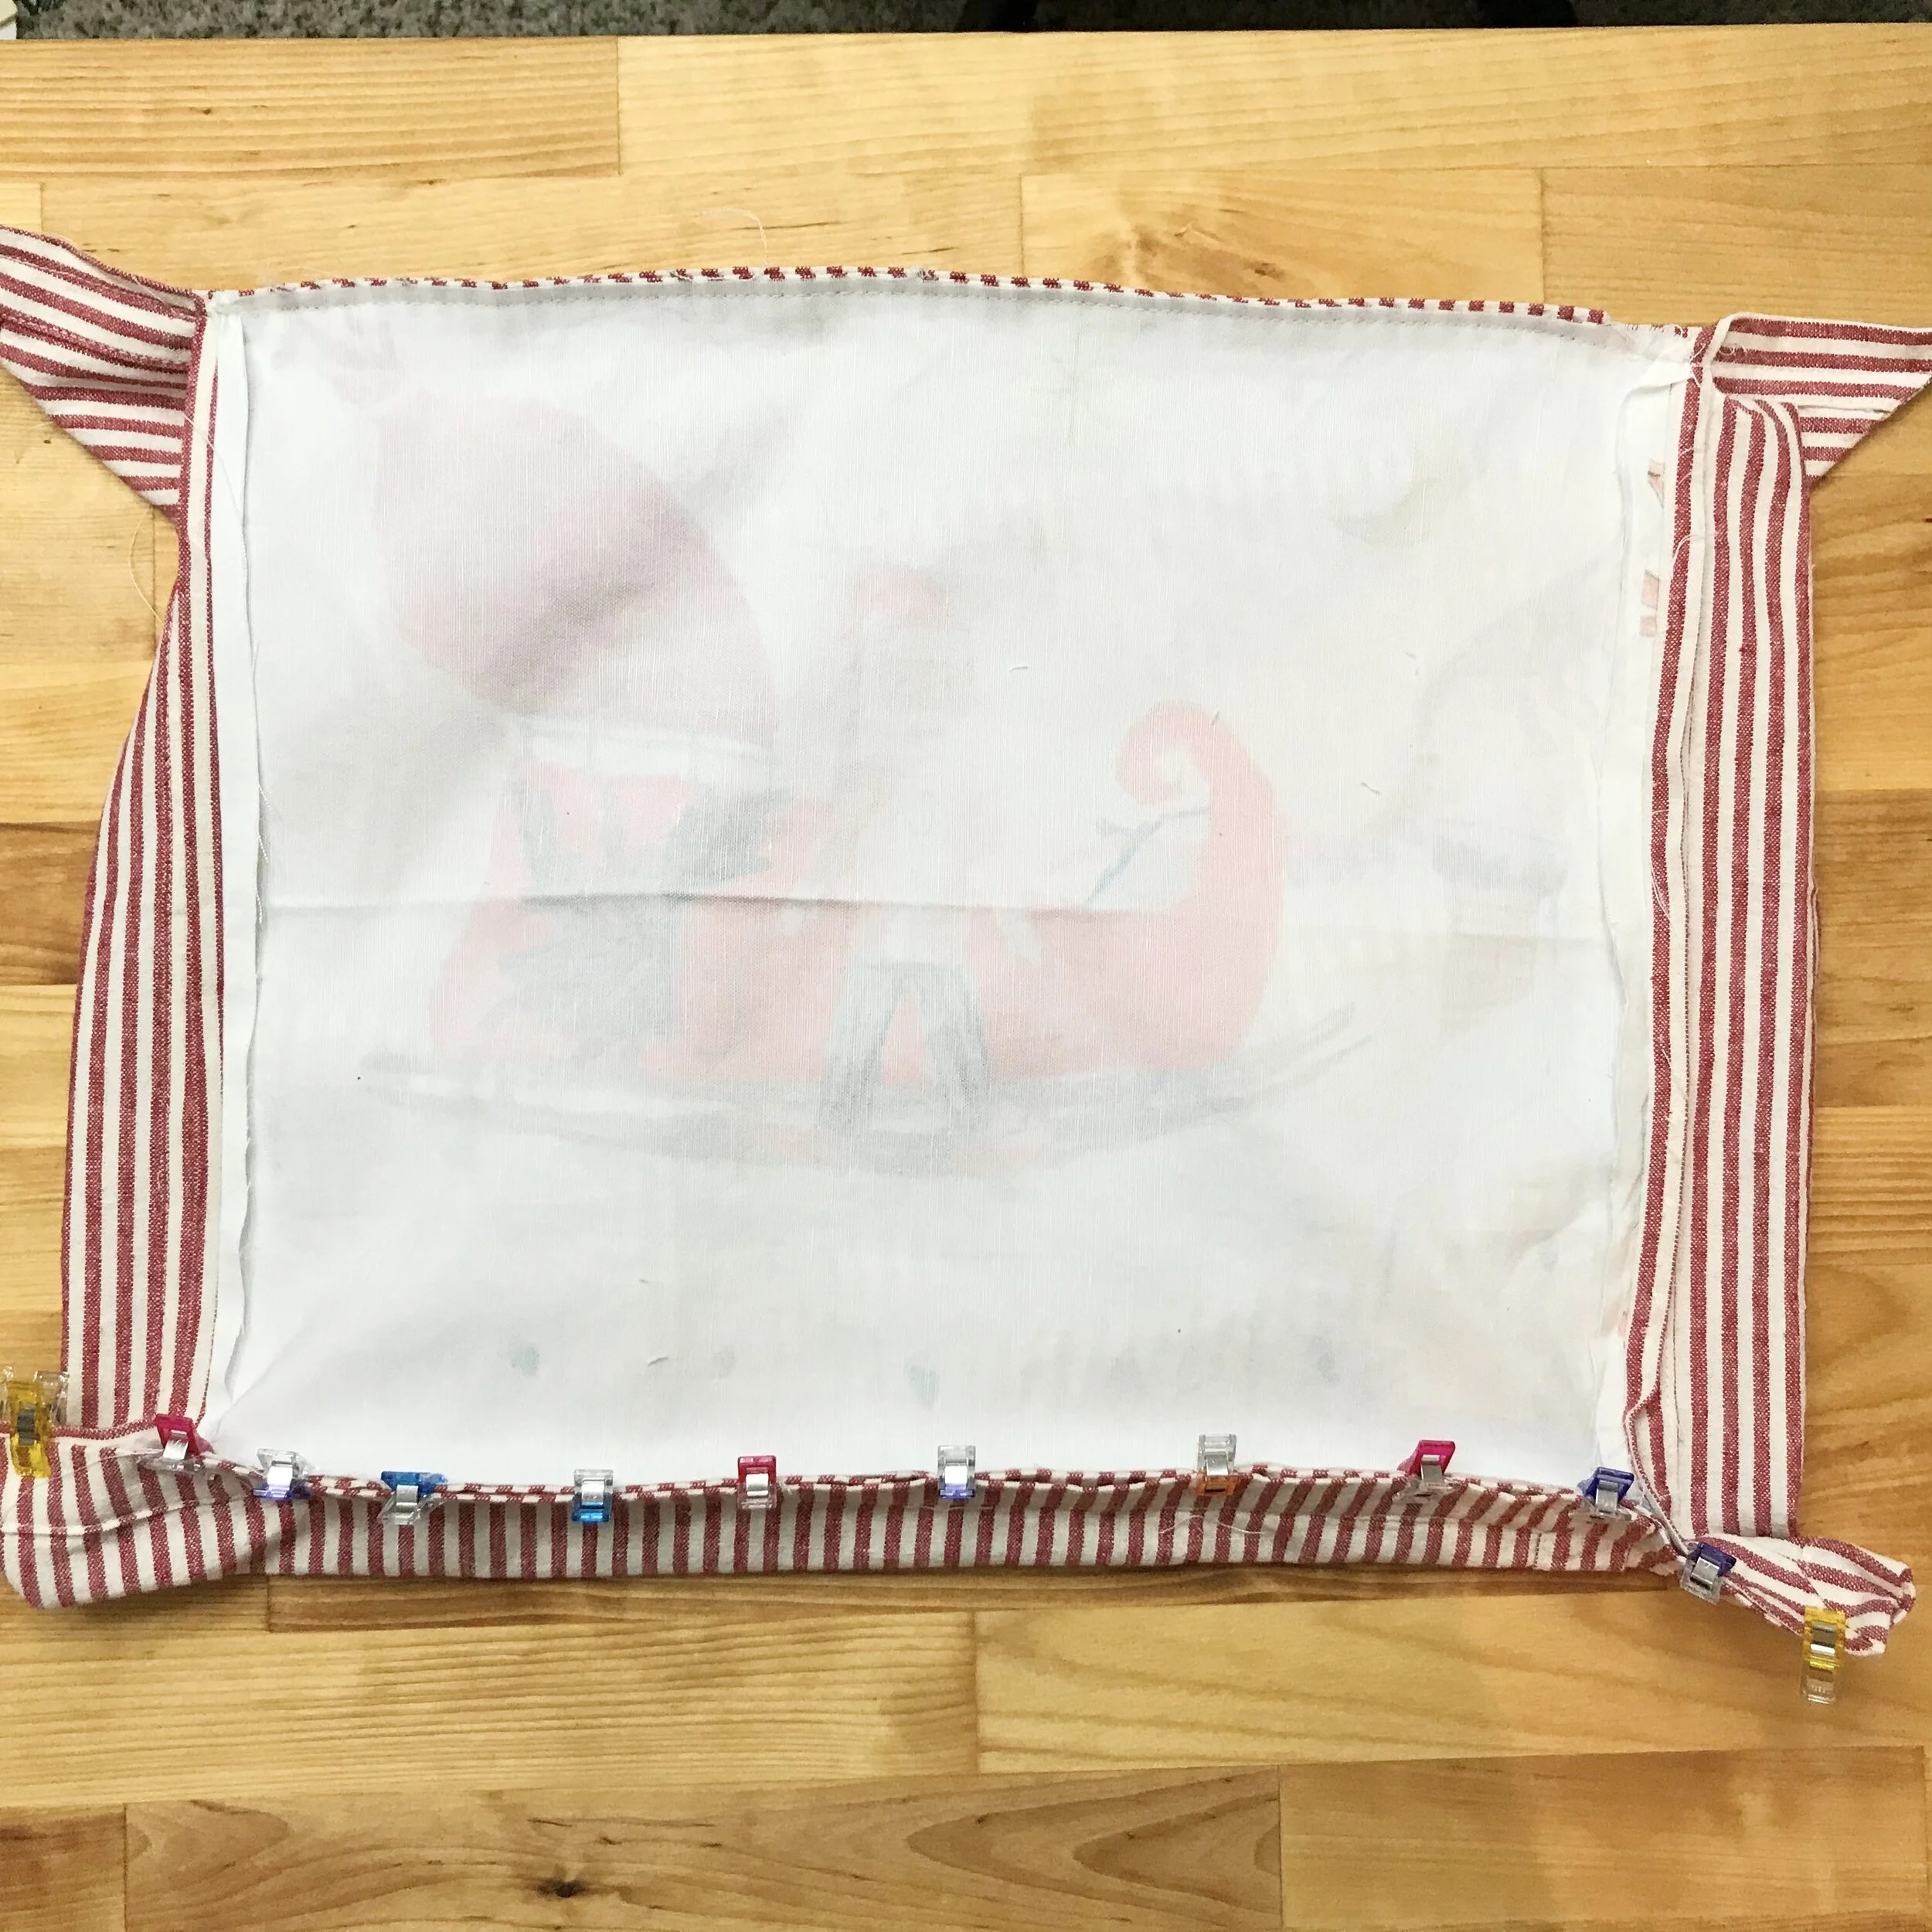
Create the border
To create a border around the piece of art, overlap the two napkins with right sides together. Flip the whole piece over, and gently pull the two napkins apart until there is an even border on each side. This should be the same measurement as the top and bottom borders — less the seam allowance.

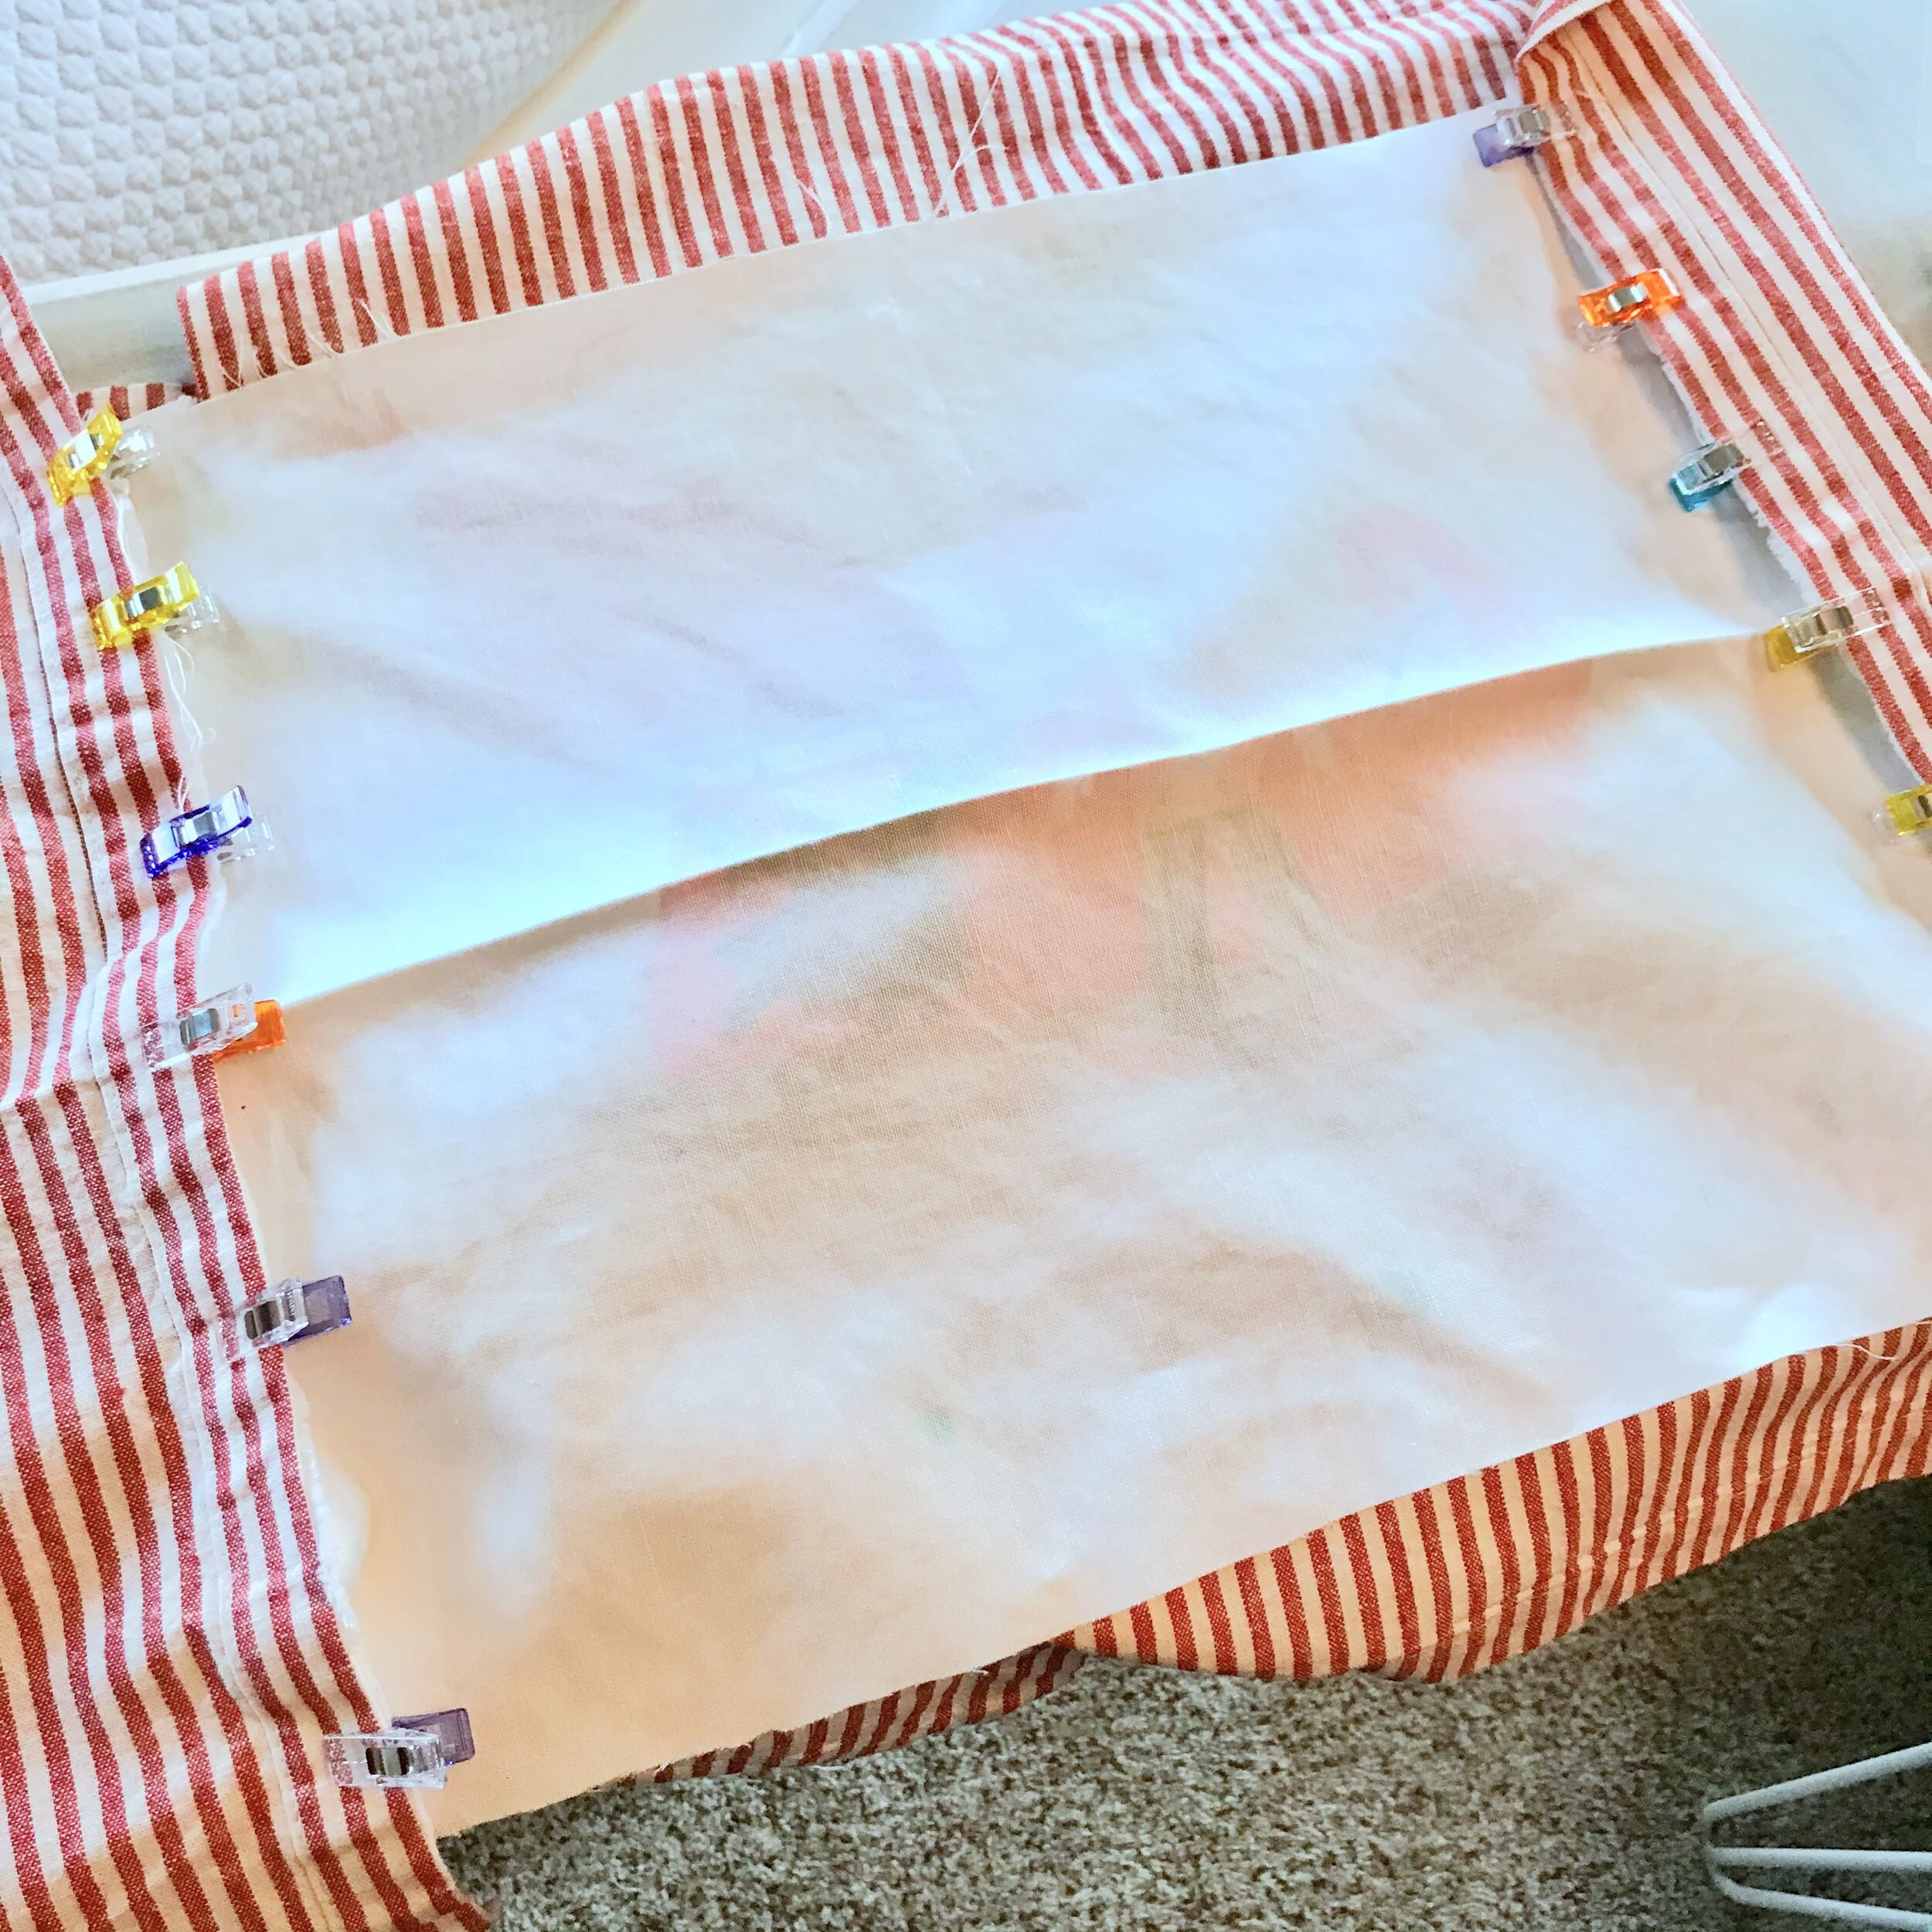
Iron & Clip or Pin
Once you are satisfied with the borders, press each of the two ends to get a crisp fold. Then clip or pin all four sides. You won’t sew all sides, but this helps keep everything in place while you sew the last two seams.
Line up the Corners Carefully
Before you start sewing, make sure the corners are precisely lined up. Make adjustments as needed.

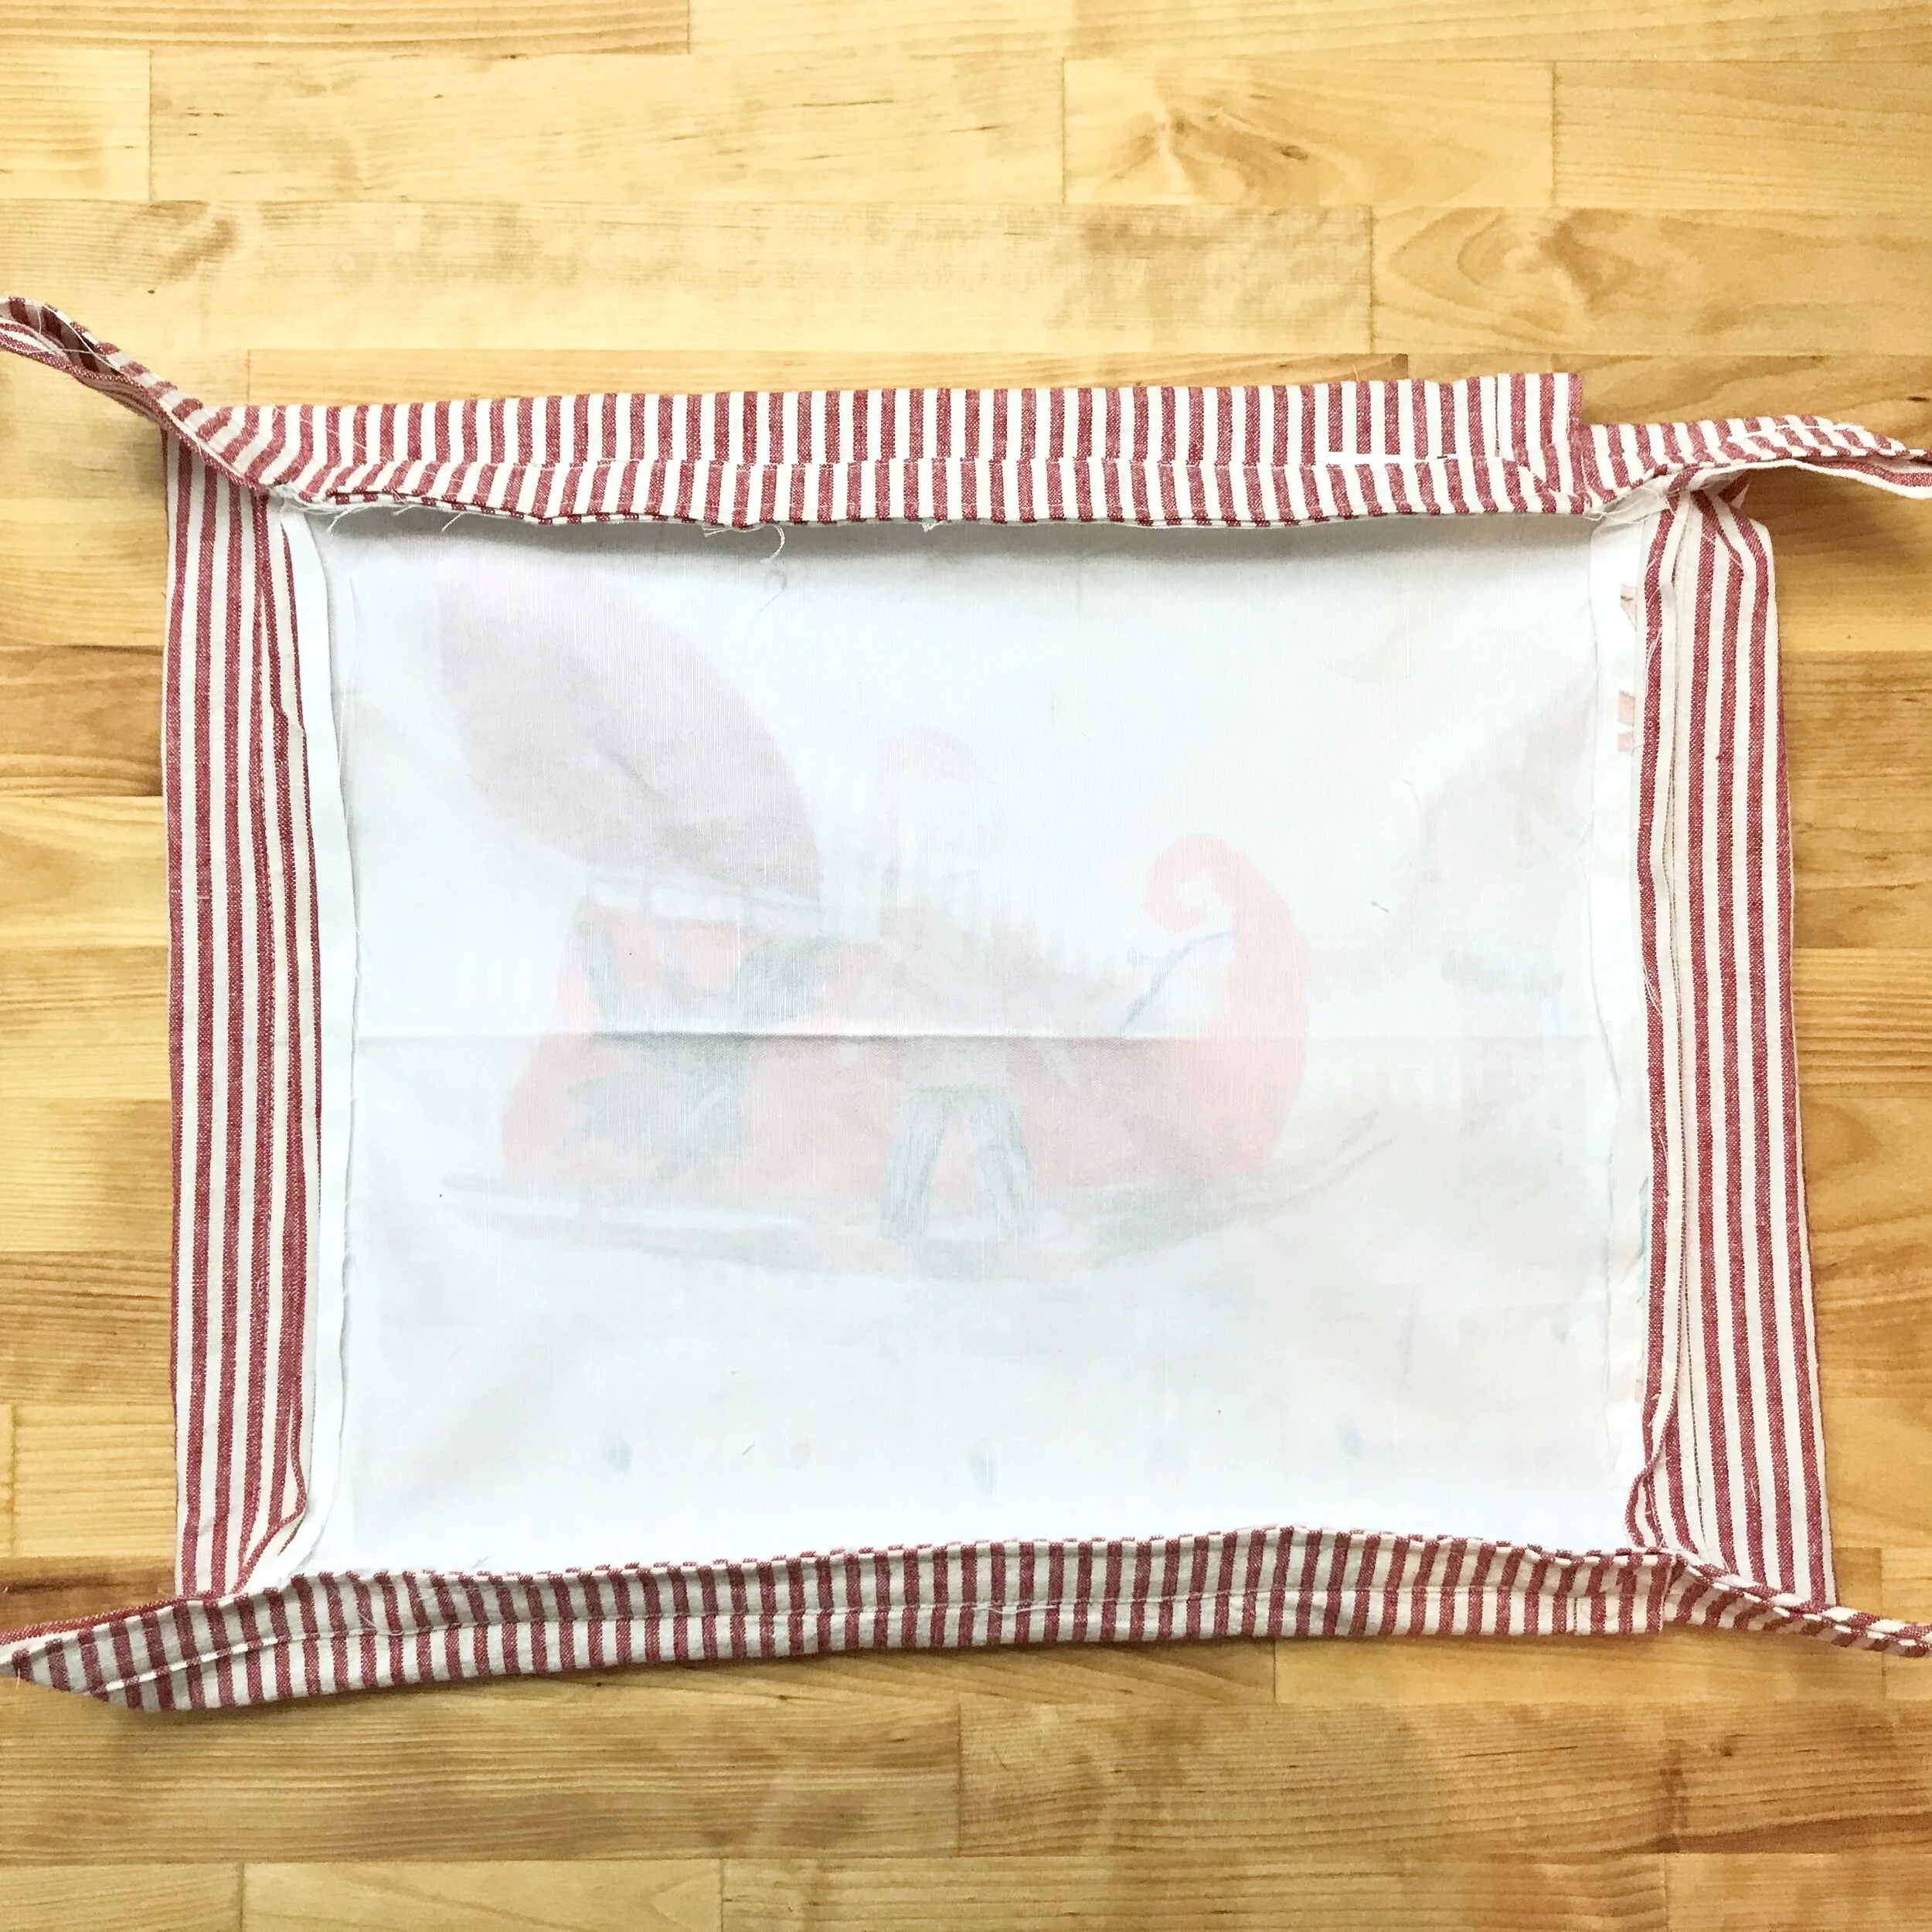
Sew the Long Seams
Once you have double-checked the alignment, sew the long seams of the pillow cover. Then turn the whole thing inside out.
The finished Pillow
Enjoy your finished pillow! What a wonderful way to showcase your child’s artwork. Whether it is a Christmas decoration, a Mother’s Day gift, or just a favorite piece that sits on the couch, I hope you will treasure this pillow for years to come!