
Painting Picture Frames with a Gilded Effect

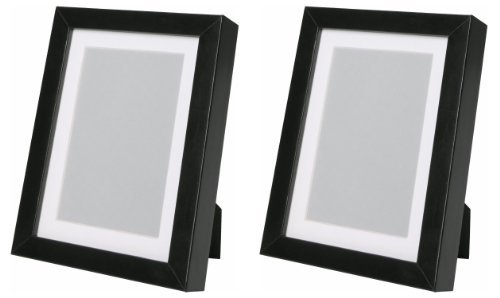
Eight years ago when we moved into one of our homes in San Francisco, we bought a new headboard and nine square Ribba frames from Ikea. Then we had a baby. And I went back to work. And those frames sat in a box. Then we moved. Then we moved again, and again, and again… and those frames sat in a box. In every house I thought, “Good! I’ll hang those black frames now!” And then I didn’t. And then we moved. Again.
So here we are, and finally, those Ribba frames are ON. THE. WALL! Seriously! But they are black… and black just isn’t right in our Guest Room Refresh, so I needed to reinvent them which was easy with a little paint and some trial and error.
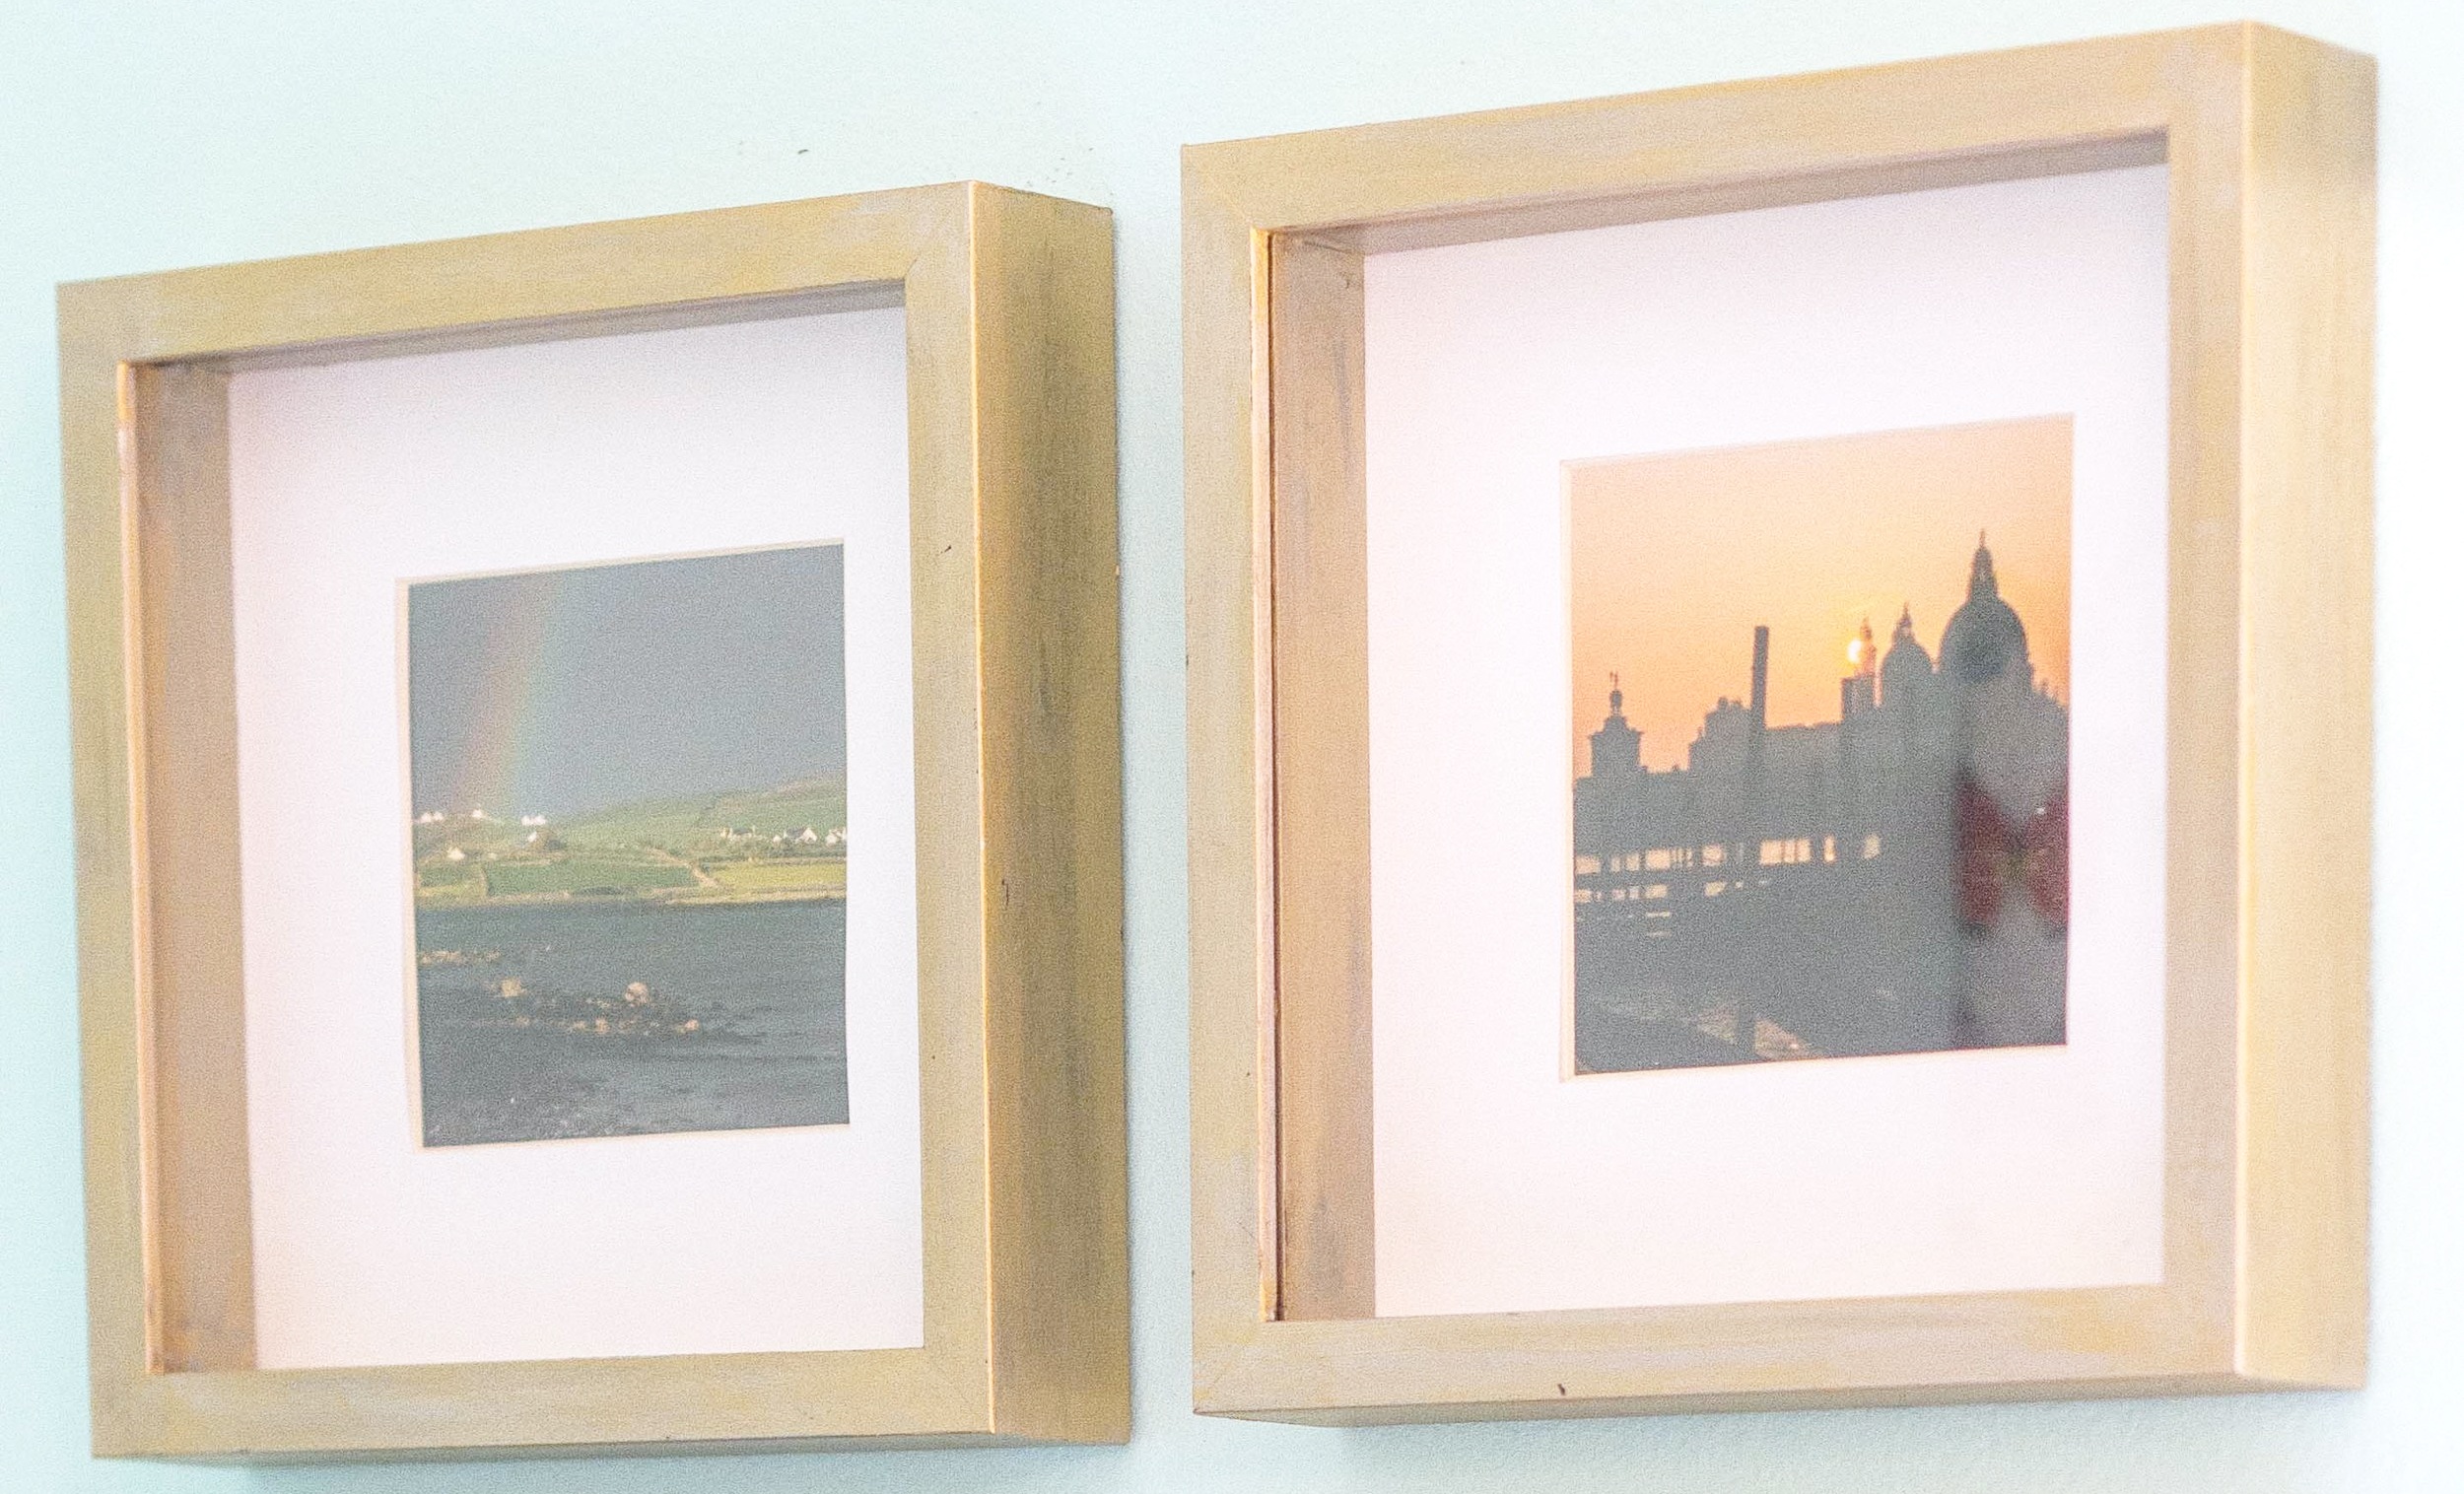
The biggest piece of art in this room, our vintage map of Hawaii, is framed in a gorgeous frame with a gold and silver finish, so I worked to mimic that look as much as possible, and the results are fairly close. I also had all of these products on hand as well as the frames, so this project was free!
Materials
Frame(s)
Gold spray paint (shiny)
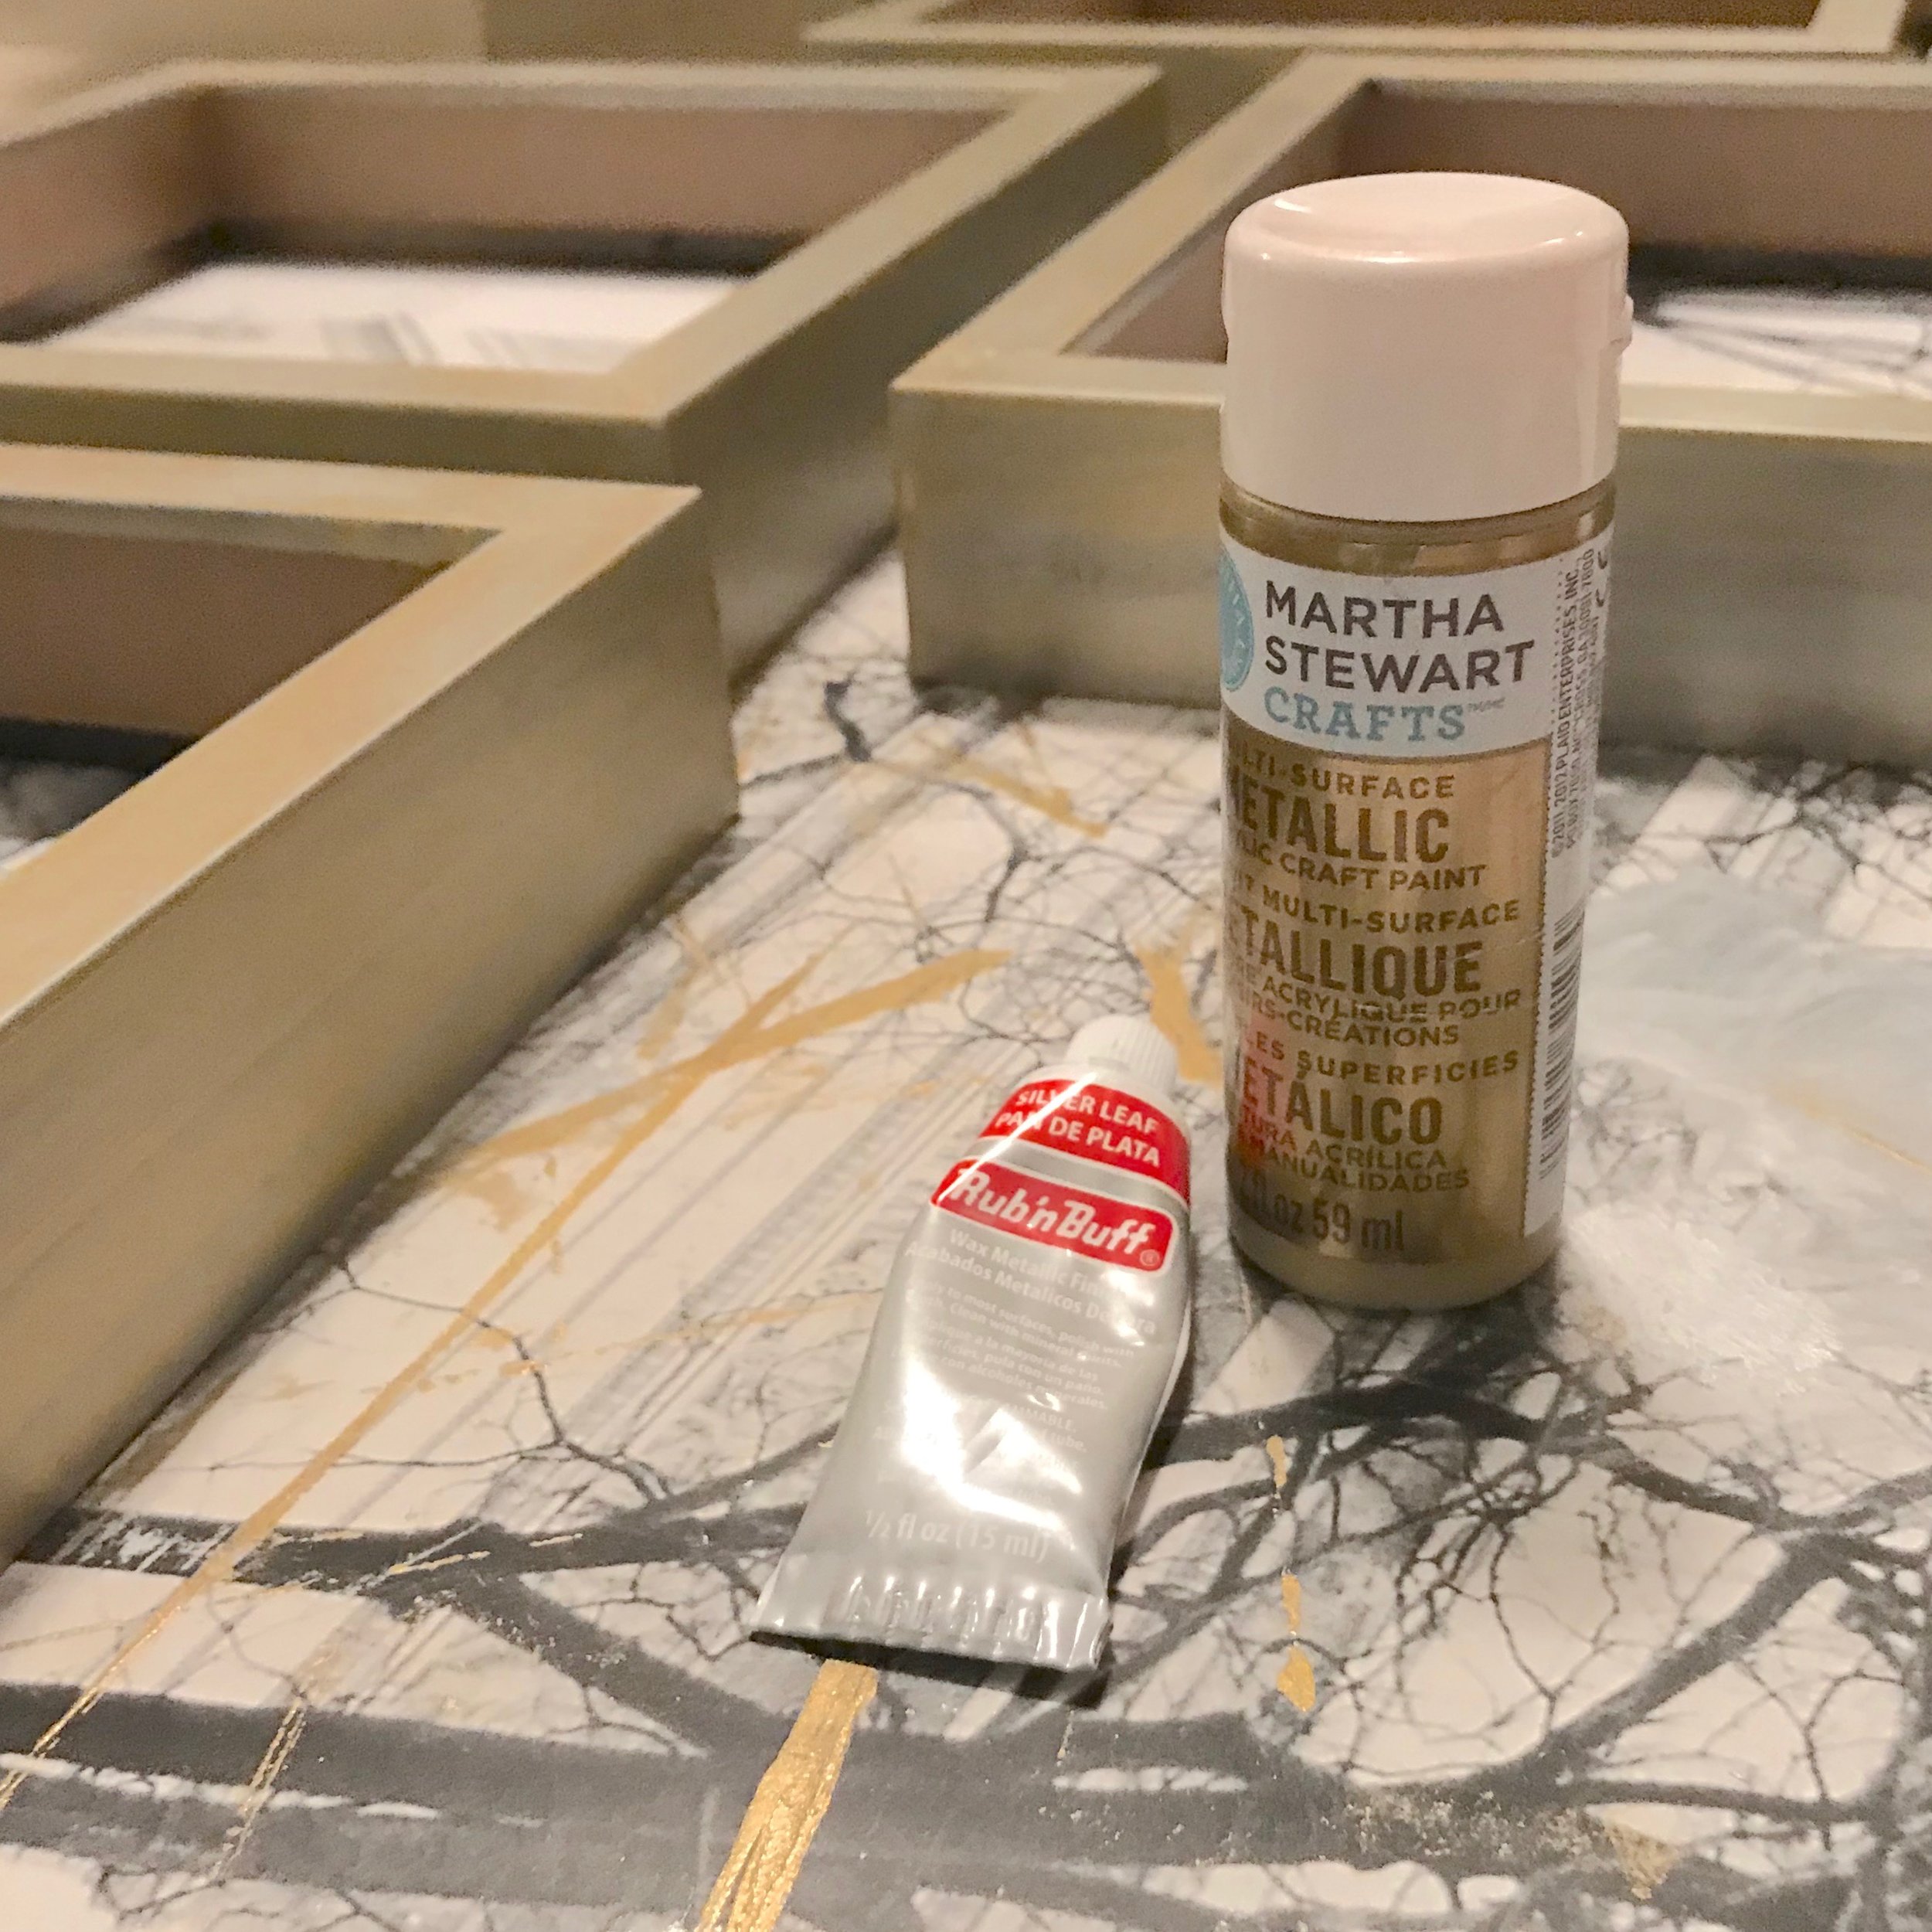
Rub n’ Buff Wax Metallic Finish in Silver Leaf
Gold Acrylic paint
Paper Towels
Drop cloth
Mineral spirits
A Note about Paint: I used what I had on hand. The whole idea here is to use two different types of gold and at least one silver paint. Rub N Buff is amazing, but if you need a more durable finish, I’d suggest an acrylic or apply a sealer over the finished product. The wax in the Rub n’ Buff makes the finish less curable and more easily scratched. These frames are hanging on the wall, so I am not worried about that, but if yours are in a higher-traffic area, I’d suggest a top coat of some kind.
This project is simple and easy, but it takes time because the paints need to dry between coats. Also: work in a well-lit area. I was working at night for one layer, and when I got up the next morning, I had to make some changes because they just didn’t look quite right.
Obviously, too, when using spray paint, work outside. You don’t need to breathe in paint fumes!
Also: since Ribba frames have an inner-piece which is also visible, I used the same technique on all parts. You could get creative and apply another color or choose just silver or gold for that part of your frame. The choice is yours! You could even glue some ribbon in there… ooh! So many possibilities!
When my frames were painted, I then wanted to change out the yellowed mattes, but I didn’t have the money for all new mats. So you can check out my inexpensive solution here.

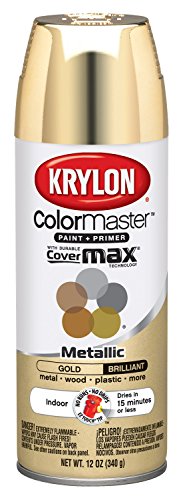


Step 1: Spray Paint with Gold
Set aside the glass and backing of the frames out of the painting area. Work outside and put down a good drop cloth before you begin. Shake the spray paint well. Then give each frame a really good coat of gold spray paint. If you decide to do two coats, and why not, make sure you let them dry for at least an hour before painting again.
Let dry several hours before moving on to step two.

Step 2: Apply Silver Leaf wax Finish
A little of the wax metallic finish goes a long way! I usually use a paper plate as a palette. Squeeze out a dollop the size of a pea to start. Using a paper towel or a smooth rag, rub a small amount of the wax finish on over the gold paint. You don’t want to cover every inch; some of the shiny gold should peek through. Experiment until you find the right proportions of gold to silver (knowing you will apply another layer of gold in step three.
Allow to dry for several hours. Clean up with mineral spirits as needed.

Step Three: Smear with Gold Acrylic Paint
I really do mean “smear” here. Again using a paper plate as a palette, squeeze out a small bit of paint. You could use a brush for this step if you want brush strokes. I wanted a blotchier effect, so I used a paper towel and smeared and dabbed the gold paint over both the gold and the silver to create a mottled effect. The two different gold colors with silver peeking through make for a nice contrast.
Allow to dry completely. If your frames may encounter bumps and nudges, apply a clear coat for protection when dry.
I hope your frames turn out beautifully! The mattes in my frames had yellowed over time, so I also came up with a nearly-free way to make them white again. Check that out here:
This post is part of a larger series: the Guest Room Refresh. I hope you’ll check it out!
