DIY Desk from a Butcher Block Countertop

It’s not actually curved! But that’s the best way to get a photo of its 14’ length!
Create a custom-length desk for any space
We had been planning this part of the Workroom Makeover for years, actually. The laminate desktops I had been using have seen better days. They have been moved multiple times, and I’m the second owner. And they had been cut and reconfigured several times. They just didn’t suit this space.
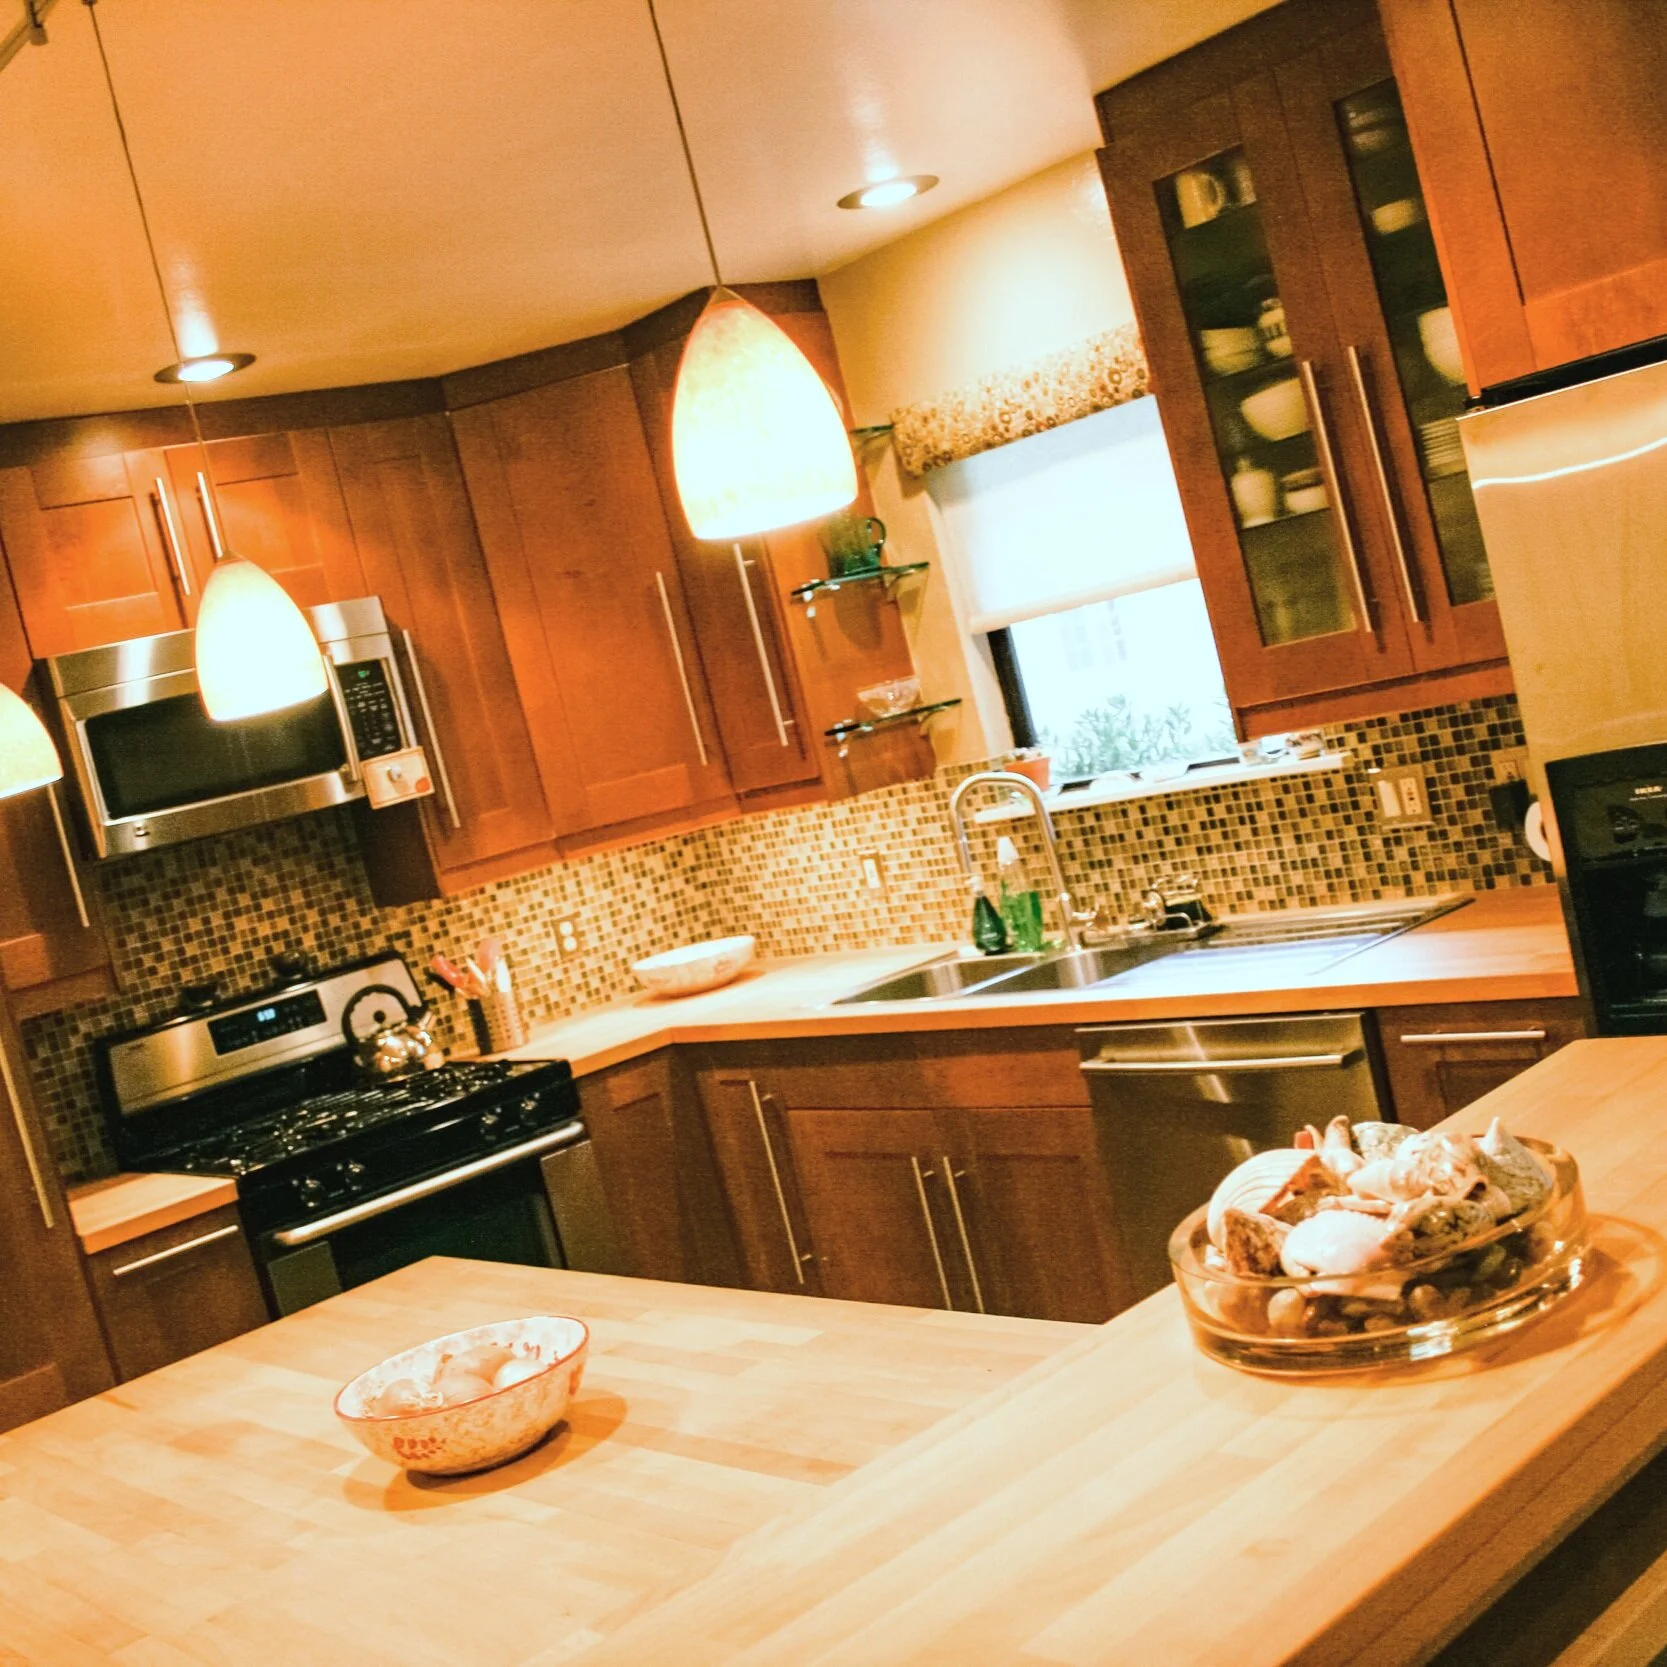
We first used butcher block for kitchen counters in our 1980’s Cabin in the City remodeling project. And honestly, we used it because it was all we could afford at the time. Butcher block slabs from Ikea are really inexpensive, and we fell in love with them. They are not hard to maintain, they look warm and beautiful, and they are a tiny fraction of the cost of granite, marble, or composite. We installed them again in the kitchen of the 1948 Subdivision Sweetheart, and we intend to use them in our kitchen here in our Mid Century Modern home.
Butcher block countertops in the 1980s Cabin in the City

We used the same countertops from Ikea in the 1948 Subdivision Sweetheart.

And we needed an inexpensive but large dining table, so — more countertop mounted on legs!
This is part of a larger series of projects for the One Room Challenge. Check out the entire room makeover here.
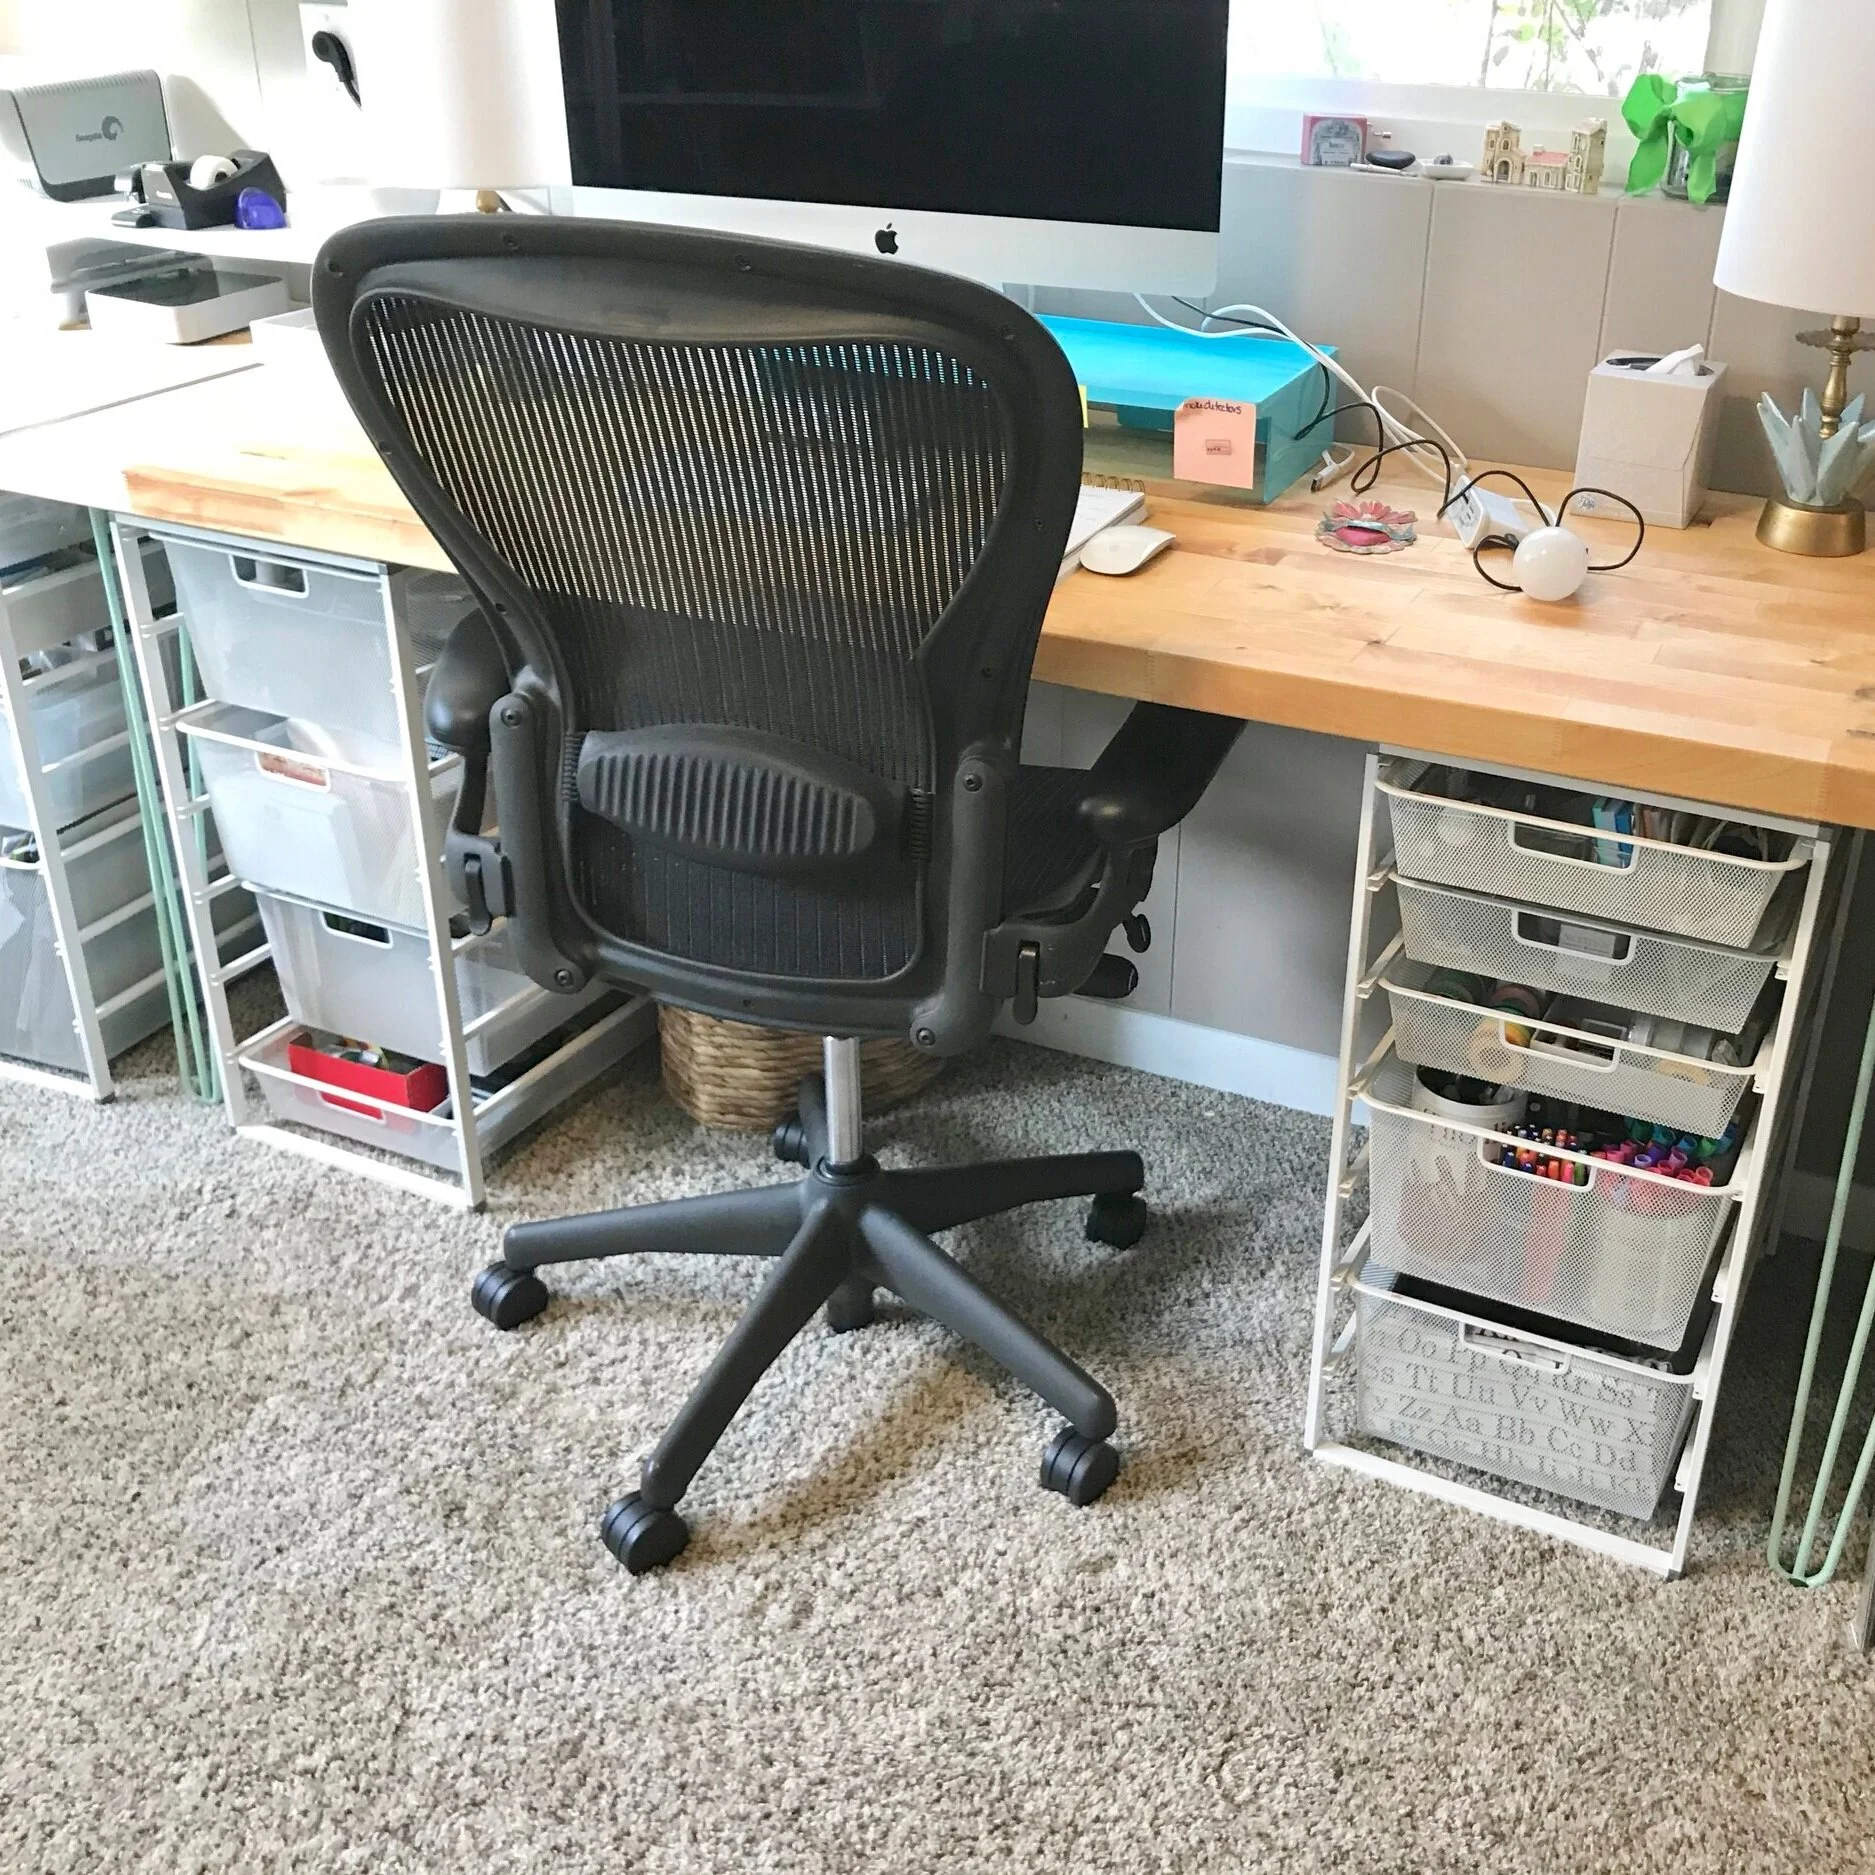
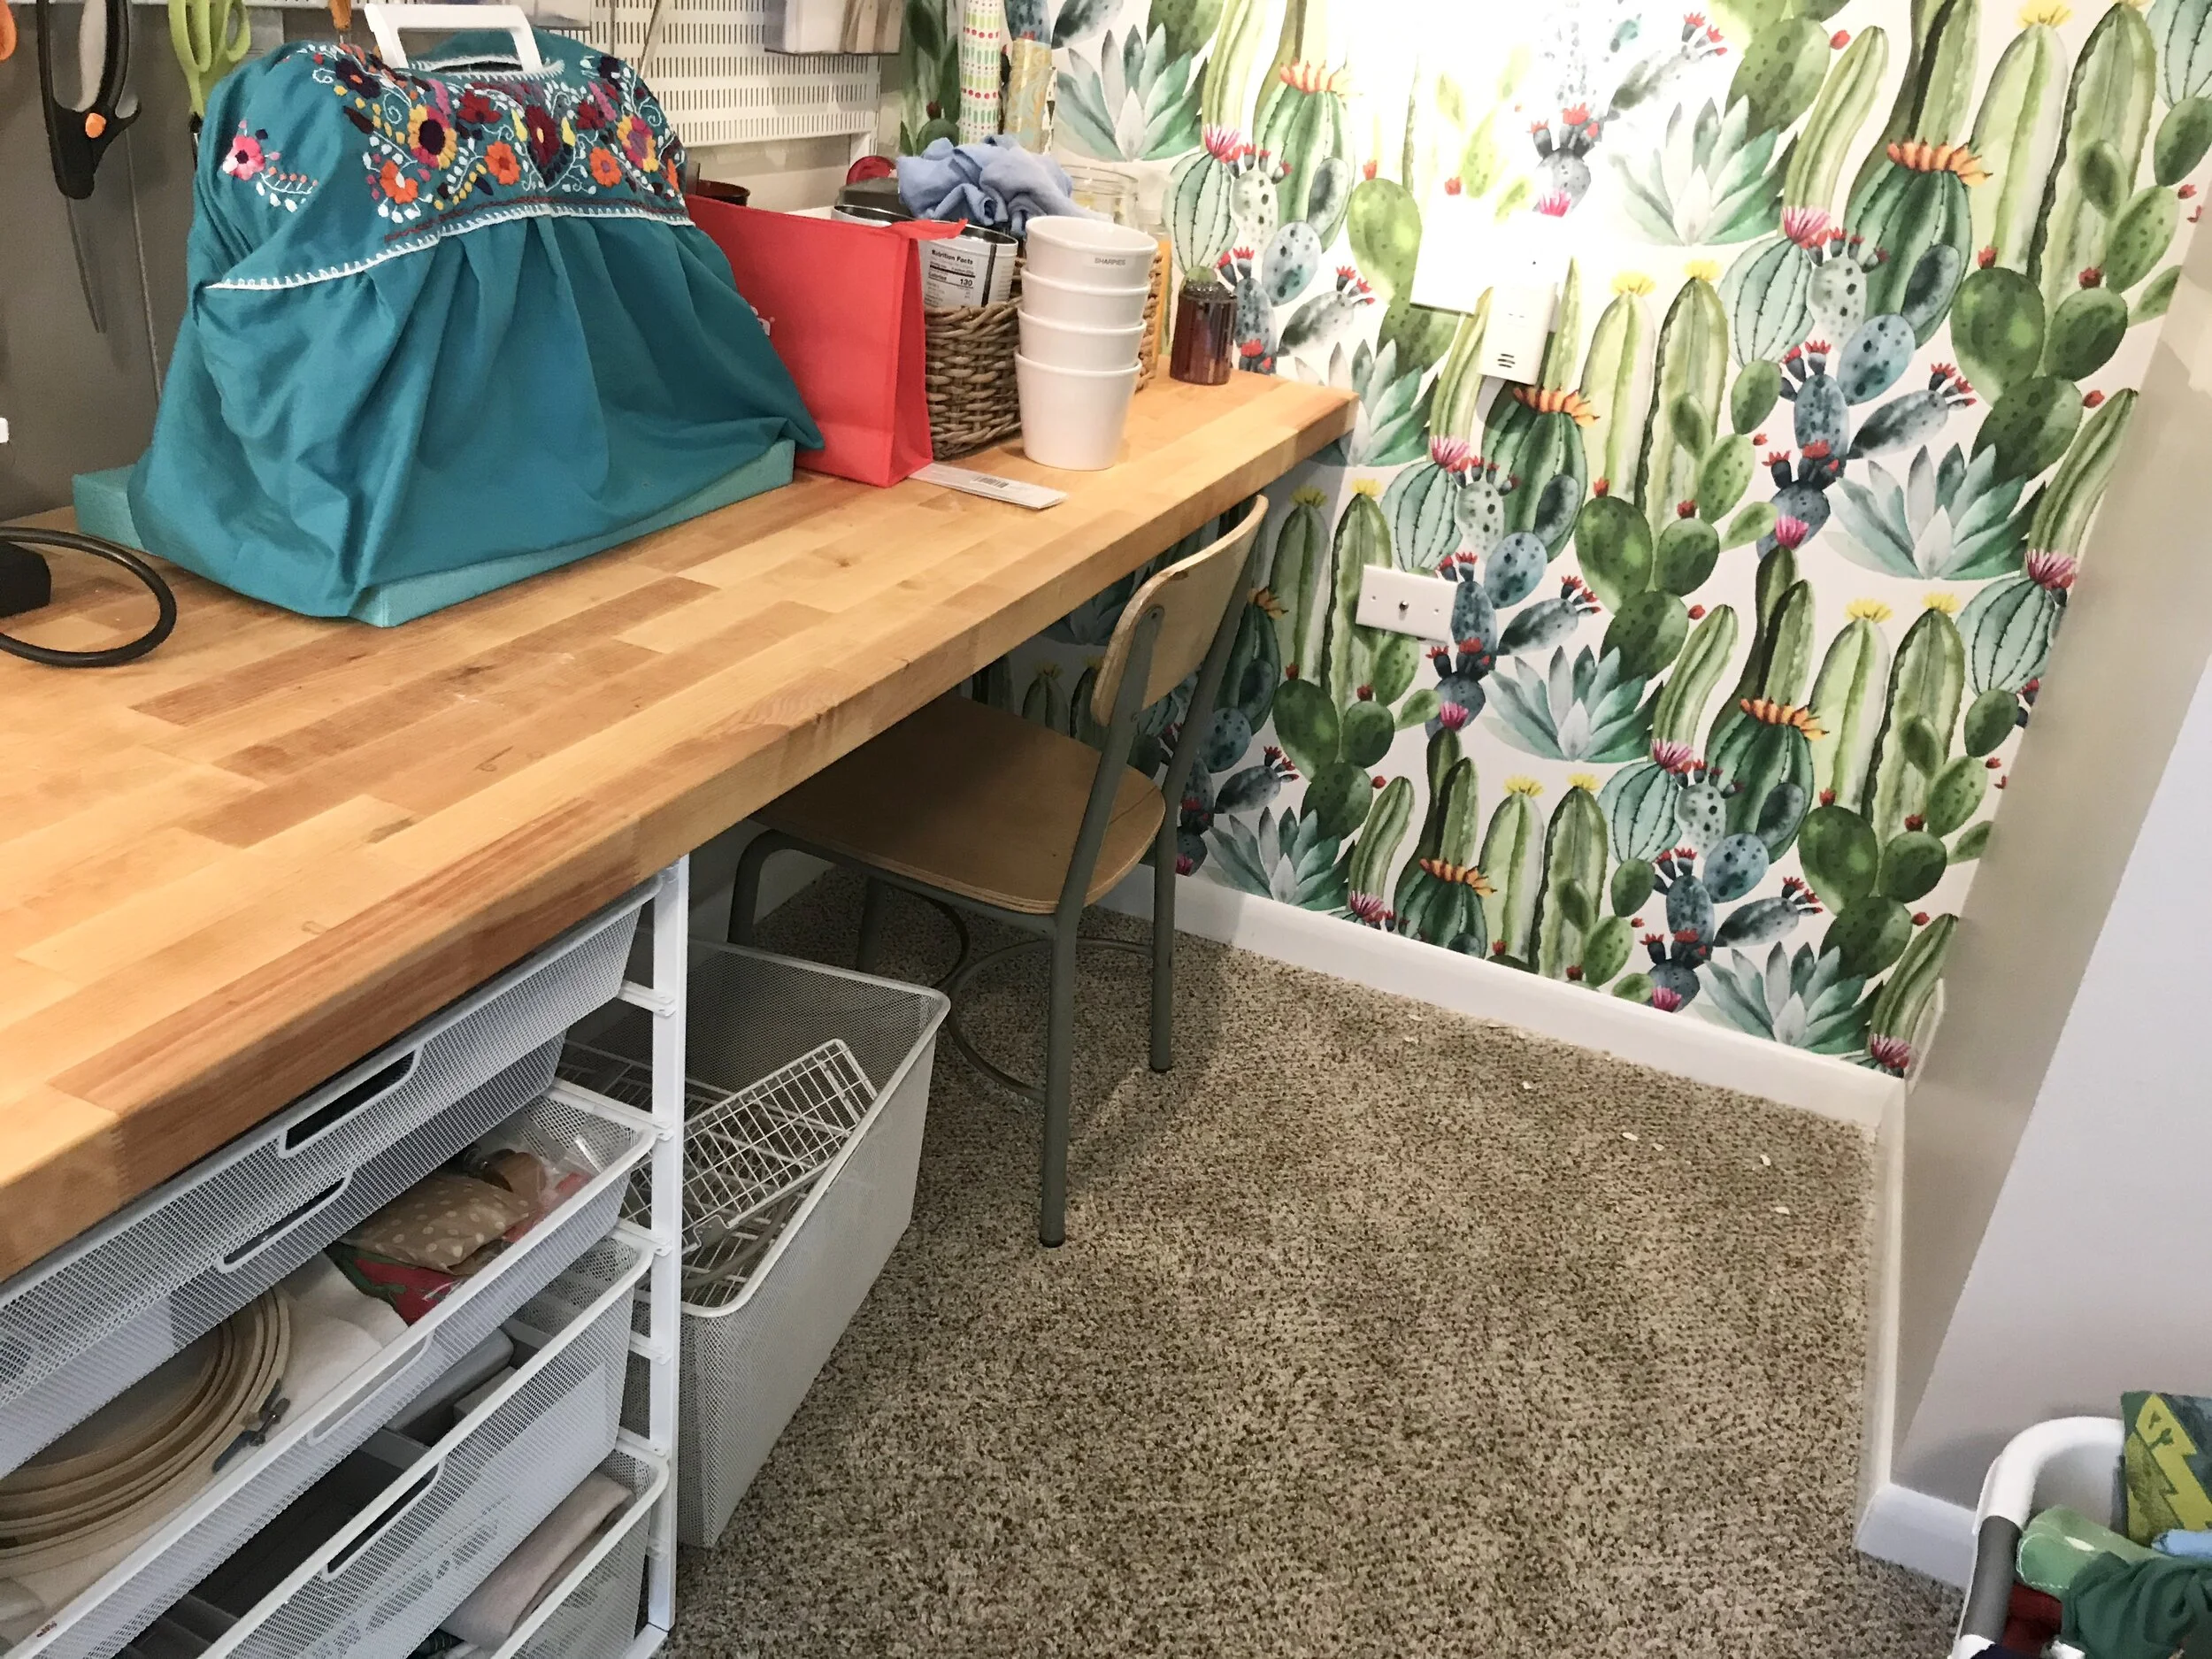
So for this project we mounted 14 feet of butcher block — all along one wall of the room. That’s a lot of workspace! But now I have designated work spots for sewing, writing, and gift wrapping as well as an open spot for my son to use — or anything else that comes up. Finally, I have room to leave a project out and come back to it later without having to rearrange my office space. That is a luxury to be sure, and I am so thankful!
To install the countertops, we hung blocking on the walls — screwed into the studs. The countertop rests on the blocking and is screwed in from below. Butcher block doesn’t come in 14’ lengths, though. We had to splice together three sections. At the seams, my husband added a little Mid Modern detail — a walnut strip. This emphasizes the seam, rather than seeking to hide it, and it also subtly delineates my computer workstation from the other work zones. At the front edge at each seam we added a hairpin leg for added support.
To finish the surface, we sanded and sanded until the desktops are as smooth as silk. Then we applied three coats of Boiled Linseed Oil. This finish takes several days to fully dry, and the smell is potent. But the finish is golden and smooth. And it is a classic MCM touch. Plus, it is cheap, non-toxic, and easy! You just have to let it cure.
This tutorial walks you through the major steps in putting together a desk from a countertop. You can use any kind of countertop — provided you can screw up from the bottom using this method.

A Note on Carpentry Basics
This is a general DIY tutorial which assumes that you already have basic DIY and carpentry skills. It is not meant to be an exhaustive tutorial in woodworking skills. While they are not explicitly called out in each step below, always use good carpentry practices including:
Measure twice. Cut once.
Pre-drill all holes to prevent splitting.
Allow glue to dry before moving on to the next step.
Get help with lifting heavy equipment and supplies. Use proper lifting techniques.
Following all proper safety precautions and wearing protective gear including eye protection.
How to Build a Desk Using a Countertop
The amount of materials you need and the dimensions depend on the space you are using, and how you will mount your desktop. However, the same basic principles apply.
Materials
2 x 3 lumber
Long wood screws
Drill with both drill bits and driver bit
Level
Tape Measure
Countertop of your choice cut to length
flat metal plates (at least 1 per seam if there will be seams)
Legs for support (depending on the length of your desk)
Screws to install legs
Sandpaper or a sander
Metal brackets for support (if you have seams)
Optional: contrasting wood for seams
Boiled Linseed Oil
Rags
Note
If you don’t want to mount your desk to the wall, you don’t have to! Just buy some countertop and some legs. Add the legs to the countertop, and voila! A desk! I love the hairpin legs from DIY Hairpin Legs. But you can get legs at Ikea and many other places as well.


Step 1: Determine Height for Desk
The ideal height for a desk varies person to person. If you are installing a desk yourself, you can determine that height based on your own height and dimensions, as well as comfort levels. This isn’t my area of expertise, but this guide is a great starting place.
Once you have determined how high the countertop should be, measure up from the floor to that height. Then subtract the countertop’s thickness, and use your level to mark a line at the new height on the wall with a pencil. If you will be mounting your countertop in a corner, do this on each wall where the countertop will be mounted.

Step 2: Install Blocking
Cut 2’ long blocking pieces and mount them to the wall so that the top of the blocking is at the line you drew.
Be sure to screw the blocking pieces into the studs as you go. If they are not installed into the studs, your desk will fall off the wall!
Check that the blocking is level before proceeding.

Step 3: Measure & Cut Countertop
Measure twice. Cut once. Measure your space once more and then cut your countertop to length. If you are using more than one length of countertop, account for any decorative trim you will add at the joints (optional).

Step 4: Add Contrasting Wood Strips
If desired, add contrasting wood strips to the ends of the countertops where they will be joined together. We glued and screwed a 1” strip of walnut at each seam for a contrasting detail.

Step 5: Sand to a smooth Finish
Sand the work surface to a smooth finish outside before moving the countertops inside for installation.

Step 6: Add Legs
Depending on the length of your countertop, you may need legs to support the front edge. Add them to the countertop before you install it to make installation easier. But when you flip the countertop over, don’t set it on the feet until it is level — or they may snap off.

Step 7: Mount the Countertop
Mount the countertop on top of the blocking. Attach the countertop to the blocking by screwing in from below.

Step 8: Add support at Seams
If you have seams between multiple lengths of countertop, add flat metal plates to support the seams from below.
Finish screwing the legs in place.

Step 9: Apply Boiled Linseed Oil
Follow the directions for application, but take care. Boiled Linseed Oil can spontaneously combust if soaked rags are improperly handled. Read the directions and follow them to avoid a catastrophe.
Why use Boiled Linseed Oil?
Boiled Linseed Oil is a classic treatment which was commonly used on Mid Century furniture. I was interested in adding a Mid Century nod to my office, and this seemed like a great place to start. It is also non-toxic because it is made from flax seed. And because one of the goals for my Workroom Makeover was to be as green as possible, a non-toxic finish was a great choice. It does take a long time to dry. For this application: 4 full days. The results, however, are amazing, and I am so glad this is the finish on my new work surface!
Before

After

The Butcher Block Desk Finished


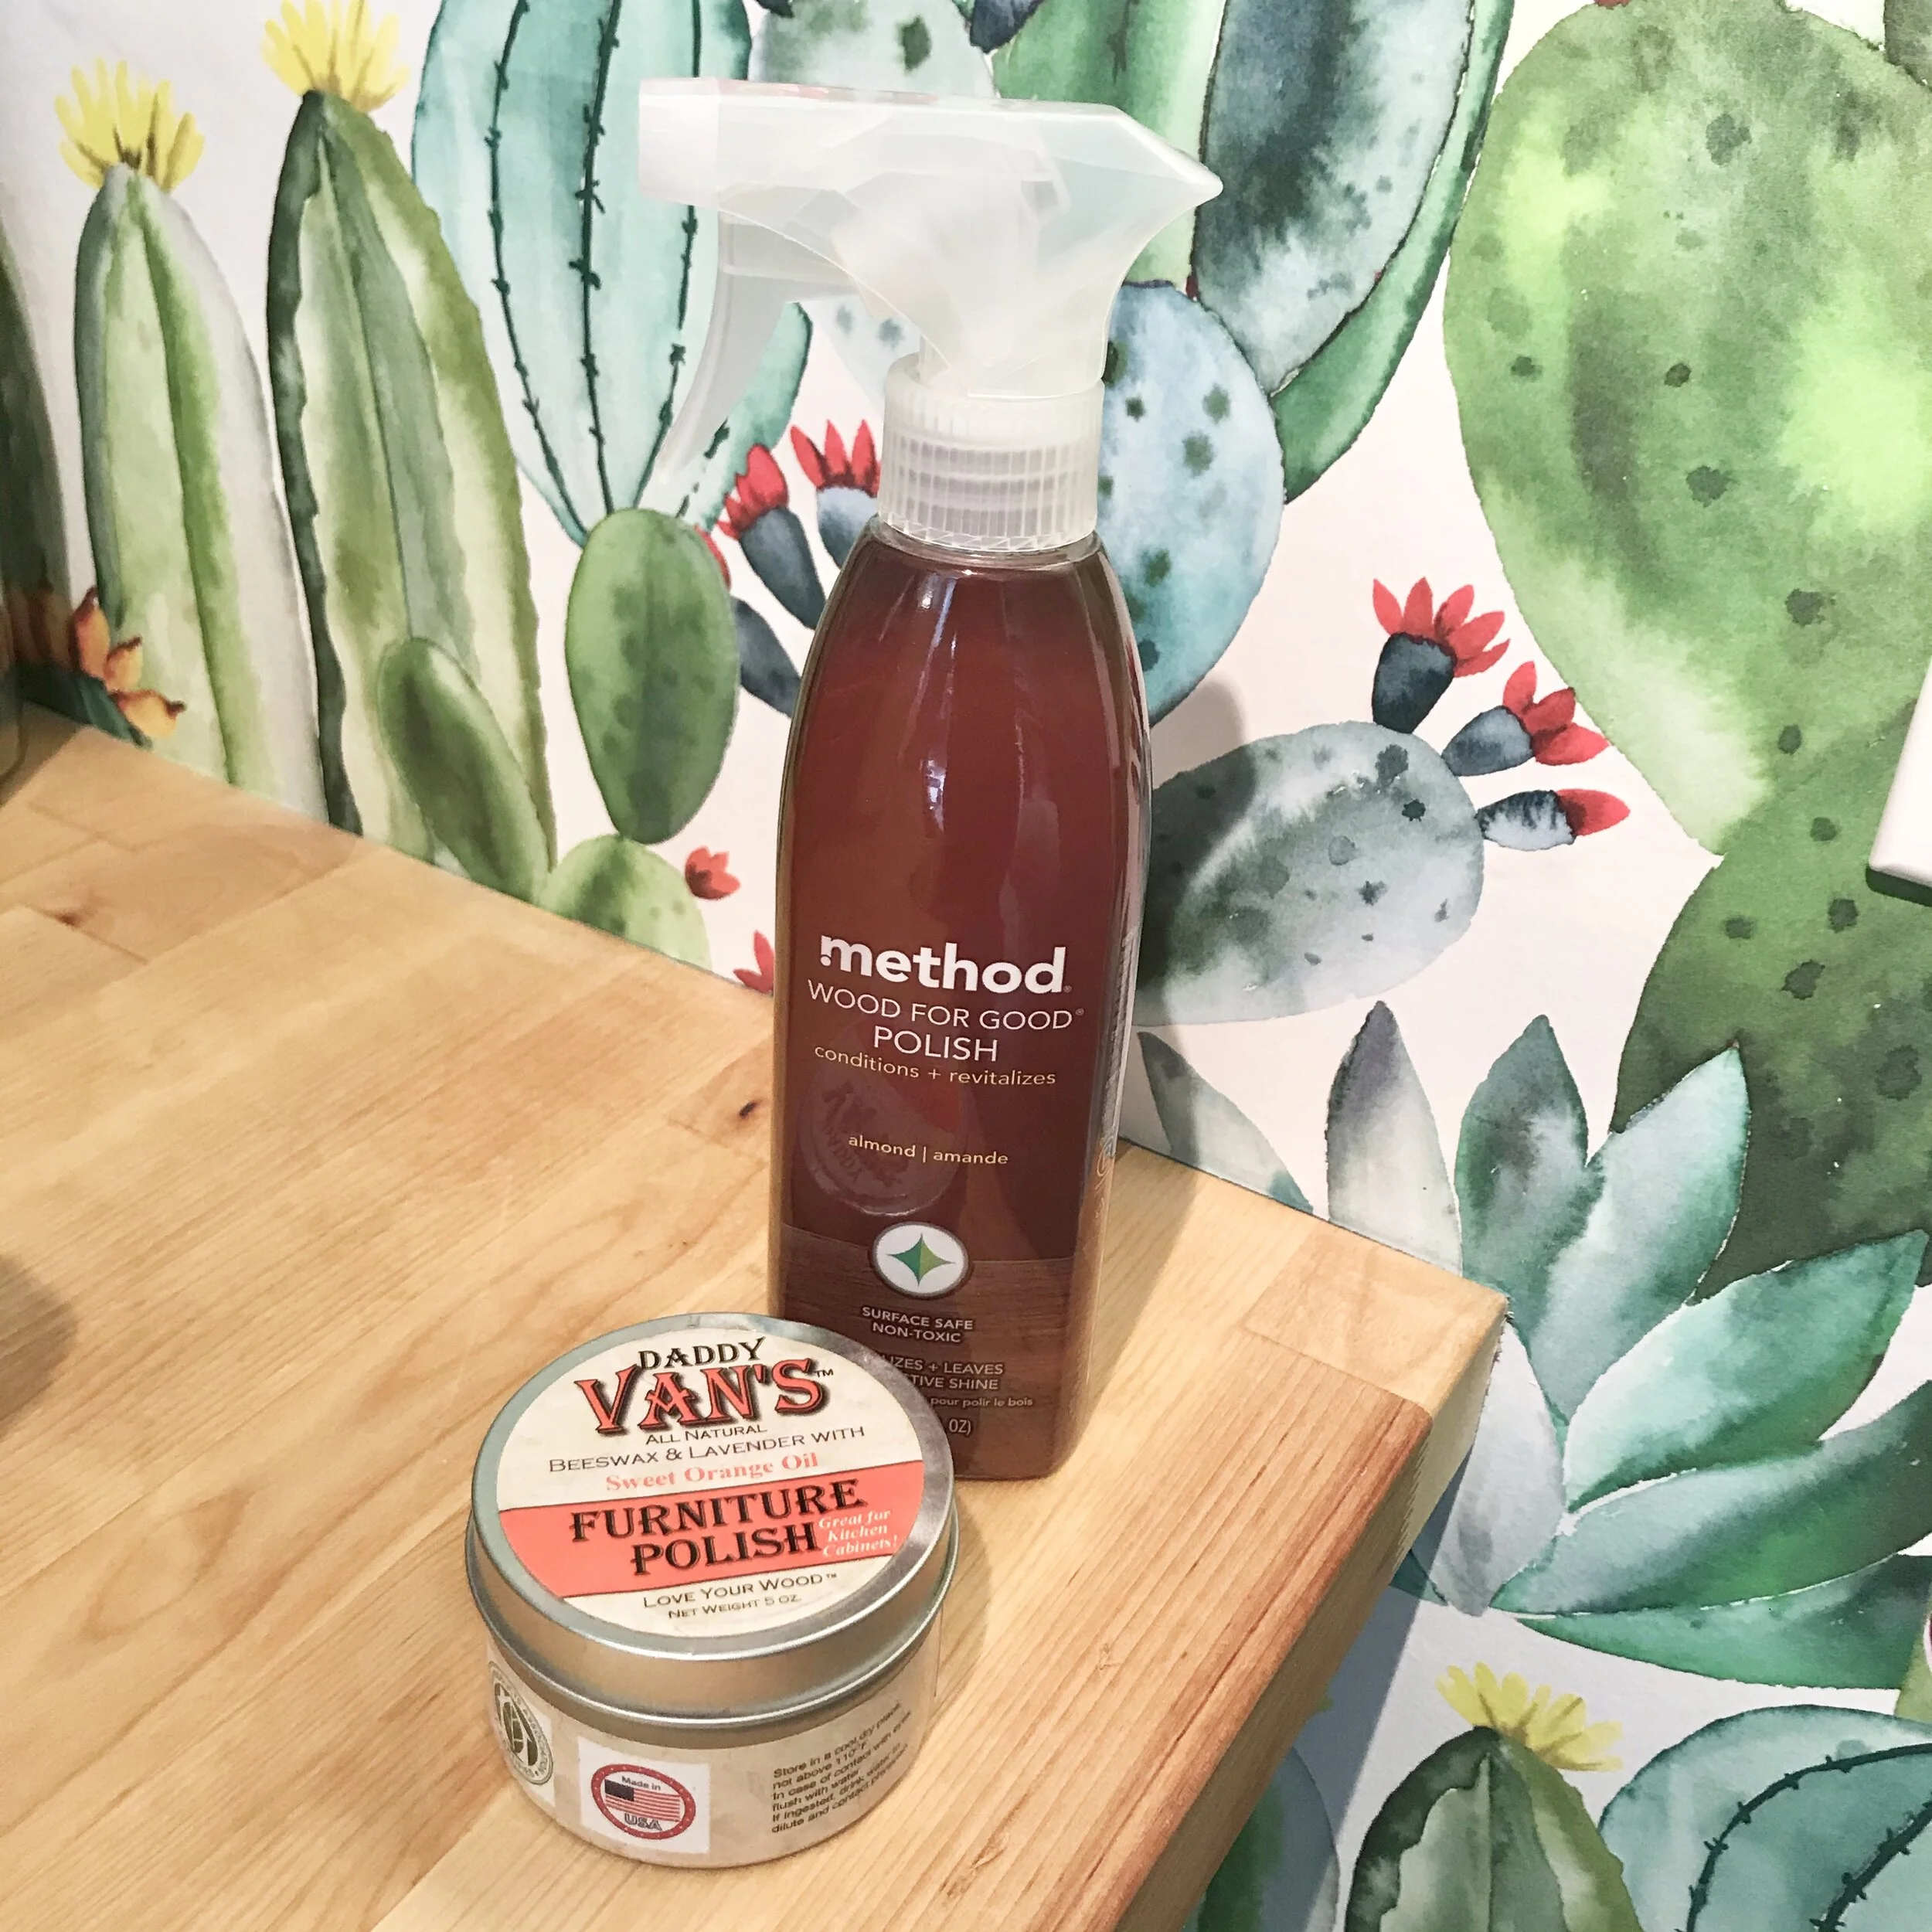
How to Care for a Butcher Block Countertop
If you decide to leave your butcher block unfinished — and that’s not a bad choice — we have developed an easy and inexpensive way to care for your surfaces.
Start with an application of beeswax furniture polish. It should be straight beeswax — maybe with a little fragrance. But nothing else. Rub it in to the wood surface, wait for 15 minutes or so, and then buff with a clean rag. We do this every 2-3 months.
For daily cleaning, I recommend Method’s Wood for Good products. They are great on wood surfaces — and smell amazing, too.