

Framing Vintage Linens & Clothes
When my grandmother died last year, she left behind several dressers full of vintage clothes and linens. I am lucky enough to have received a large box of these beautiful things, and I have made it my mission to put them to good use. Most showed signs of their years — dingy and often stained, yellowed with age. So first I learned to wash them, carefully soaking for days at a time. And then I had to figure out what I was going to do with them all.
Amongst the items I received were a pile of her own baby clothes — nearly 100 years old. I framed several dresses, booties, and mittens as gifts for my sisters and cousin. This project was actually far easier than I thought, and I absolutely love how they turned out, so when it came time to choose art for my One Room Challenge, I also framed an item for myself.
You could apply these same principles to framing clothing — a baptismal gown or an heirloom bonnet — or fabric pieces like embroidery or handwork. There are just a few differences between the two processes. For larger, heavier items, conservationists suggest creating an acid-free frame to slip inside the garment for support. None of my items required that, but this post includes very clear instructions for creating the frame if you need it.
Materials
Vintage Garment: laundered and ironed
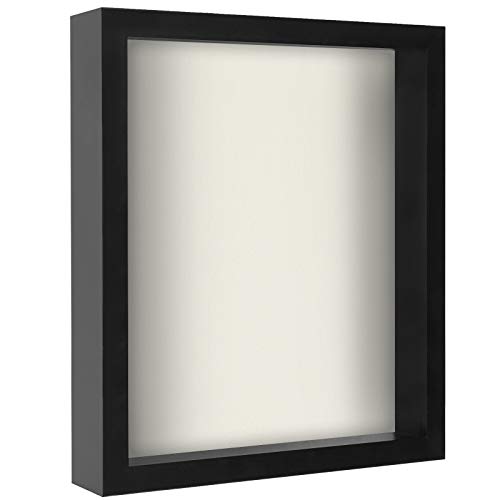
Frame or shadow box sized for the garment
Mat (optional; see below)
Natural fiber fabric for backing (see note)
Cotton thread
Small needle
Acid-free double-stick tape
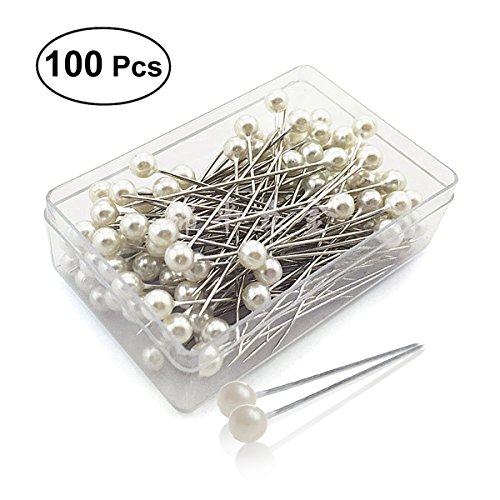
Straight pins
Scissors
Large paperclips or clamps
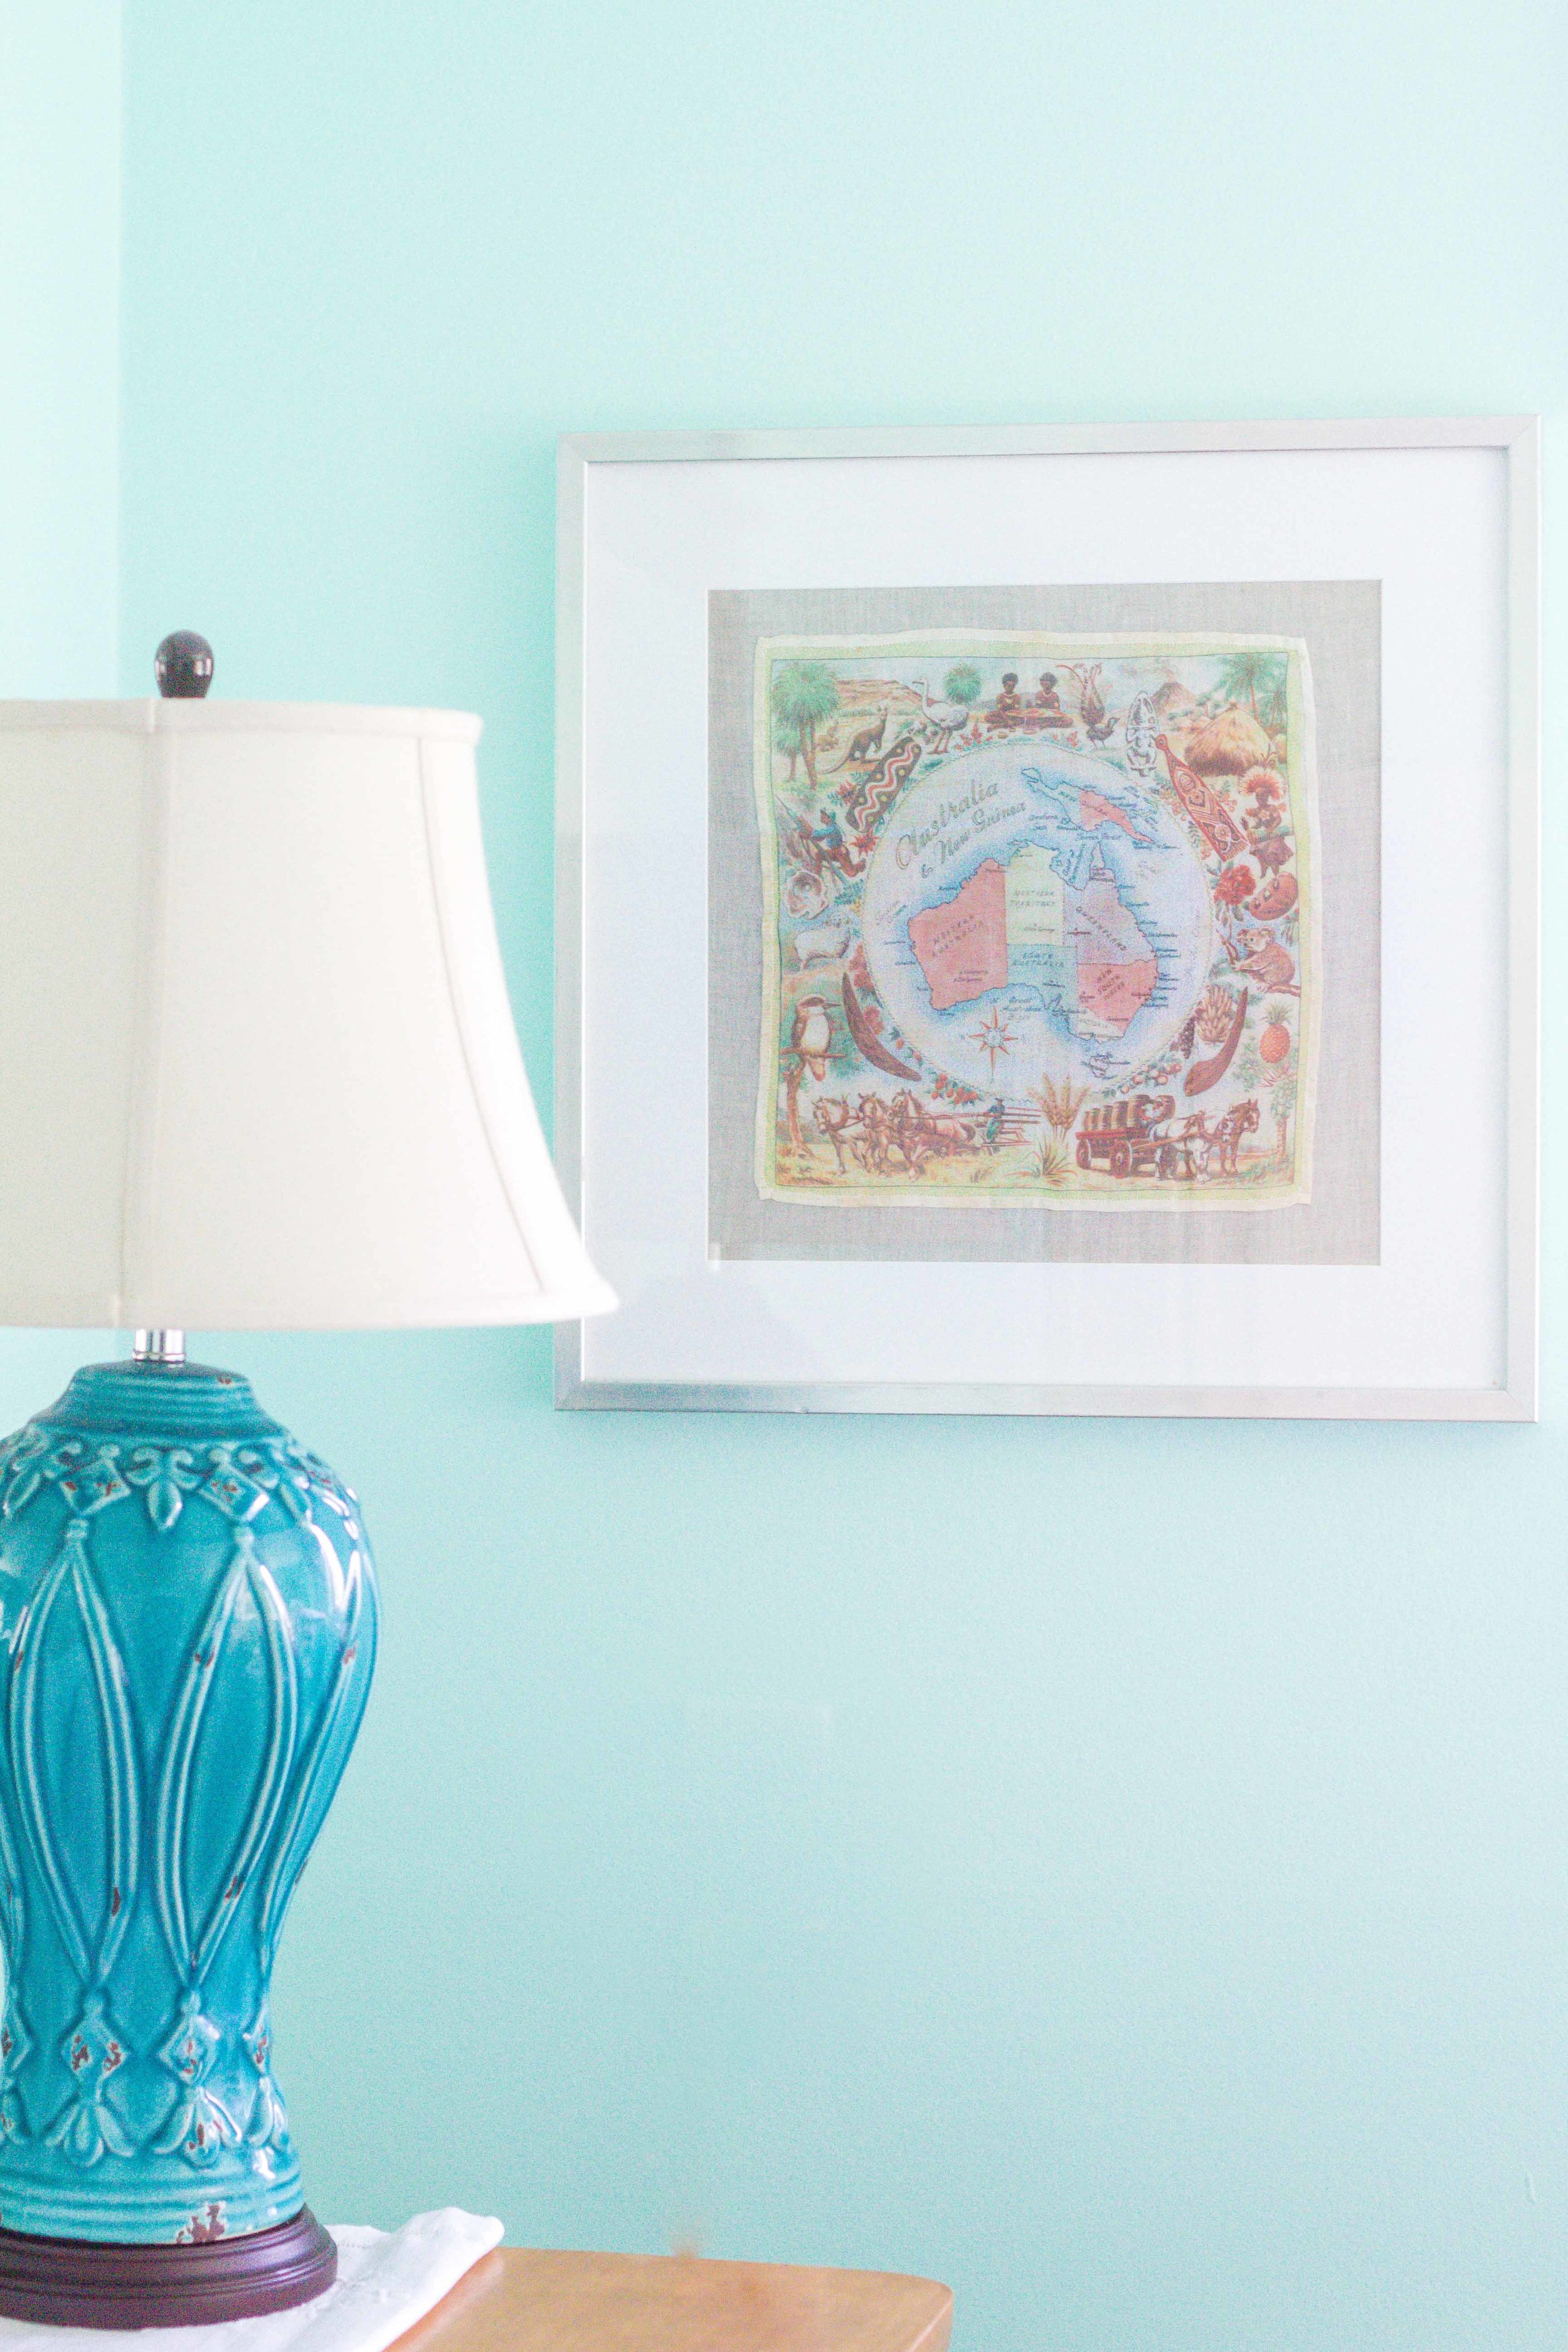
Frame or shadowbox? This depends on how much volume your item has. For the items pictured here, I used shadowboxes for everything except the handkerchief. Since it was so thin, I used a frame, but I had a mat cut and chose a thicker mat which keeps the fabric from touching the glass.
To prevent damage to the garment, make sure the frame or shadowbox — and all other materials — is archival quality and acid-free.
Note on Fabric Choices: I used an Italian, unbleached linen to mount my items. Choose something organic, if possible. Be sure to wash and iron your fabric before you begin.

A vintage handkerchief from Australia, matted and framed in our Spring 2019 One Room Challenge space, the Guest Room Refresh.

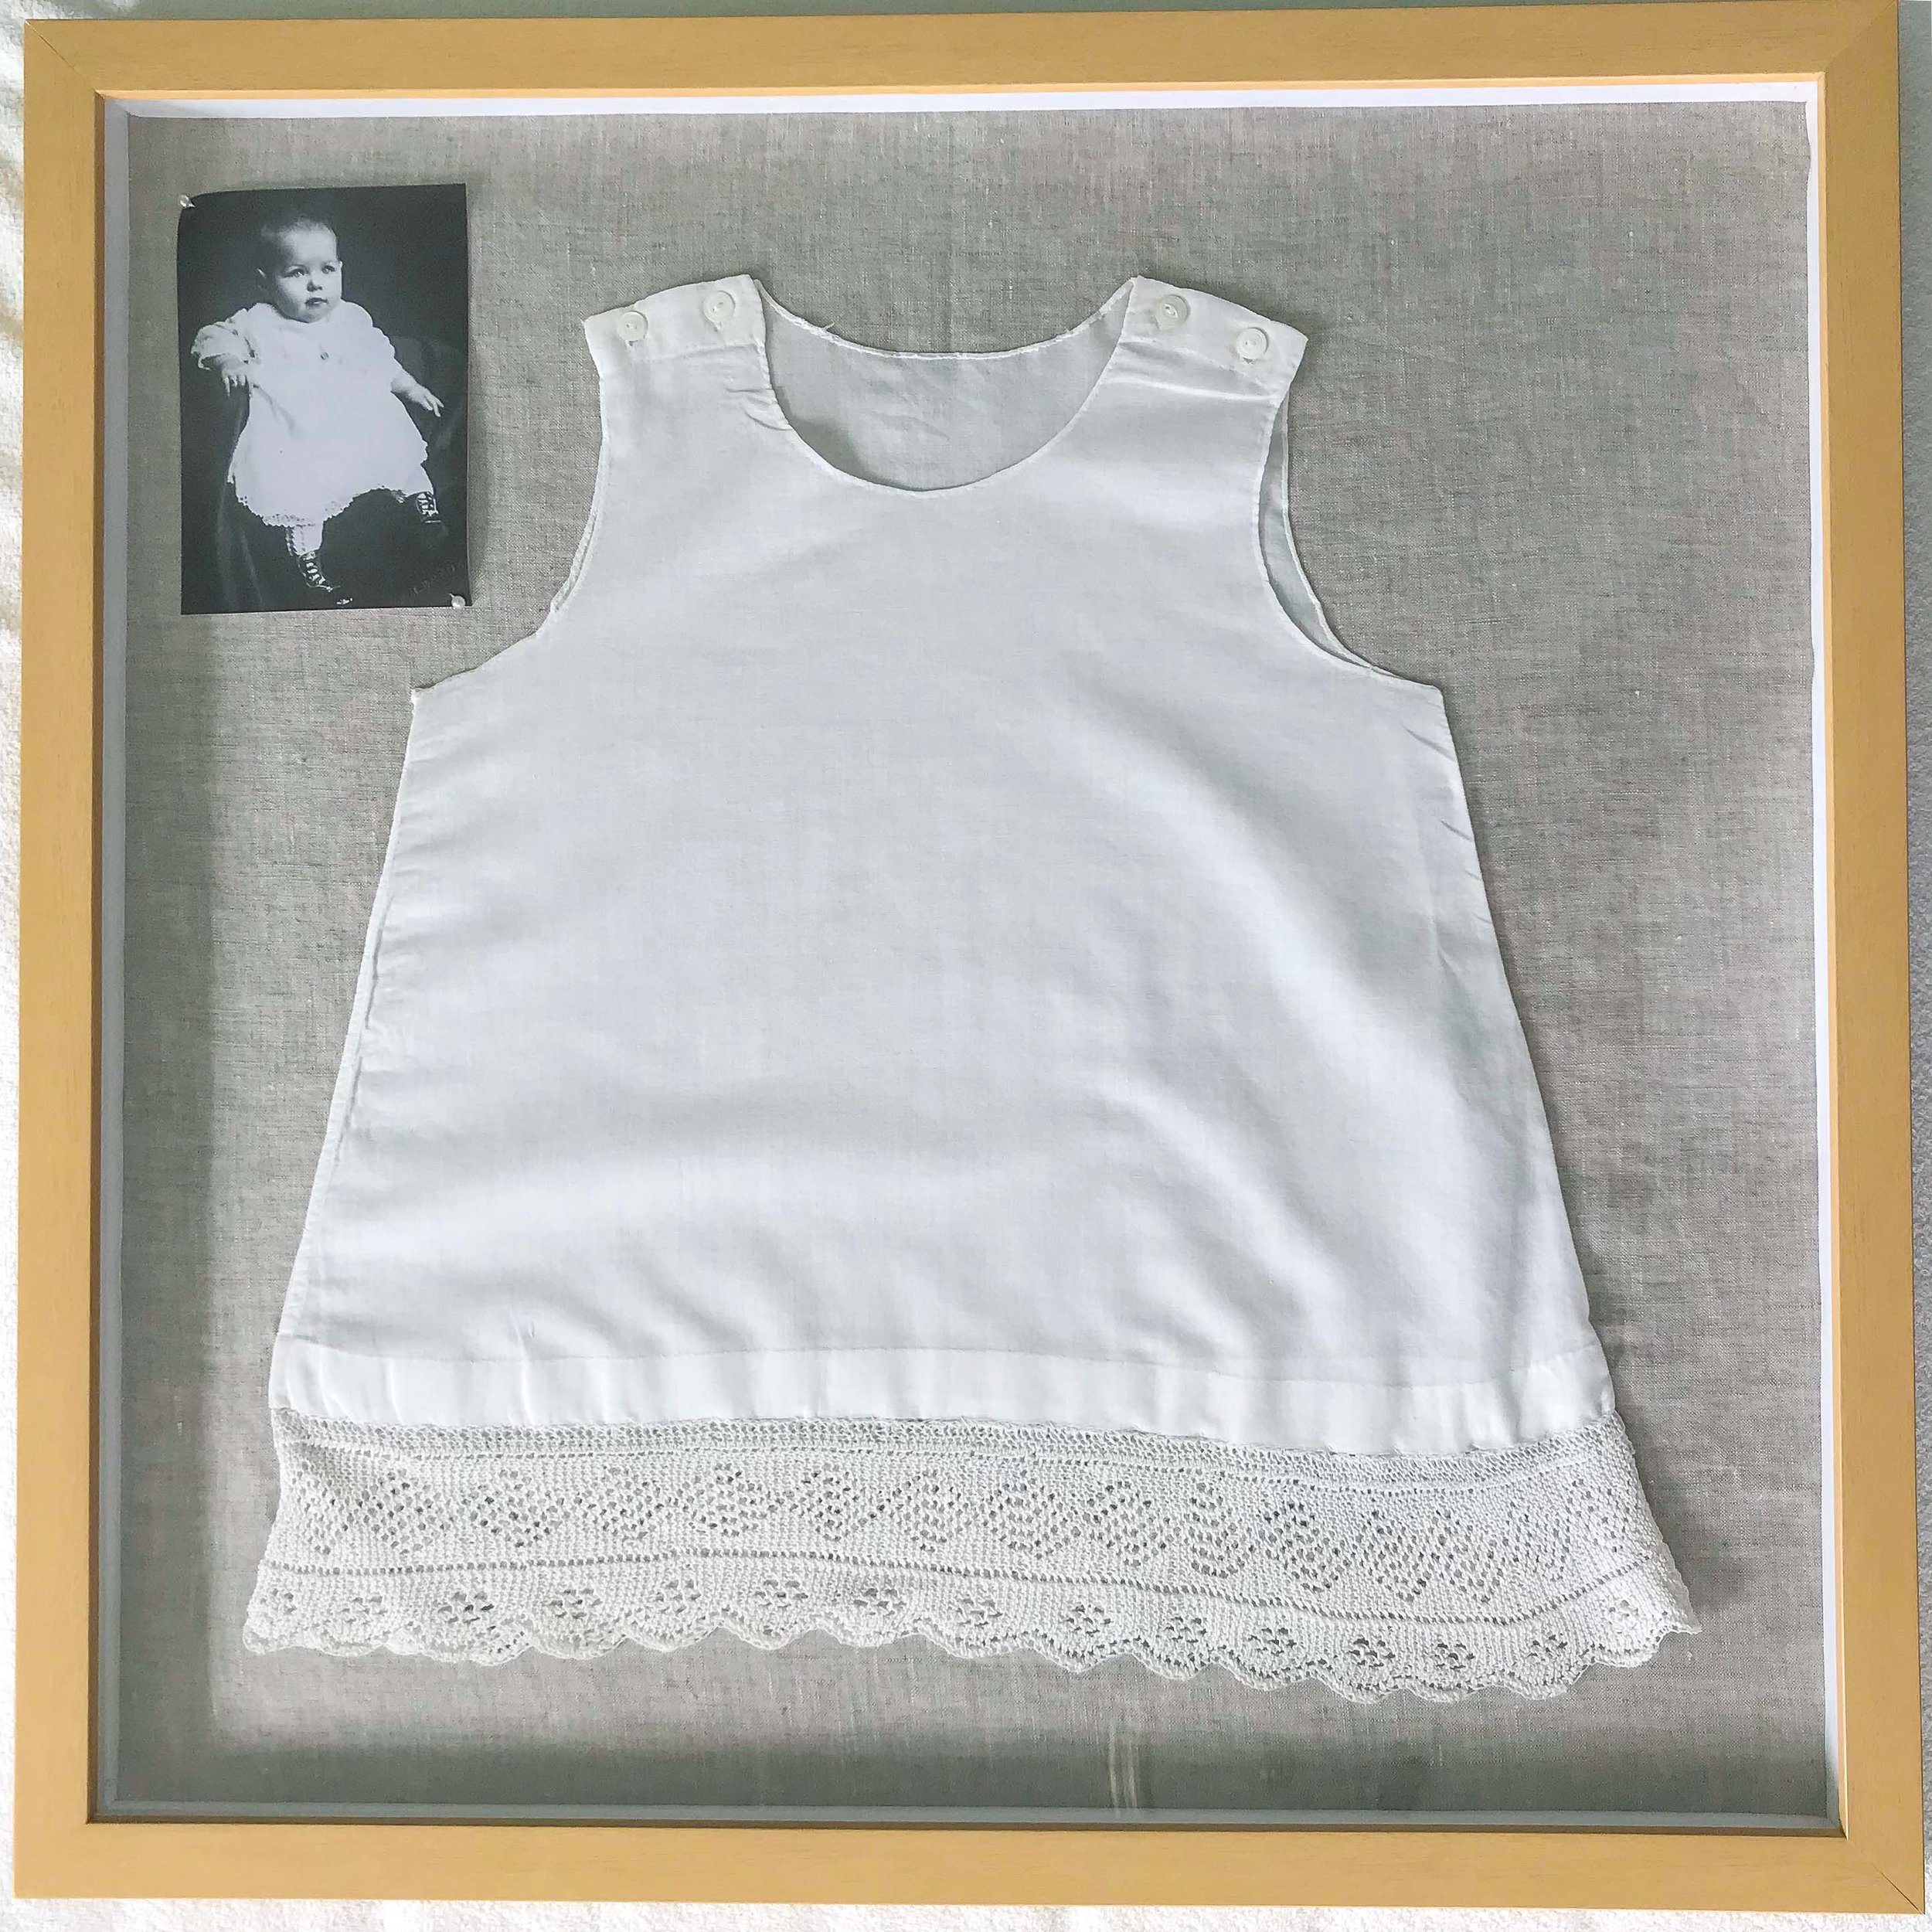
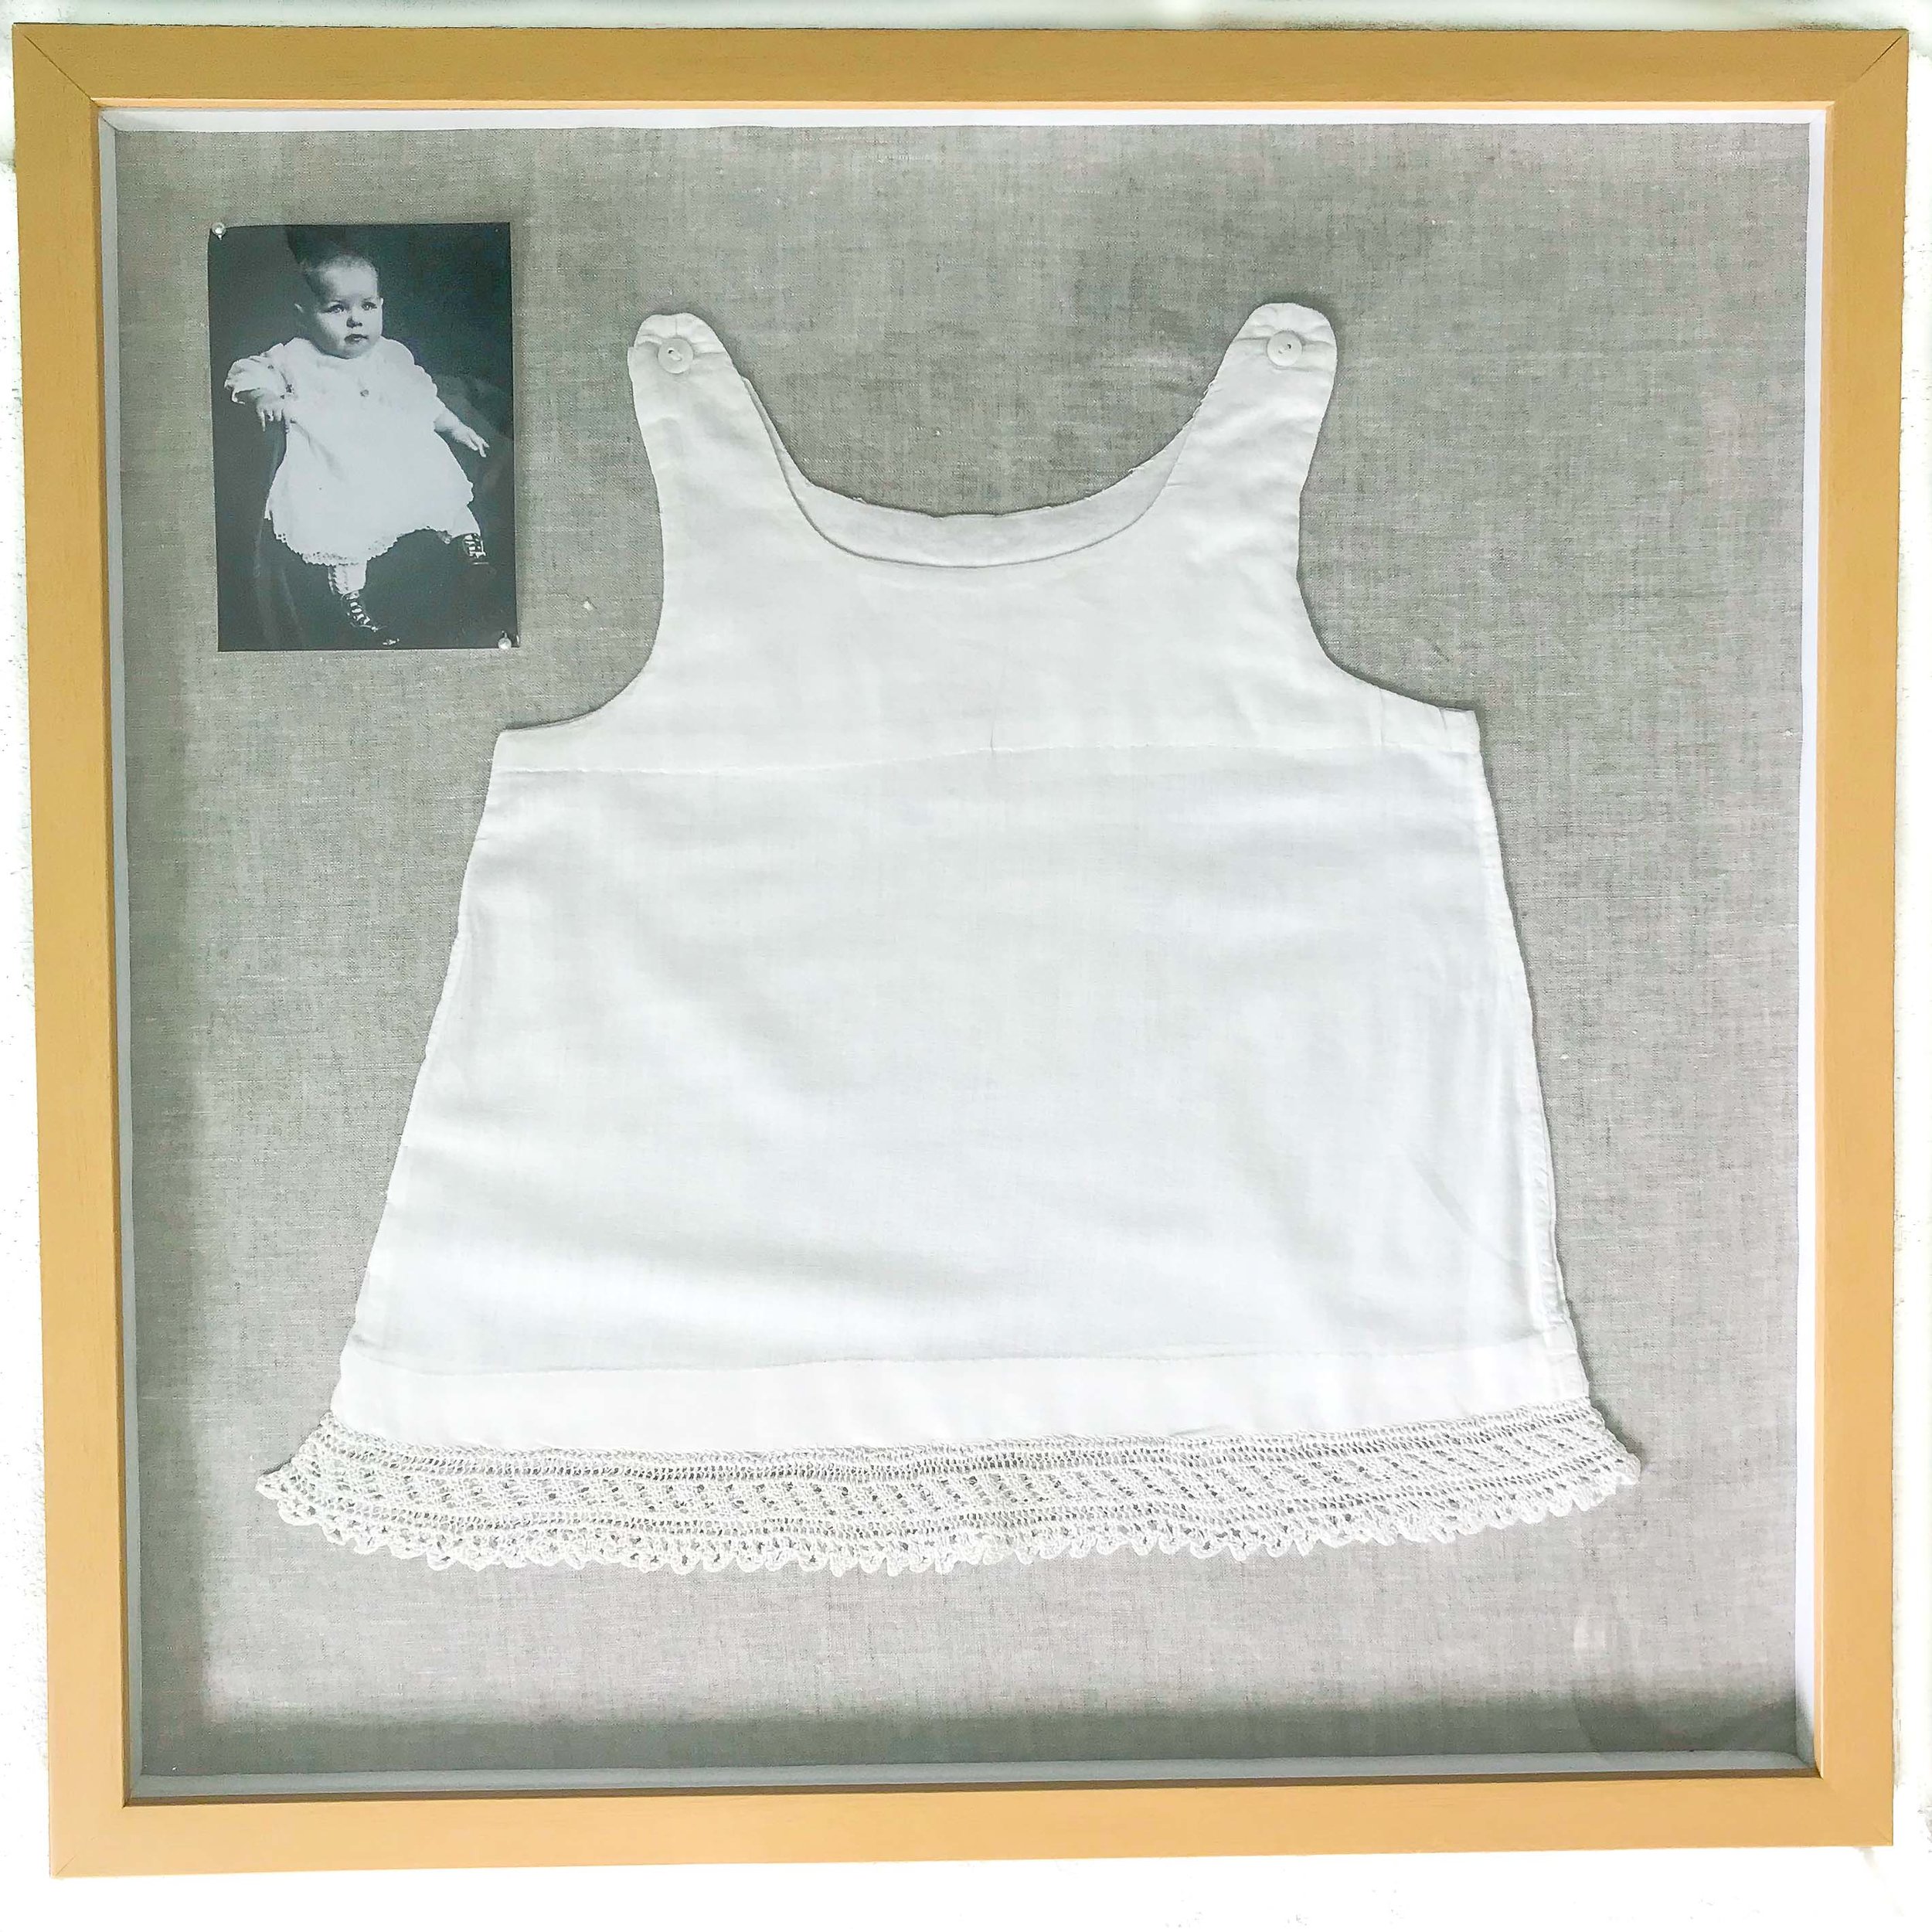
A slip with handmade lace

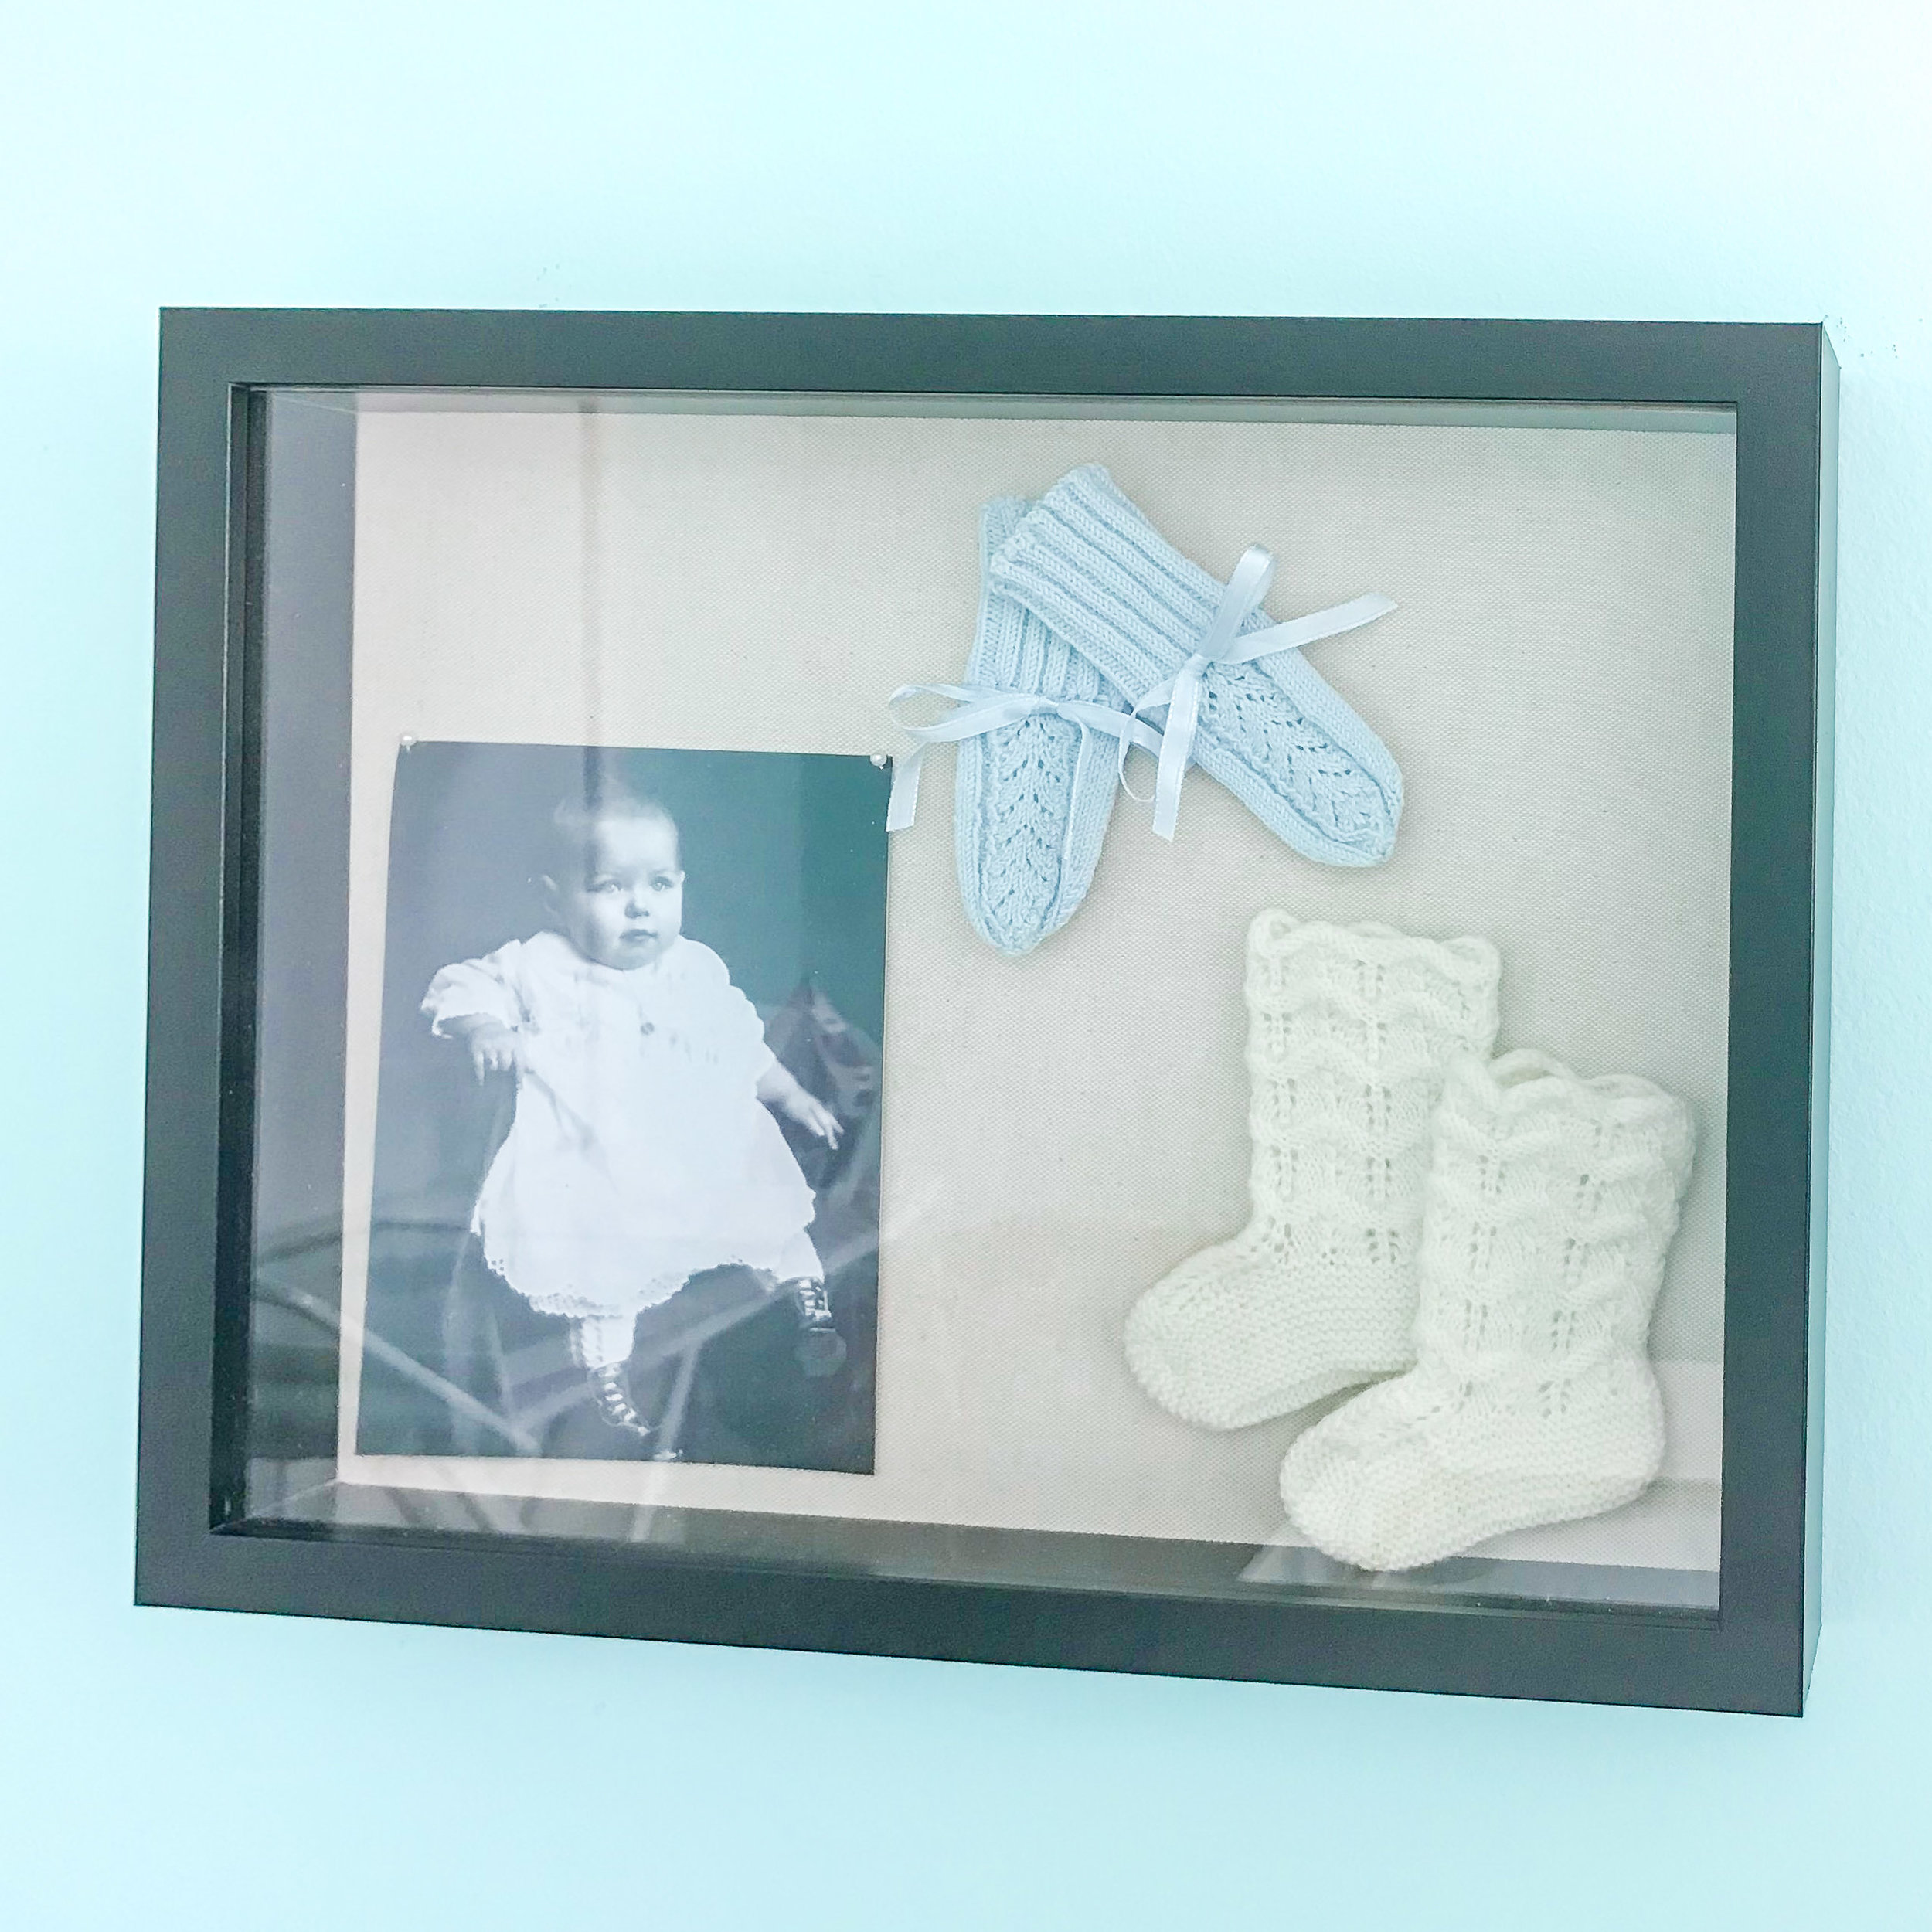
Handknit booties & mittens

Tiny slip; handmade lace

Step 1: Clean your Garment
Vintage fabrics require special care, and you don’t want to frame them with stains or other blemishes in the fabric, so give them a good, gentle cleaning before you begin. I have a process I have used with great results. Click the link above for details.

Step 2: Measure & Cut Backing Fabric
Place the backing of the frame or shadowbox on top of the ironed backing fabric, and cut around it leaving a 3 inch margin on all sides. You will eventually wrap the fabric to the back of the back panel, so you want to have plenty of fabric with which to work.

Step 3: Center the Garment & Pin
Mark the center of your backing fabric, and center your garment. Carefully pin the garment to the backing fabric pinning in the seams when possible.

Step 4: Baste together
Using cotton thread in a coordinating color, baste the garment to the backing fabric. Wherever possible, place the stitches in seams and folds so that they disappear. Remove the pins, and iron everything again.

Step 5: Attach to the Backer
Lay the fabric and garment face down on a table. Center the frame or shadowbox’s backer on the fabric, and flip it over. Fine tune it until the item is completely centered. Place some clamps or paperclips at the corners to hold it together and in place.
Apply double-stick tape to all four sides of the backer about an inch from the edge. Begin at one edge and pull gently to stick the fabric to the tape. Then work the opposite side. Check the tension on the front; make sure the garment is still centered. Now do the other two sides.

Step 6: Tidy the Back
Once the fabric is mounted and you have confirmed that the garment is centered, you can trim the back edges if they are too long and floppy. Then neatly fold the fabric at each corner and secure it with a straight pin.

Step 7: Assemble the Frame or Shadowbox
Now put it all back together, and admire your work!
I hope your framed garments turn out beautifully! And they make lovely gifts for very special people in your life as well.
Sources
I purchased the Italian linen used for all of these projects at Elfriede’s Fine Fabrics; similar linen is available at fine fabric stores near you.


This is part of a larger post about the bedding and framed art choices for the Guest Room Refresh. Check out the rest of this week’s update here:
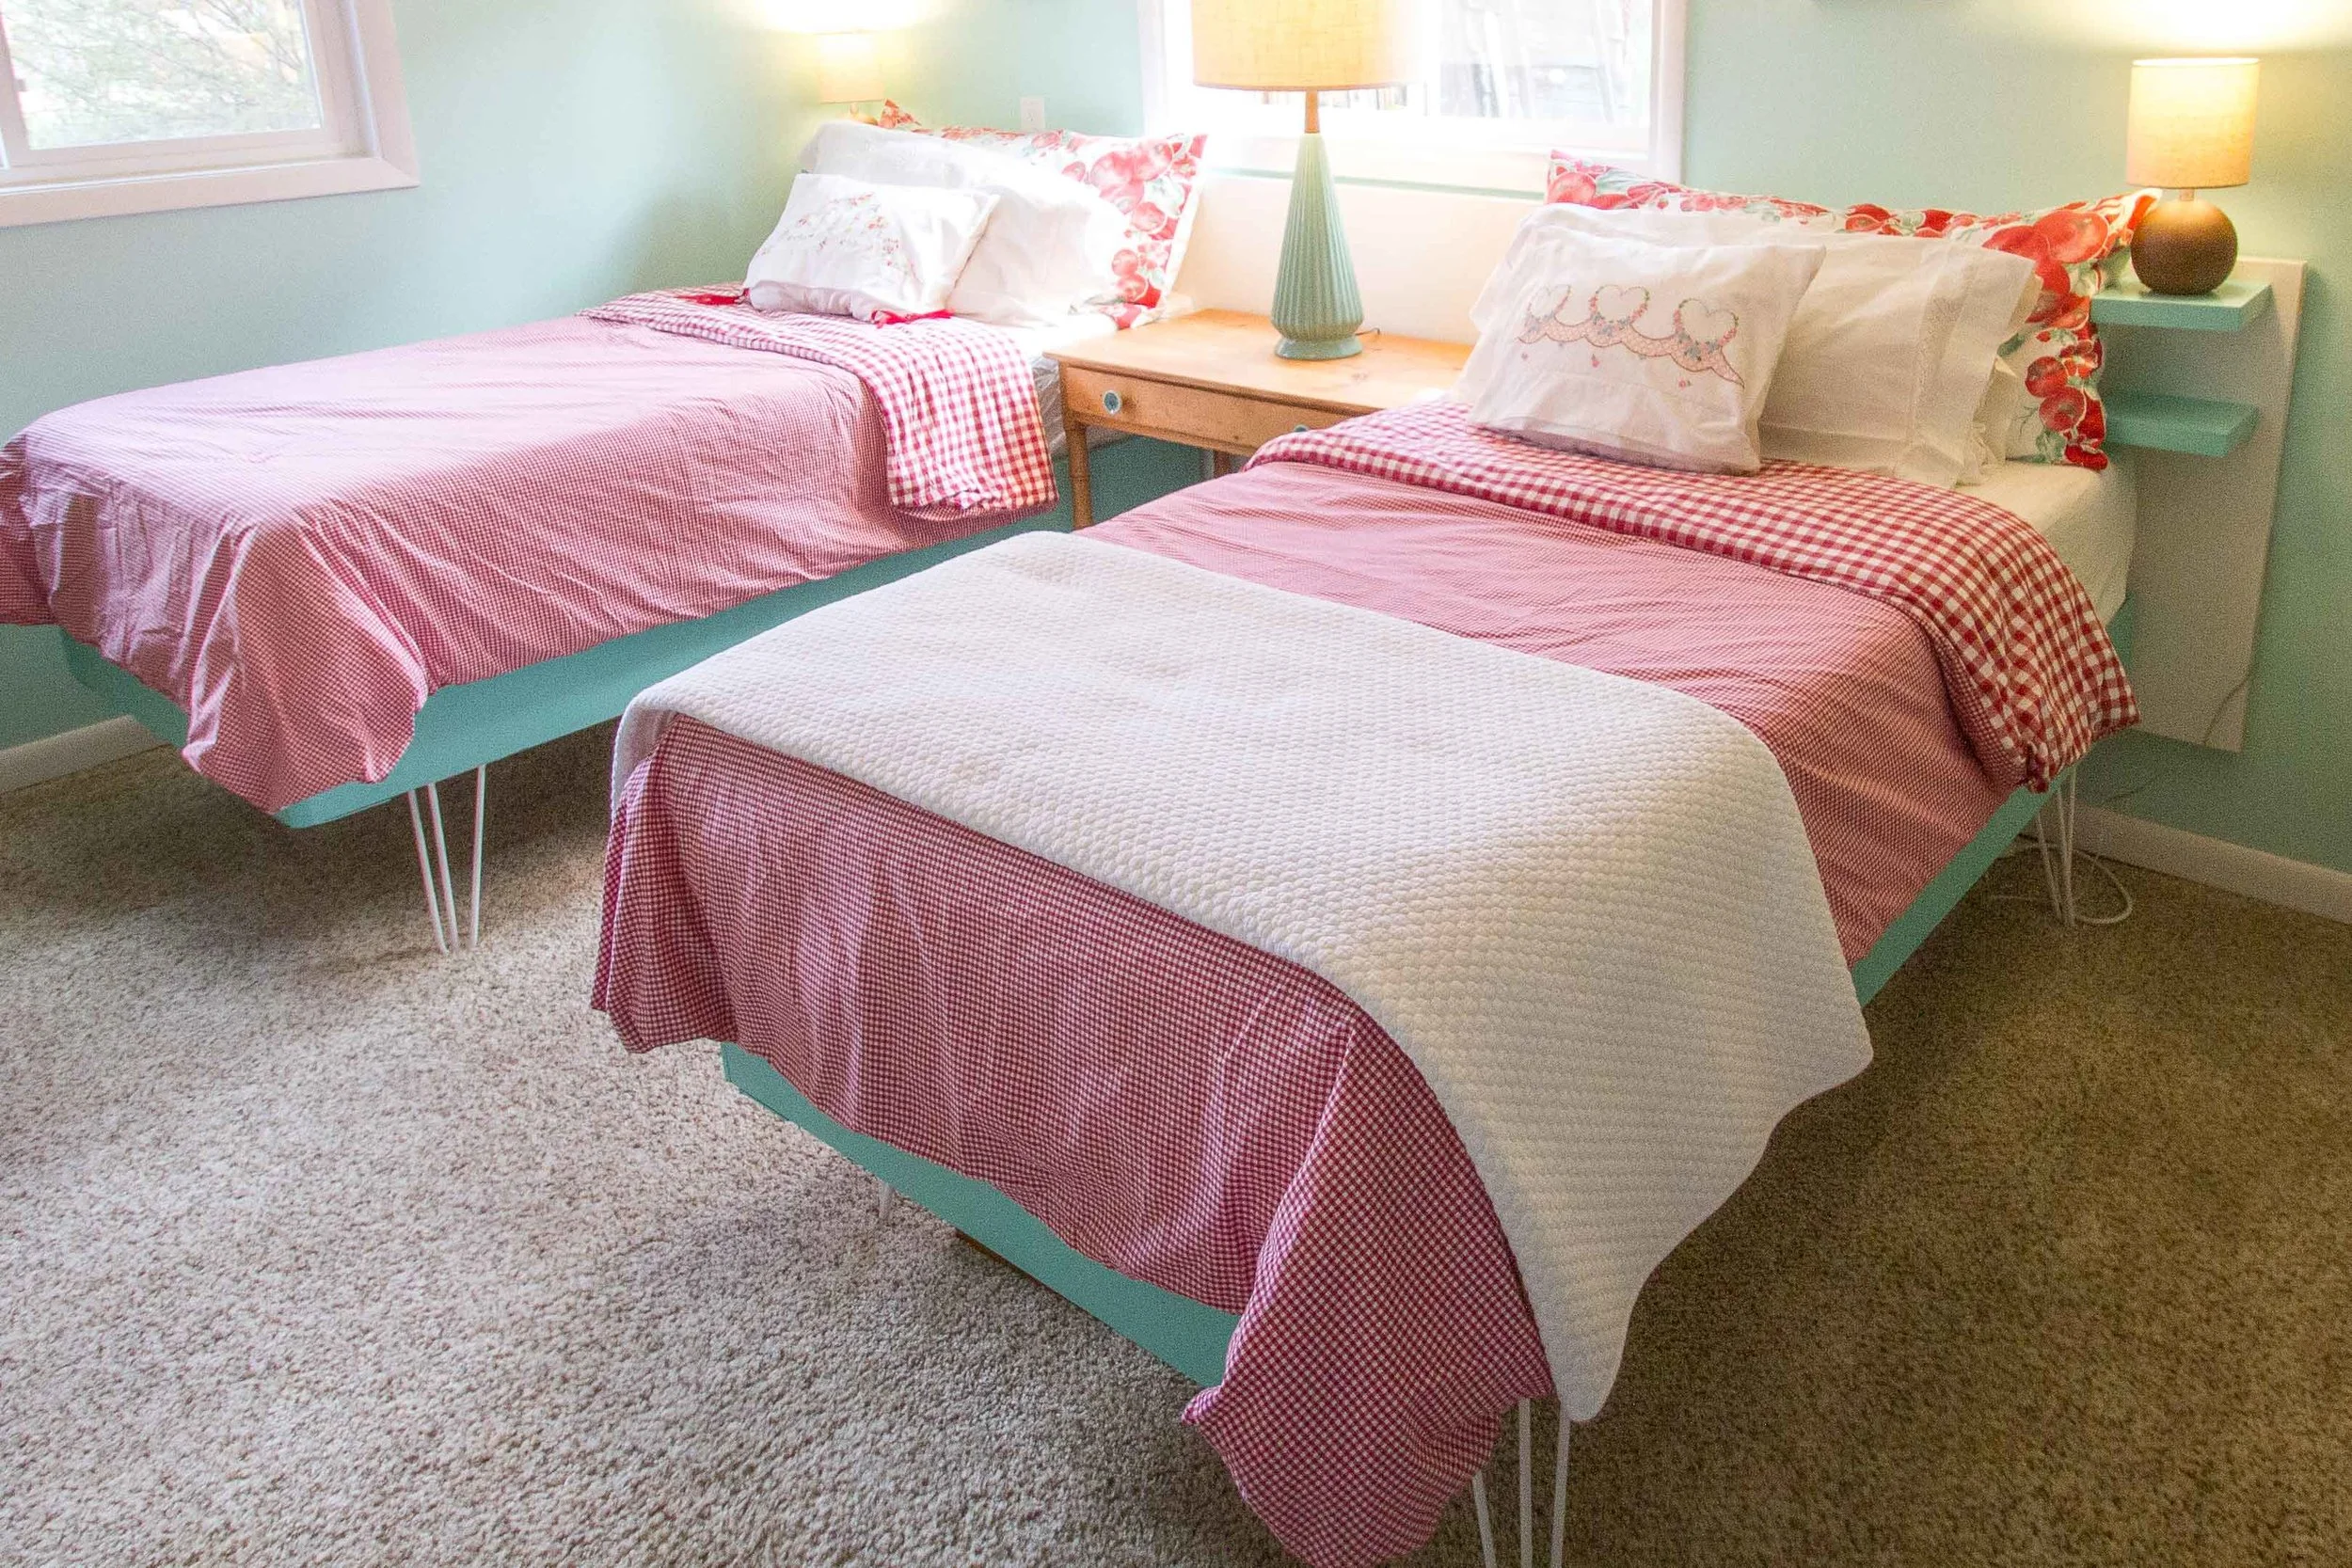
Bedding & Linens
Spring 2019
One Room Challenge
And for all the details on the Spring 2019 One Room Challenge including other DIY projects and decor choices, click the link below:
Pin it!

Step-by-step instructions for framing vintage and sentimental linens including christening gowns, baby dresses, baby bonnets, and vintage handkerchiefs. Using the simple DIY method, clothes, shoes, day gowns, and other baby clothes can be framed in shadow boxes or frames creating unique wall art for children. Makes a wonderful gift, too!