

Three Easy DIY Pillows
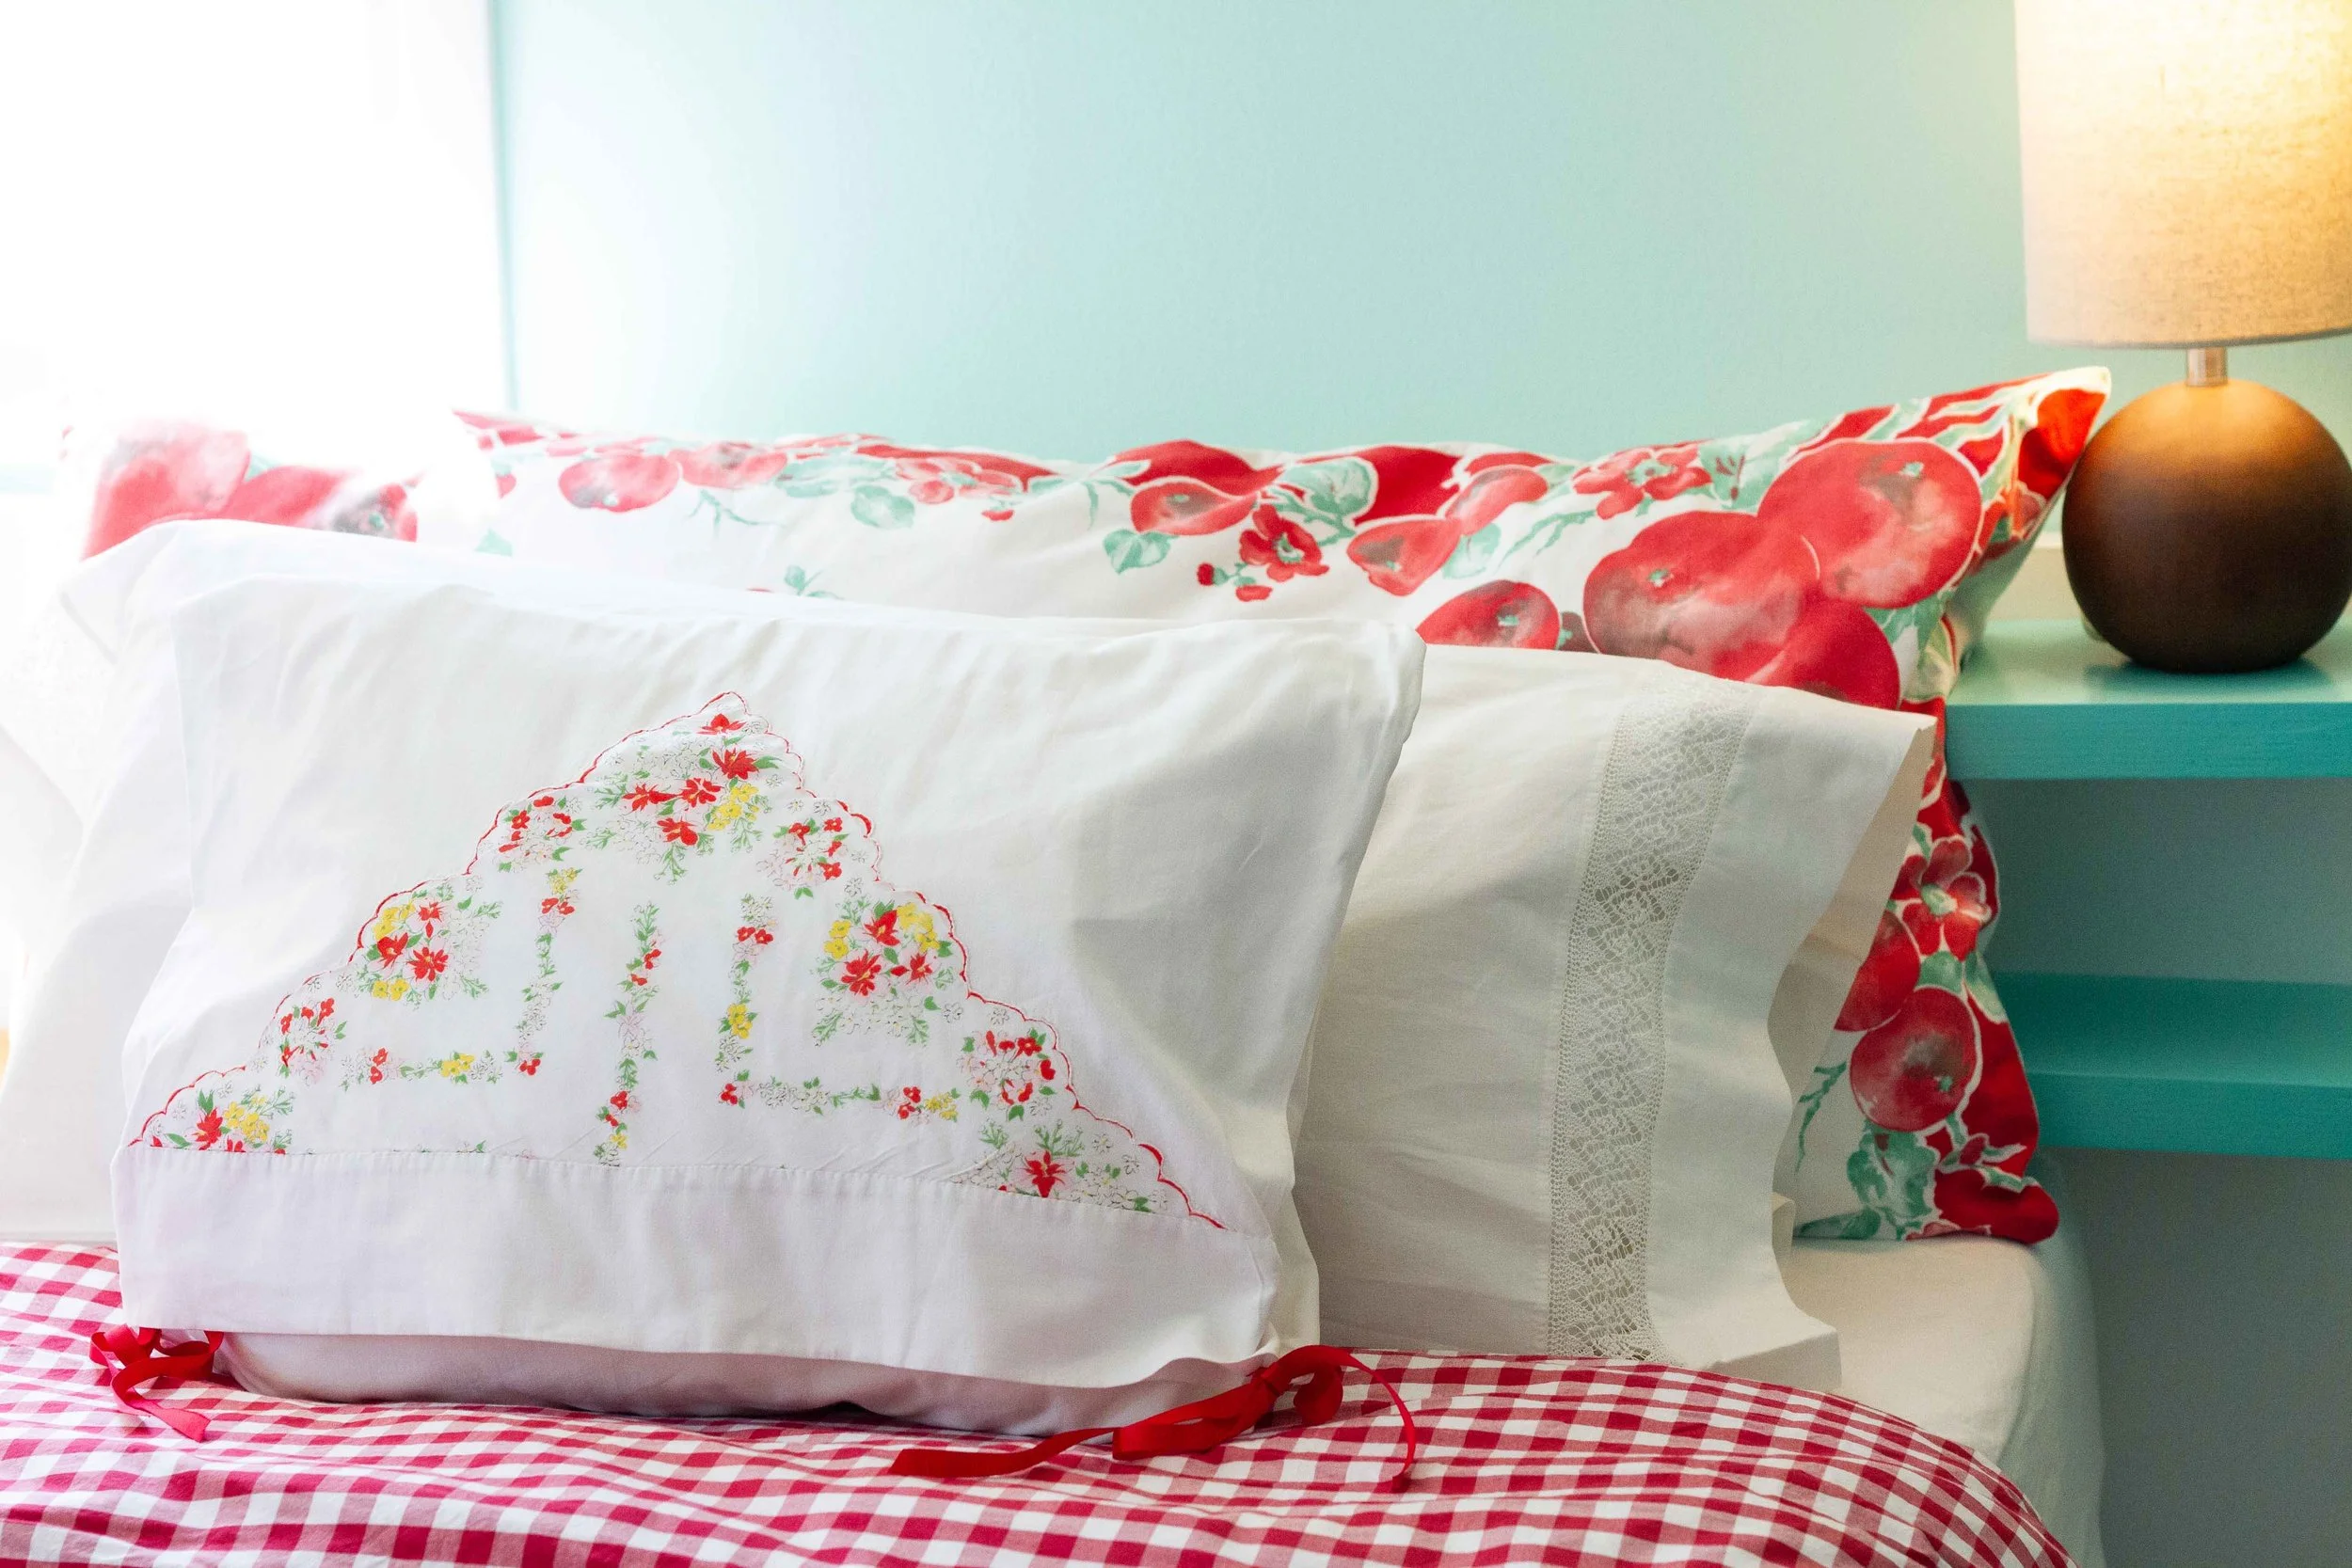
I absolutely love vintage linens, and when I inherited a box full from my grandmother’s house last year, I set about finding new ways to use and repurpose them. As I was planning my Guest Room Refresh for the Spring 2019 One Room Challenge, those vintage linens were at the top of the project list. I had several sets of pillowcases which I thought would be fantastic in the room, but I didn’t want to subject them to the stress of being washed frequently. So rather than using them as the main bedding, I came up with two easy ways to create accent pillows from these vintage pillowcases.
Both of these solutions can be done either with a sewing machine or by hand. In fact, they are simple enough that doing them by hand might take less time! The third accent pillow was made using new fabric, but the same method could easily be used with vintage fabrics including tablecloths, sheets, or yardage.
Accent pillow with bow closures
Accent pillow with button closures
Pillowcase with overlapped ends
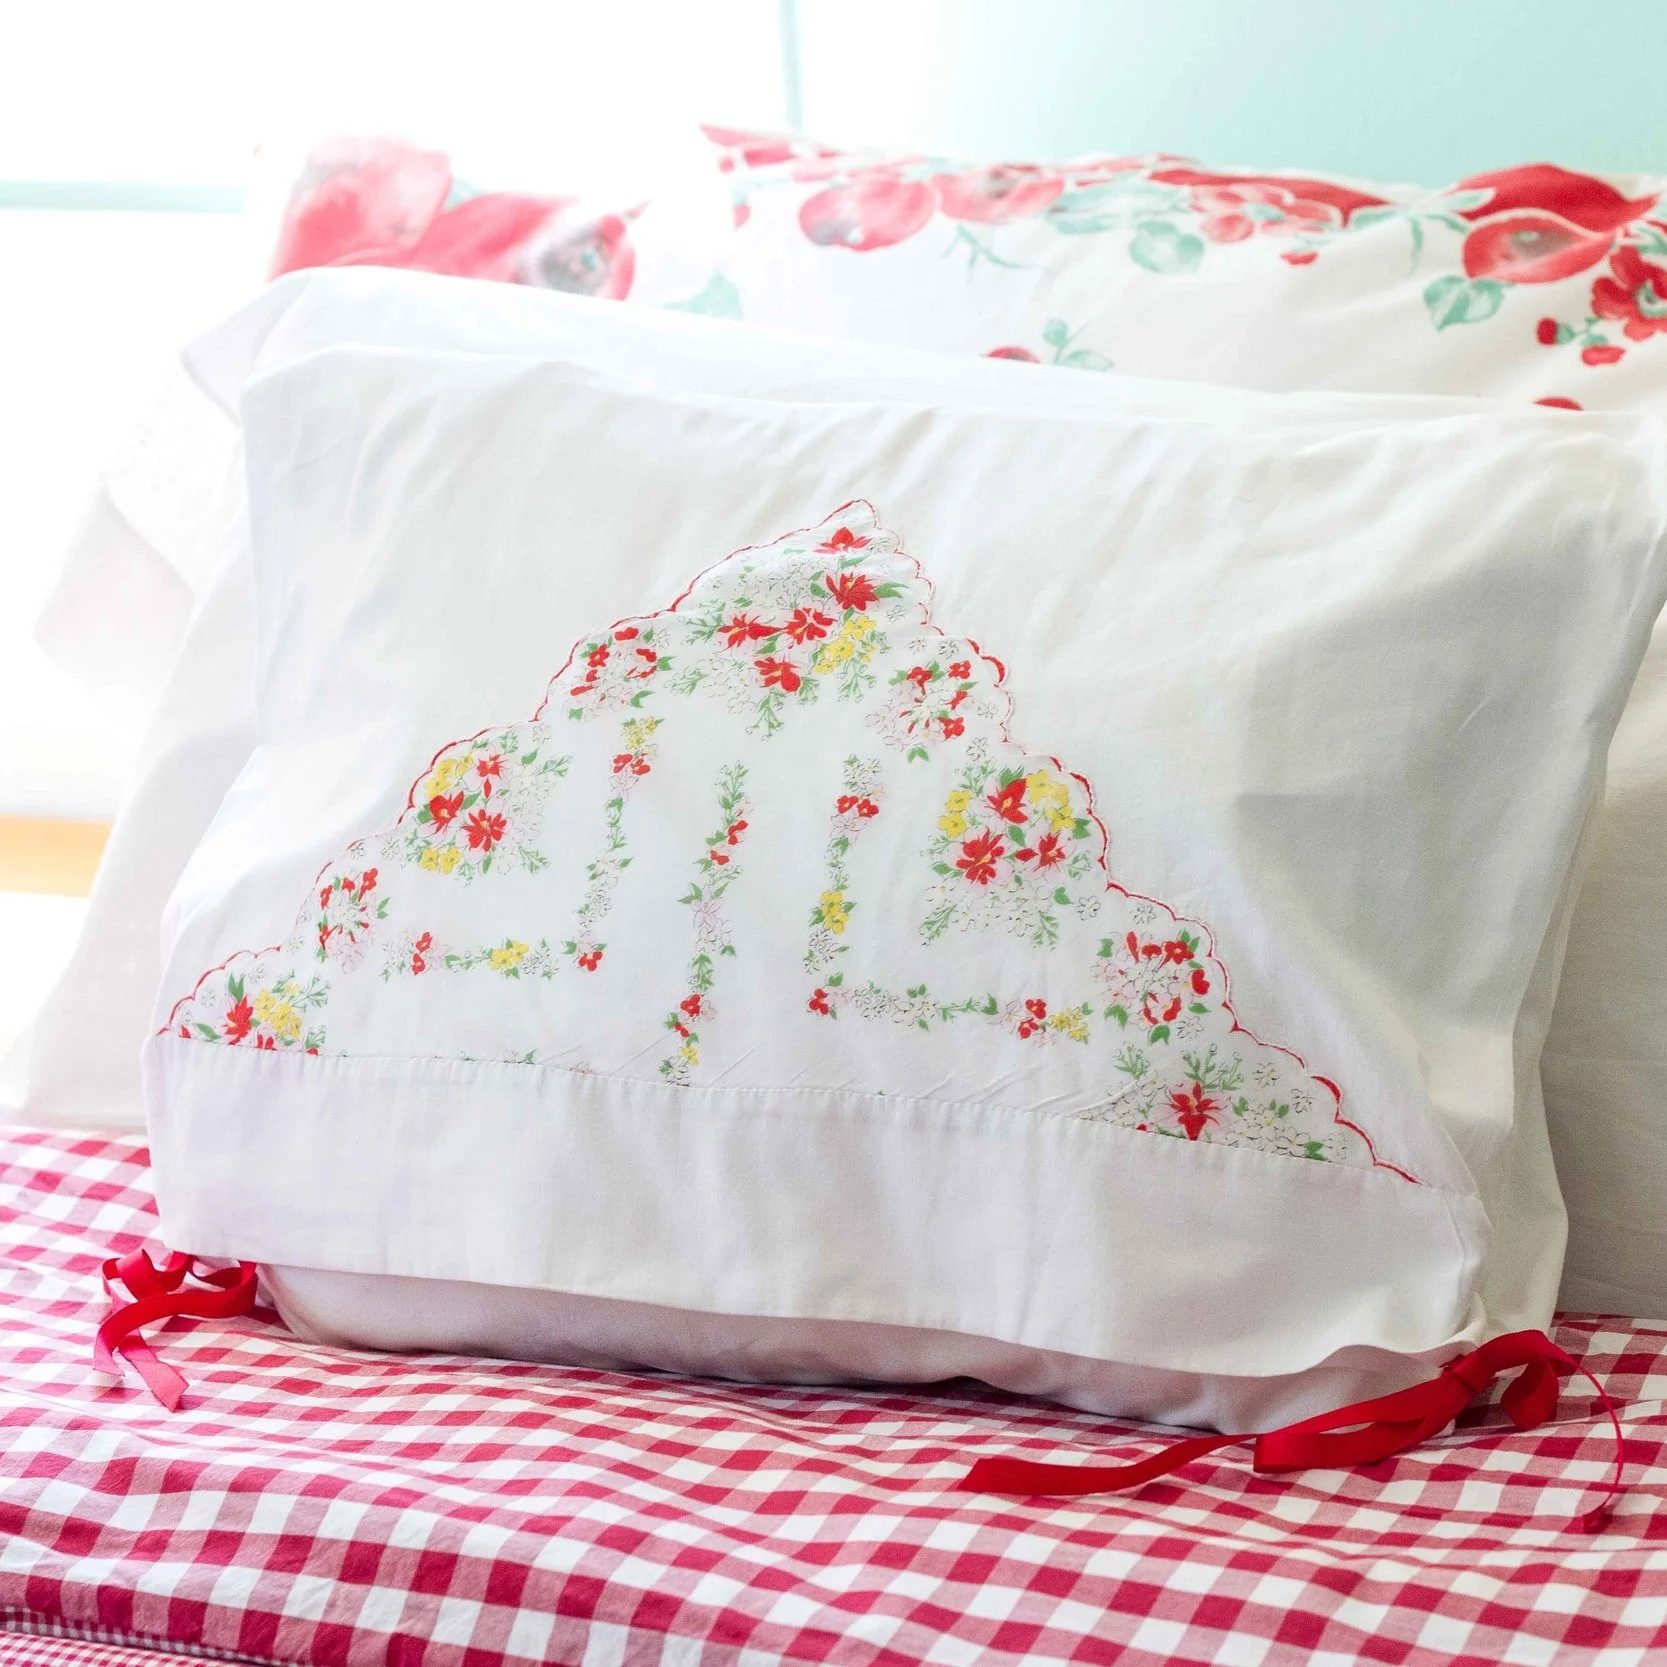
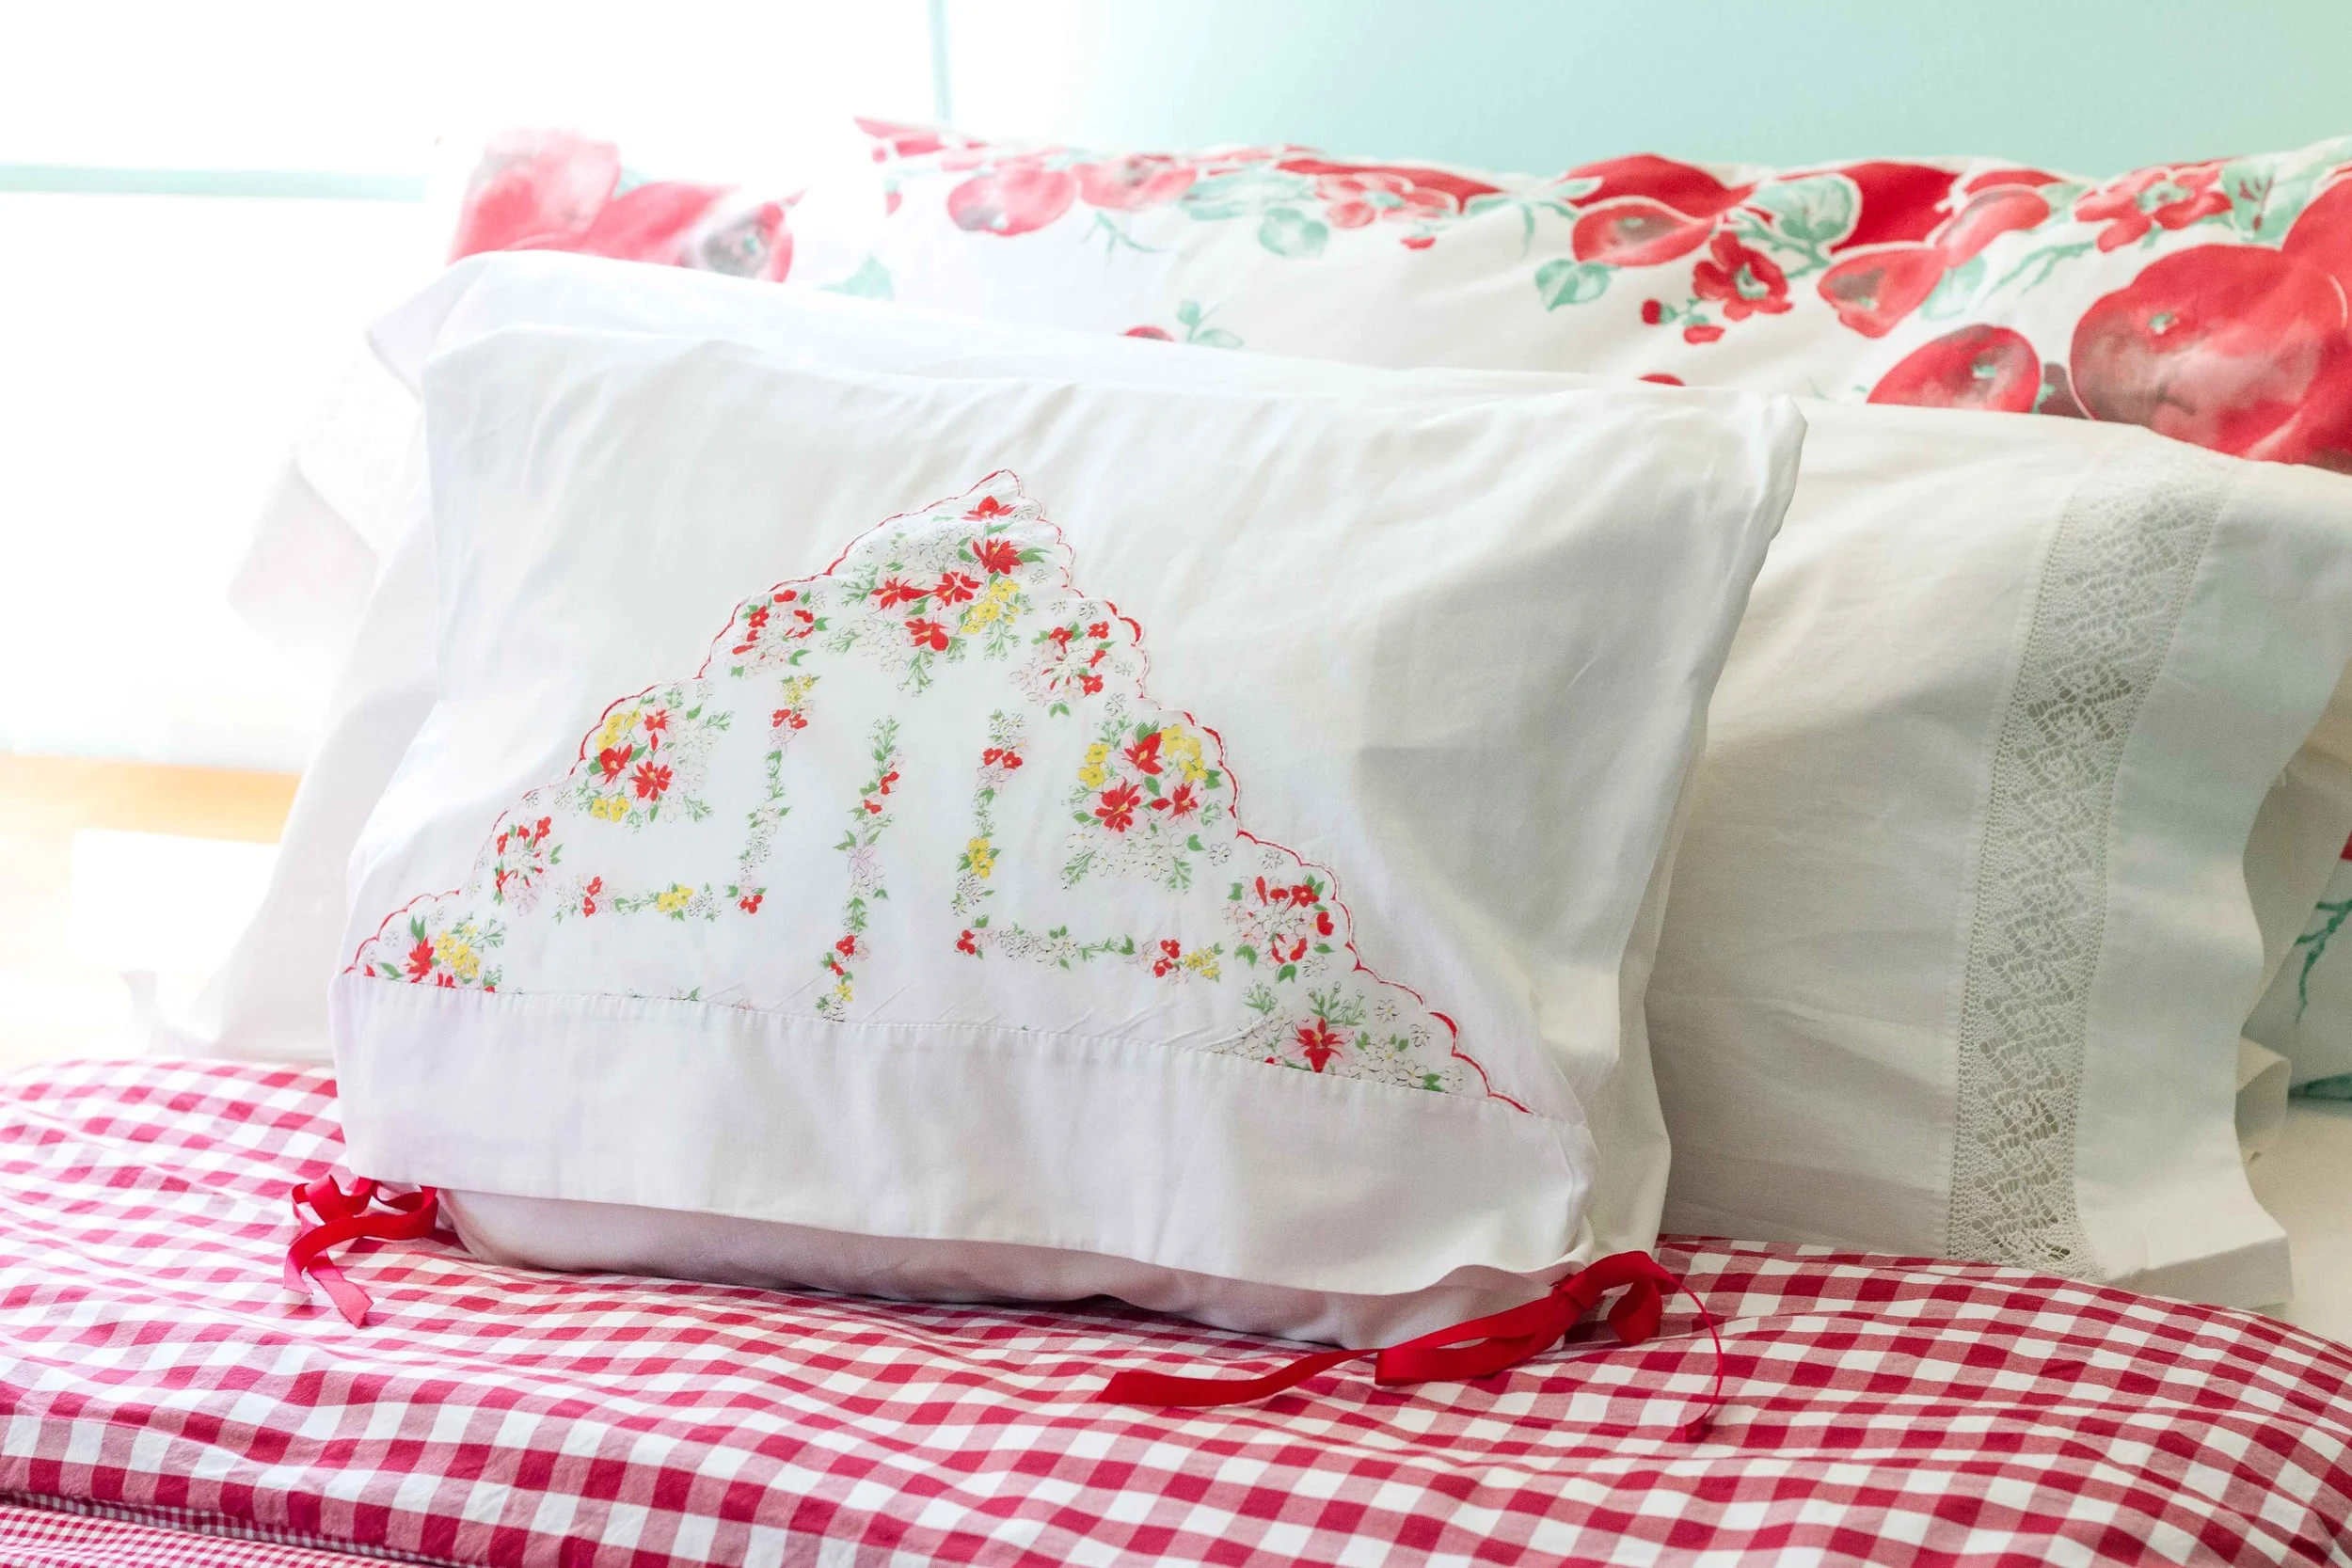
Accent Pillow with Bow Closures
Materials:
a vintage pillowcase
needle and thread or sewing machine
1 yard of ribbon in a coordinating color cut into 4 equal pieces
seam ripper
Pillow (see notes)
Notes: I used narrow grosgrain ribbon, but this was just what I had on hand. You could use wide ribbon to make big bows or very narrow ribbon to make smaller, more discreet bows.
The pillow’s size will be 1/2 the length and the same width as the pillowcase used. For a standard size pillowcase (20” x 26”, use something roughly 20” x 13”. However, if the pillow is squishy, the size is more flexible, and many vintage pillowcases aren’t a standard size. The ribbons allow you a little more leeway to tie it off where it looks best. You could even put the ribbons into the side seams rather than the bottom.

Step 1:Wash the Pillowcases
Depending on the condition and age of your pillowcases, you may want to use my soaking method for laundering your linens. I used it on the examples in this post, and they came out snowy white.

Step 2: Cut the Seams
Turn the pillowcase inside out. Using a seam ripper, make a hole in the seam near each bottom corner of the pillowcase. Only make the hole slightly larger than the ribbon you will thread through it.


Step 3: Pin the Ribbons
Thread one piece of ribbon through each hole with the long end on the right side of the pillowcase. Pin in place.
Pin the other ribbons — one on each side — inside the top of the pillowcase. My pillowcase has a seam about 2 inches from the hem, so I sewed my ribbons into that seam to hide the stitches.

Step 4: Sew Ribbons in Place
Using a machine or by hand, stitch the ribbons into place at each of the four spots closing the holes again with your stitching.
Step 5: Fill and Tie
Turn the pillowcase right side out. Iron it well. Fill with a pillow form, and tie the ribbons.
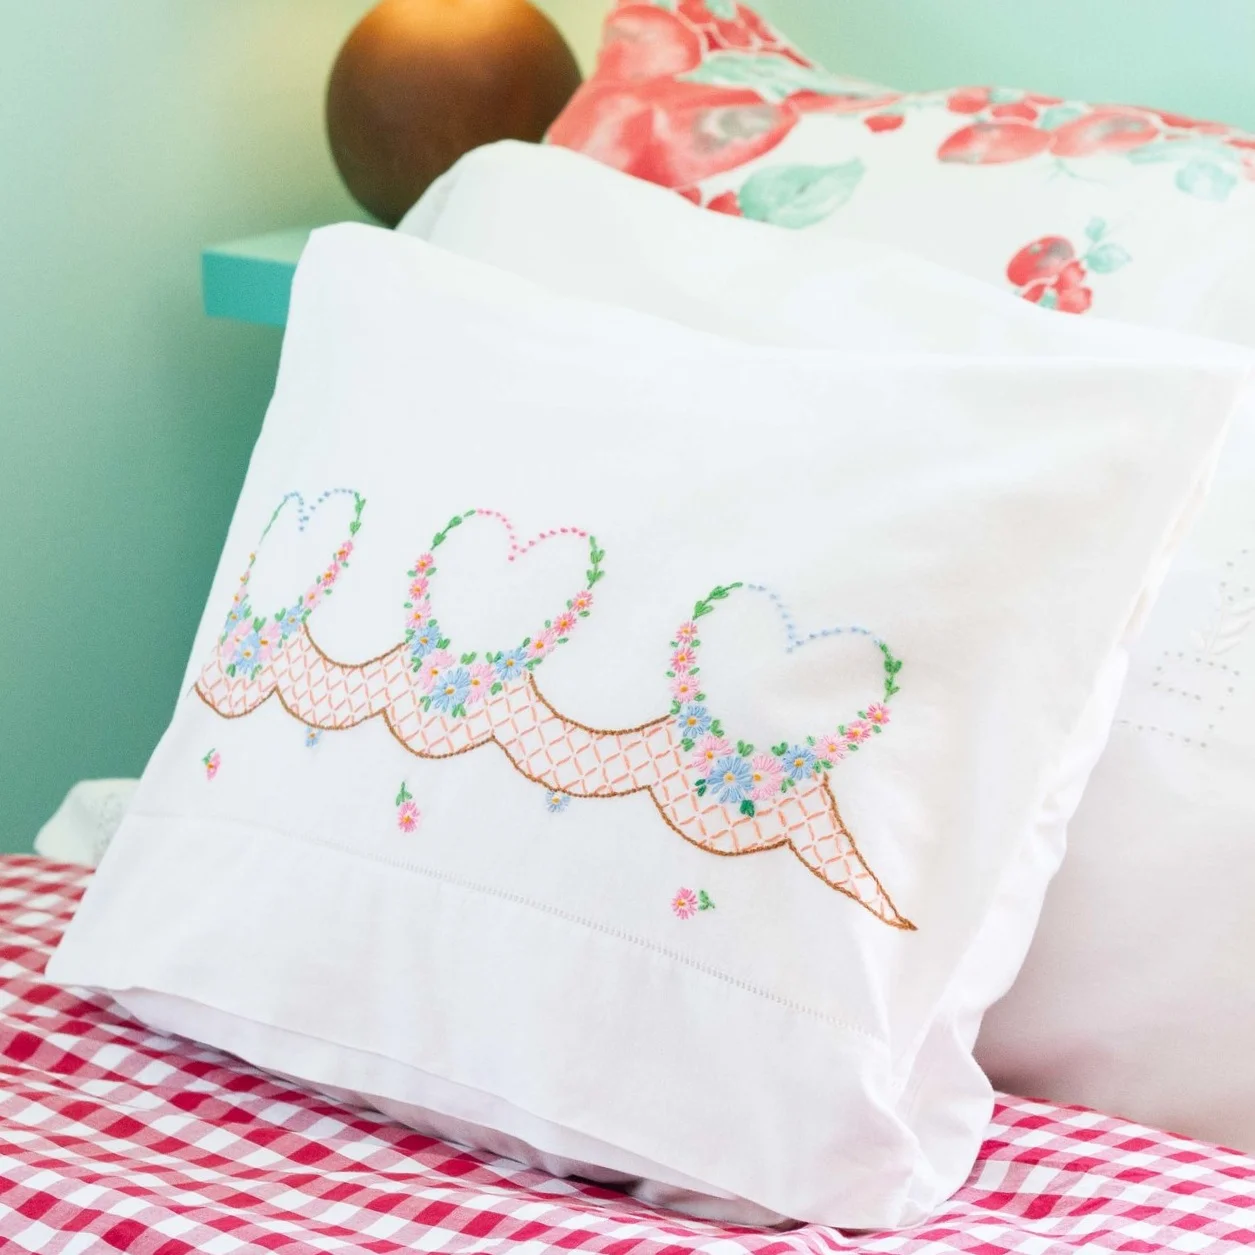
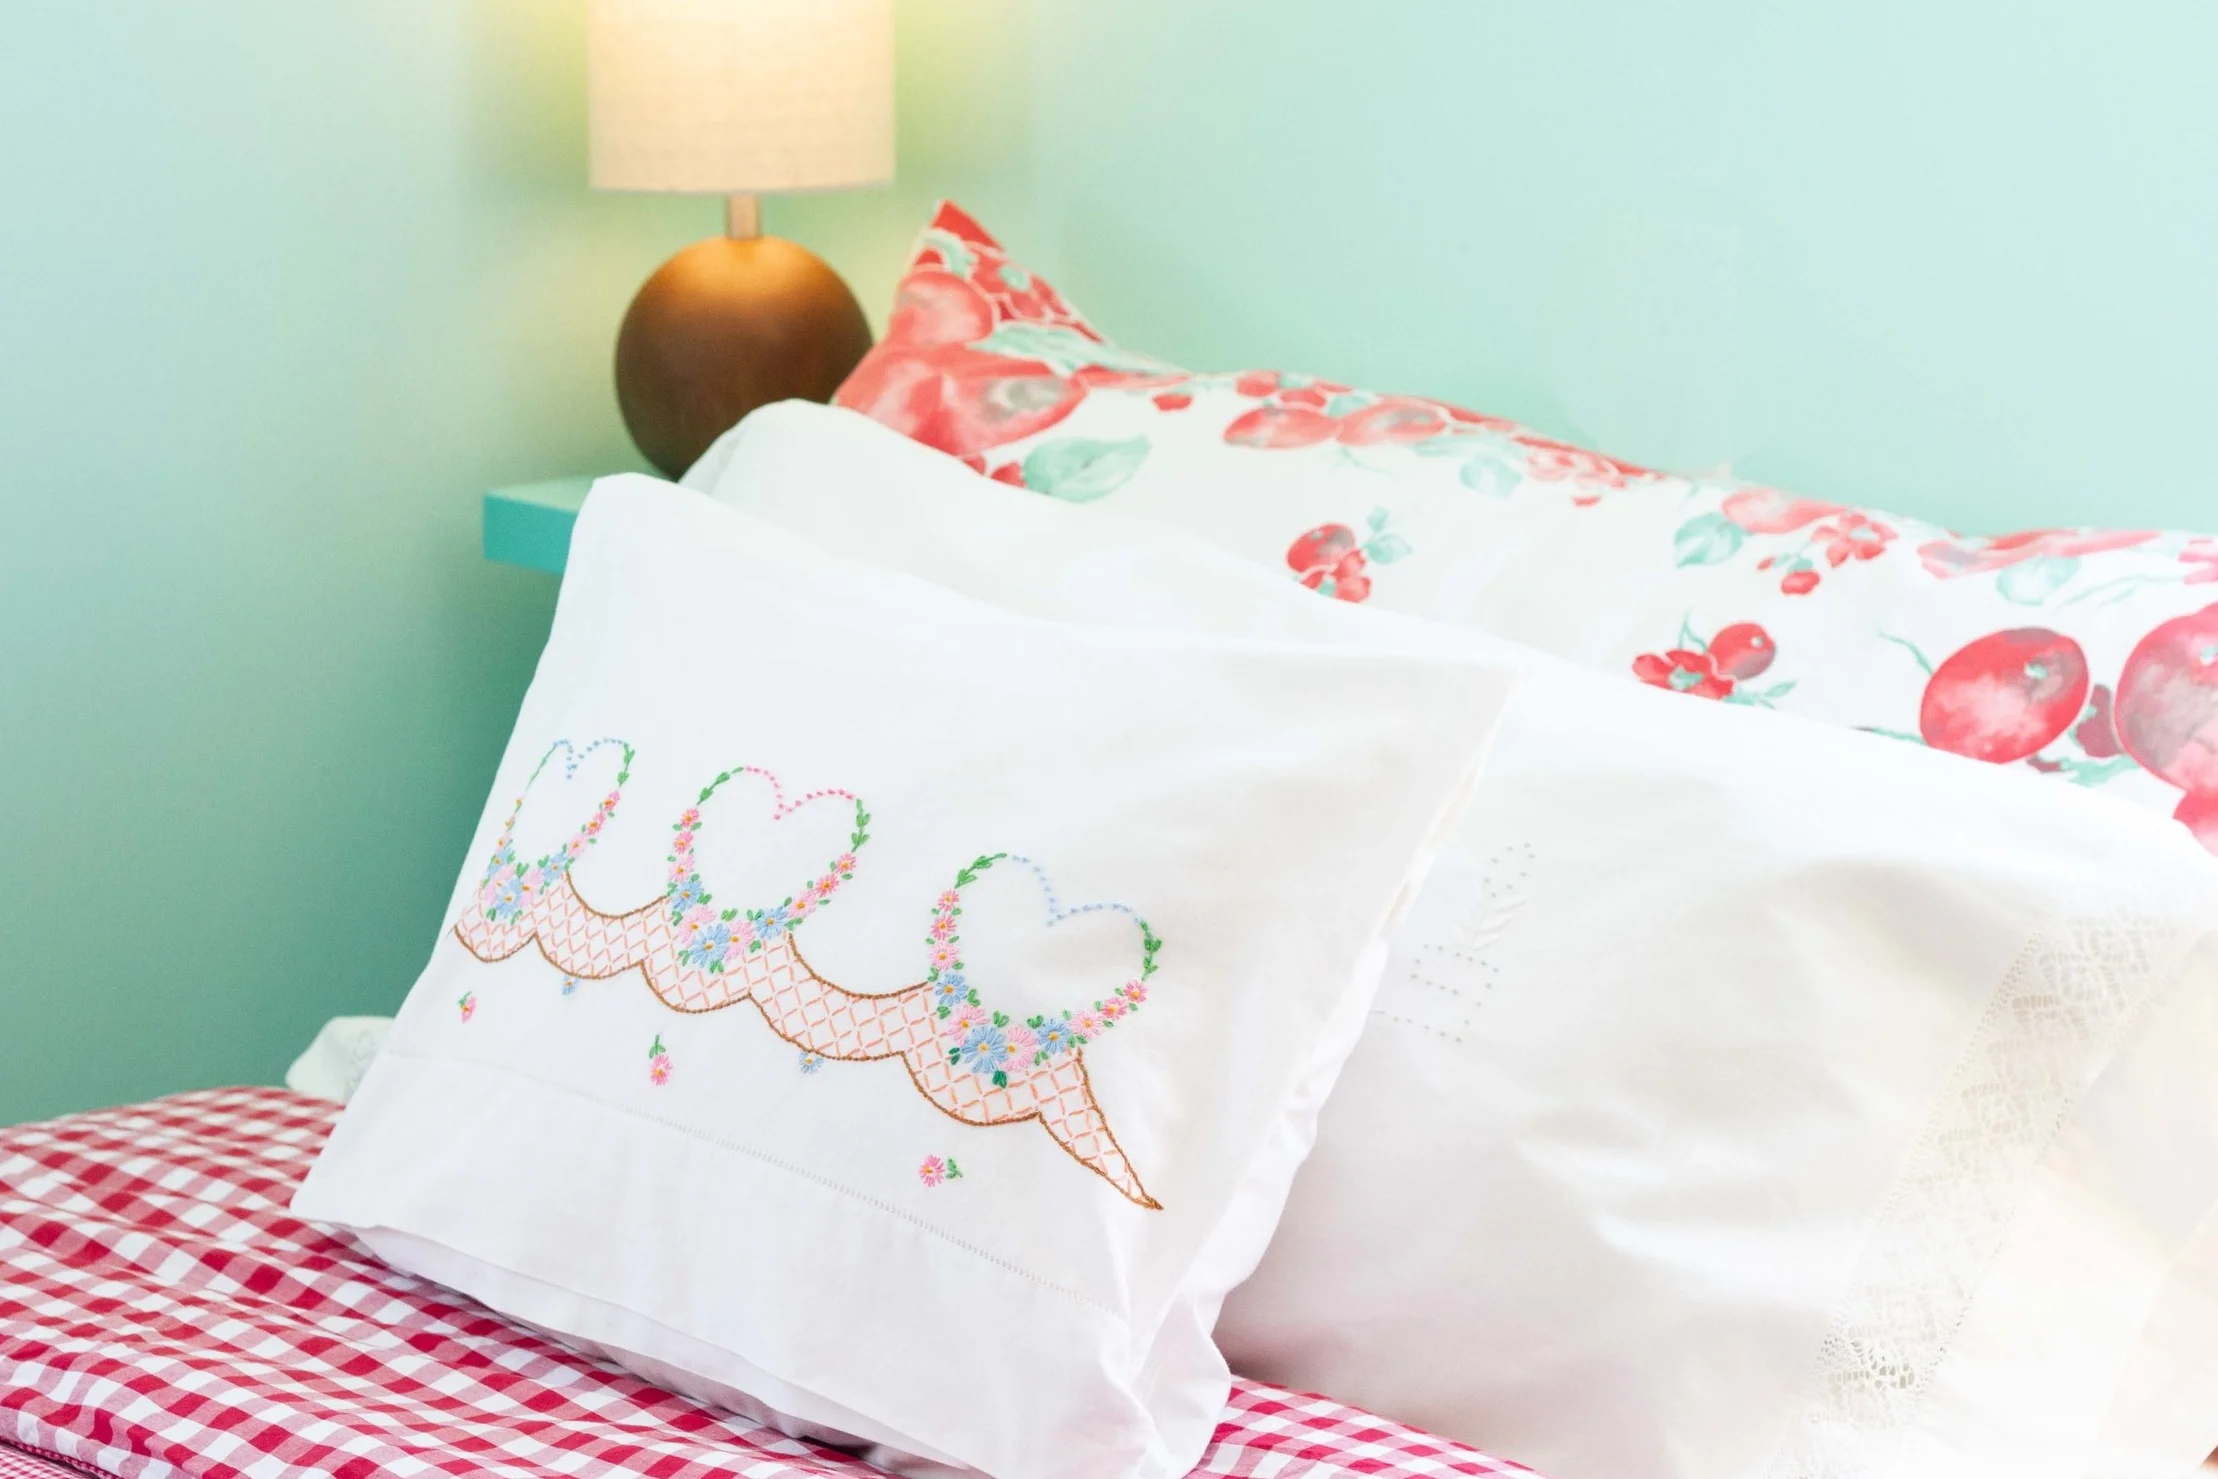
Accent Pillow with Button Closures
This approach is similar, but instead of ribbons, it uses a discreet button, hidden from view.
Materials:
a vintage pillowcase
needle and thread or sewing machine
2 buttons: sized to hold the ribbon you choose
1/8 yard of ribbon or cording cut into 2 pieces
seam ripper
pillow (see notes)
Notes: Again, I used narrow grosgrain ribbon, but this was just what I had on hand. You could use narrower ribbon or even cording. Because this is a more discreet design, choose something that will disappear into your pillowcase. The same is true for the button. Make sure your button is large enough to hold the ribbon you choose.
The pillow’s size will be 1/2 the length and the same width as the pillowcase used. For a standard size pillowcase (20” x 26”), use something roughly 20” x 13”. However, if the pillow is squishy, the size is more flexible.
Step 1:Wash the Pillowcases
Depending on the condition and age of your pillowcases, you may want to use my soaking method for laundering your linens. I used it on the examples in this post, and they came out snowy white.

Step 2: Cut the Seams
Turn the pillowcase inside out. Using the seam ripper, make a hole in the seam near each bottom corner of the pillowcase. Only make the hole slightly larger than the ribbon you will thread through it.


Step 3: Pin the Ribbons
Make a small loop of ribbon and thread it through a hole in the pillowcase. Pin in place. Repeat on the other side. Then sew either with a machine or by hand closing the hole again with your stitching.


Step 4: Sew the Buttons
Turn the pillowcase right-side-out. Fold in half and determine how far inside the case’s top edge you want your buttons to be. I placed mine about 2 inches inside. Mark the placement, and then sew a button to the edge seam on each side at the appropriate spot.
Step 5: Fill and Button
Iron the pillowcase carefully. Then place the pillow form inside the case, and button each side.
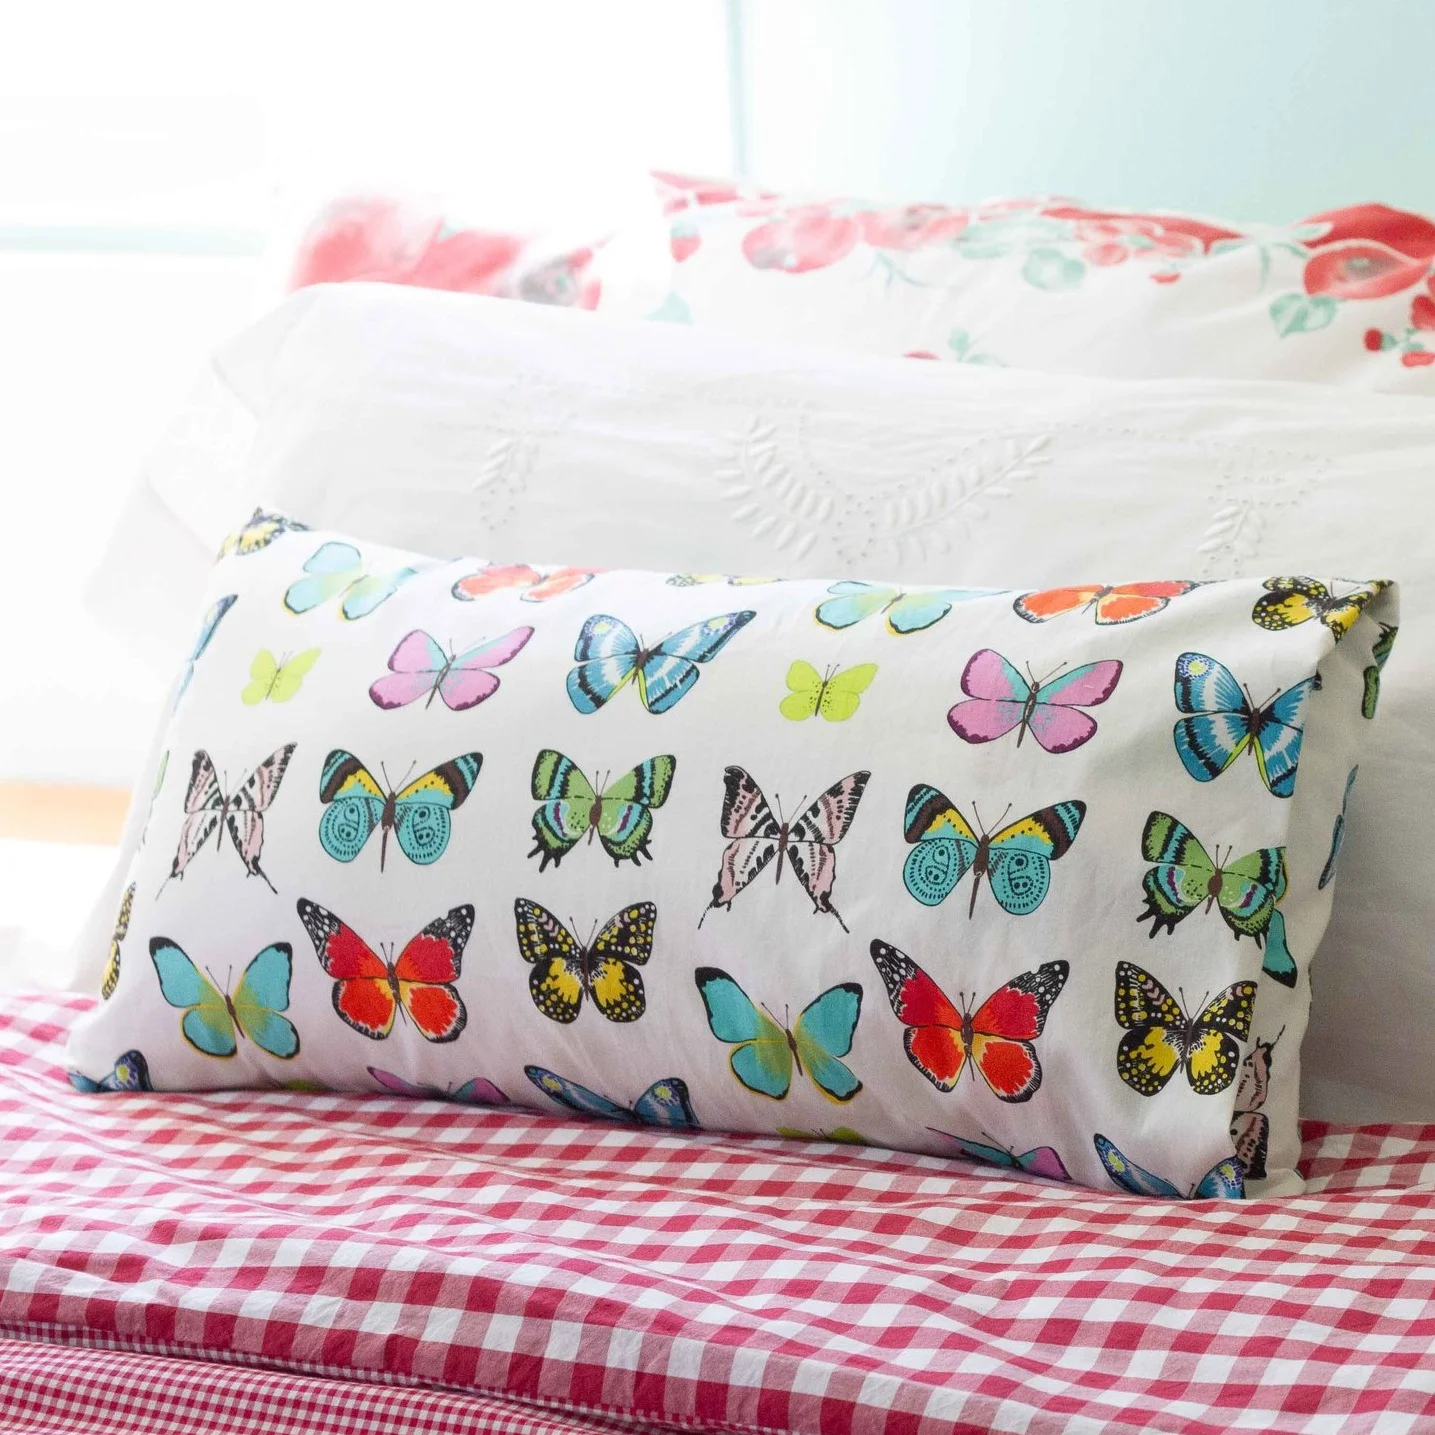
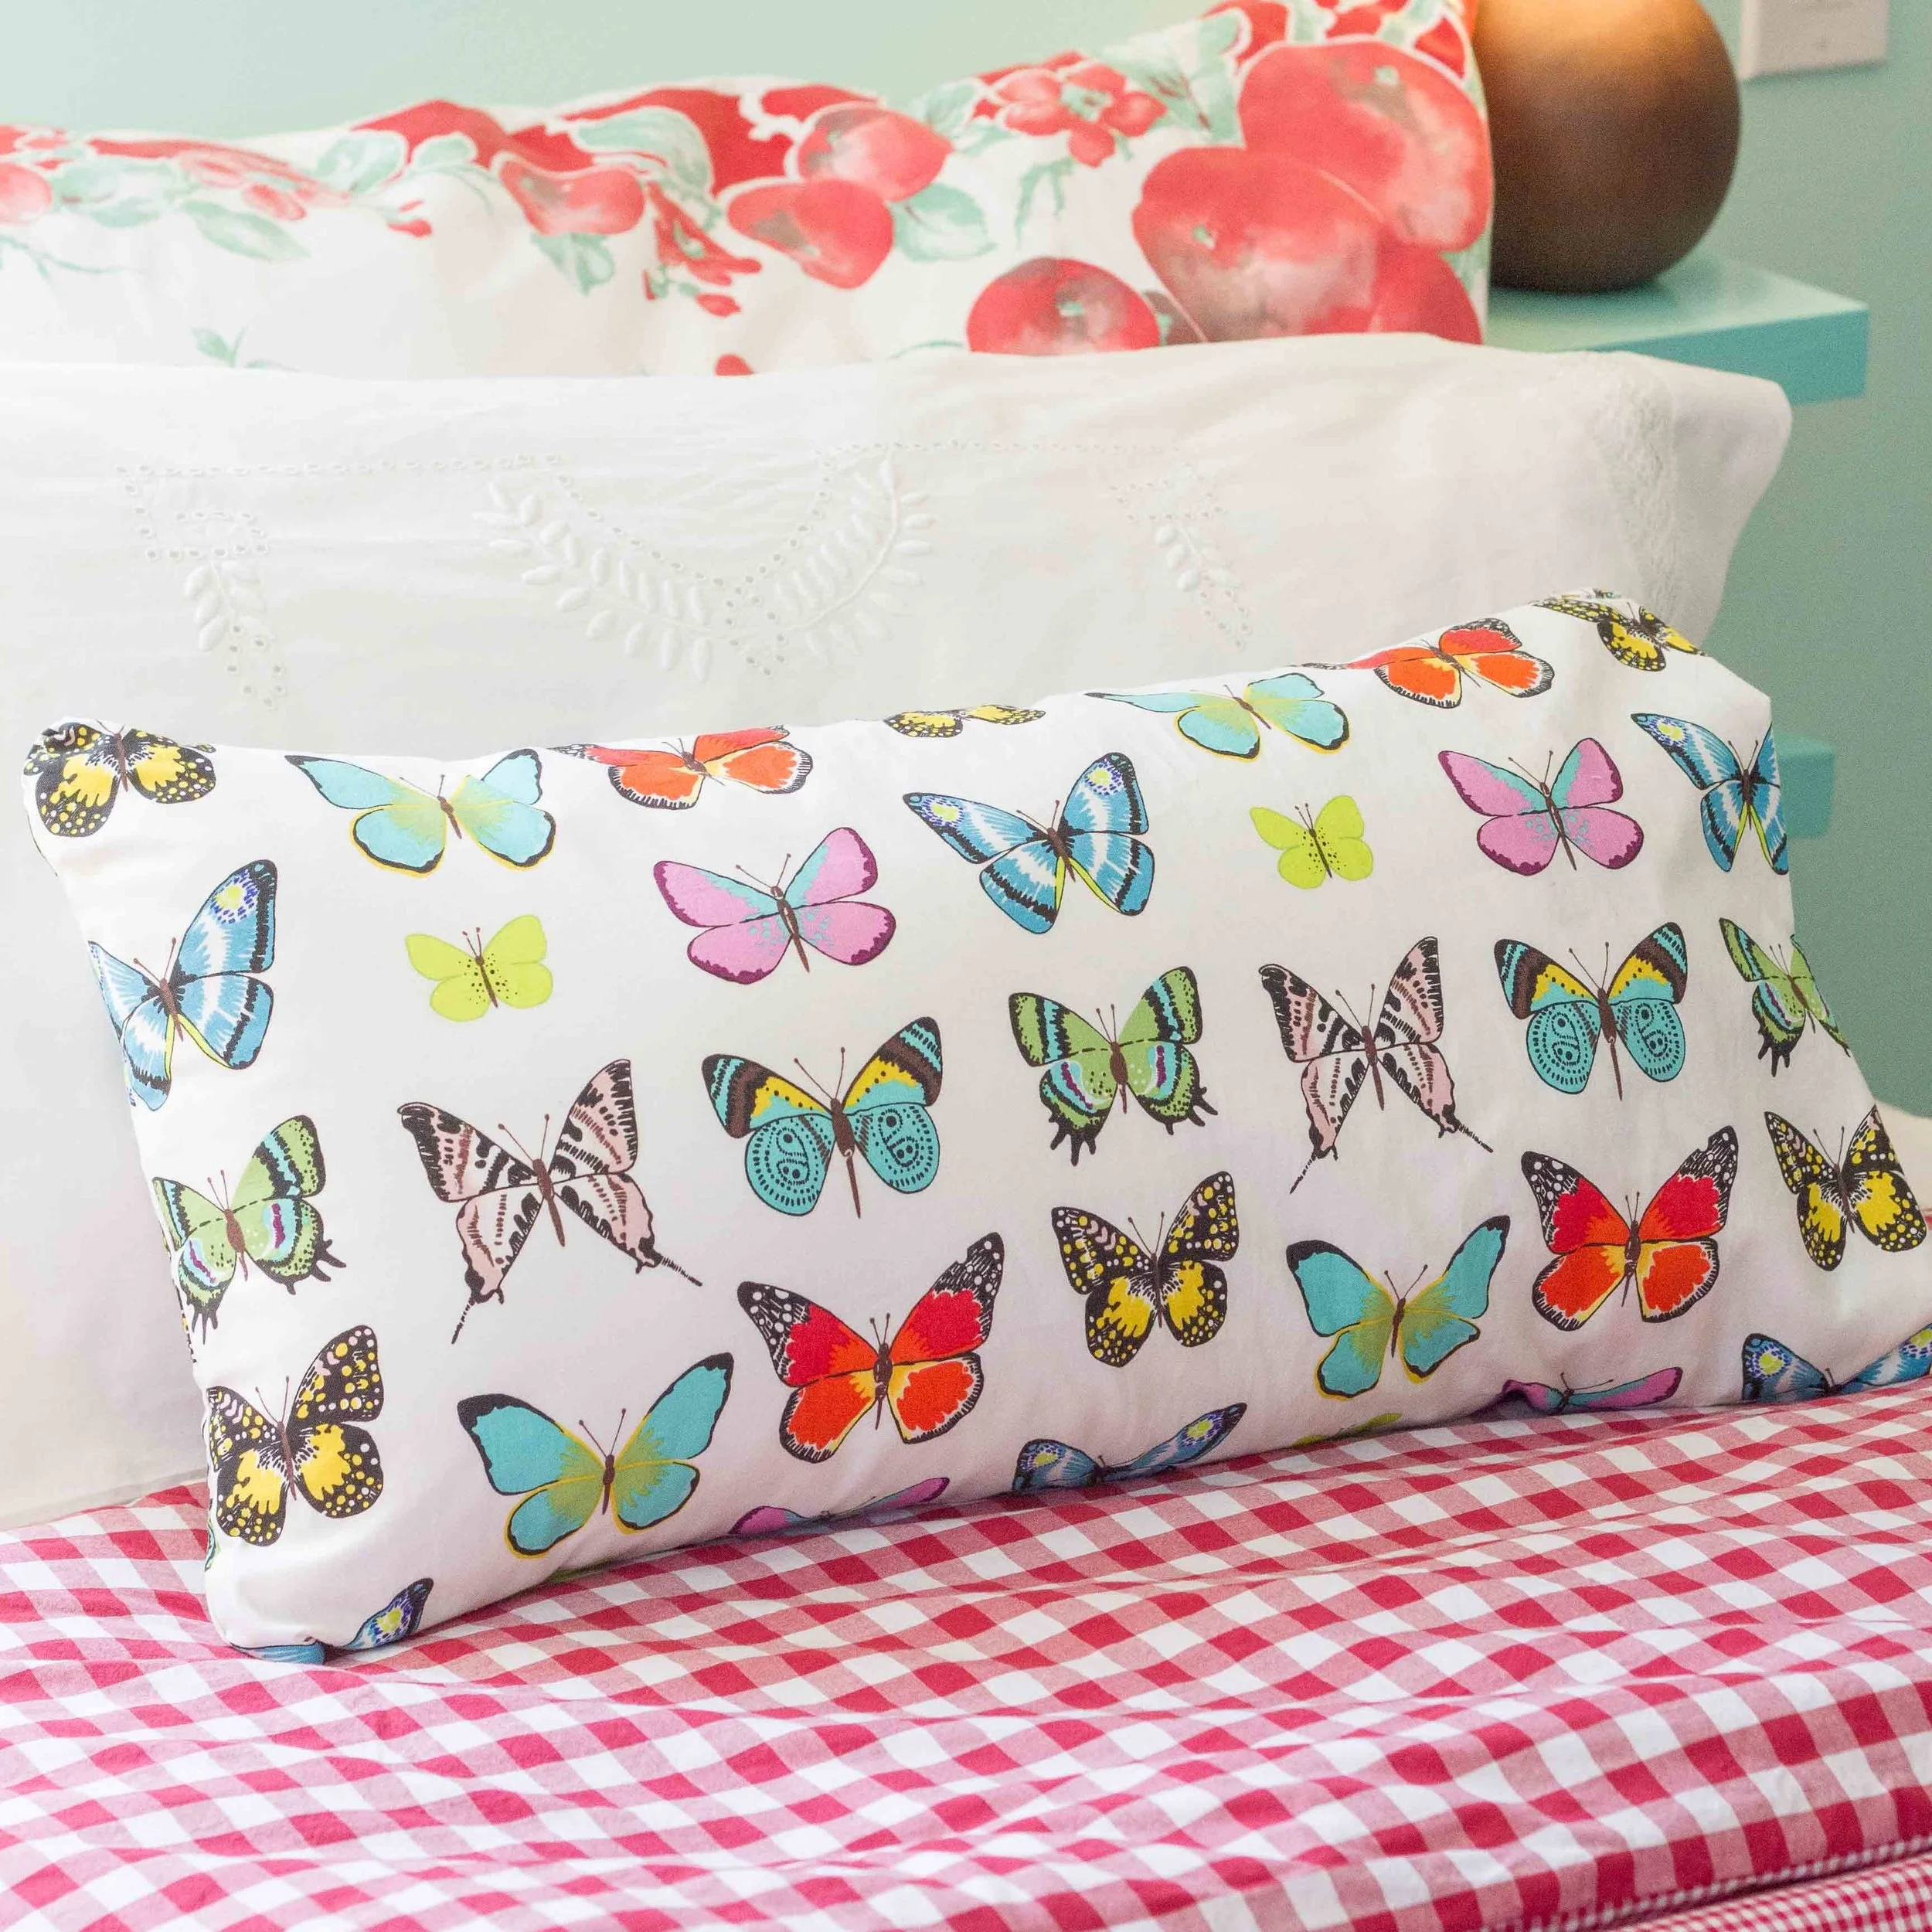
Pillowcase with Overlapped Ends
For this butterfly pillowcase, I started with leftover accent fabric from the window treatments I made for the room and a pillow form I had laying around. I thought about using ribbon or buttons to close the ends of the pillowcase, but I decided that since the pattern on the fabric was busy enough, I would just do a simple, folded end instead.
This pillowcase method is very easy, but you do need a sewing machine.
Materials:
fabric to cover your pillow form
sewing machine
coordinating thread
pillow
straight pins
Notes: for my pillow I used about 3/4 yard of fabric to cover an 12” x 24” pillow that is fairly full.
The fabric I used is a high-quality quilting fabric called El Tiempo de Mariposa by Alexander Henry Fabrics.
Wash and iron your fabric before you begin.


Step 1: Pin the Fabric
With the wrong side out, wrap the pillow in the fabric and pin the side seam. Trim as needed.
Measure the fabric at the open end. You will want the fabric at that end to equal about 1/3 the length of the pillow. So, for example, my pillow was 24” long, and I left 6” extra at the end of the pillow trimming off the rest.
Step 2: Sew the main seams
Remove the case from the pillow, and stitch the seam you have pinned. Use a mock French seam to keep the raw edges neat.
Step 3: Close One Open End
Iron, pin, and close the open end of the pillowcase. I used the end with the selvage so I didn’t need a mock French seam on this end.

Step 4: Hem the Open End
Fold the end over twice. Iron and pin. Then stitch. I created a 1” hem to keep things neater.

Step 5: Fill the Case
Turn the pillowcase right-side out. Fill with the pillow form.


Step 6: Fold the Ends
Tuck the long end of the pillowcase inside, folding the entire end to the same side of the pillow and pulling it smooth. This makes for a neat end.
While I chose to leave mine with a clean look, you could sew a button and a loop closure or use ribbons or even a frog closure to finish it off.

This is part of a larger post about the bedding and framed art choices for the Guest Room Refresh.
Check out the rest of this week’s update here:
Pin it!

Bedding & Linens
Spring 2019
One Room Challenge


Repurpose vintage pillowcases into throw pillows with these simple how to instructions. Whether your pillowcases are embroidered, trimmed with lace, or appliqued, these DIY sewing projects create beautiful throw pillows perfect for the bedroom or other parts of your home. Also includes instructions for a simple, folded-end pillowcase for a more tailored look. Inspiration! Can be hand-sewn.