

DIY Mid Century Headboard
As we worked on the Guest Room Refresh, we needed to find great headboards for two twin beds. However, nothing we found in our budget really worked in the room. One day as I was staring at the closet doors (which I hate), I had an idea: why not repurpose the closet doors into a headboard? We did just that at a total cost of about $10! Now, we got lucky — we already had almost everything we needed for this project including the closet doors. But if you don’t happen to have old closet doors hanging around, check your local Habitat ReStore. I was in ours a few weeks ago, and they had loads of slab doors for under $15 each.
Our closet doors were hollow-core, but they are older doors, so they are more substantial than the cheap, builder-grade doors you often see today. I would suggest looking for older doors for this project as they are more substantial and better-made.
Materials:
2 slab closet doors
plywood or MDF
wood putty
paint
screws
bolts
level
measuring tape
pencil
Skills: the basics of this project are pretty easy, but it does require a table saw and some carpentry skills.
No Table Saw?
If you don’t have a table saw, you can buy a French cleat kit which will allow you to hang the doors. Most kits are made for hanging pictures, so you may need two or three kits to hang the span of your doors — depending on how long your installation is. And home improvement stores will cut materials for you if you bring in the proper measurements, so this project is doable if you don’t have those tools!

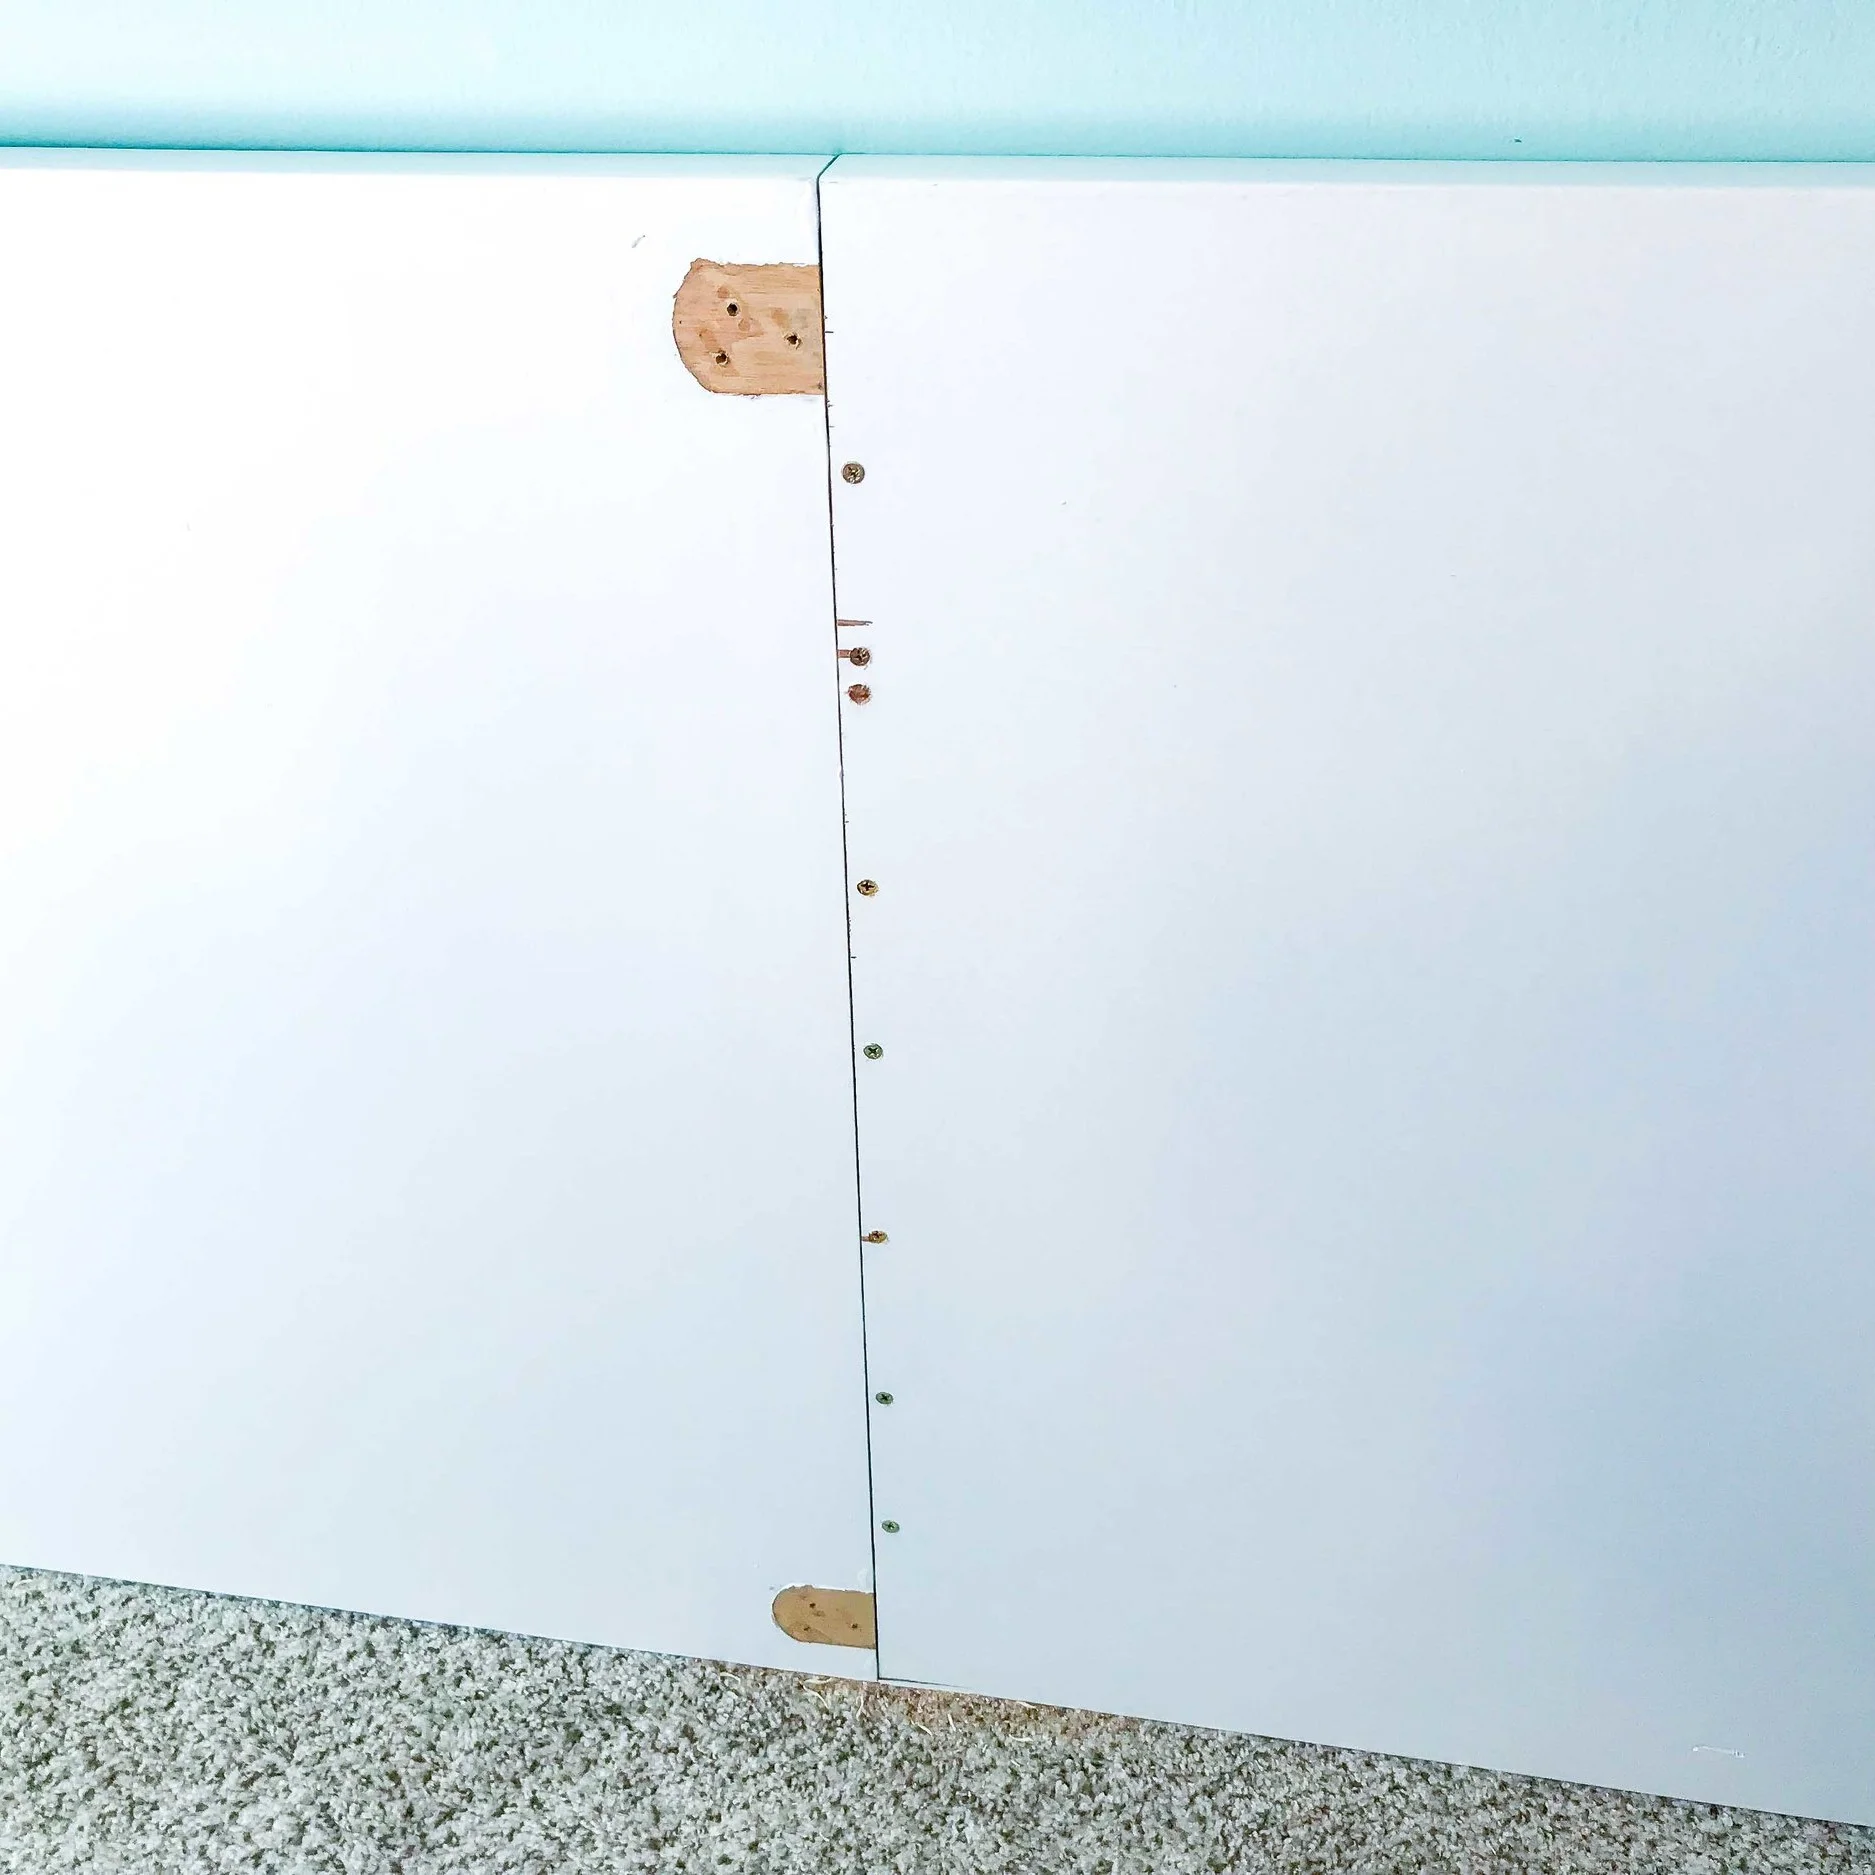
Joining the Two Doors
Because we wanted a single headboard that stretched horizontally across both beds, we needed to join the two doors together.
We measured the desired width. Then we cut one door down so that together they would stretch to the desired width.
We then cut a strip of scrap wood to fit into the cavity left in the cut door.
Move the doors into the location where you will install them. Once they are joined, they should be moved as little as possible!

1. Cut one door so that the two doors together are the desired length.

2. Fit a scrap piece of wood into the cavity of the cut door. This will secure both doors together.

3. Screw the piece of wood to the end of the door that is NOT cut.
With screws, secure the scrap wood piece to the bottom edge of the door that is NOT cut. Be sure to line it up with the cavity in the cut door.
Fit the two doors together tightly and secure by screwing through the cut door into the piece of wood fit into the cavity.

4. Fit the piece of wood into the door cavity.

5. Push the doors together for a snug fit.
6. Secure with screws through the cut door and into the wood strip.
apply the French Cleat
We use French cleats all the time in our home! We first started using them living in California as a good way to secure mirrors and other heavy items to the wall in earthquake country. Of course: nothing is fail-safe in an earthquake, but in 16 years of living all over California, we never had anything fall off the walls.
A French cleat is a simple design: a piece of wood or metal is cut horizontally at an angle. One part is applied to the wall; the other is applied to whatever will hang on the wall. The angle of the two pieces holds them together, and the length of the cleat distributes the weight along the wall. It is a great way to hang heavy mirrors and large artwork, for example.
We usually make our own French cleats, but you can use the pre-made kits just as easily. Make sure you properly account for the weight and length of the item you are hanging. For a project this long you will need two or three kits.
“You don’t have to have a table saw to create a French cleat. You can use a guide and tilt the blade of your circular saw. It is not typically a cut you can get at the home store, however.”

7. Screw the cleat to the headboard. Apply a second piece of plywood to the bottom of the headboard for additional stability and to keep it from rocking against the wall.

8. After measuring and leveling, screw the cleat to the wall. Be sure to screw it into the studs.
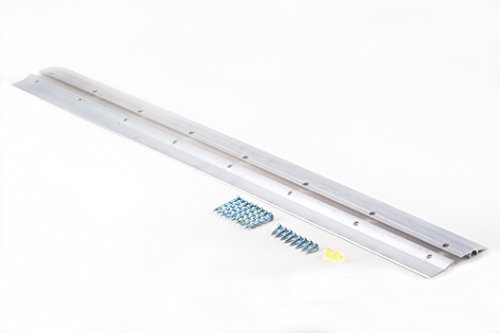
We cut our French cleat from some scrap OSB (oriented strand board). It spans 8 feet across.
Apply one piece of the cleat to the headboard centered on the headboard. Use plenty of screws.
Note: We screwed a second span of OSB to the bottom of the headboard for added stability AND to keep it from rocking on the wall. This makes the entire headboard level against the wall.
Find the studs in your wall, and then screw the mated piece to the wall at the studs. Be sure to measure so that the finished headboard will be at the right height! And use a level!
Have a friend or two help you lift the headboard onto the cleat and rest it in place.

9. Lift the headboard into place on the cleat. Get a friend or two to help!
Finishing the Headboard
Depending on the finish of your doors, you will now have some work to do. Our doors were freshly painted and largely unused since this is a guest room, so we used wood putty over the seams and rough spots, and then used leftover paint that was at the house when we purchased it. We just had to touch up the seam — it took 4 thin coats — and paint the exposed bottom (now the side) of one door. But you may need to paint the entire headboard at this point.
This same technique could be used for an upholstered headboard which we considered, but we didn’t have the budget for it. You would assemble the headboard and then upholster it. Then hang it on the wall using the same method.
We added a kitschy detail: small shelves painted in a contrasting color. We glued two layers of plywood together. Filled and sanded the edges, and then painted them. The shelves are bolted through the back of the headboard so they float off the front. They won’t hold much, but they are intended for glasses, a lamp, and maybe a book.
If you are worried about it, you could also bolt the beds to the headboard. We decided that wasn’t necessary, but if they have a tendency to shift over time, I may go back and do that at a later date.

We installed small shelves on each end of the headboard — one set per bed.
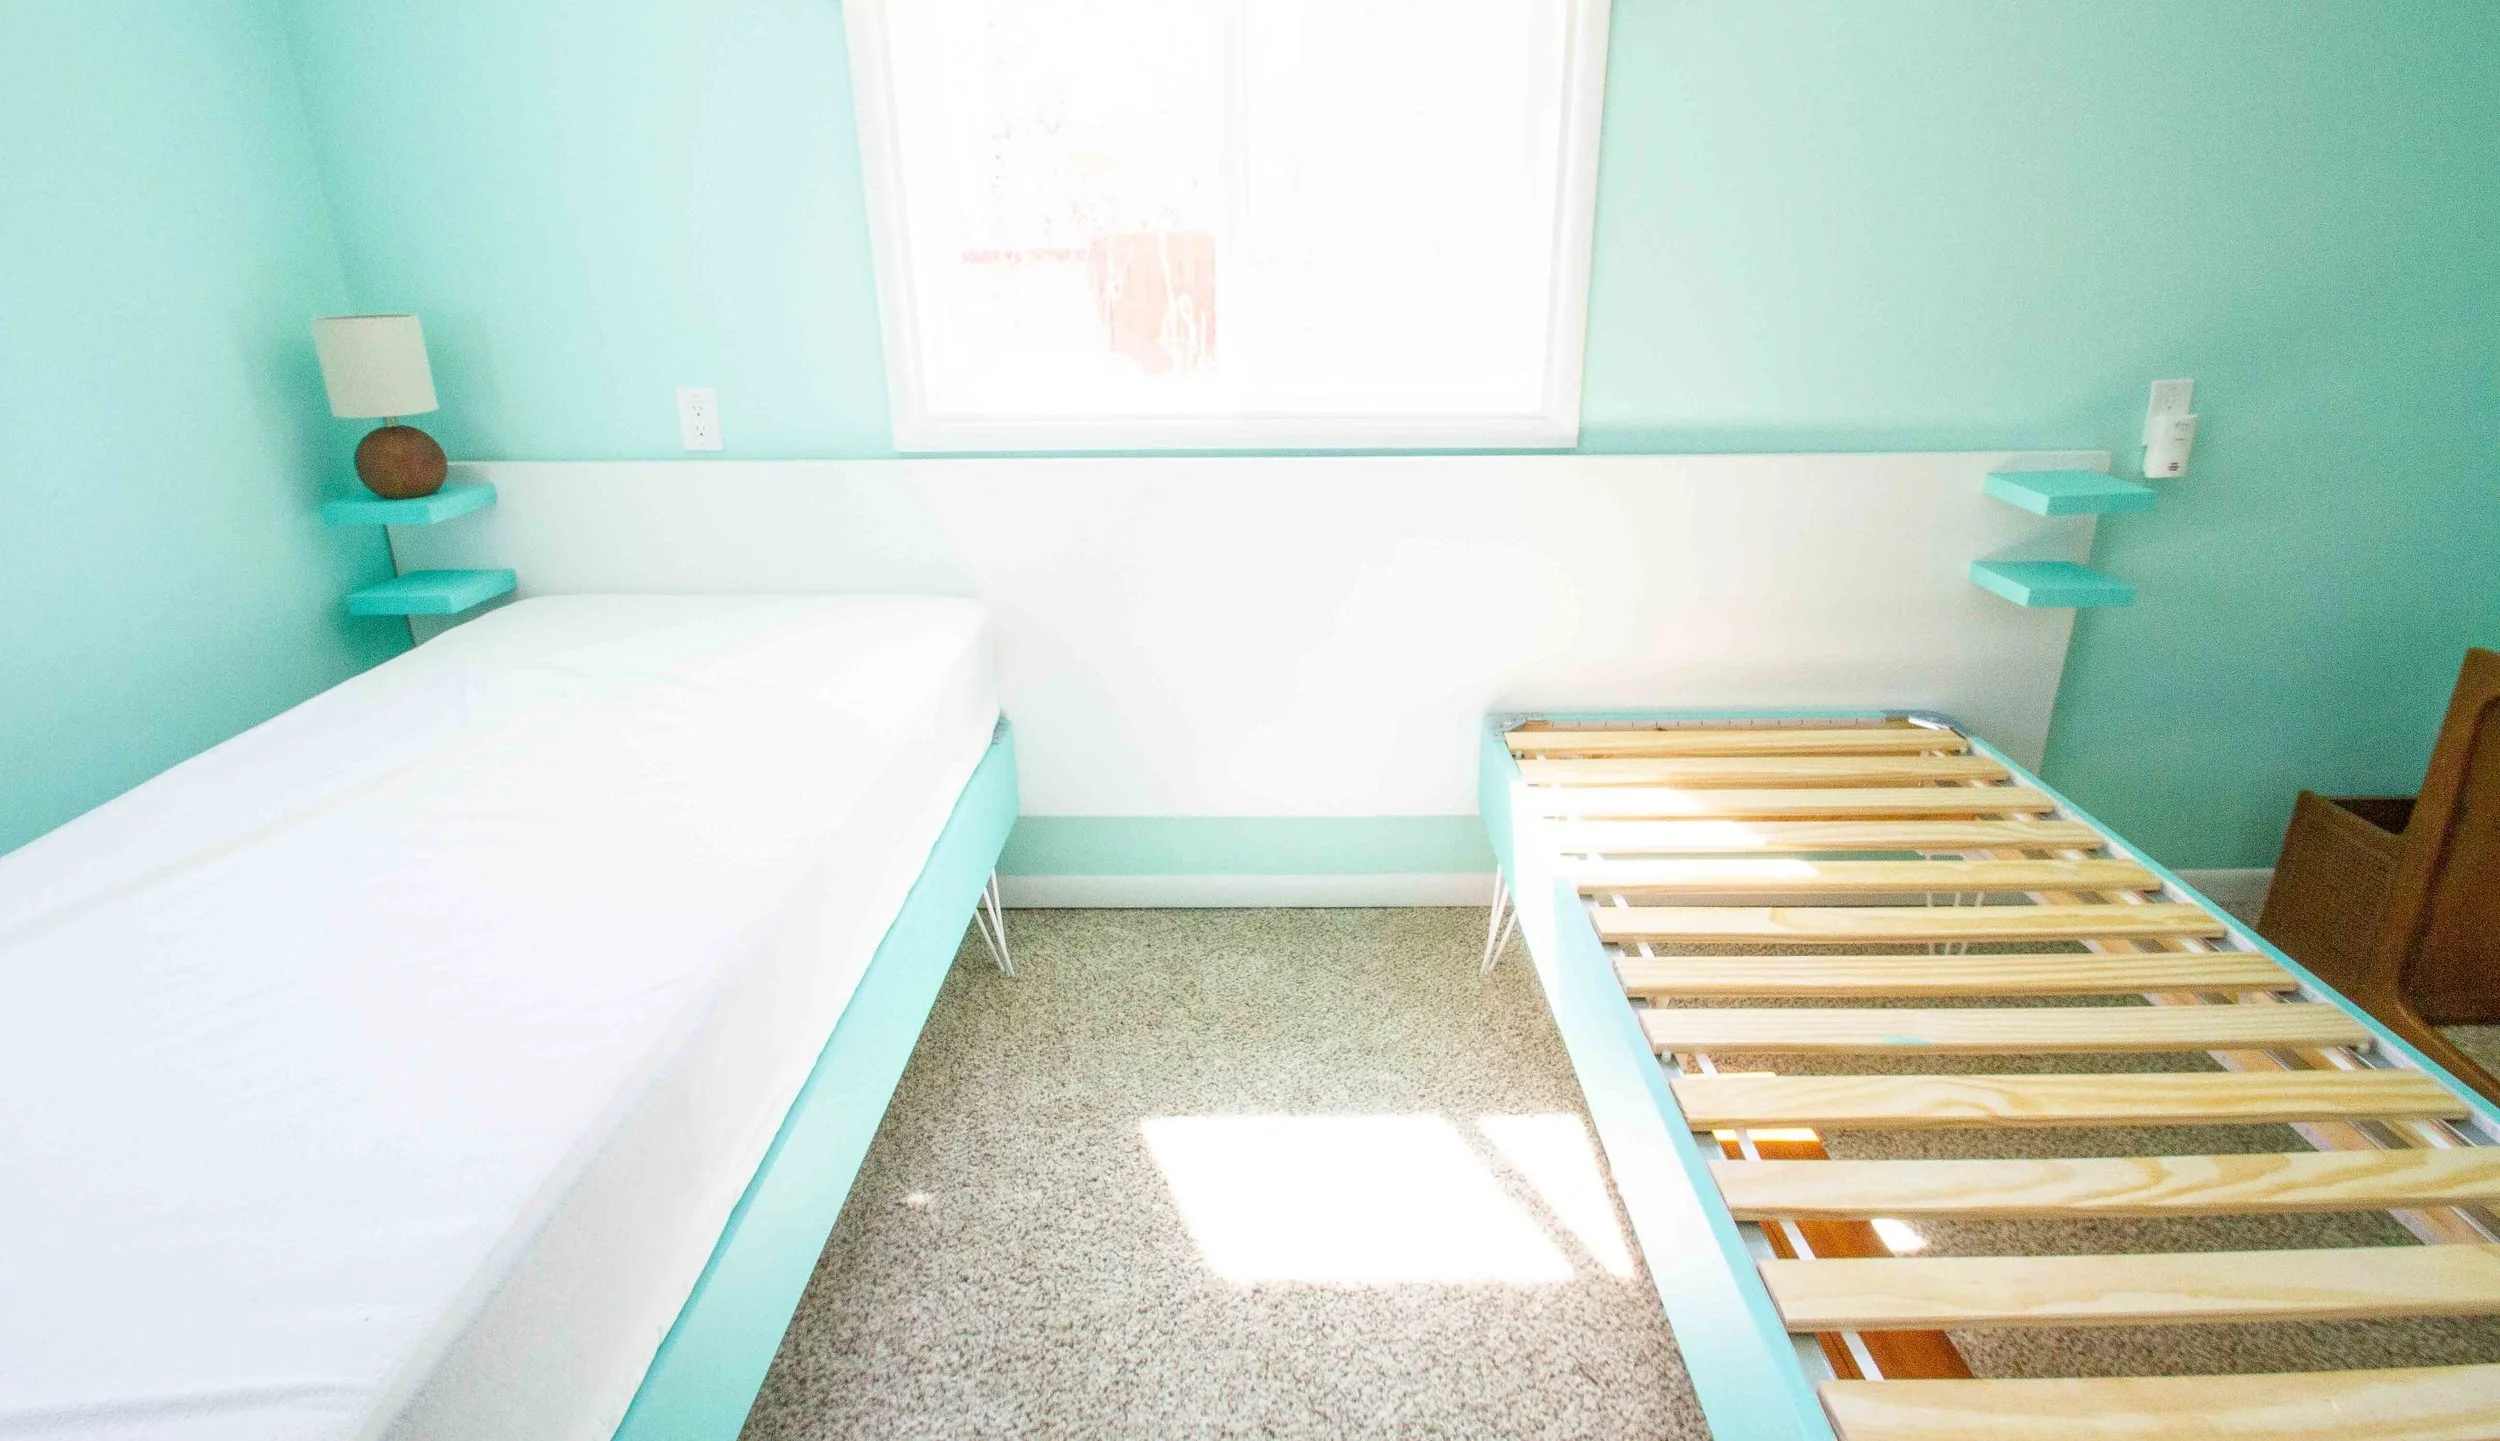

Note: We have two Espevar foundations from Ikea for our beds. But we spruced them up a bit! Check out this post to read about how we modified our Espevar beds to give them some 1950s flair.

This project is part of the Spring 2019 One Room Challenge. To see more projects and the finished room, visit the Guest Room Refresh Page:
