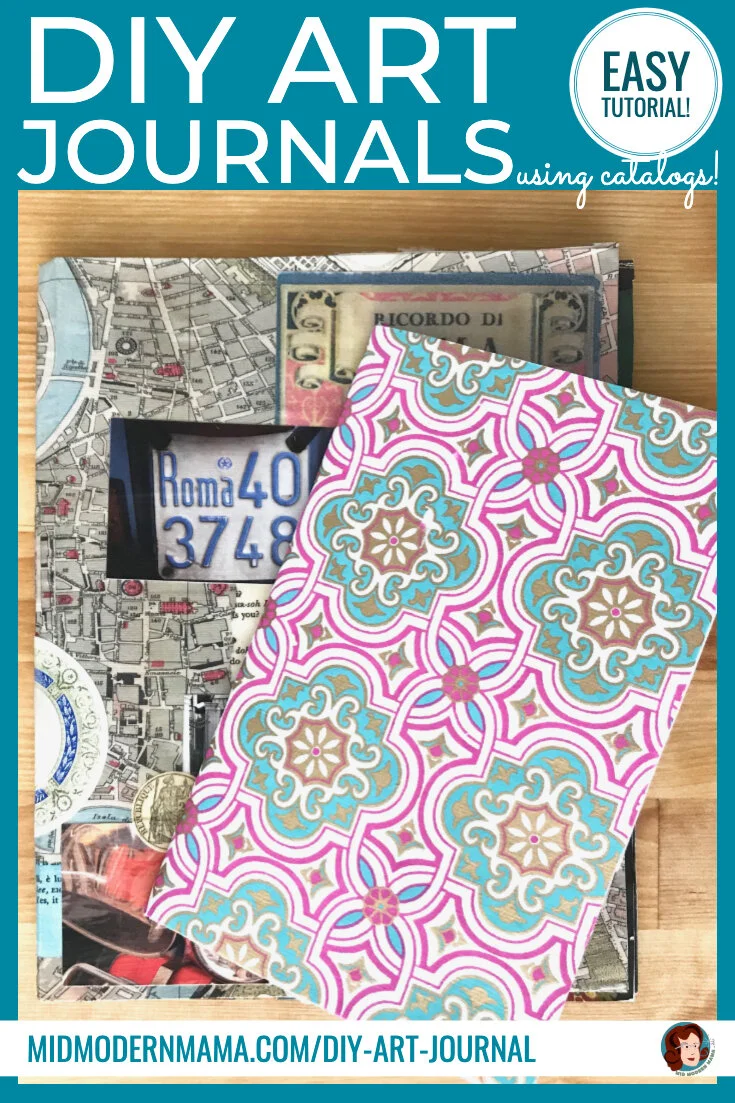
I don’t know about you, but we end up with piles of catalogs every week — most of which go directly into the recycling bin on a daily basis. But that’s a lot of paper and raw material which could be reused, so I set out to create something from a pile of catalogs: art journals. This is an easy DIY project that does not require many supplies and only takes about an hour to complete (not including drying time). And you don’t need fancy supplies to make it happen, either. This is particularly good for those of you who, like me, enjoy collage. The paper quality in catalogs isn’t great — and it isn’t acid free. But to create an inexpensive art journal suitable for a variety of media, here’s an easy project. And this is great for creating journals for kids, too.
I have created a video tutorial as well as step-by-step instructions to walk you through the entire process.
Materials
2-5 catalogs (depending on your desired thickness)
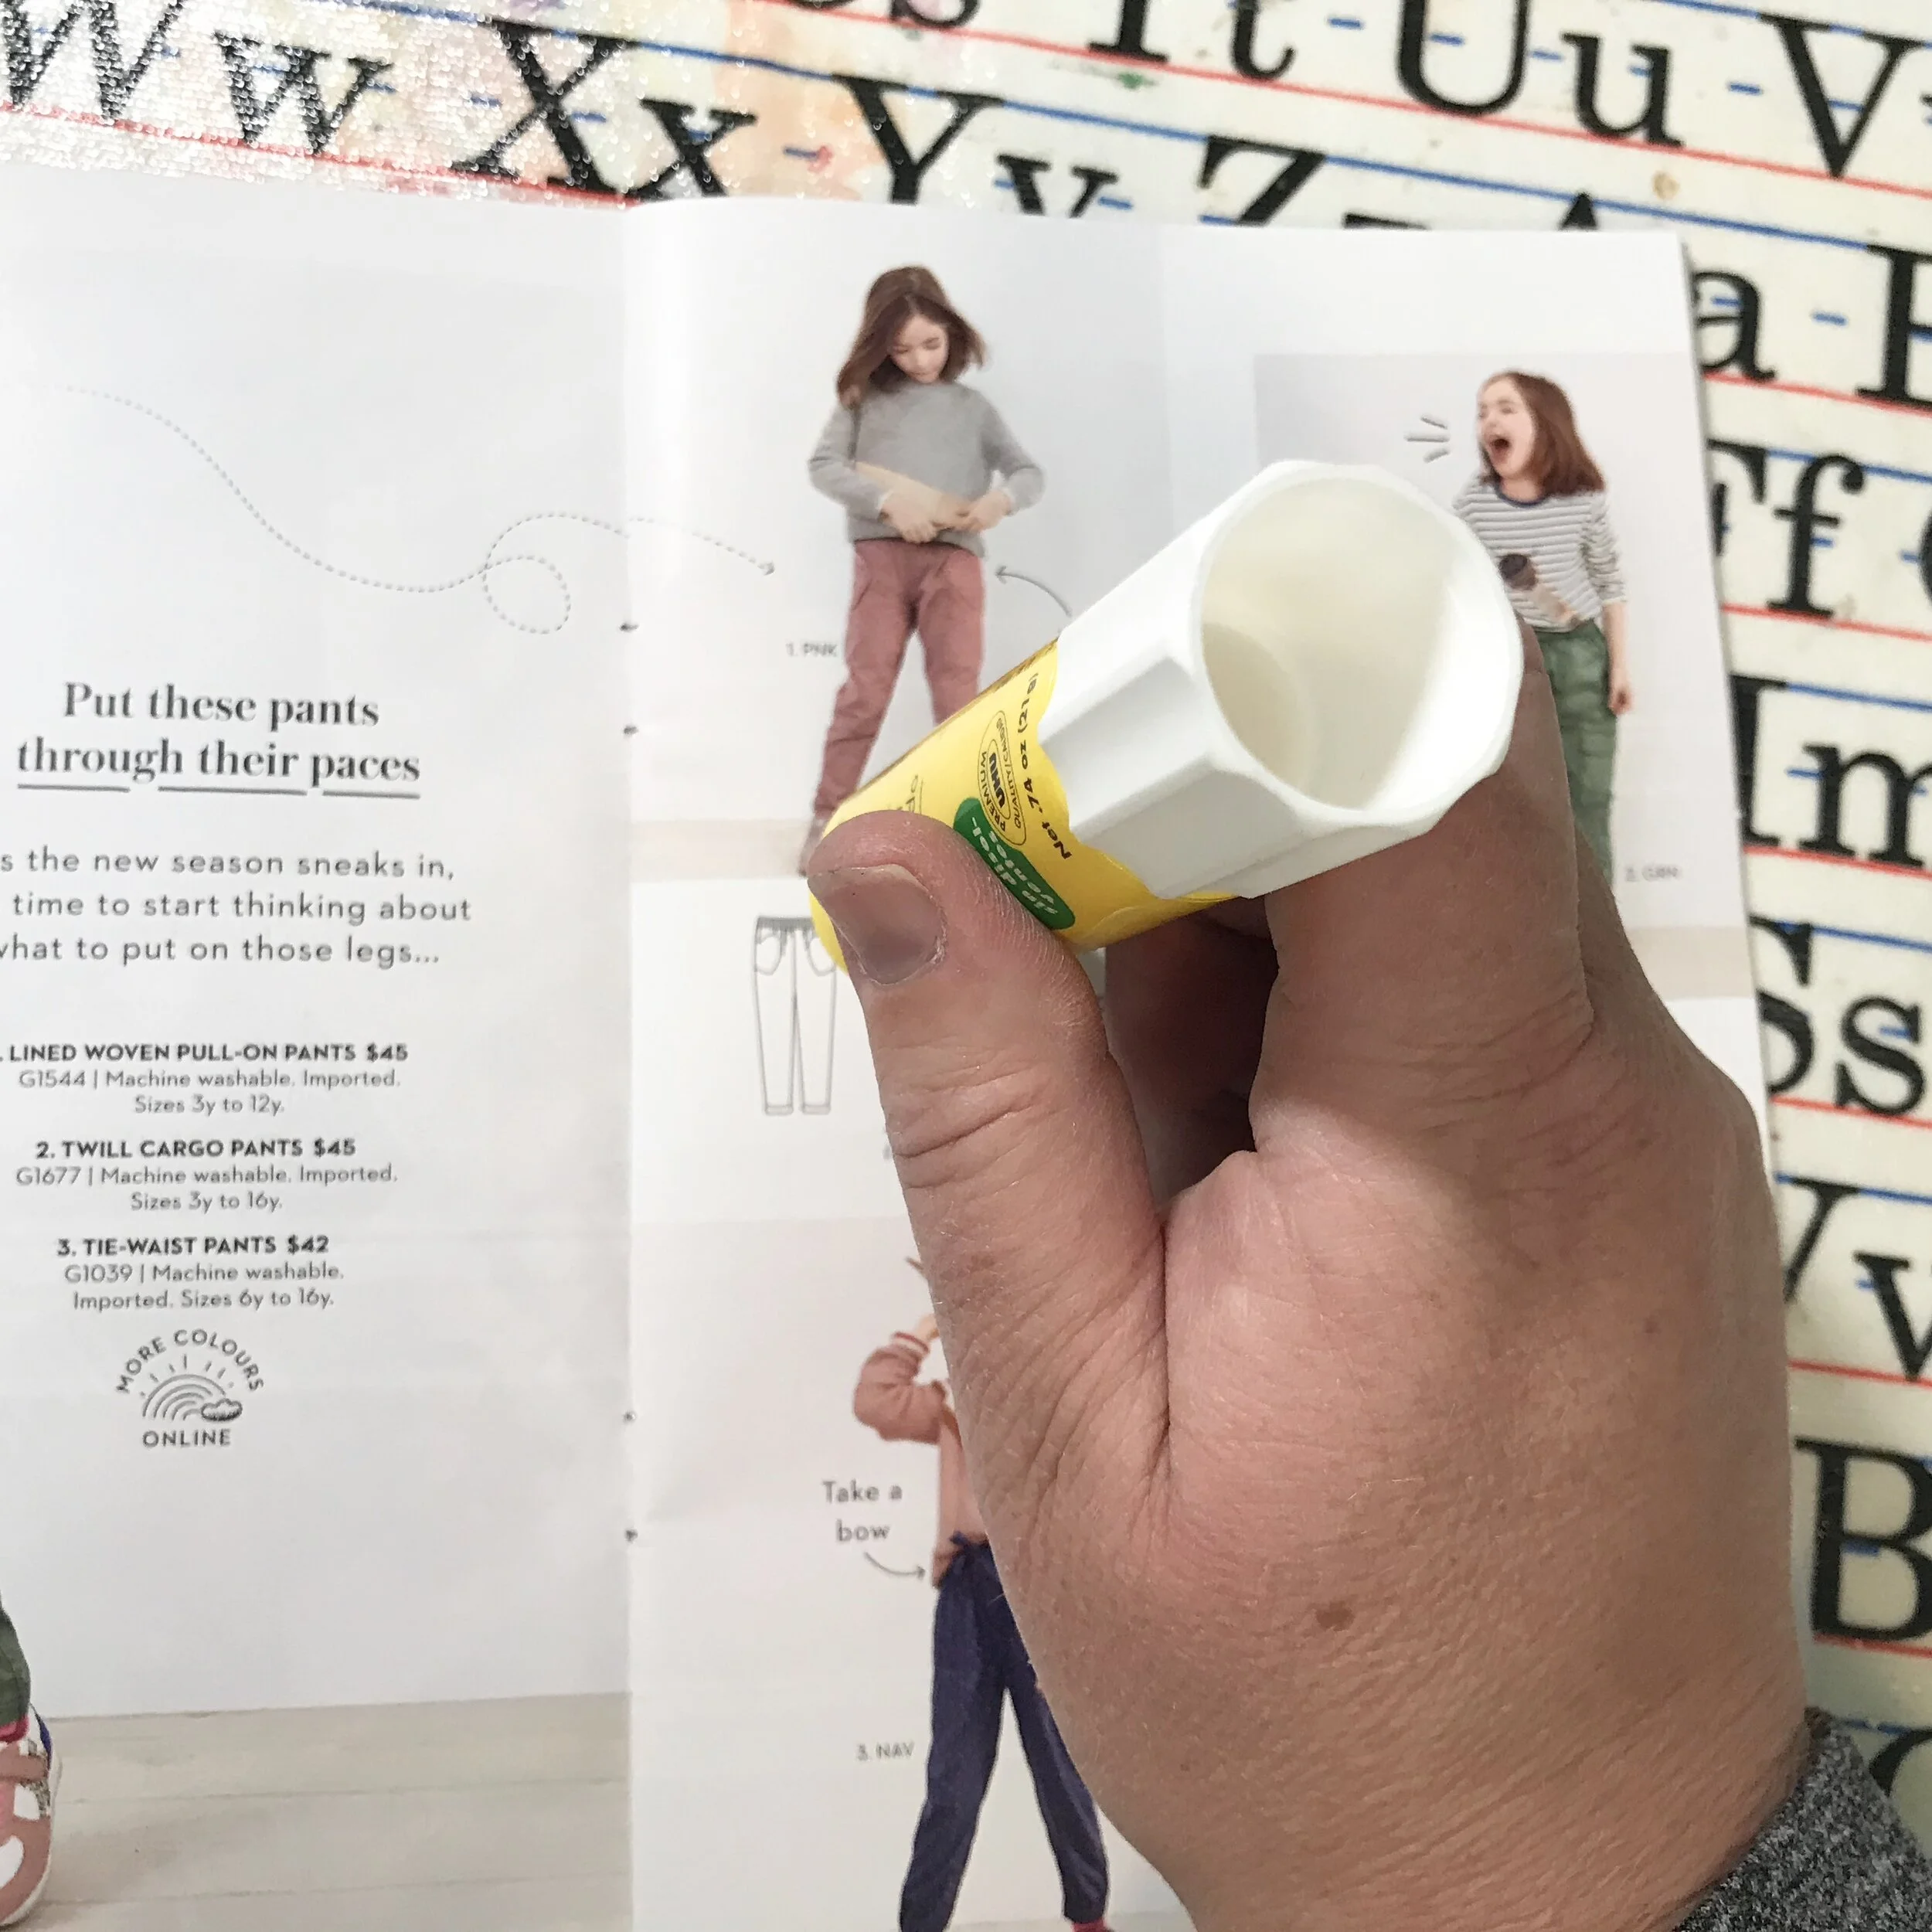
Super77 Spray Adhesive
Glue Sticks
Wrapping paper or other larger paper
Ephemera, stickers, paper, etc for collaging
Scissors
Packing tape or duct tape
Brayer
Mod Podge and brush for application
Optional: knife and self-healing mat
A Note about Catalogs
Choose catalogs by size. There is no right or wrong here. What sizes work well for you? I used catalogs that are the same size for this demonstration, but I’ve also made art journals from a single, small catalog as well as a stack of varied sizes. It is all personal preference. You could also use this method to make art journals from magazines which have better paper quality, generally.
Super 77 vs. Glue Stick
When I make my art journals, I use Super77 to glue the pages together (Sep 1), to glue the covers together (Step 2), and to apply the wrapping paper (Step 5). However, I used glue stick to do these tasks for both the video instructions and the photos here. That’s partly because Super77 and cameras don’t mix! Both products work for this project. Use what you have and what you like!
If you choose to use a glue stick, the paper will wrinkle. Be sure you use a brayer to smooth out each page after gluing. Most of the wrinkles will disappear once the glue has dried.
If you use Super77 follow the application instructions. Work outside or in a very well-ventilated space, and wear a mask.

How to Make an Art Journal
Step 1: Glue Catalog Pages
Because the paper in a catalog isn’t very high quality, I like to glue pages together to strengthen each page. This also makes for fewer pages in each journal.
Starting at the front, glue pages together in pairs using either Super77 or a glue stick. Use a brayer to smooth out the pages after sticking them together.

Step 2: Glue the Covers
Once the pages of your chosen catalogs are glued together, then apply glue to the back cover of one catalog and the front cover of another. Line them up. Stick them together. Smooth with a brayer.
Repeat until all catalogs are glued together in one stack.

Step 3: Tape the spine
Using clear packing tape or duct tape, secure the spine. Apply tape at the top, middle, and bottom (in the picture: 1, 2, and 3). Then apply one piece straight down the spine. This will add additional support and structure to your art journal.
Step 4: Cut the Cover
Lay the bound catalog book out flat with the cover up. Trace the outline of the book on a piece of wrapping paper. Cut leaving a 1” margin at each edge.
Apply glue to the journal cover. Position the paper to the cover and smooth with the brayer.
Step 5: Wrap the corners
This step is much like wrapping a gift. Wrap the 1” margins of the paper and secure them with glue stick on the inside covers of the journal. Don’t worry! They will be covered up in Steps 6 & &.
This step helps to protect the edges of your cover.
Step 6: Measure & Cut inside Covers
Using the same wrapping paper — or something that coordinates, cut a piece of paper to cover the inside of the front cover and first page. In other words, cover the first 2 page spread. Glue into place. Smooth with the brayer.
Repeat for the last 2 page spread.
The inside covers could also be collaged, etc. But don’t use Mod Podge. They don’t need the same protection, and the Mod Podge will just stick together.
Step 7: Decorate the front Cover
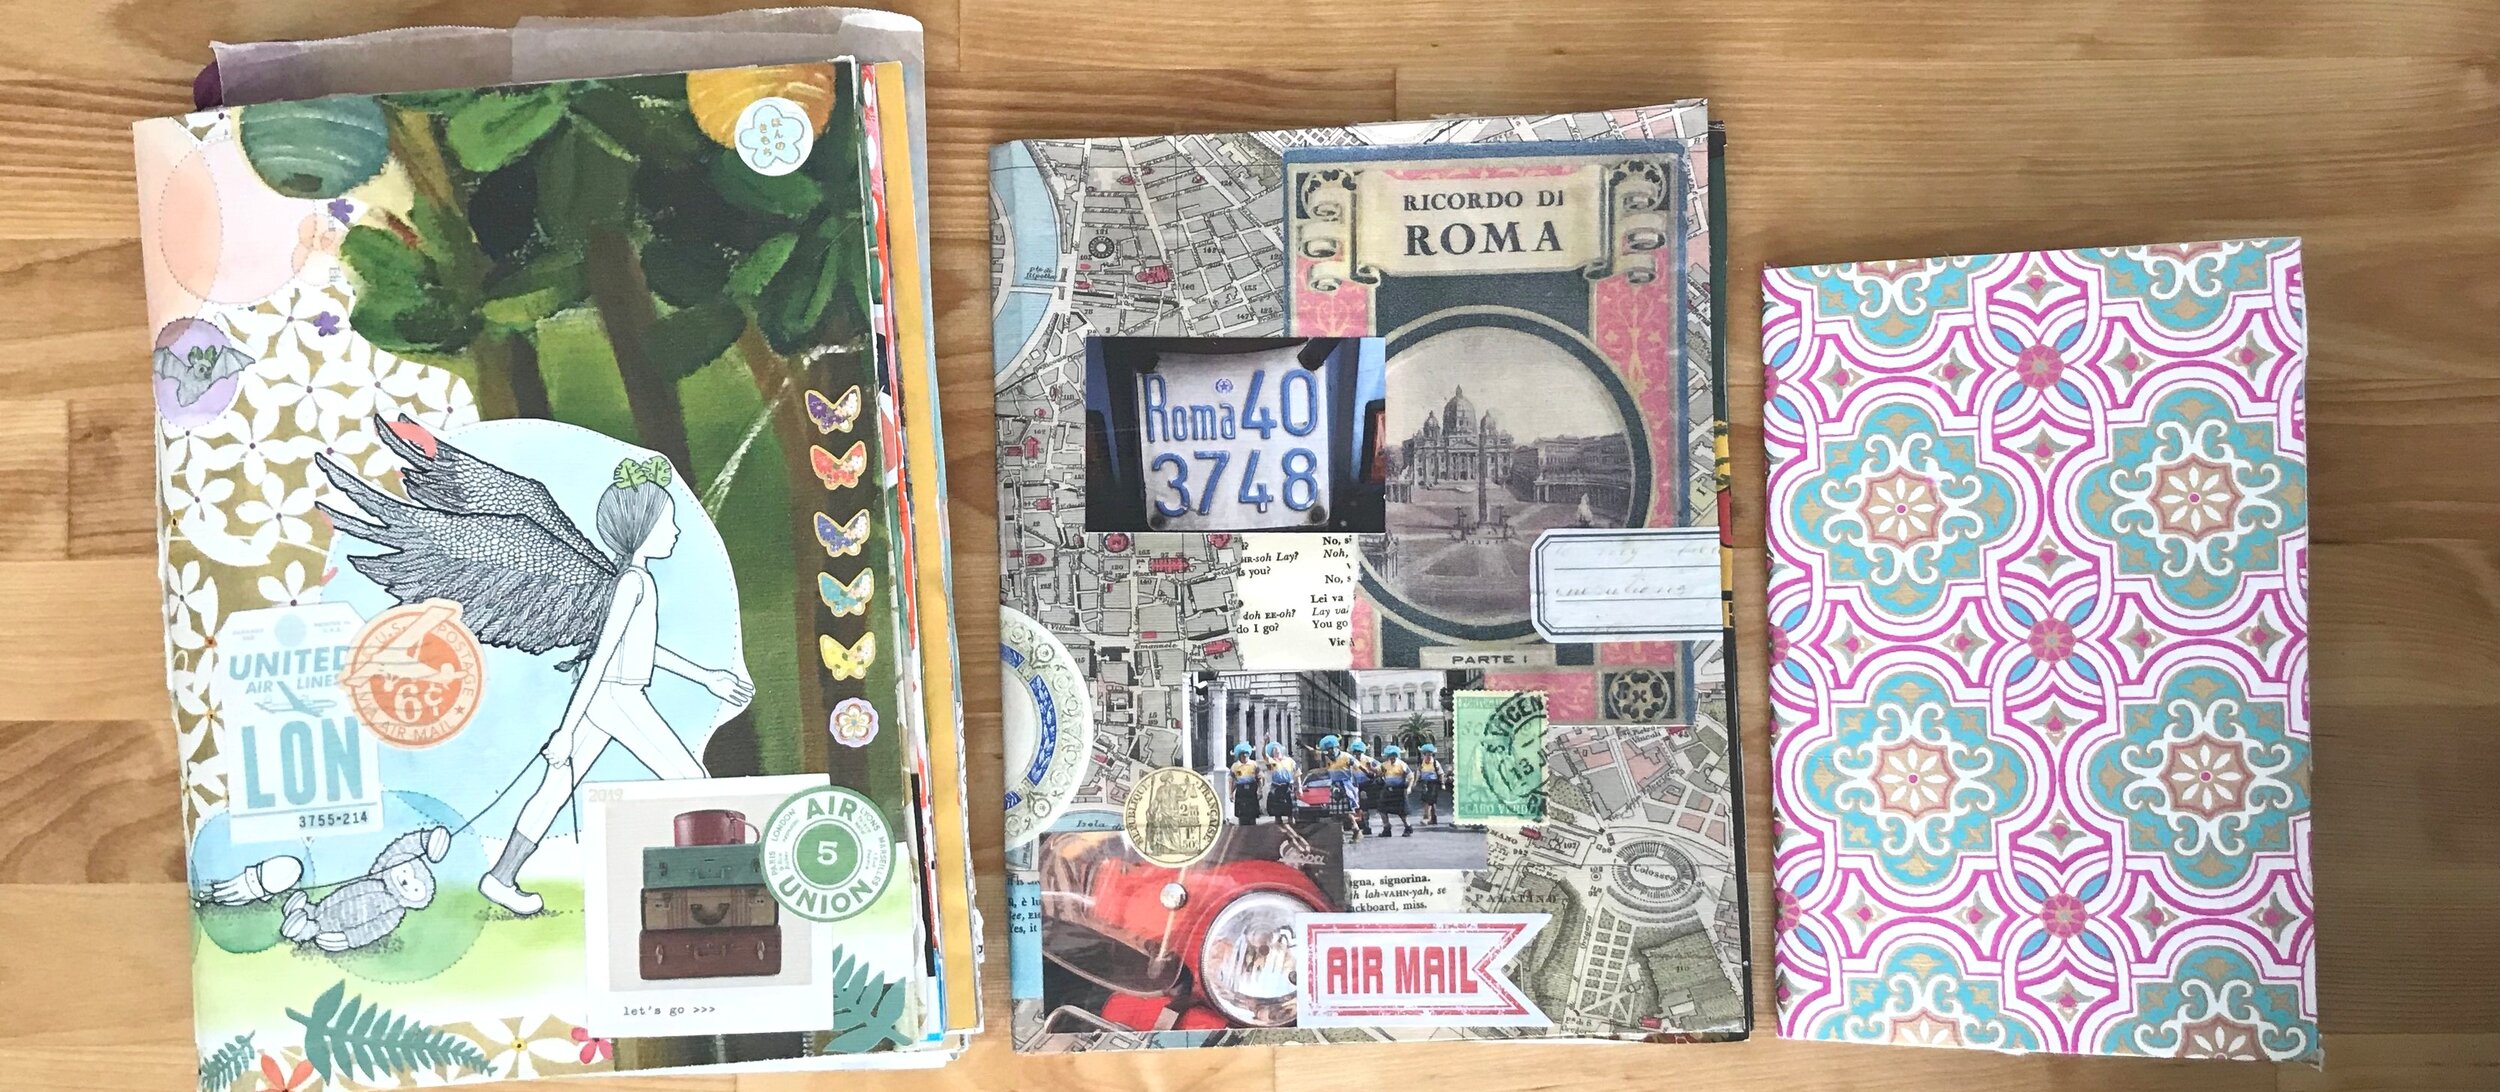
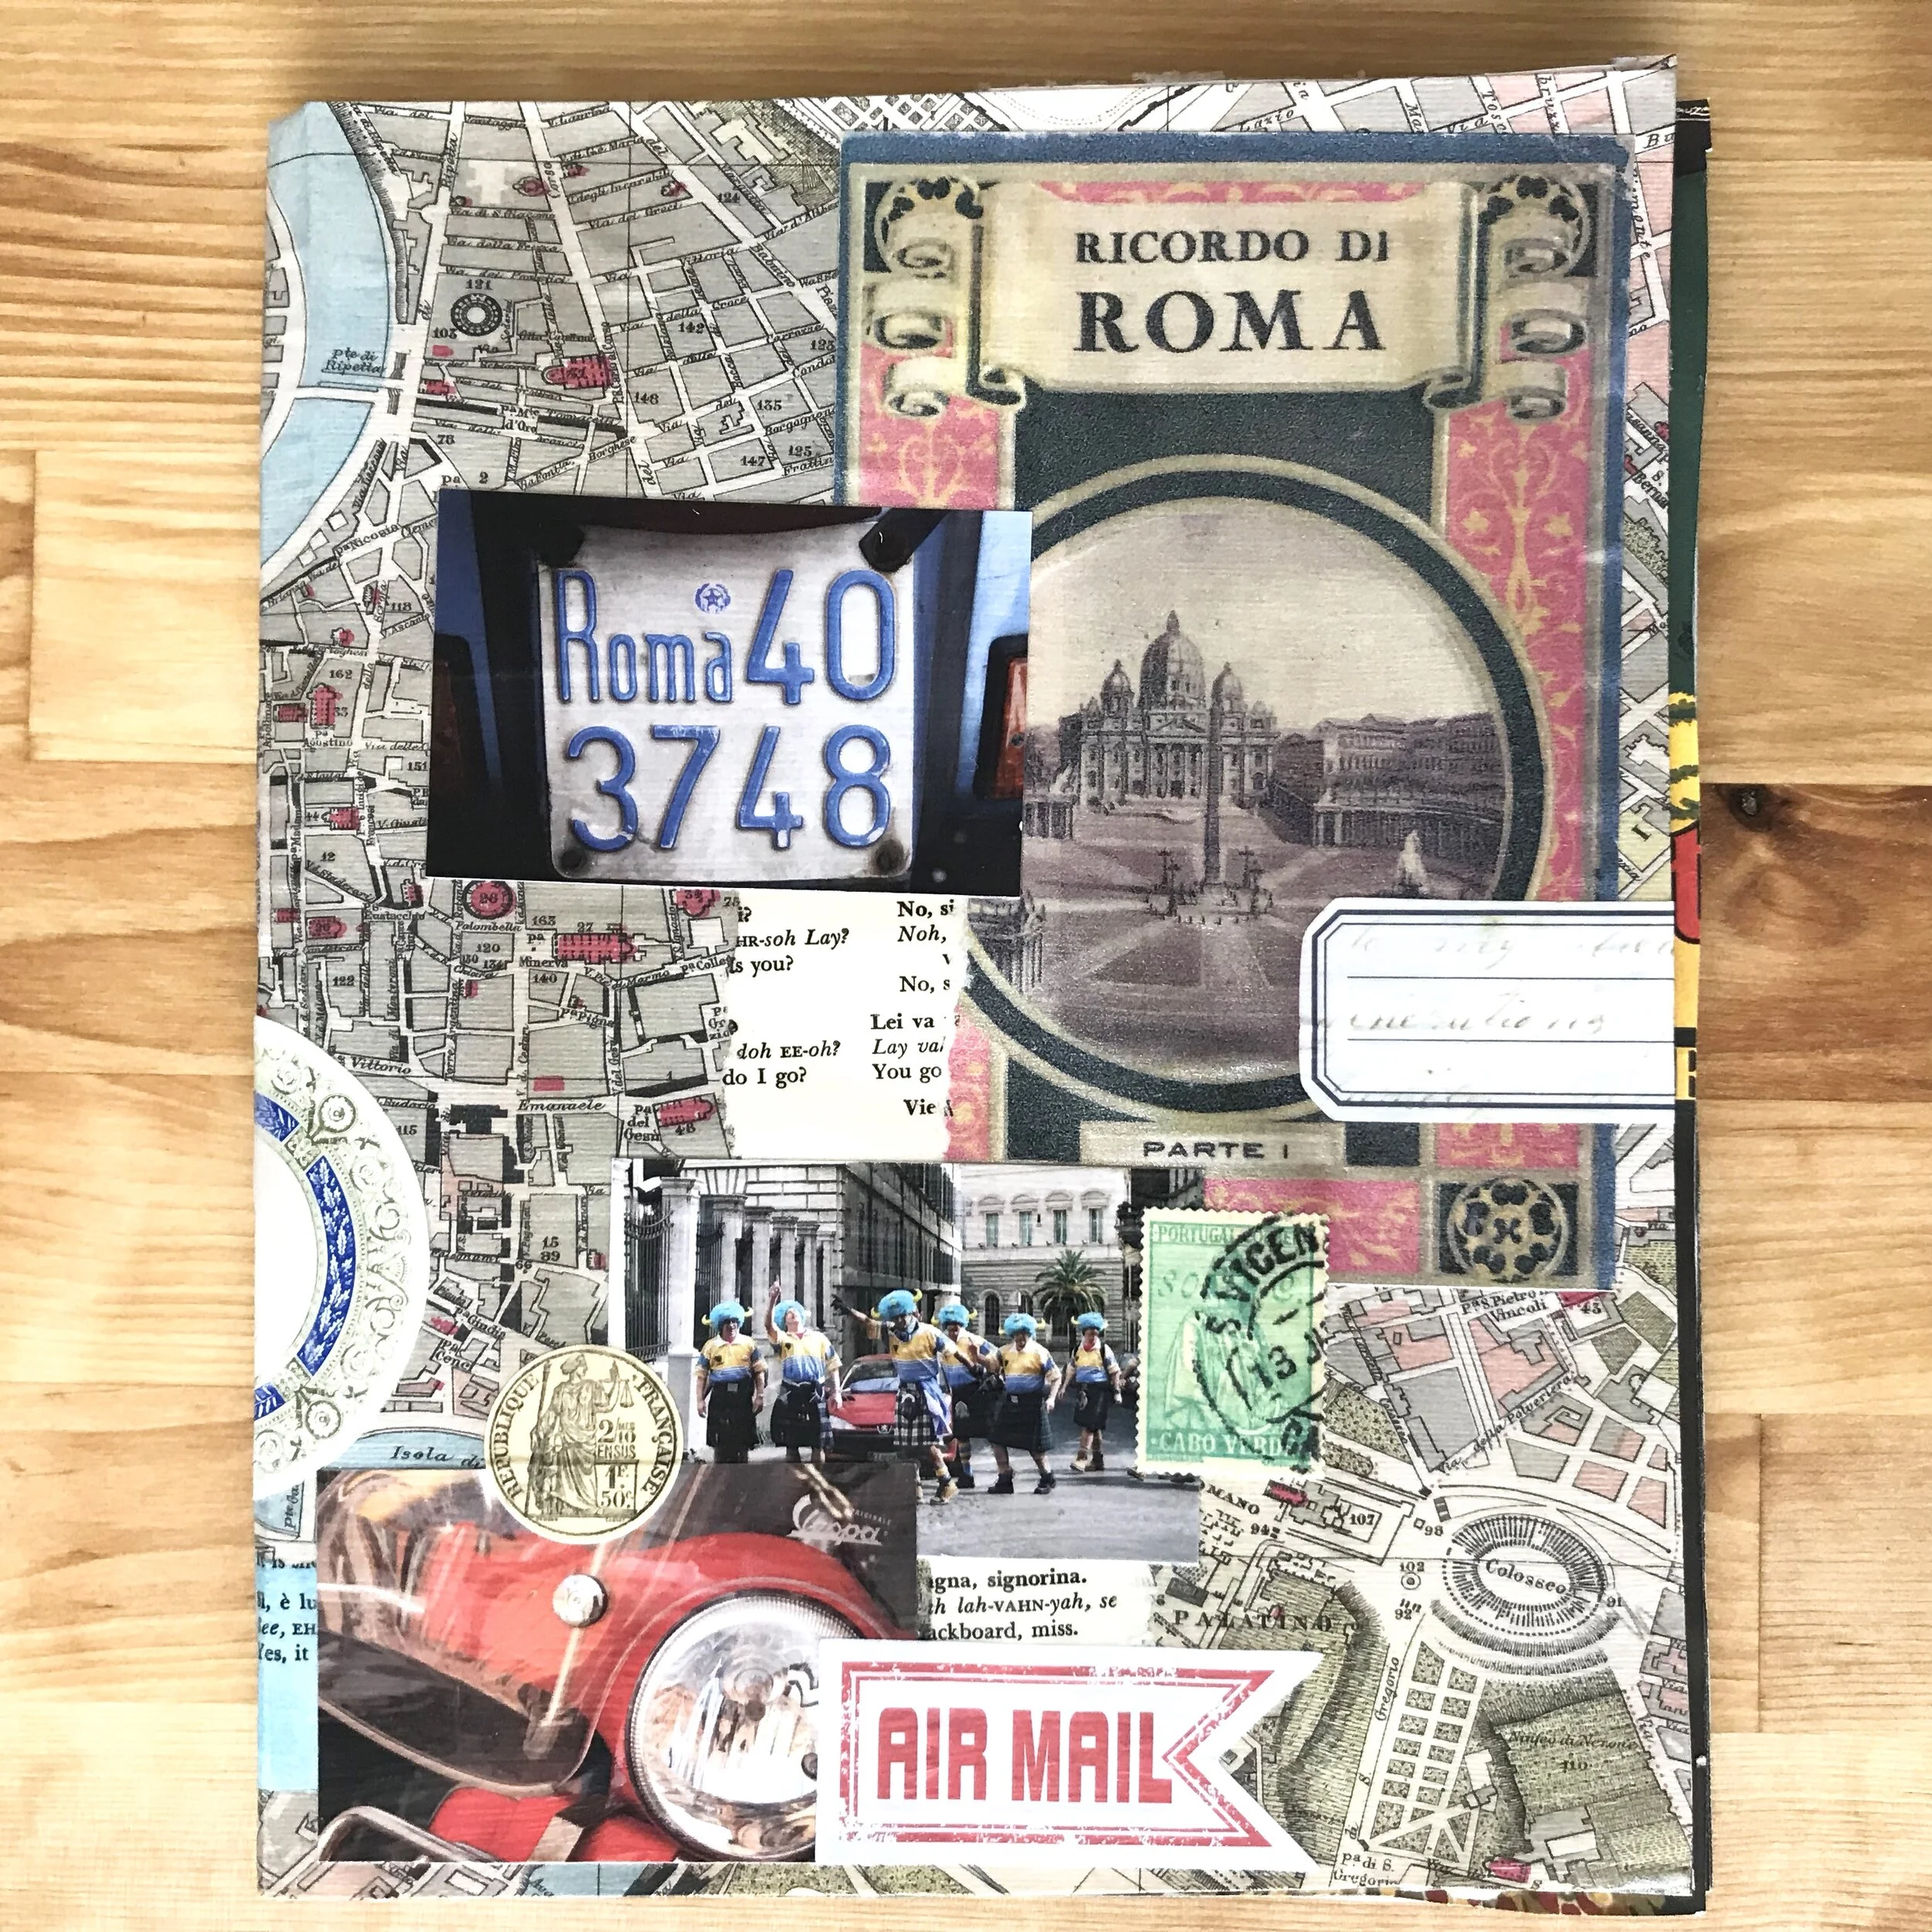
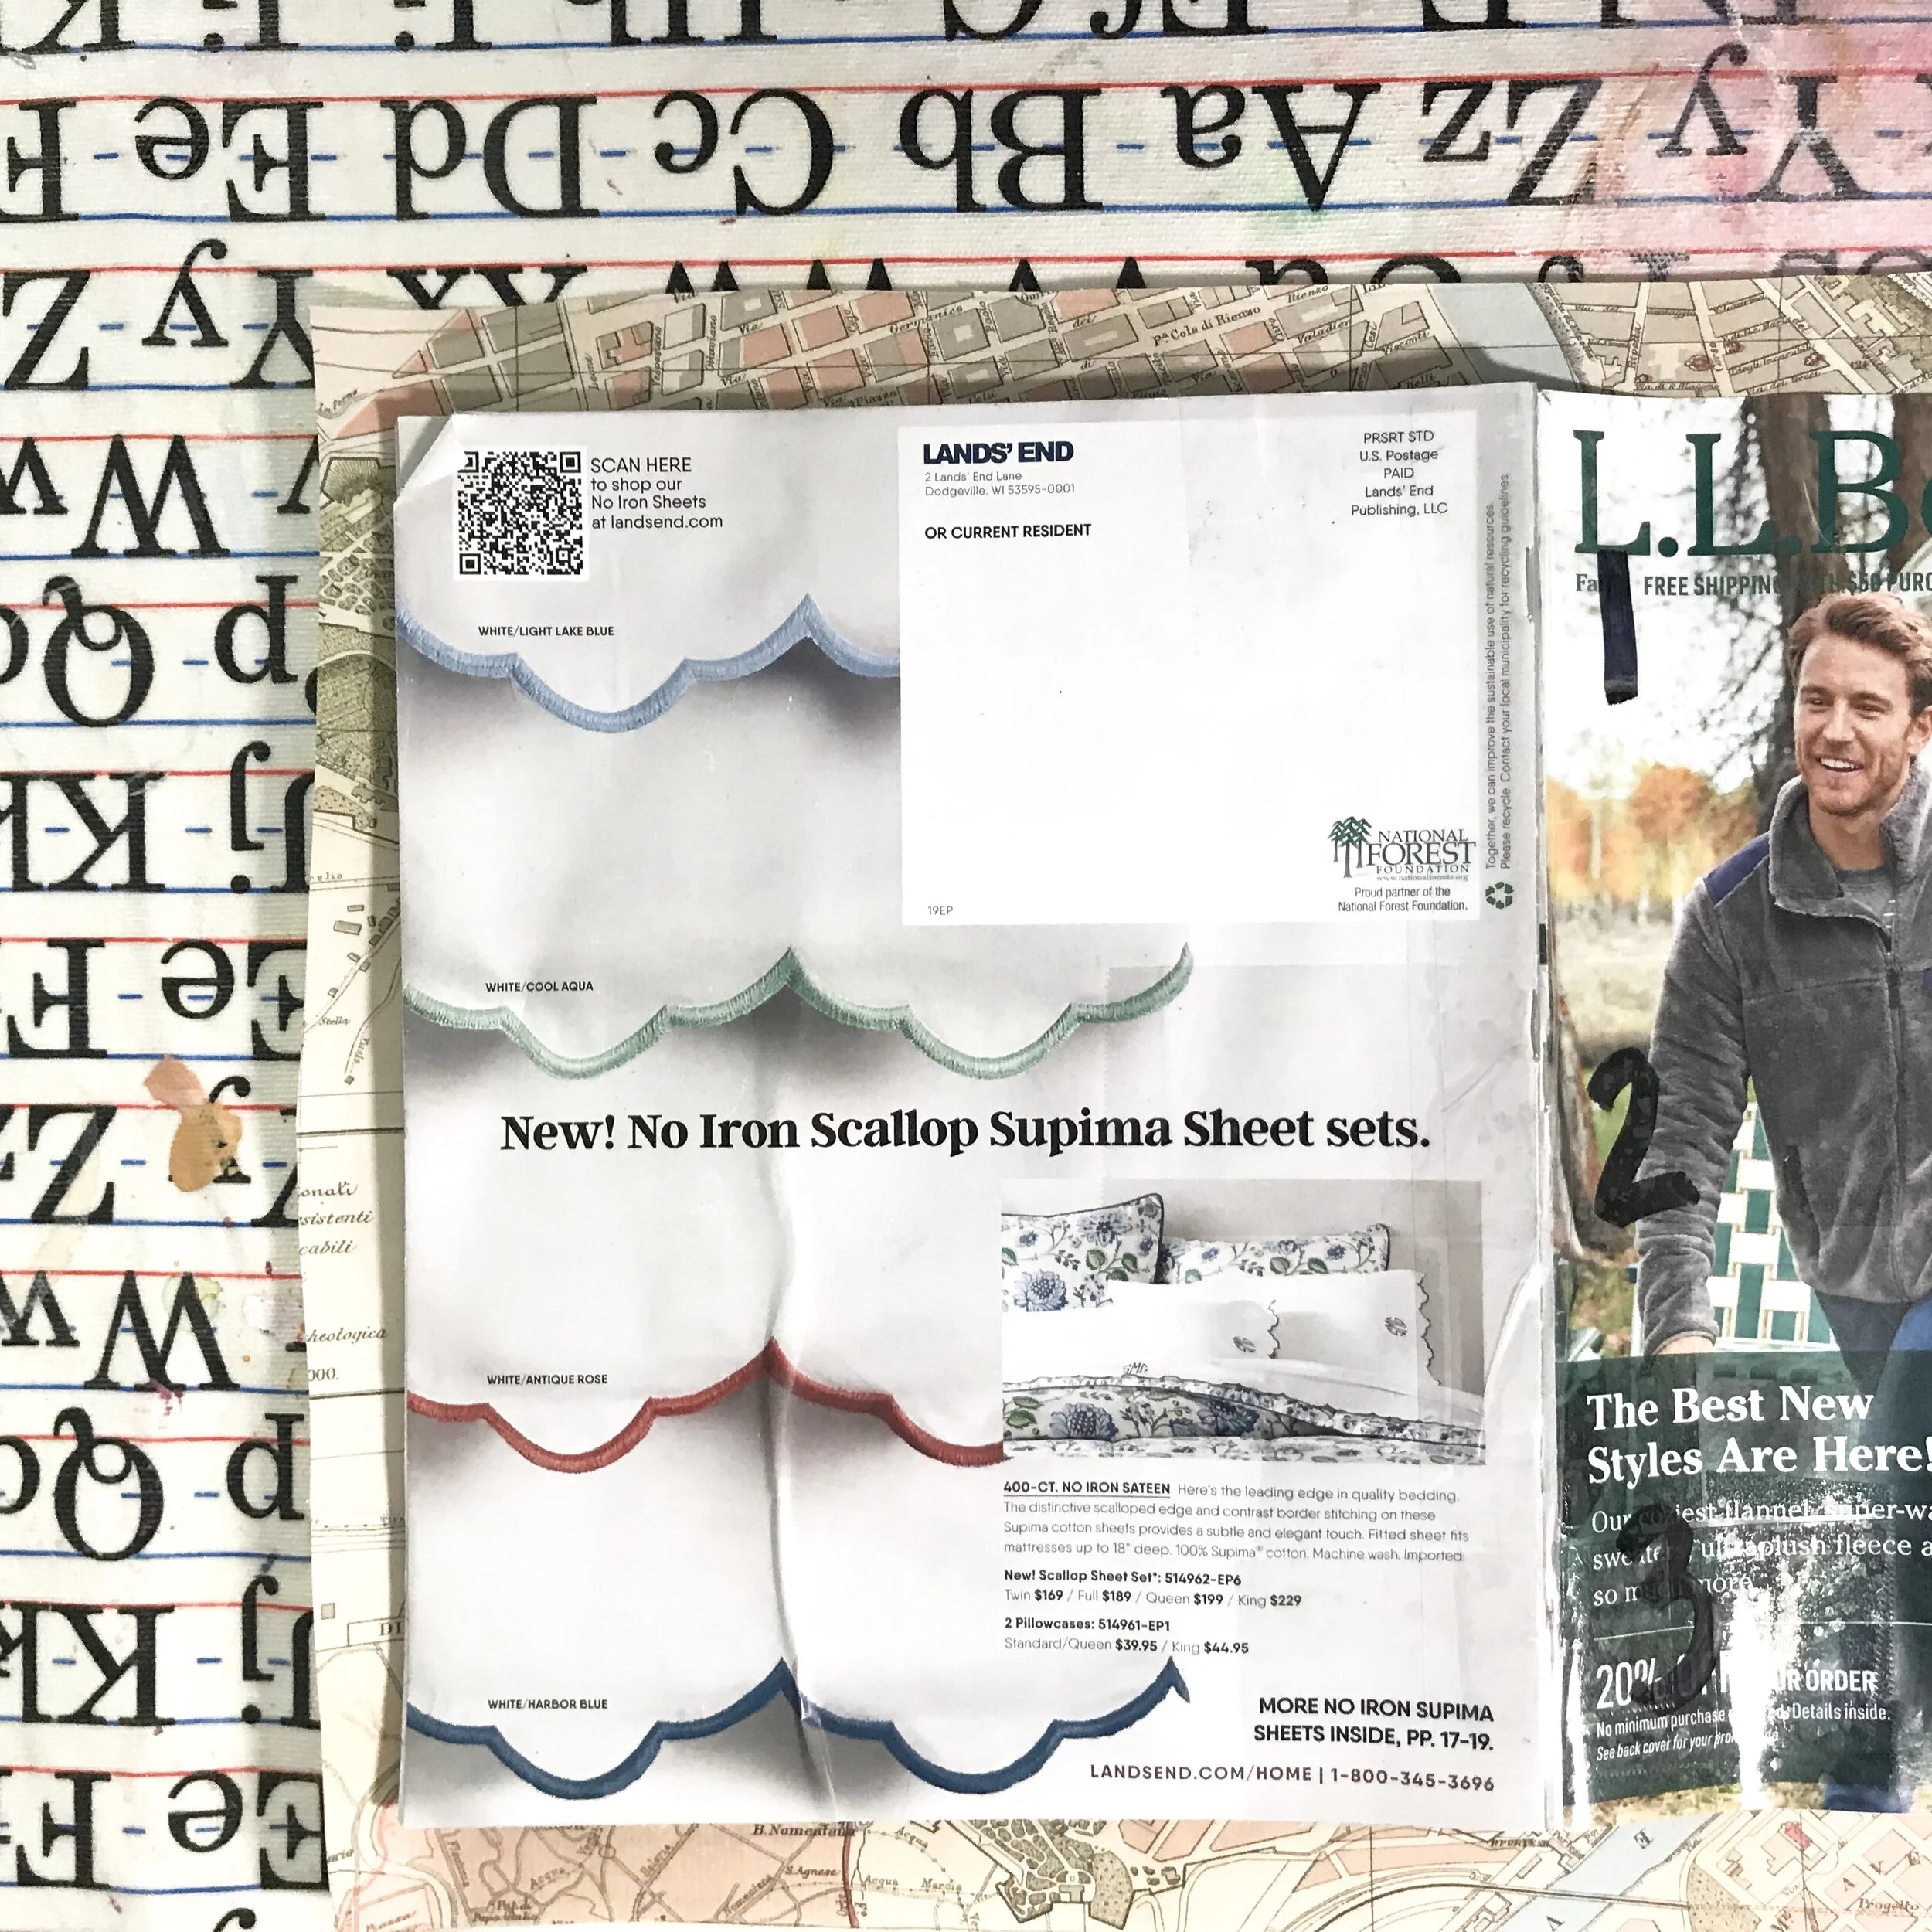
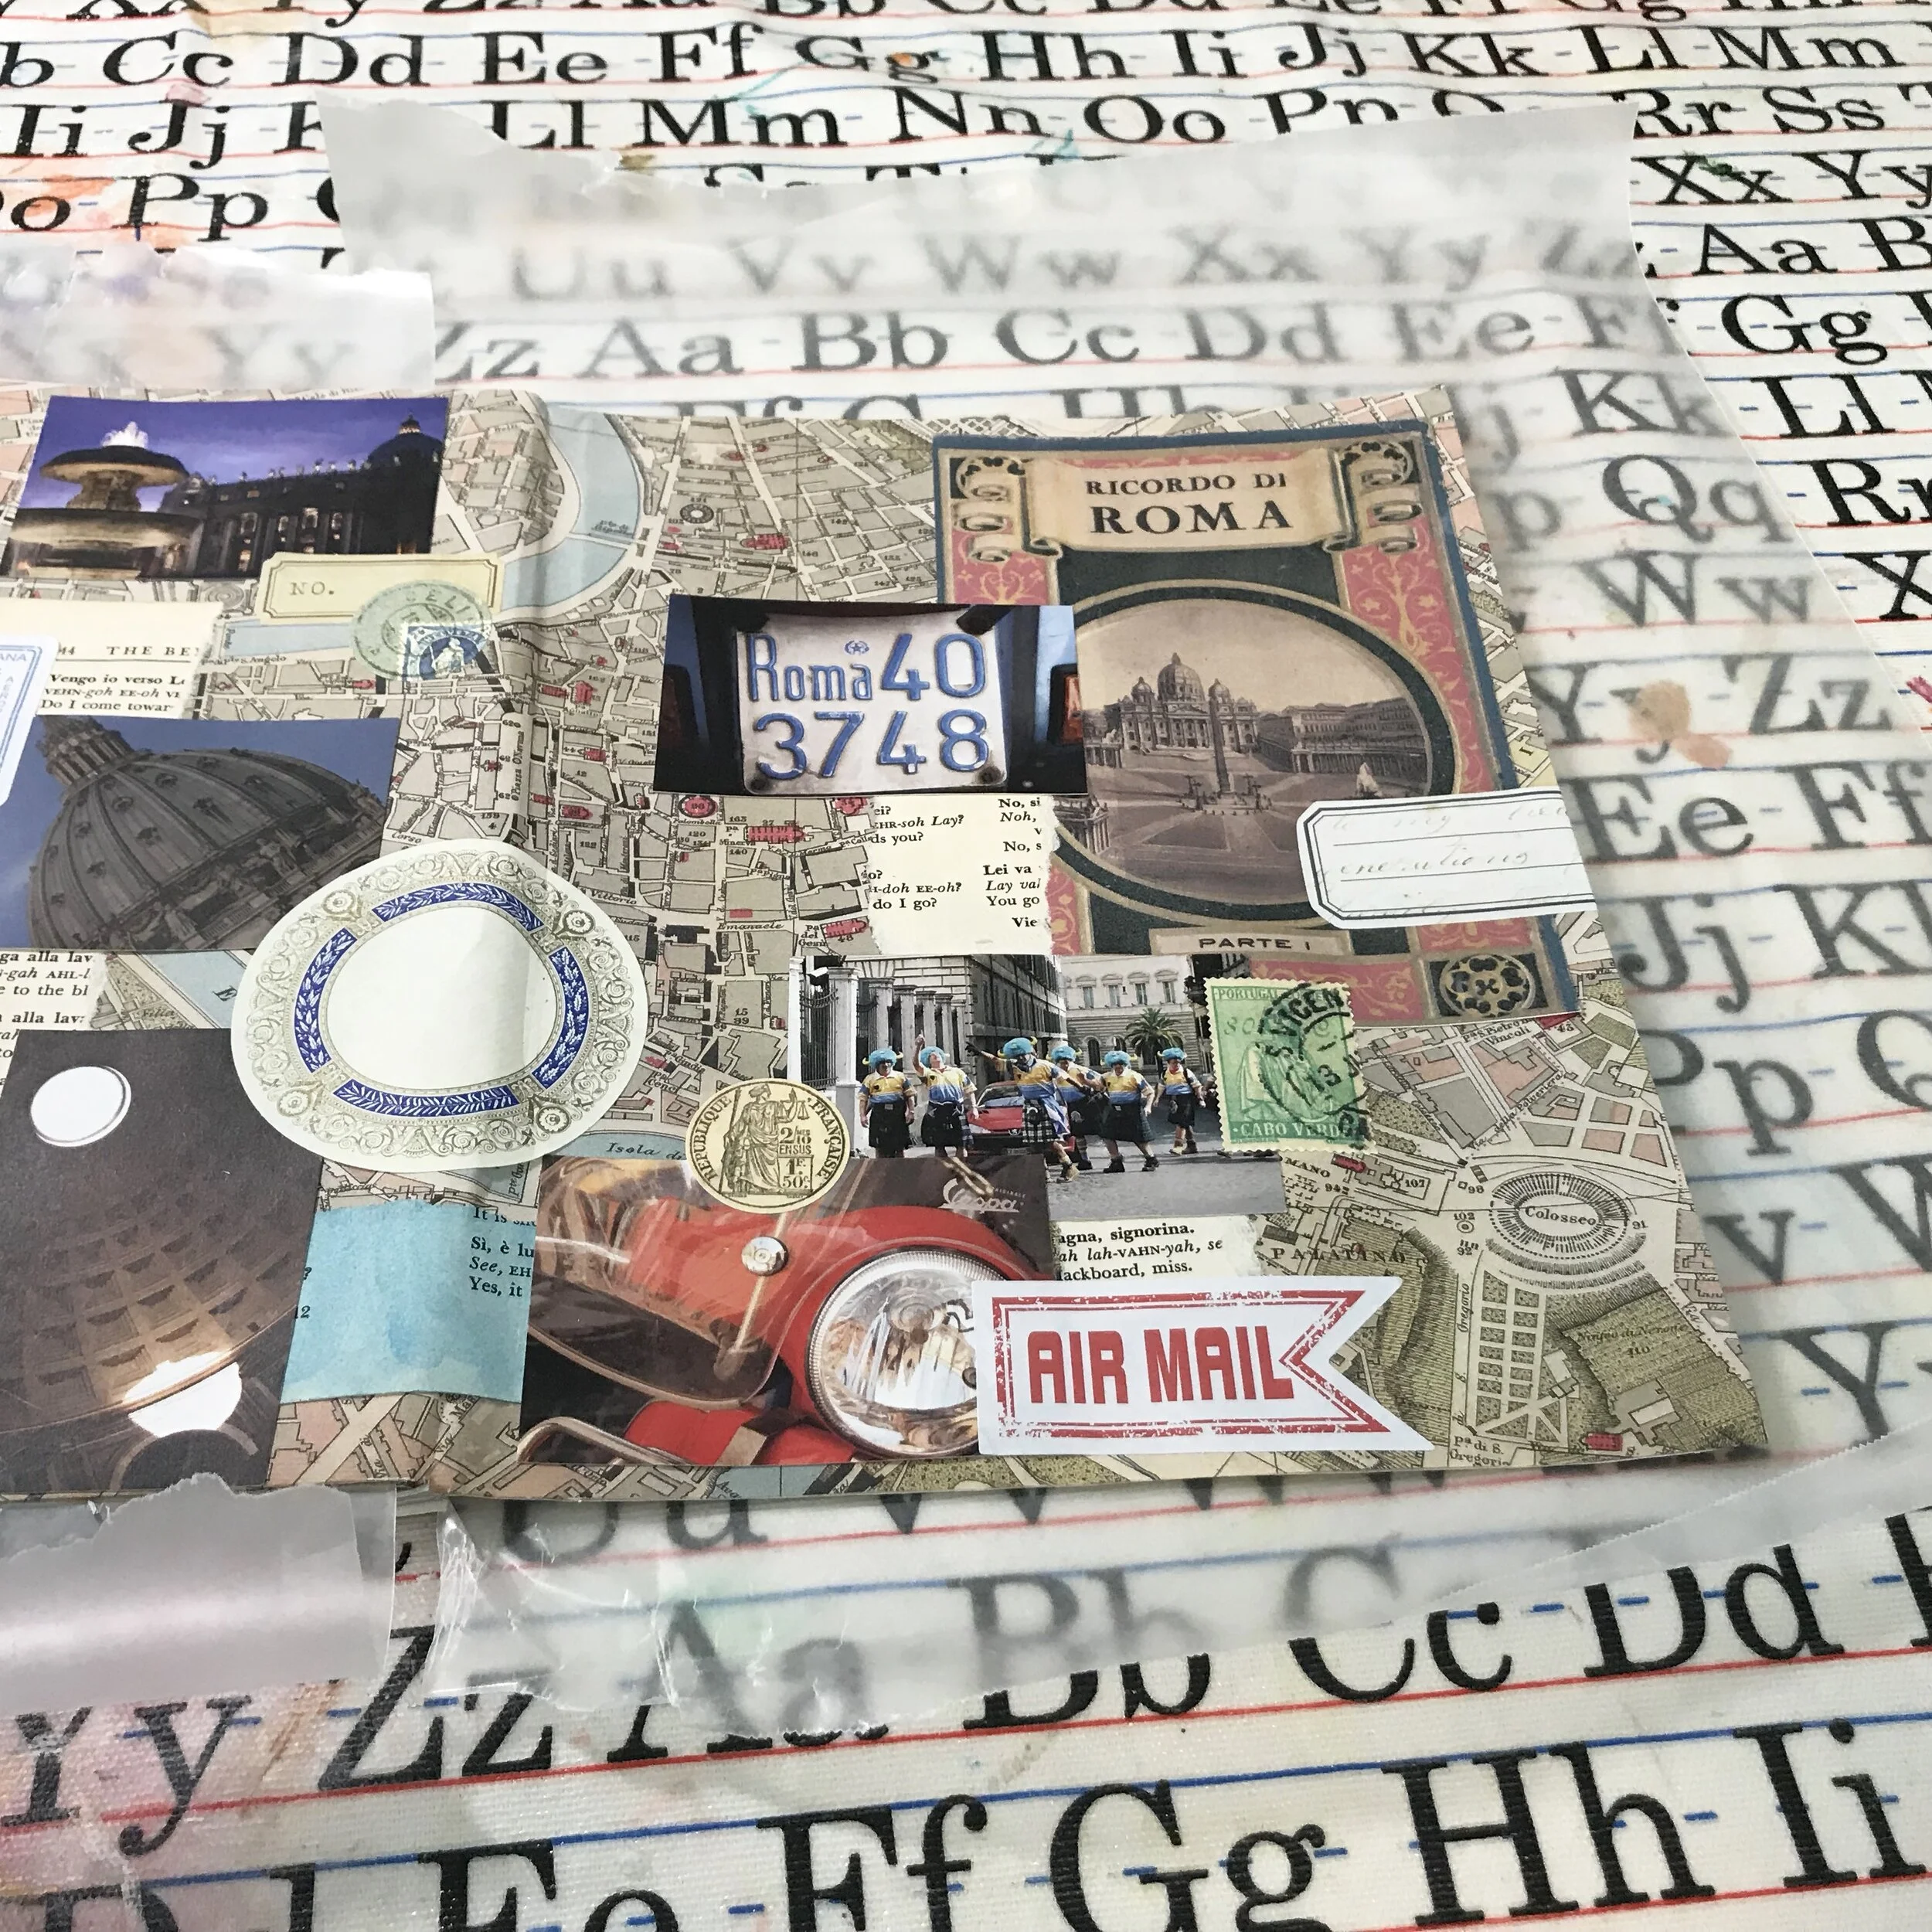
Using whatever medium you desire, decorate the front cover. I’m partial to collage, so I used ephemera, photographs, stickers, pages from an old book, and more to cover my journal’s front cover.
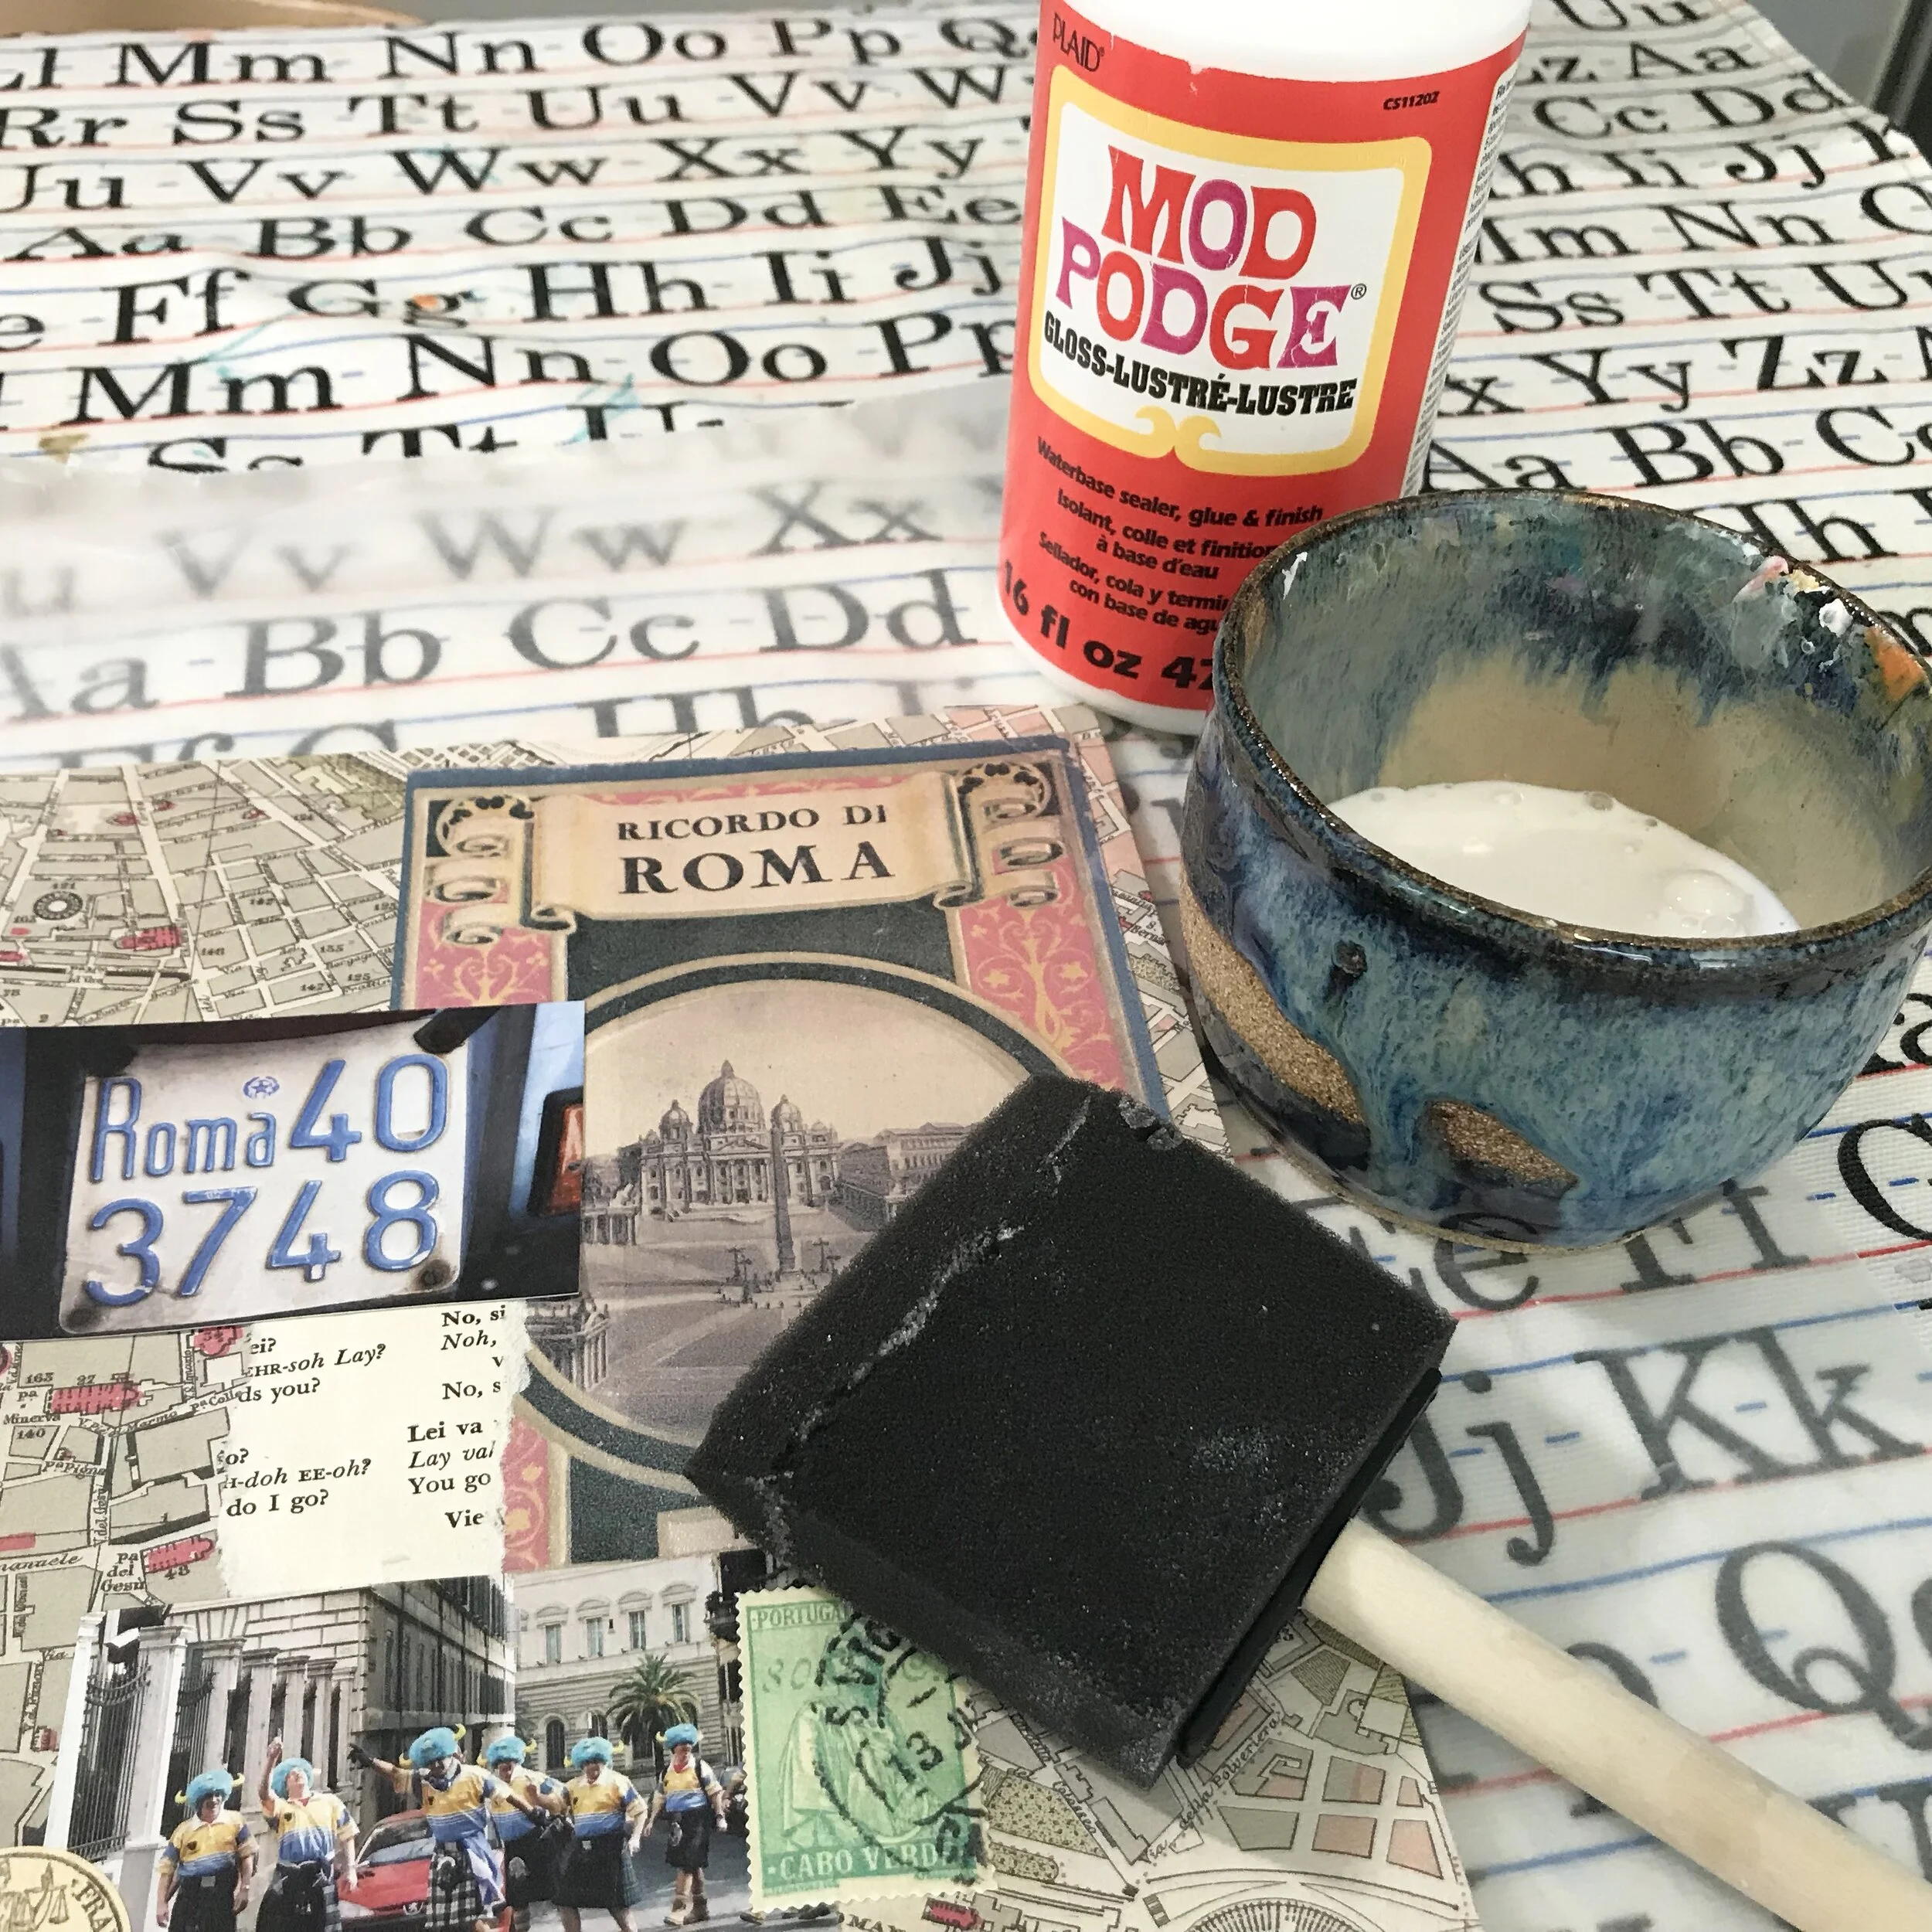
Step 8: Seal with Mod Podge
Apply one thick coat of Mod Podge to the front cover. Allow to dry completely. Repeat as desired. I use two coats, generally.

Step 9: Create art!
These art journals are suitable for collage as well as many other mediums. For watercolor and acrylics: apply a coat of gesso before painting.
I hope you love using your catalog art journals as much as I do! Tag me on Instagram (@midmodernmama) if you share your work. I’d love to see it!
Shopping


For more art journaling inspiration, ideas for creative layouts and projects, as well as a peek into my own art journals and mixed media projects, check out the Journaling section on this website!