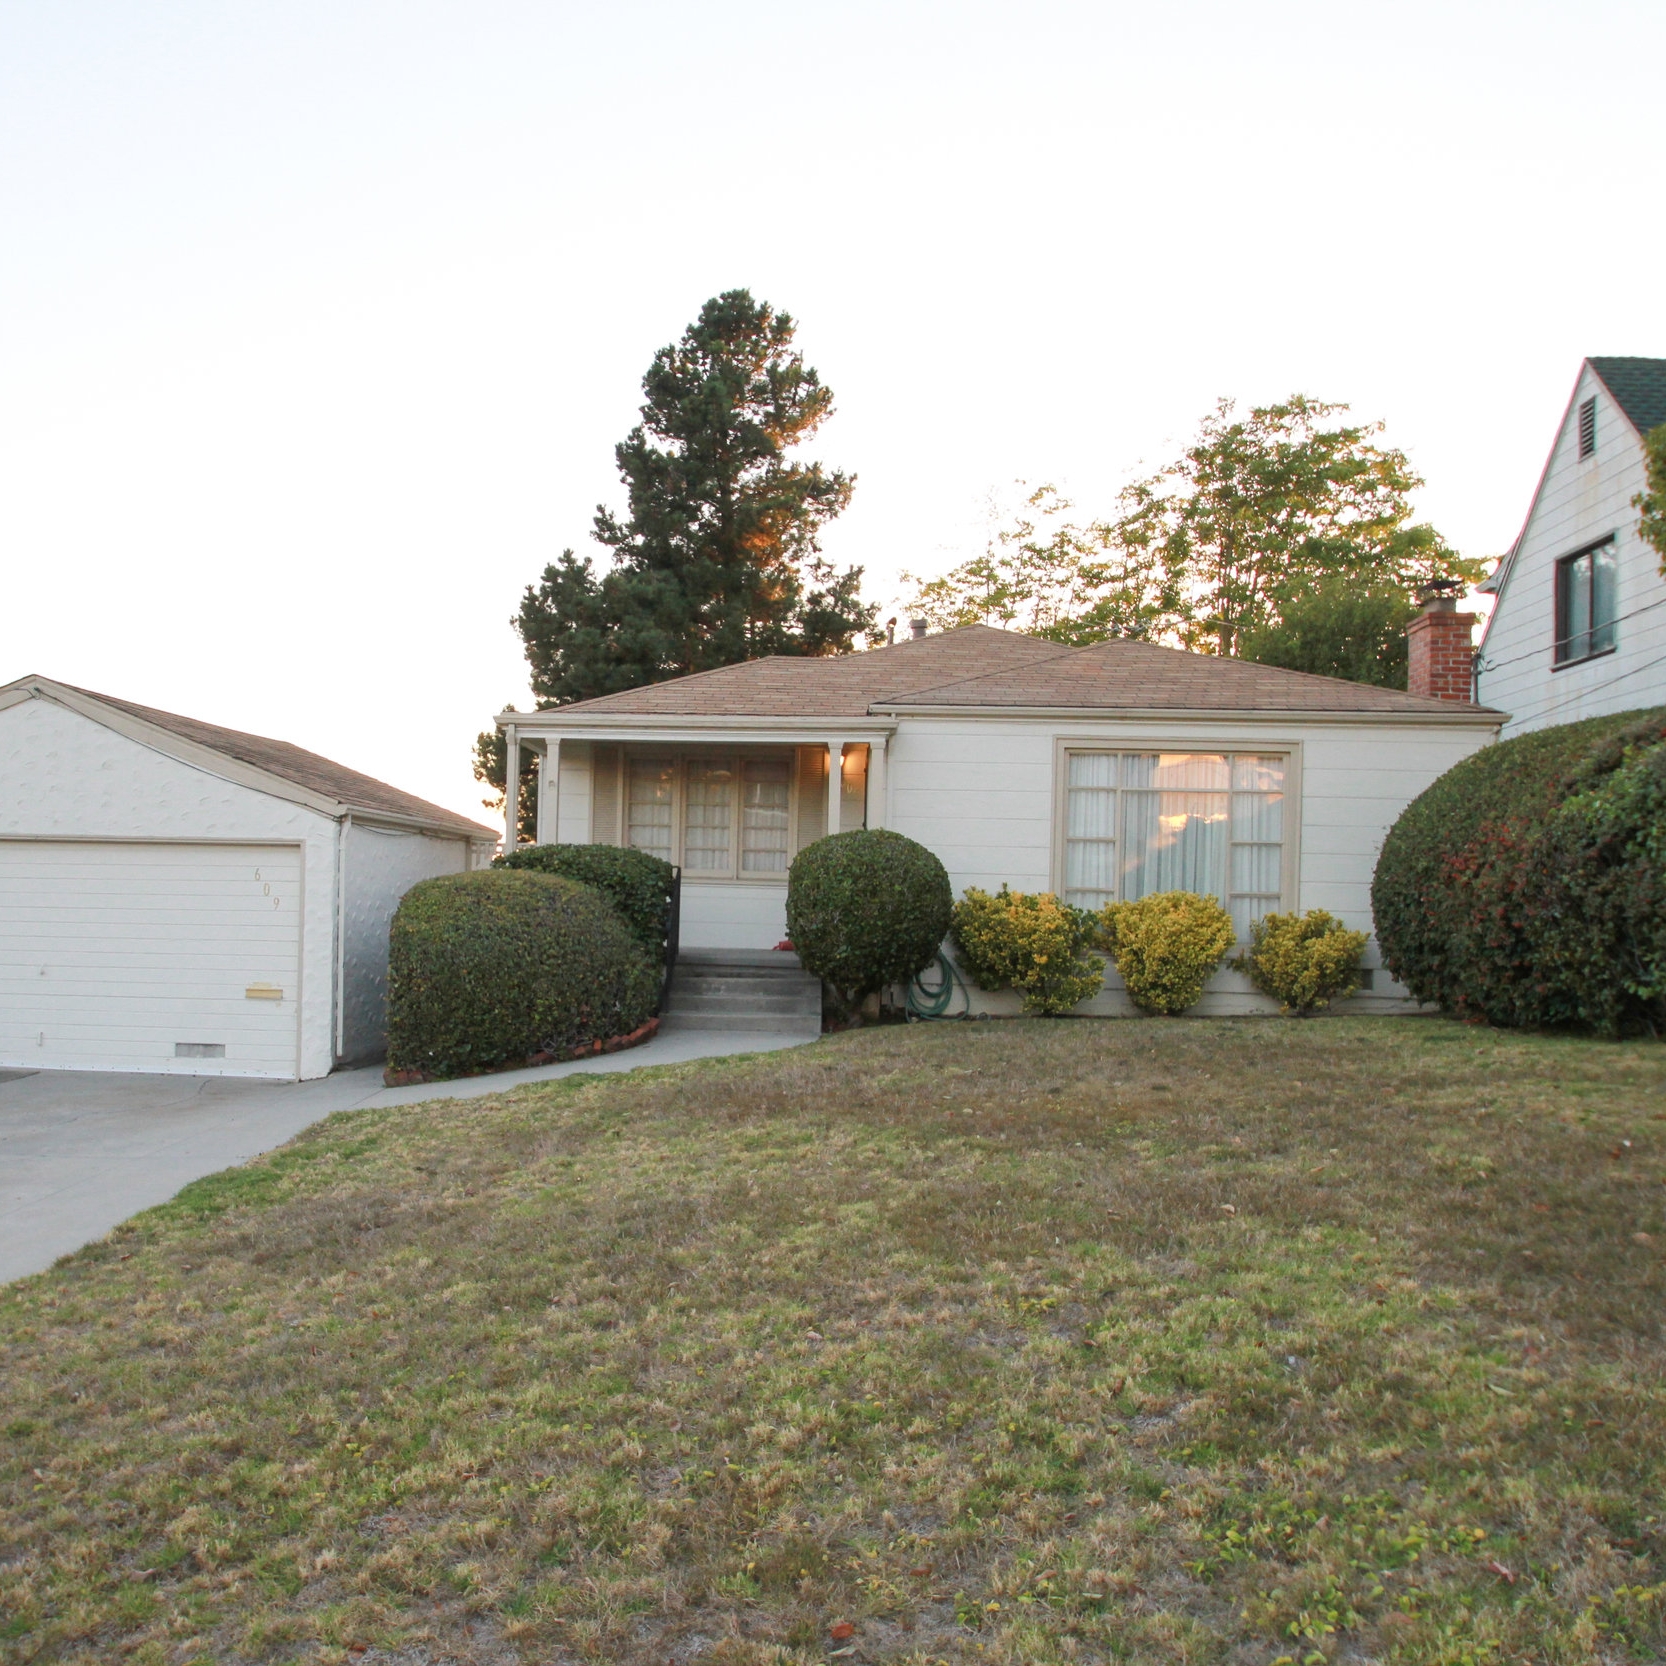
1948 Subdivision Sweetheart

1300 sq. feet | 3 bedrooms | 1 bathroom
This is the house that breaks my heart. We had lived in the Bay Area for about four years, and we finally decided to buy a house and put down some roots. The Bay Area is an insane market for buying, and the homes we saw in our price range were dreadful — until we found this little charmer. The woman living there had raised her family in the house and had lived there for more than 60 years. She liked us. We liked her. She chose us as the custodians of her beloved home full of memories.
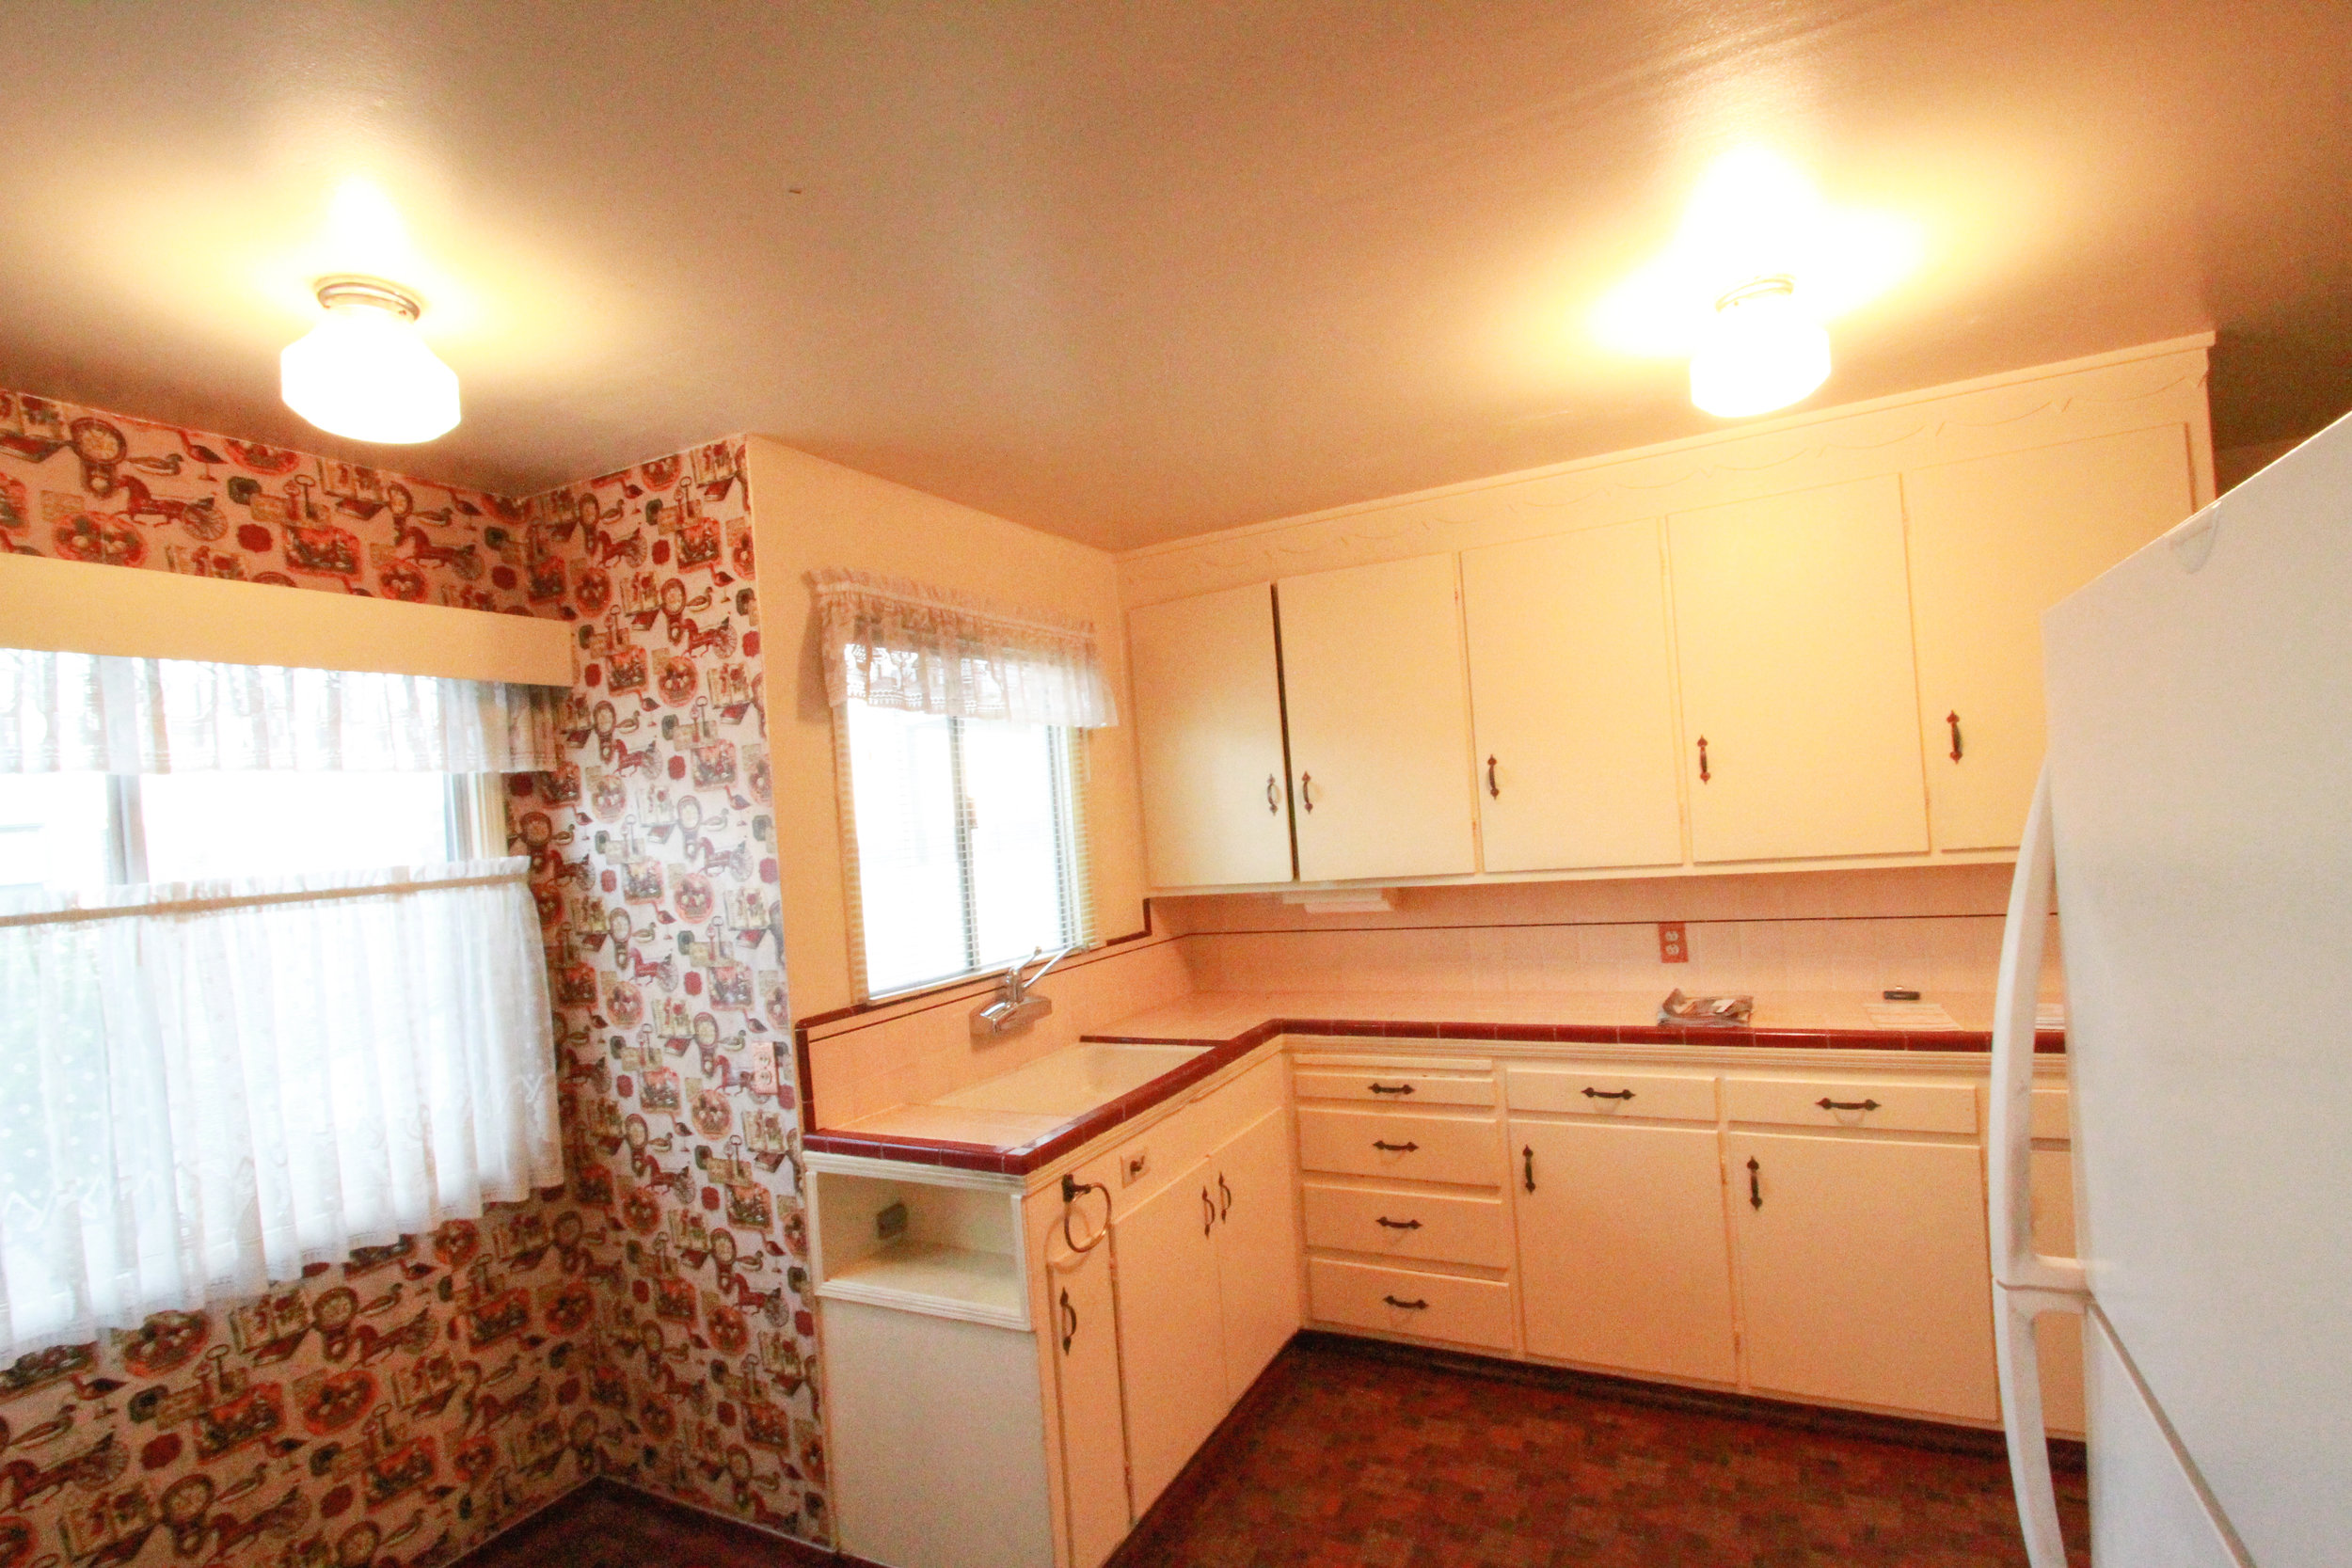
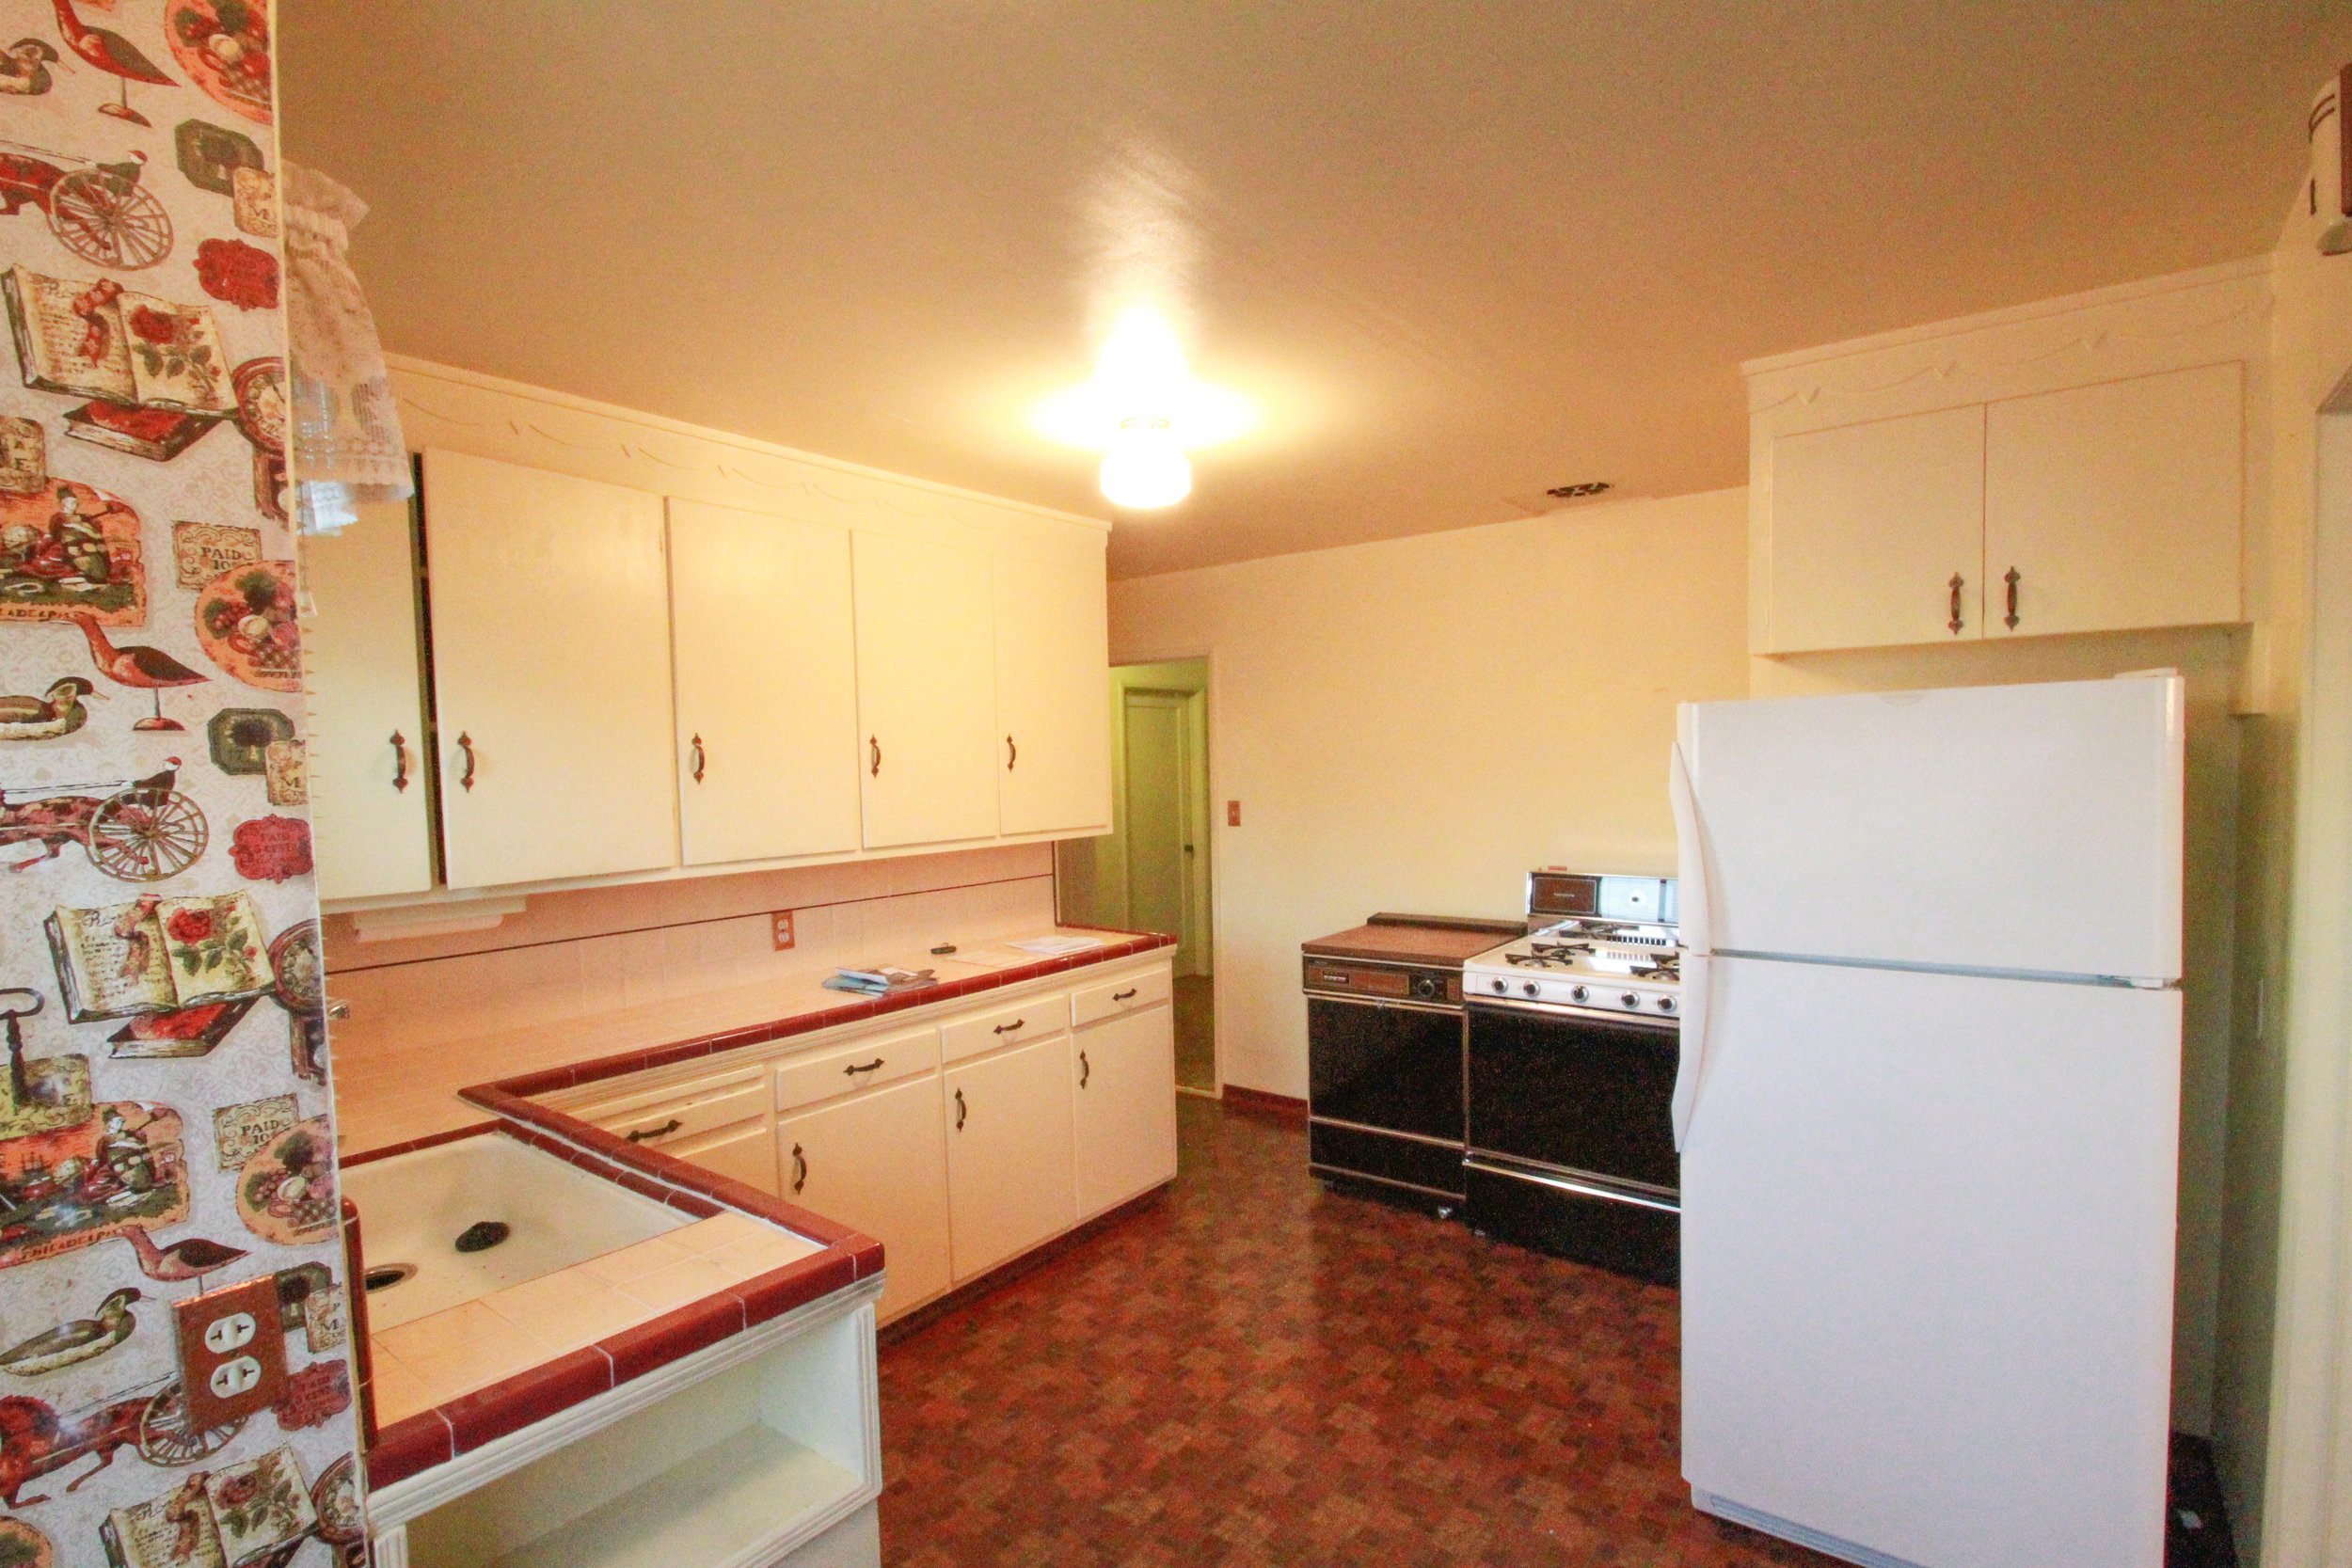
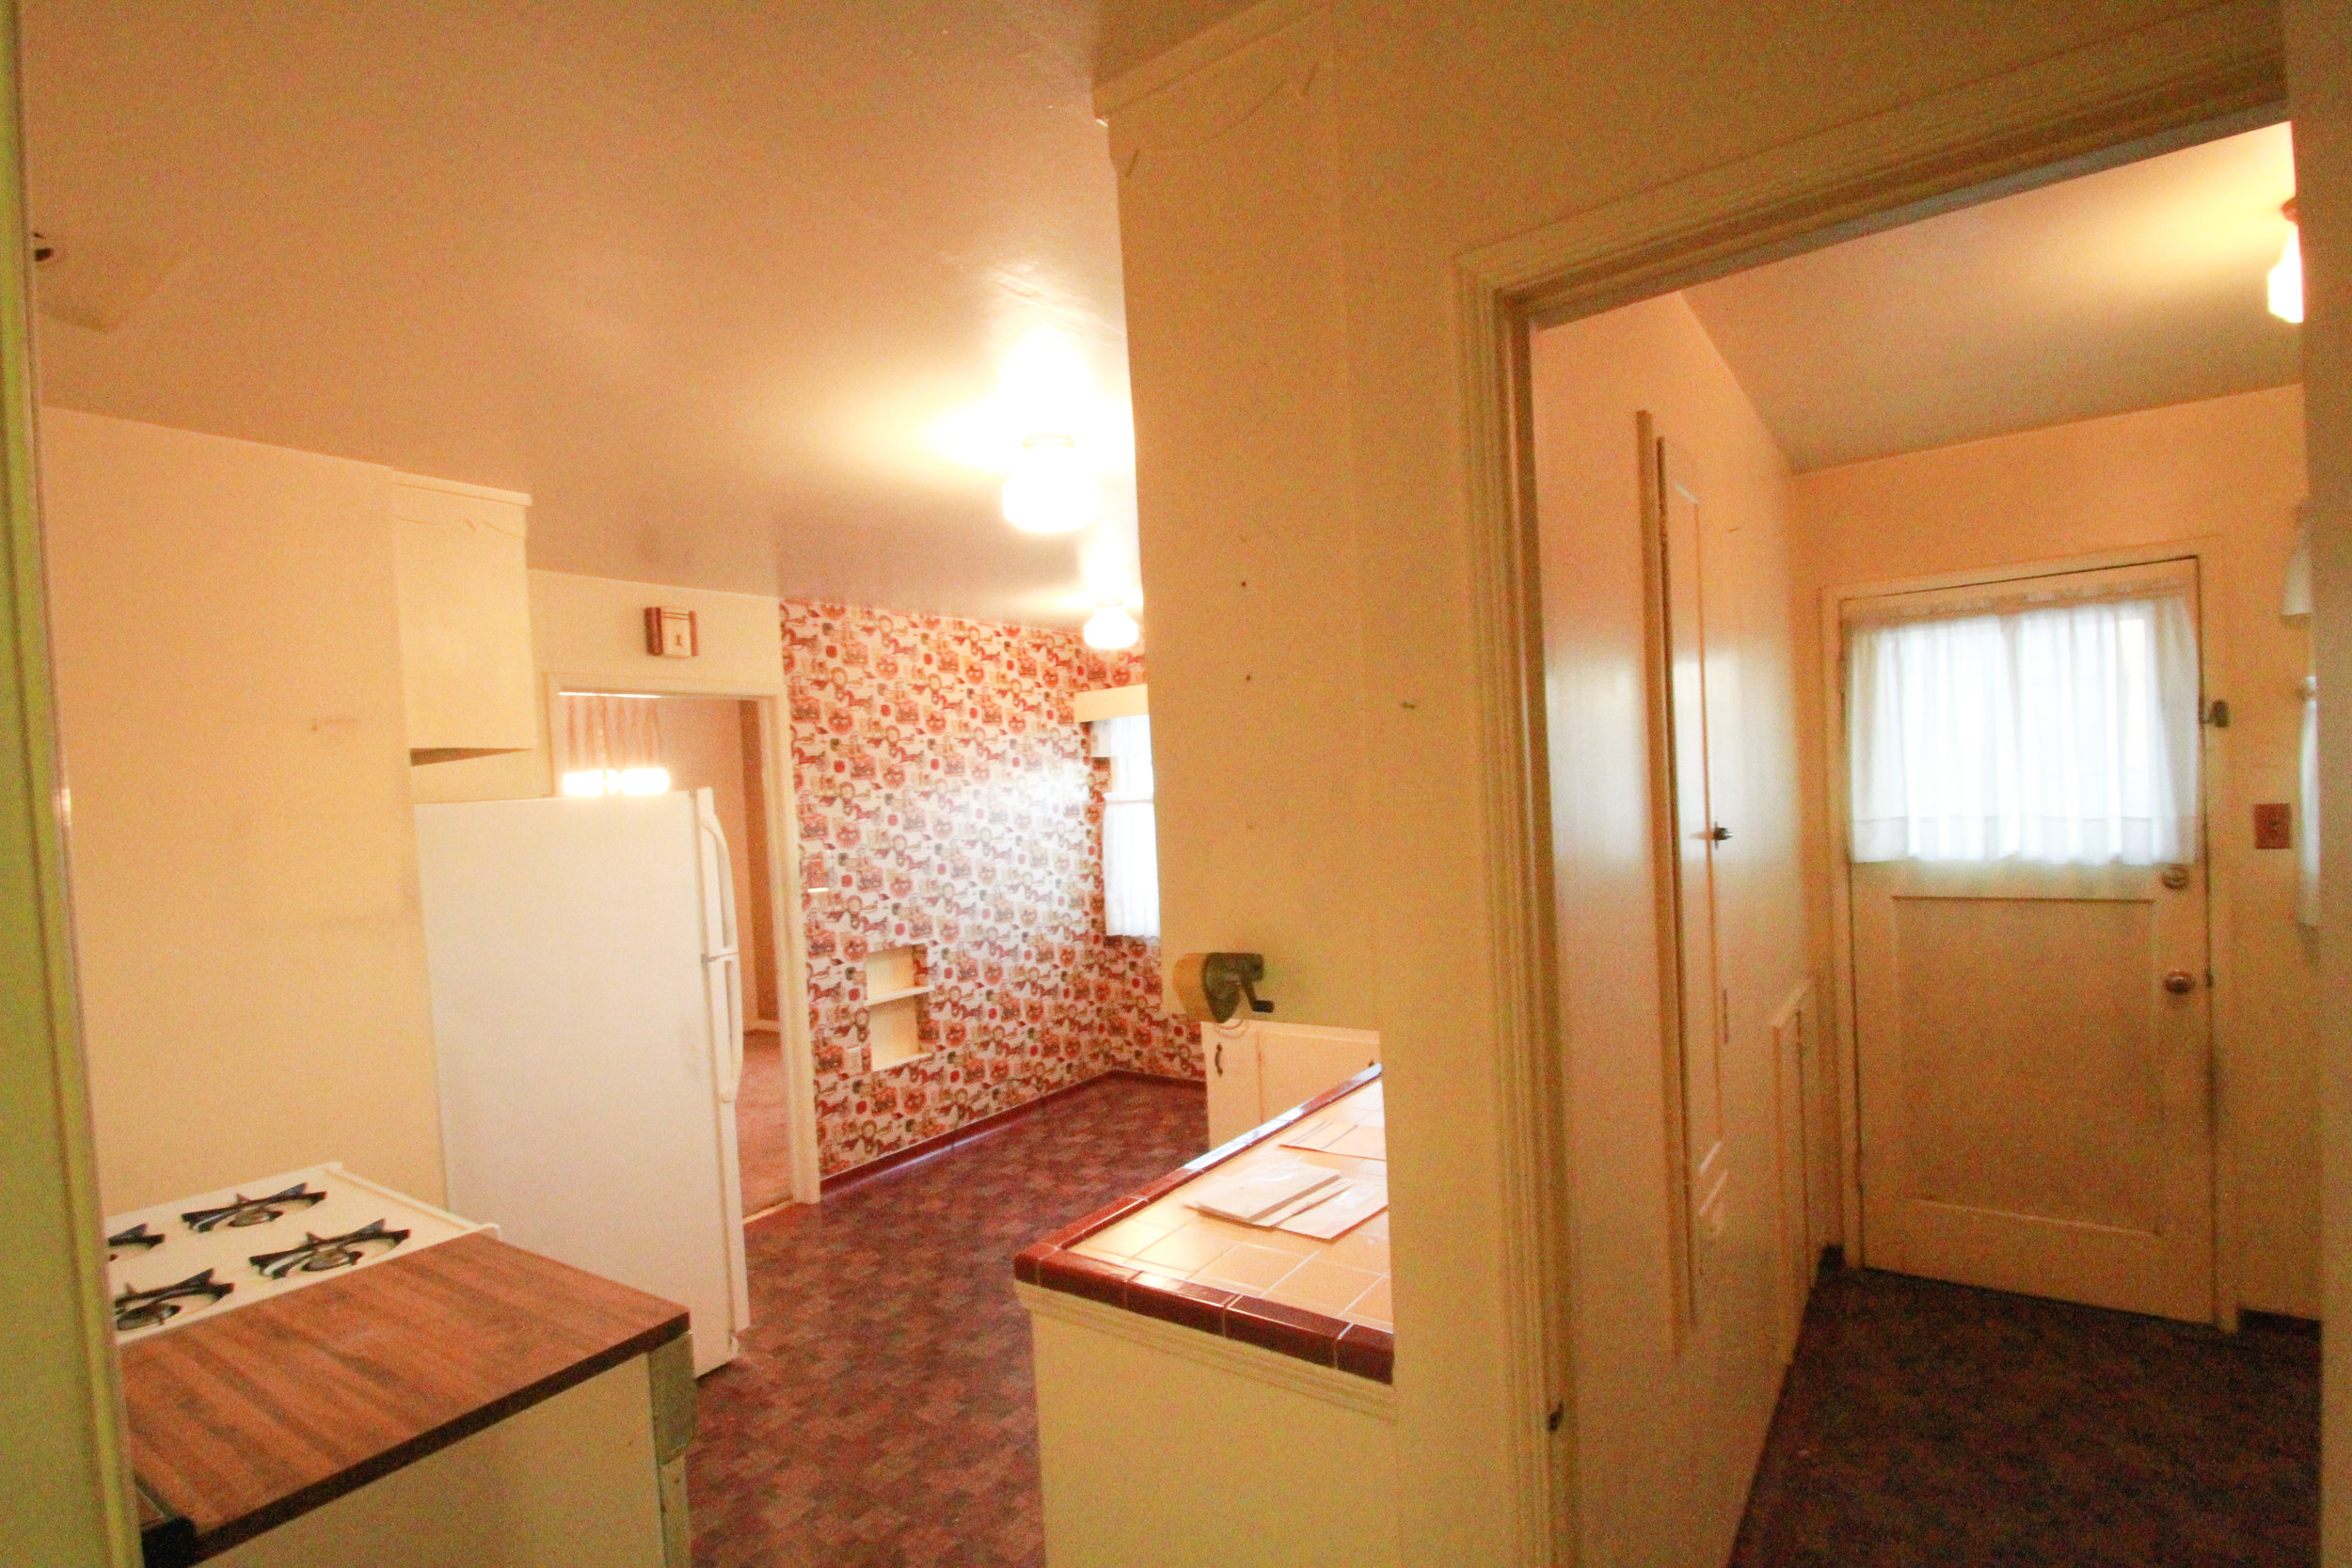
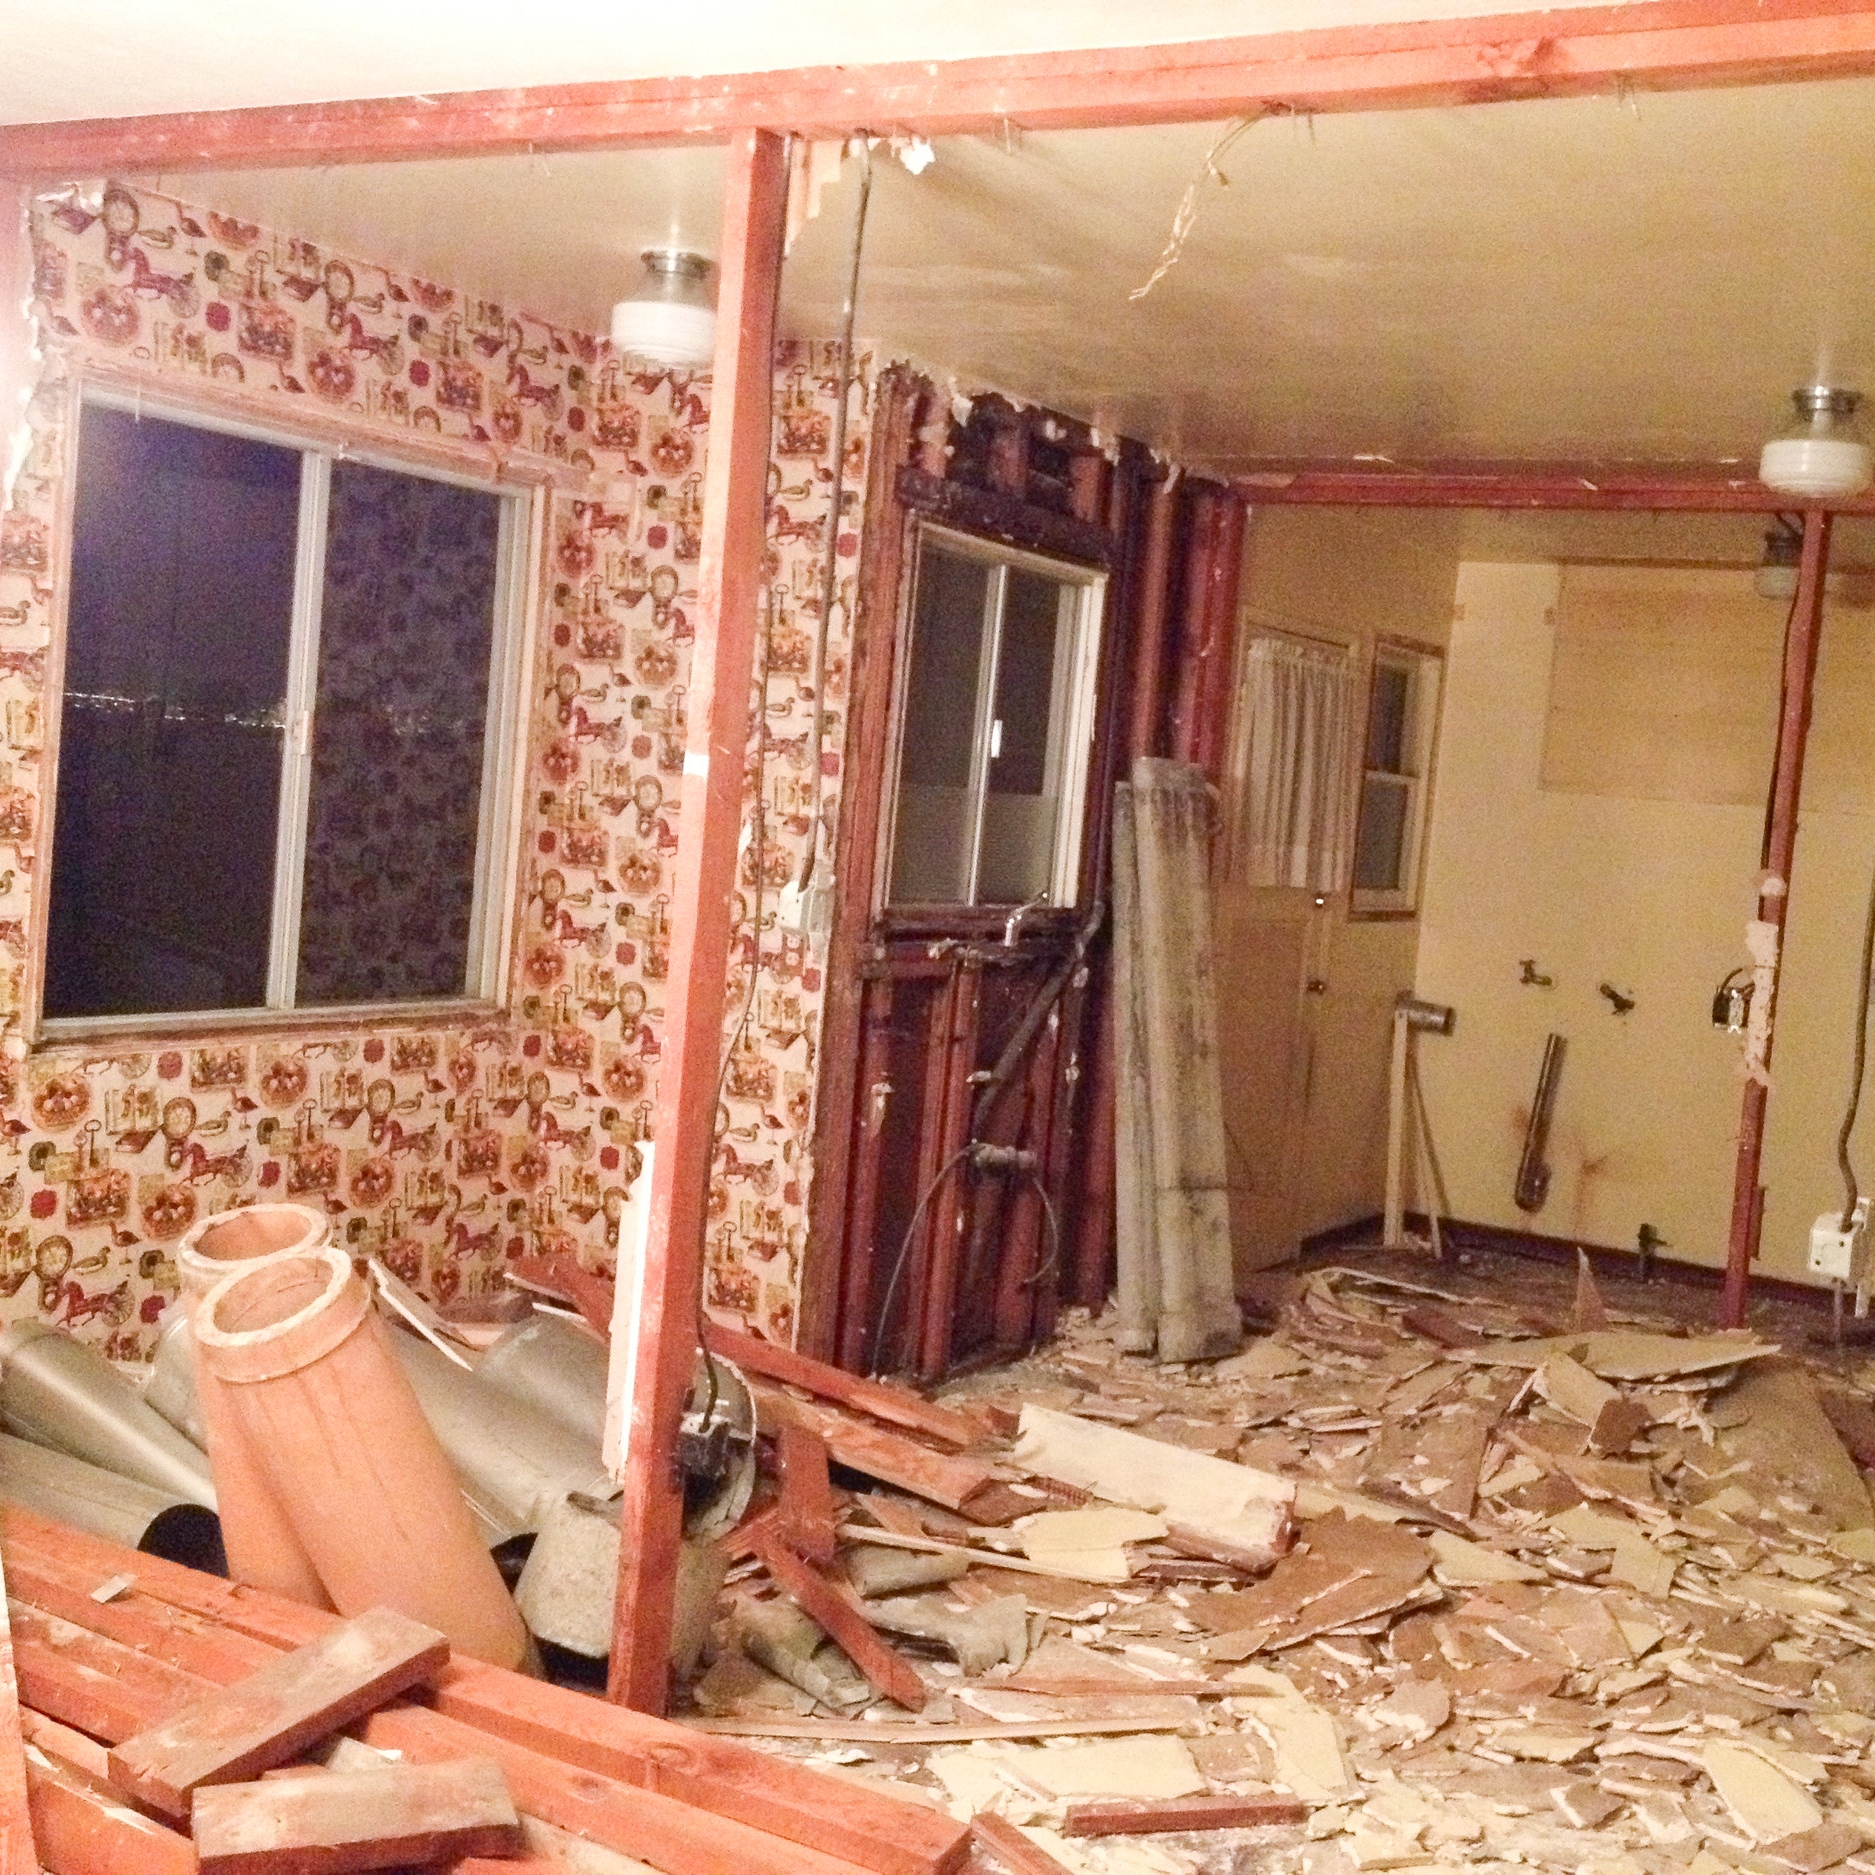
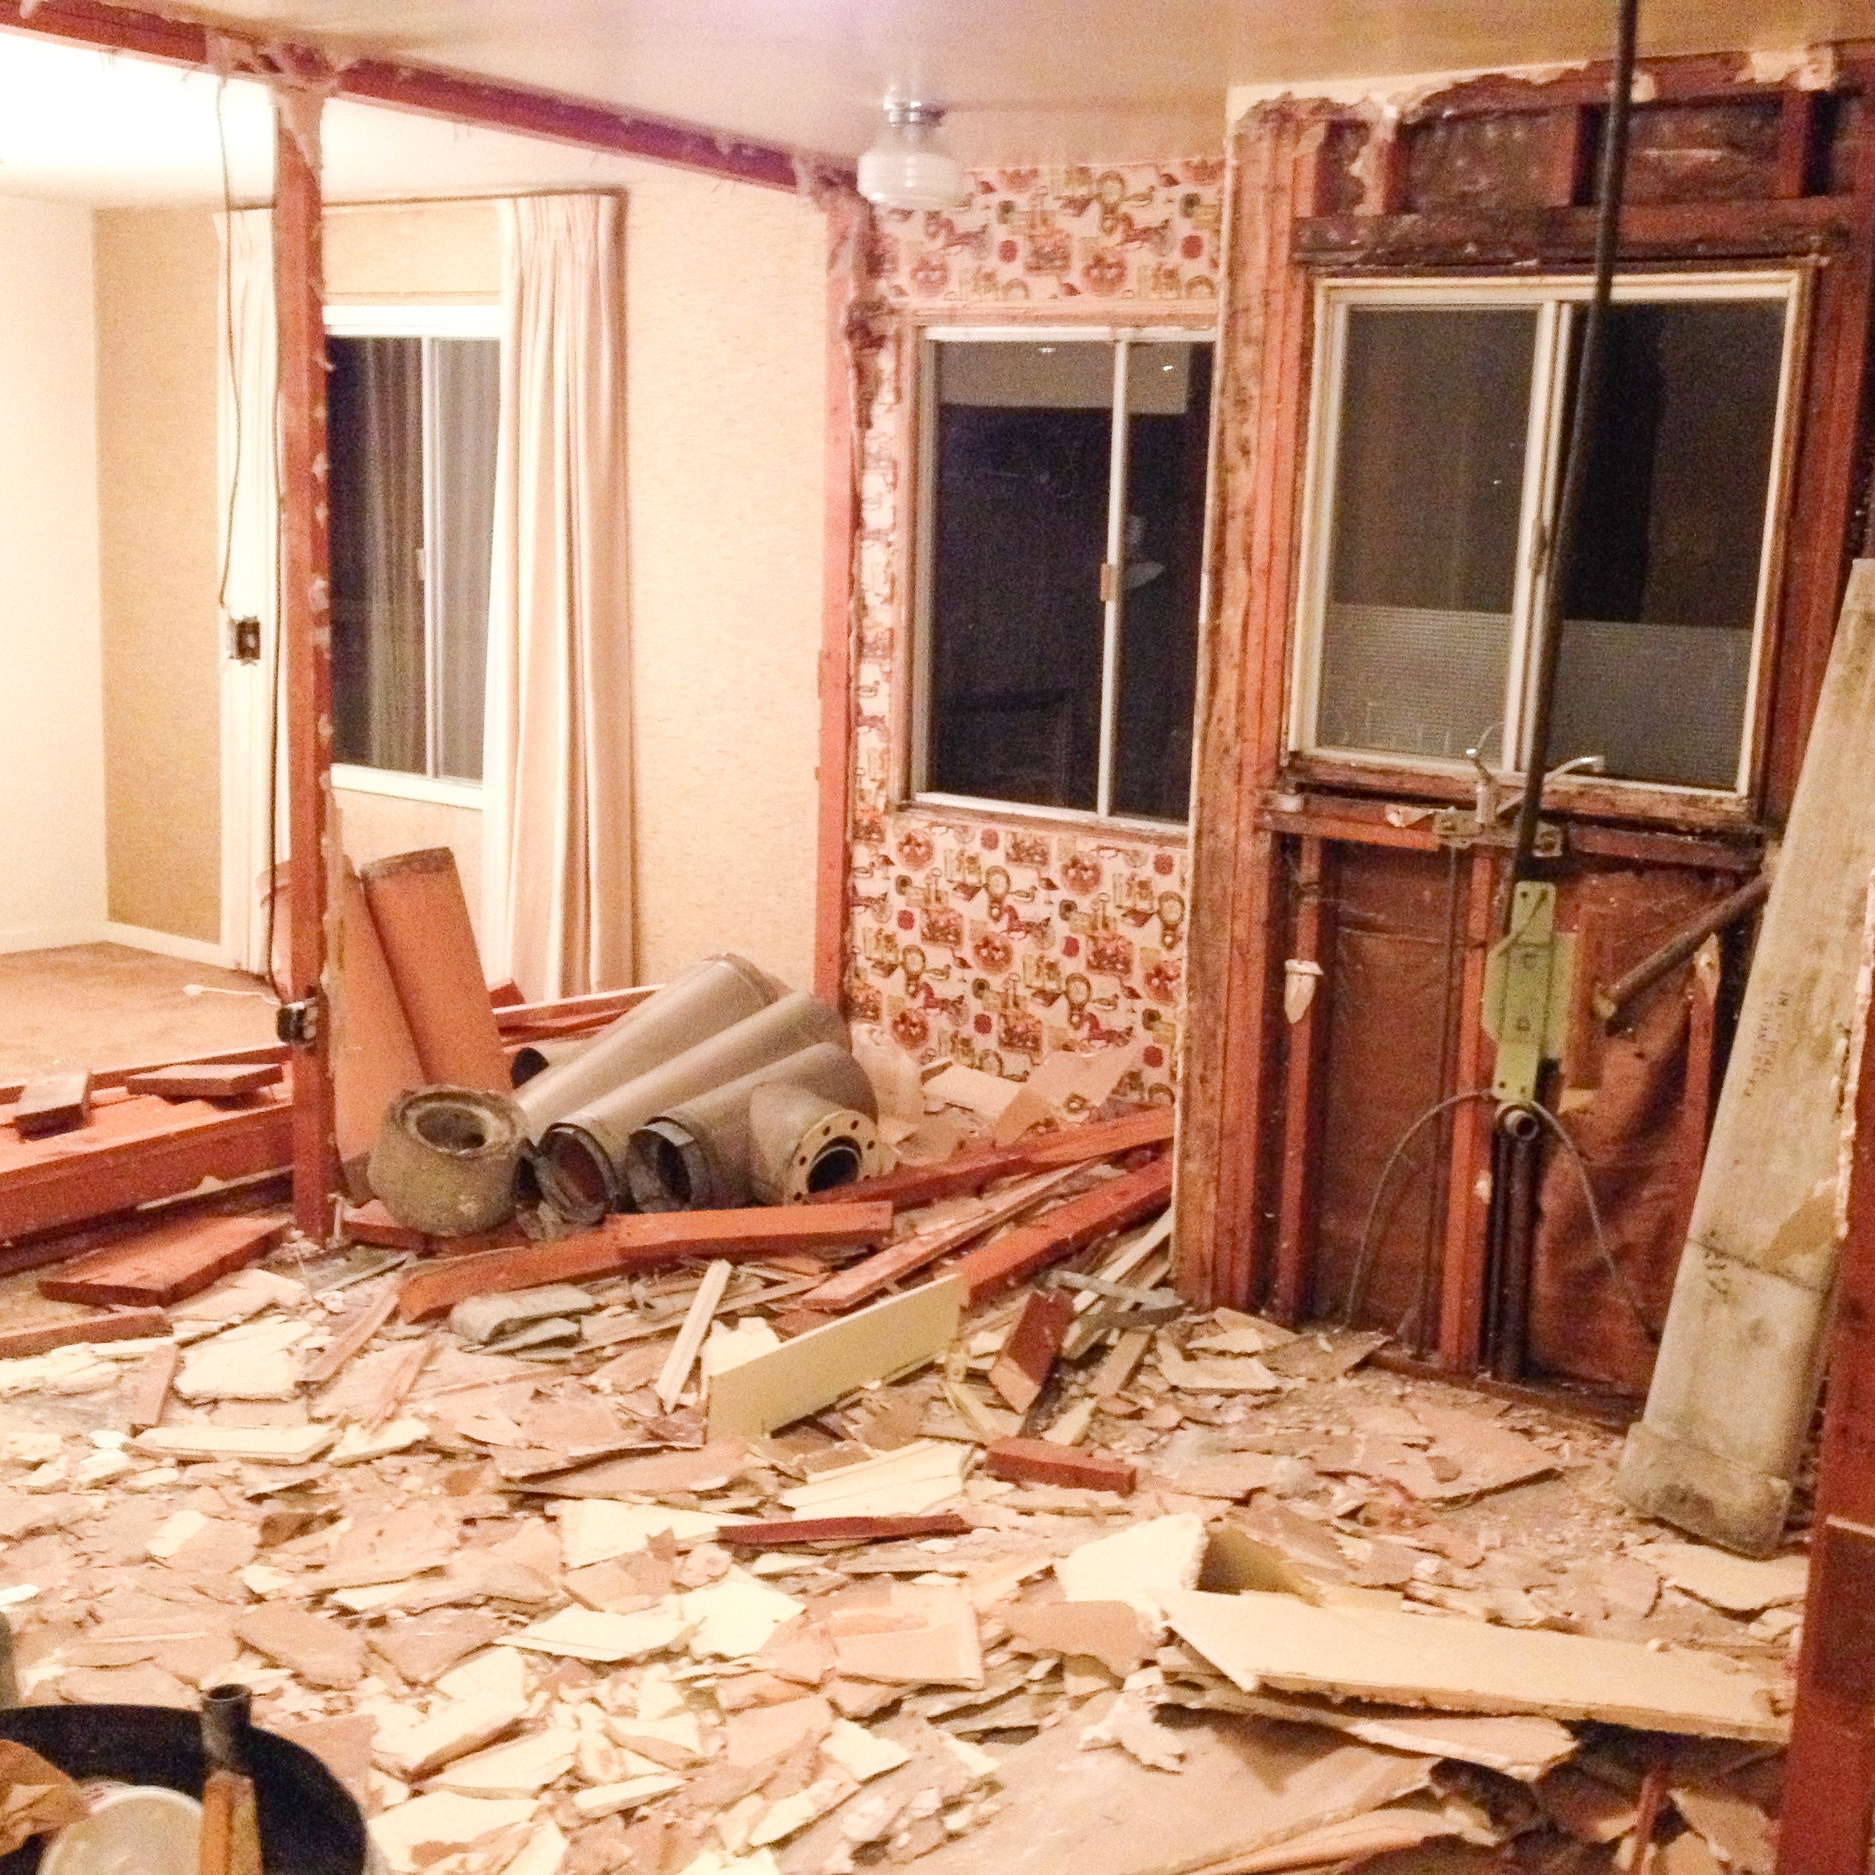
But this house needed a ton of work! Maintenance over the years had been done by an amateur handyman — and there weren’t many things that had changed. We needed to bring this sweet home into a new century while respecting its past. Built in 1948, this house was part of a post-war building boom — small, single family homes built quickly and cheaply as GIs returning from the war settled into family life. This little house was clad in wide, redwood shiplap painted over many times. It still had the original kitchen cabinets and flooring, bathroom tile and fittings, and many original light fixtures throughout. We set out to preserve as much as we could in the home while also updating it to be a home for a modern family.
But this was a project of extreme frustration. We hired a contractor with excellent references who, as it turned out, did not have the financial resources or organizational skills to complete the project as promised. His original estimate for our scope of work was 6-8 weeks. The project stretched to 11 agonizing months. For a six-week period in the middle, we were homeless — living with friends with all of our stuff in storage because we had to give up our lease, but the house wasn’t yet safe.
To move things along, despite the fact that we had a two year-old, we spent every waking minute working on the house, completing a lot of the work ourselves because we were faster than our under-capitalized contractor. But we enjoy that kind of work, and we learned a lot along the way. This house was really well-built, and there were very few surprises despite its age. When we were done, it was spectacular!
And then the heartbreak: my husband was transferred.
After almost a year of construction — and living in the midst of that construction for 9 months — we lived in a completed house for all of 2 months, sold it, and had to move across the country.
Nonetheless, we loved this house, and there are many ideas from this house that we plan to use again in our Atomic Ranch!
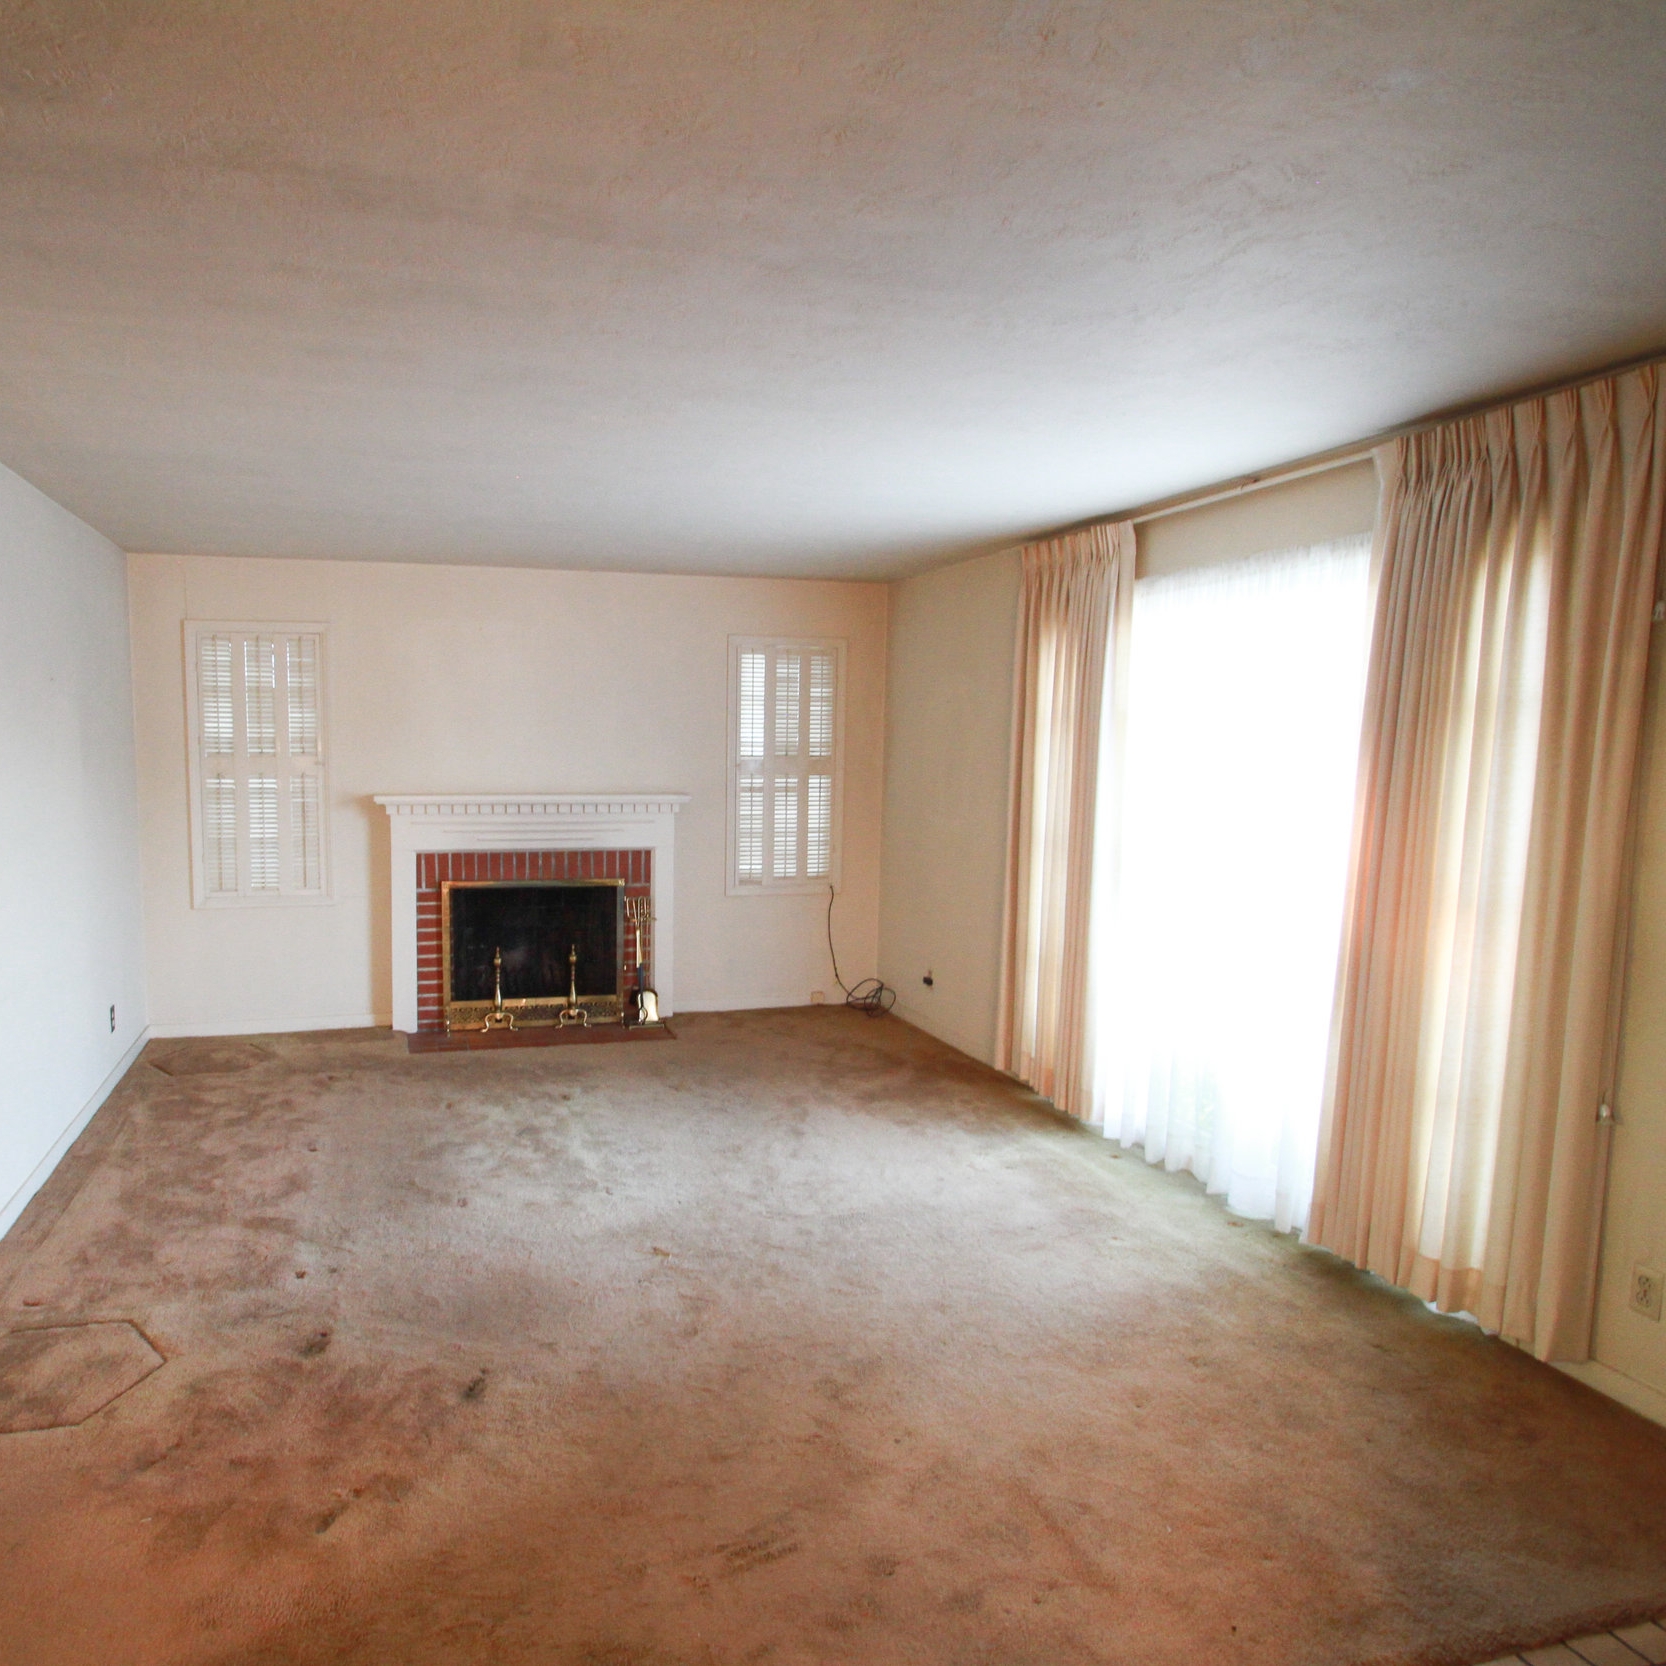
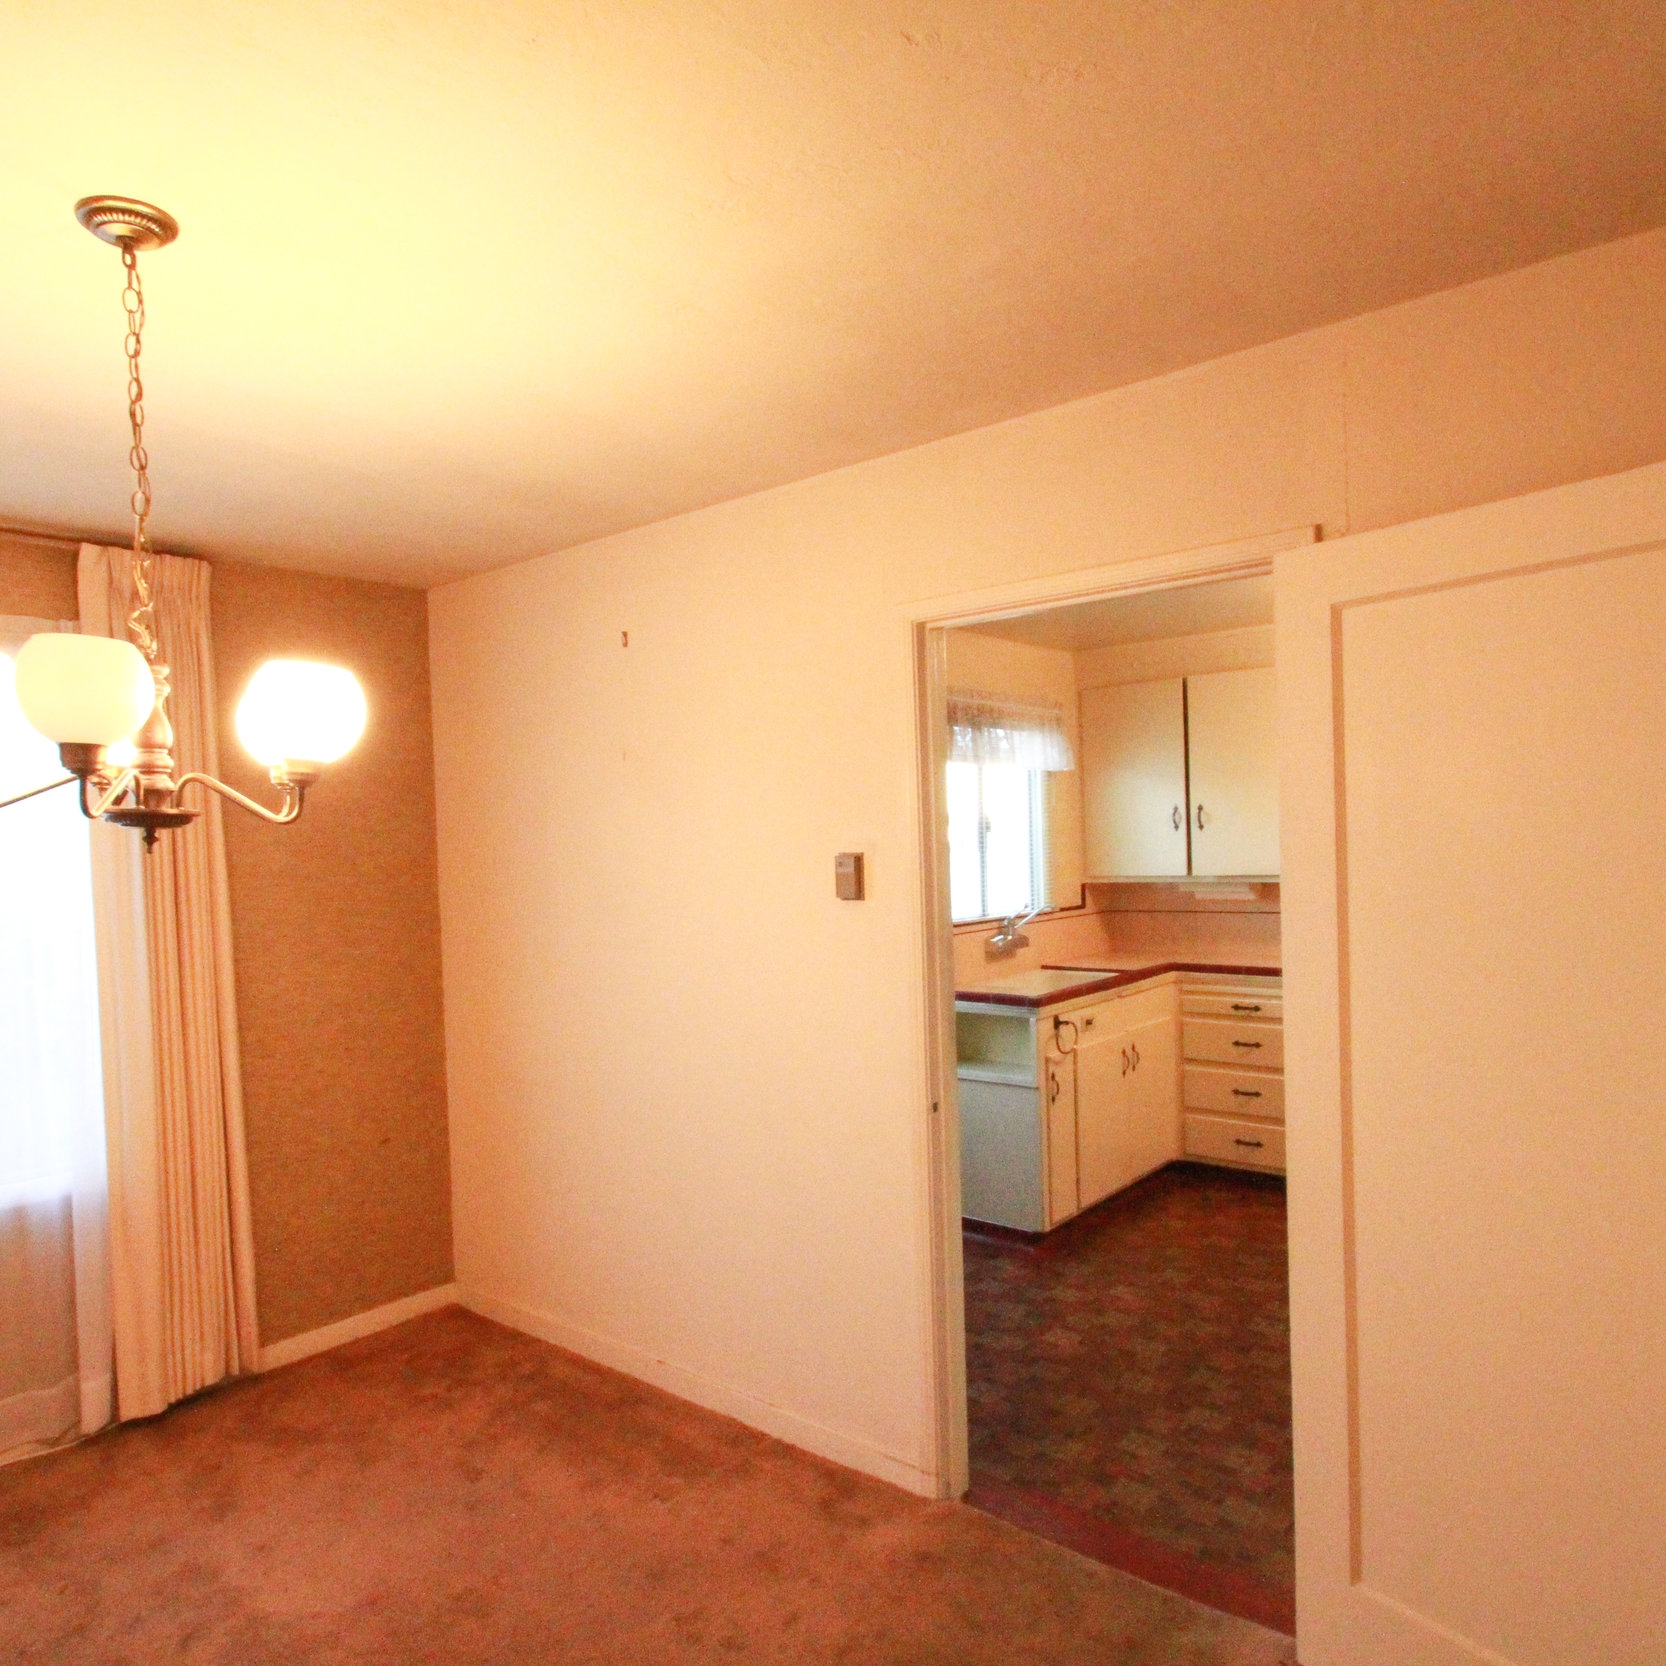
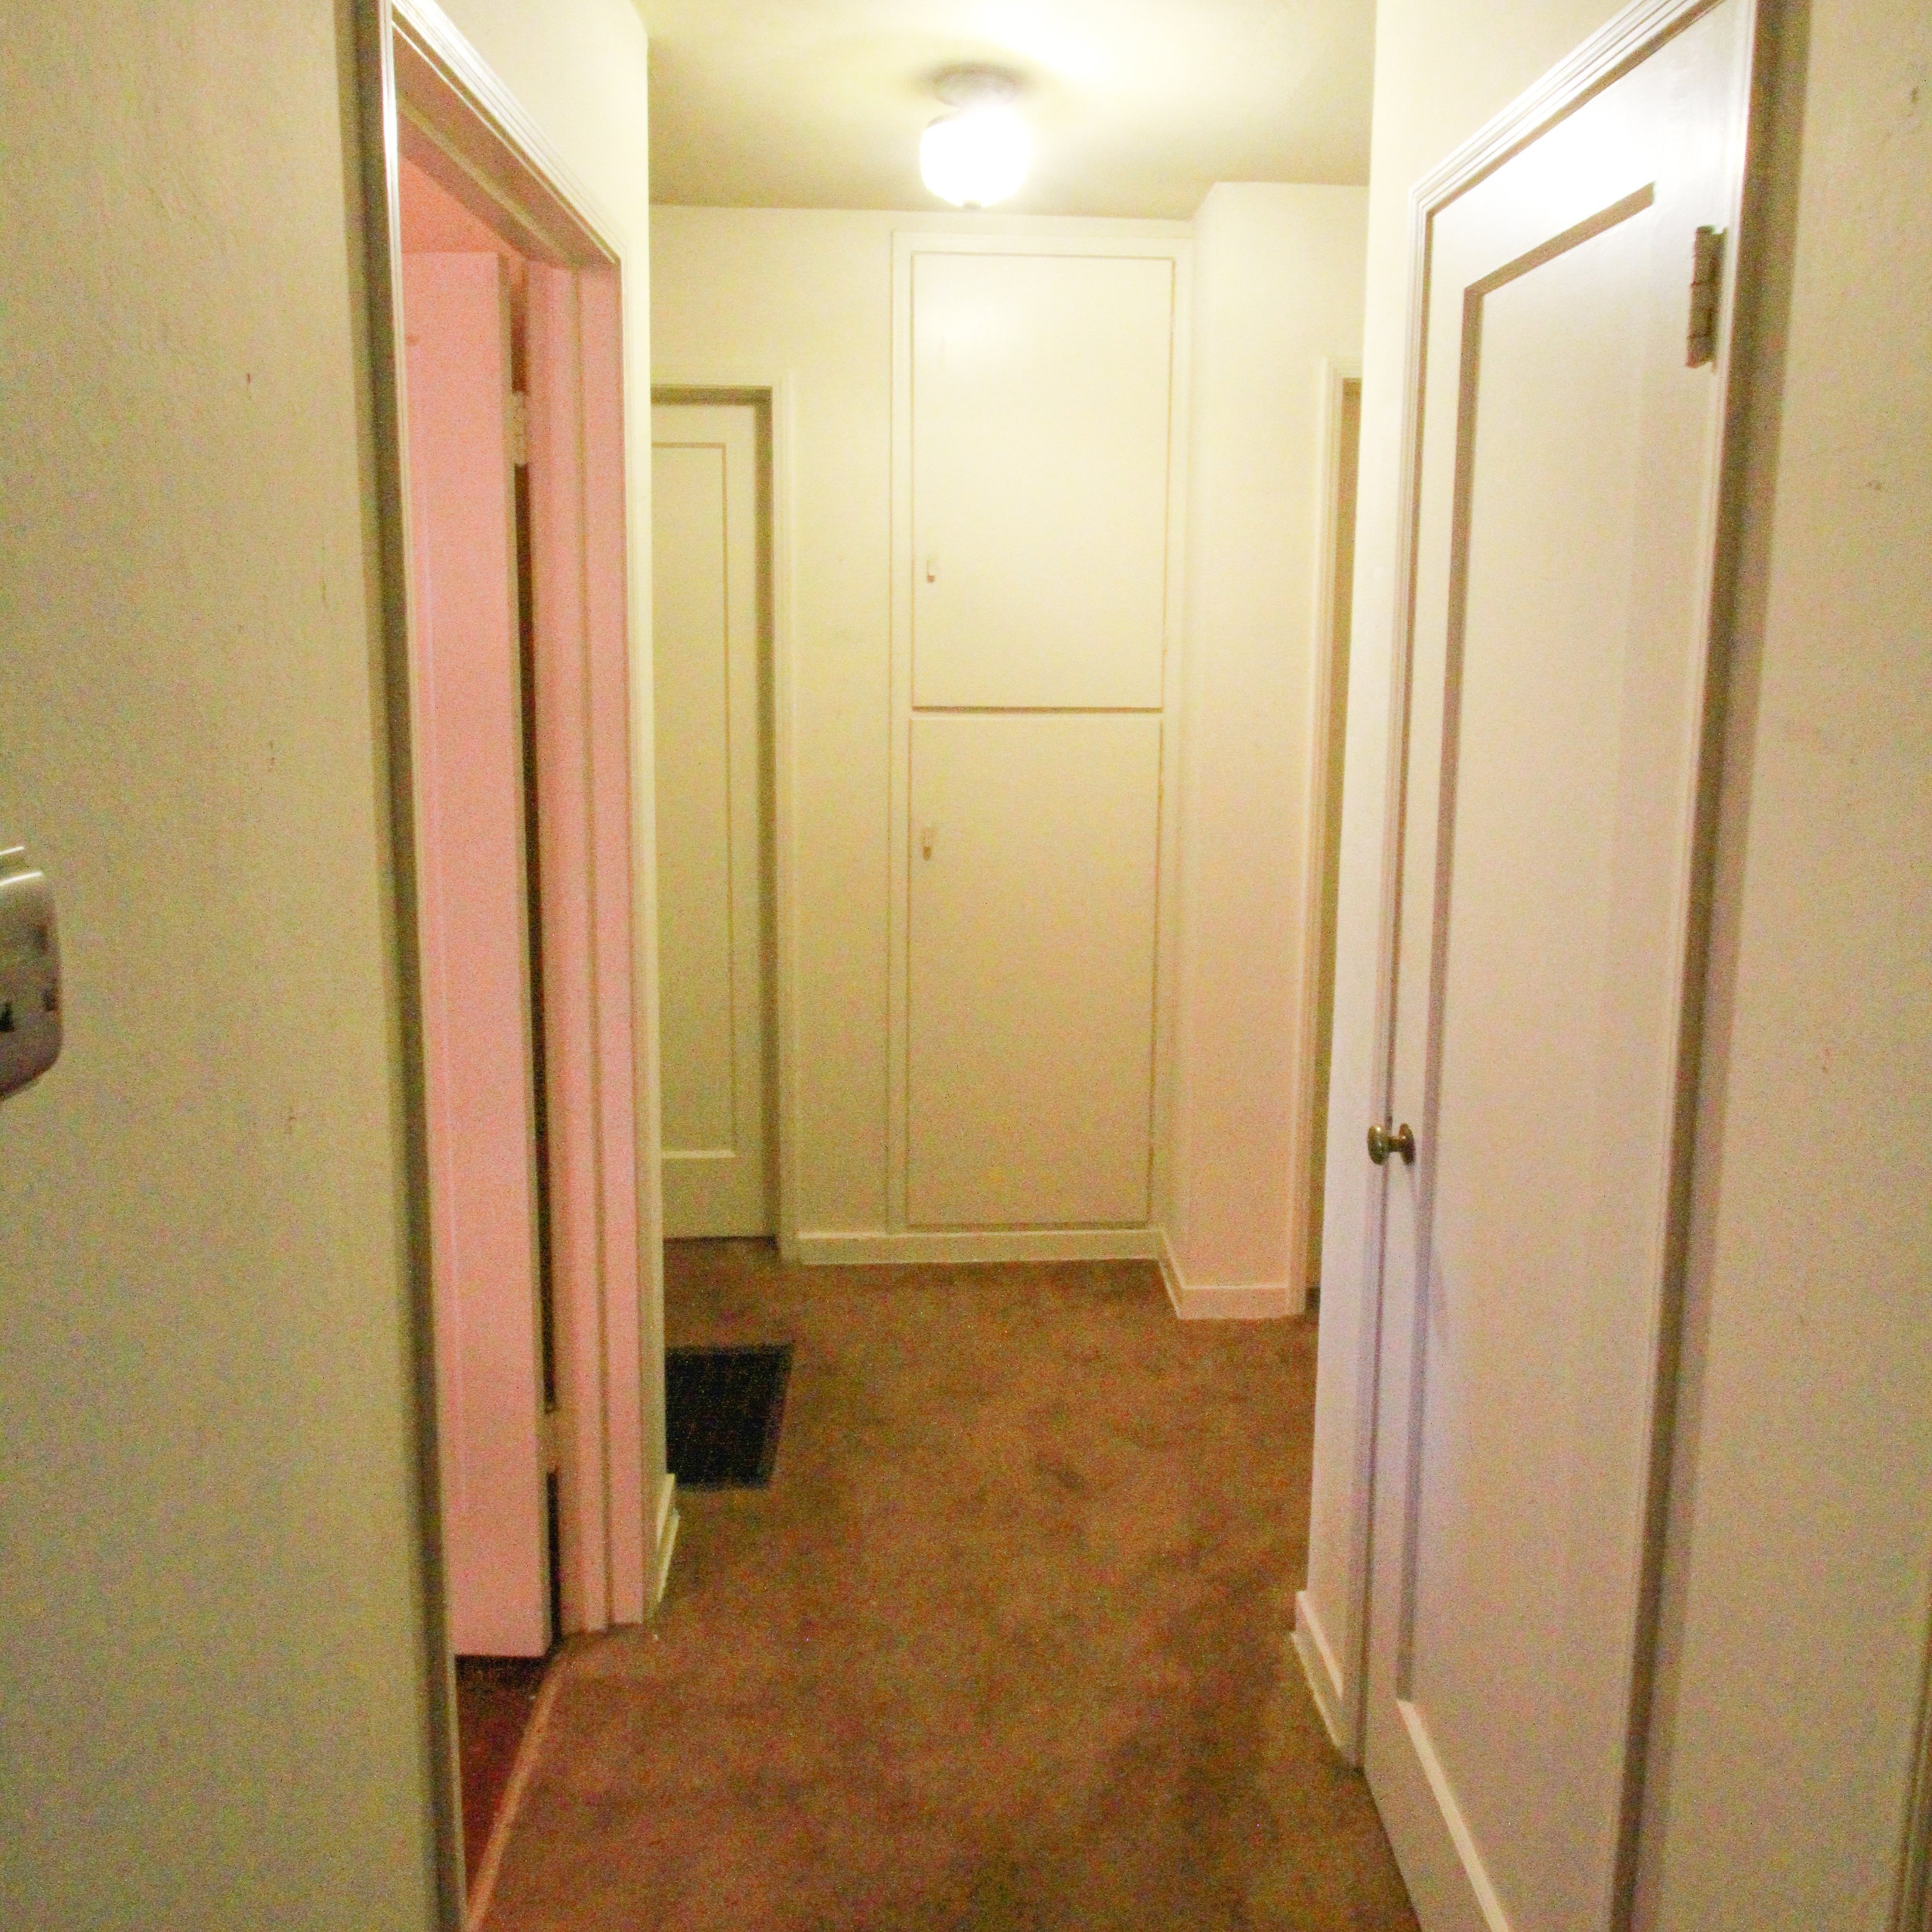
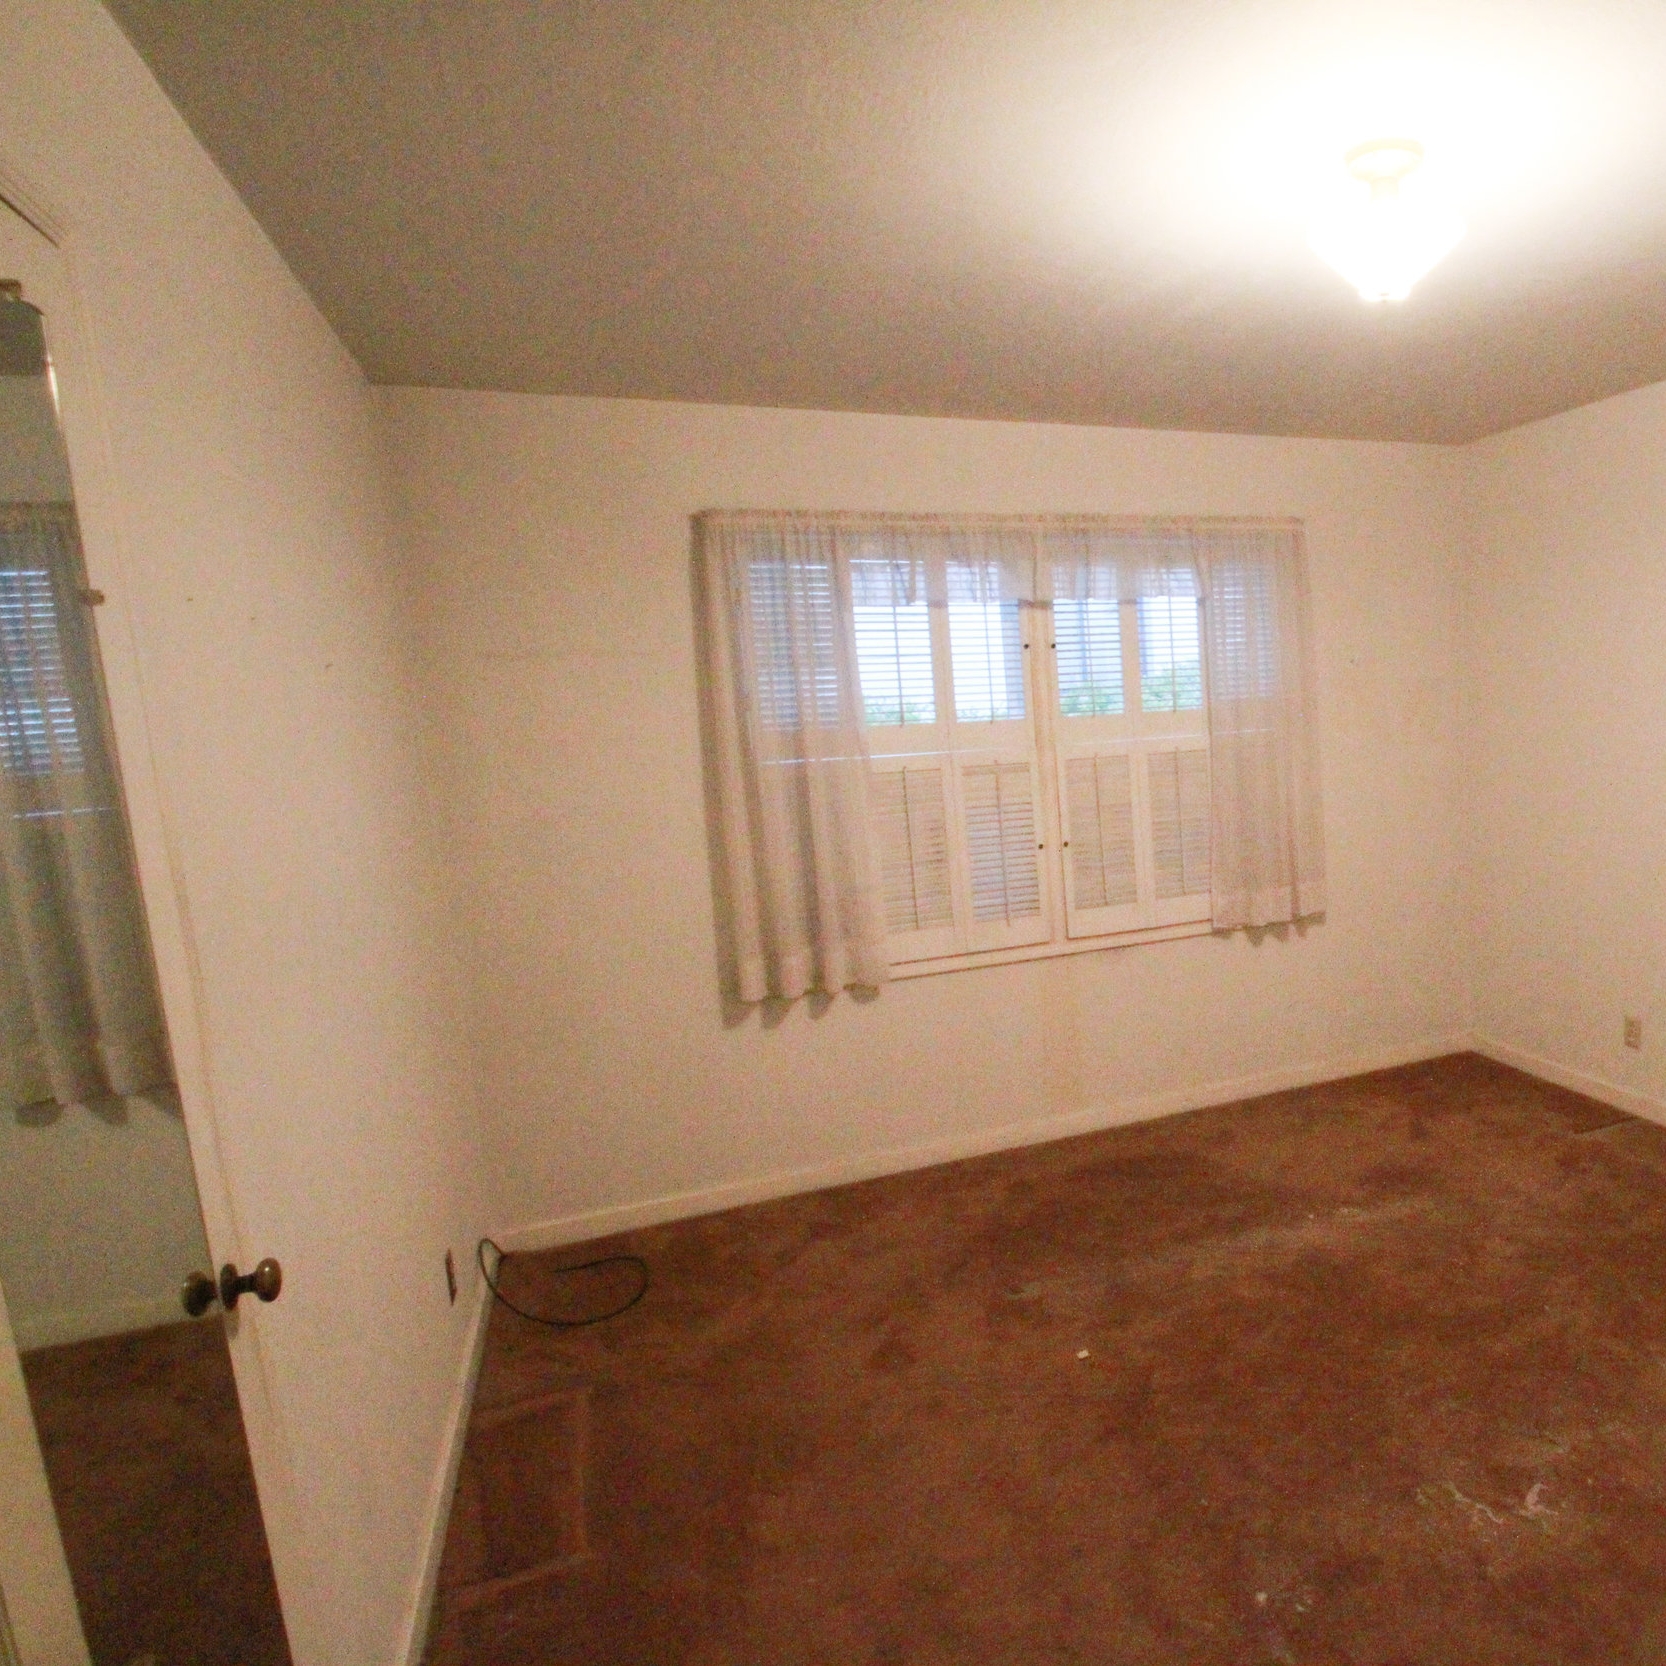
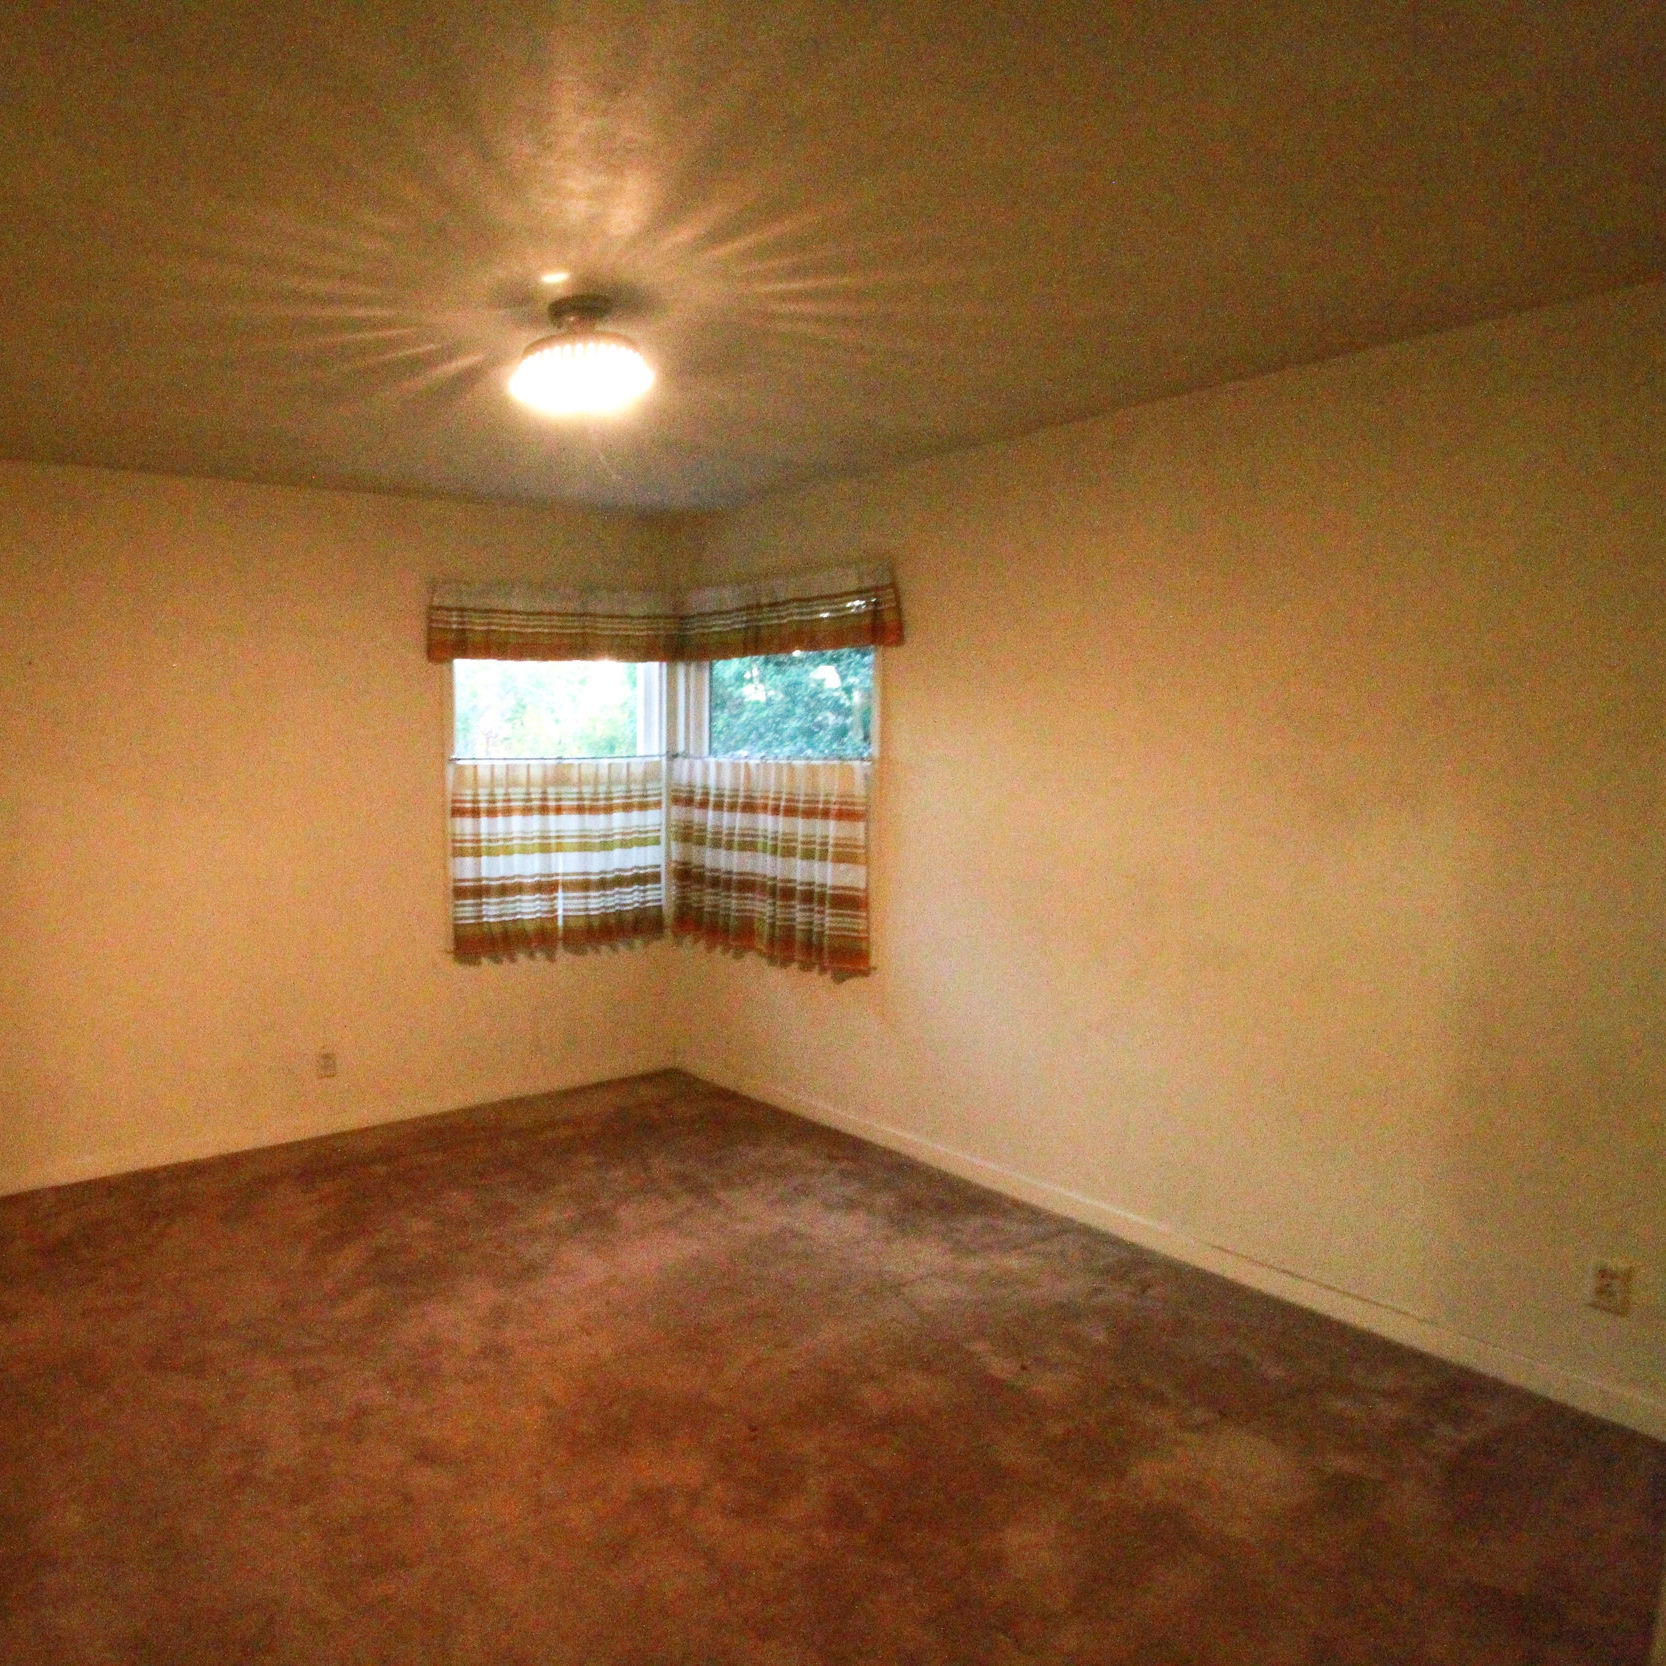
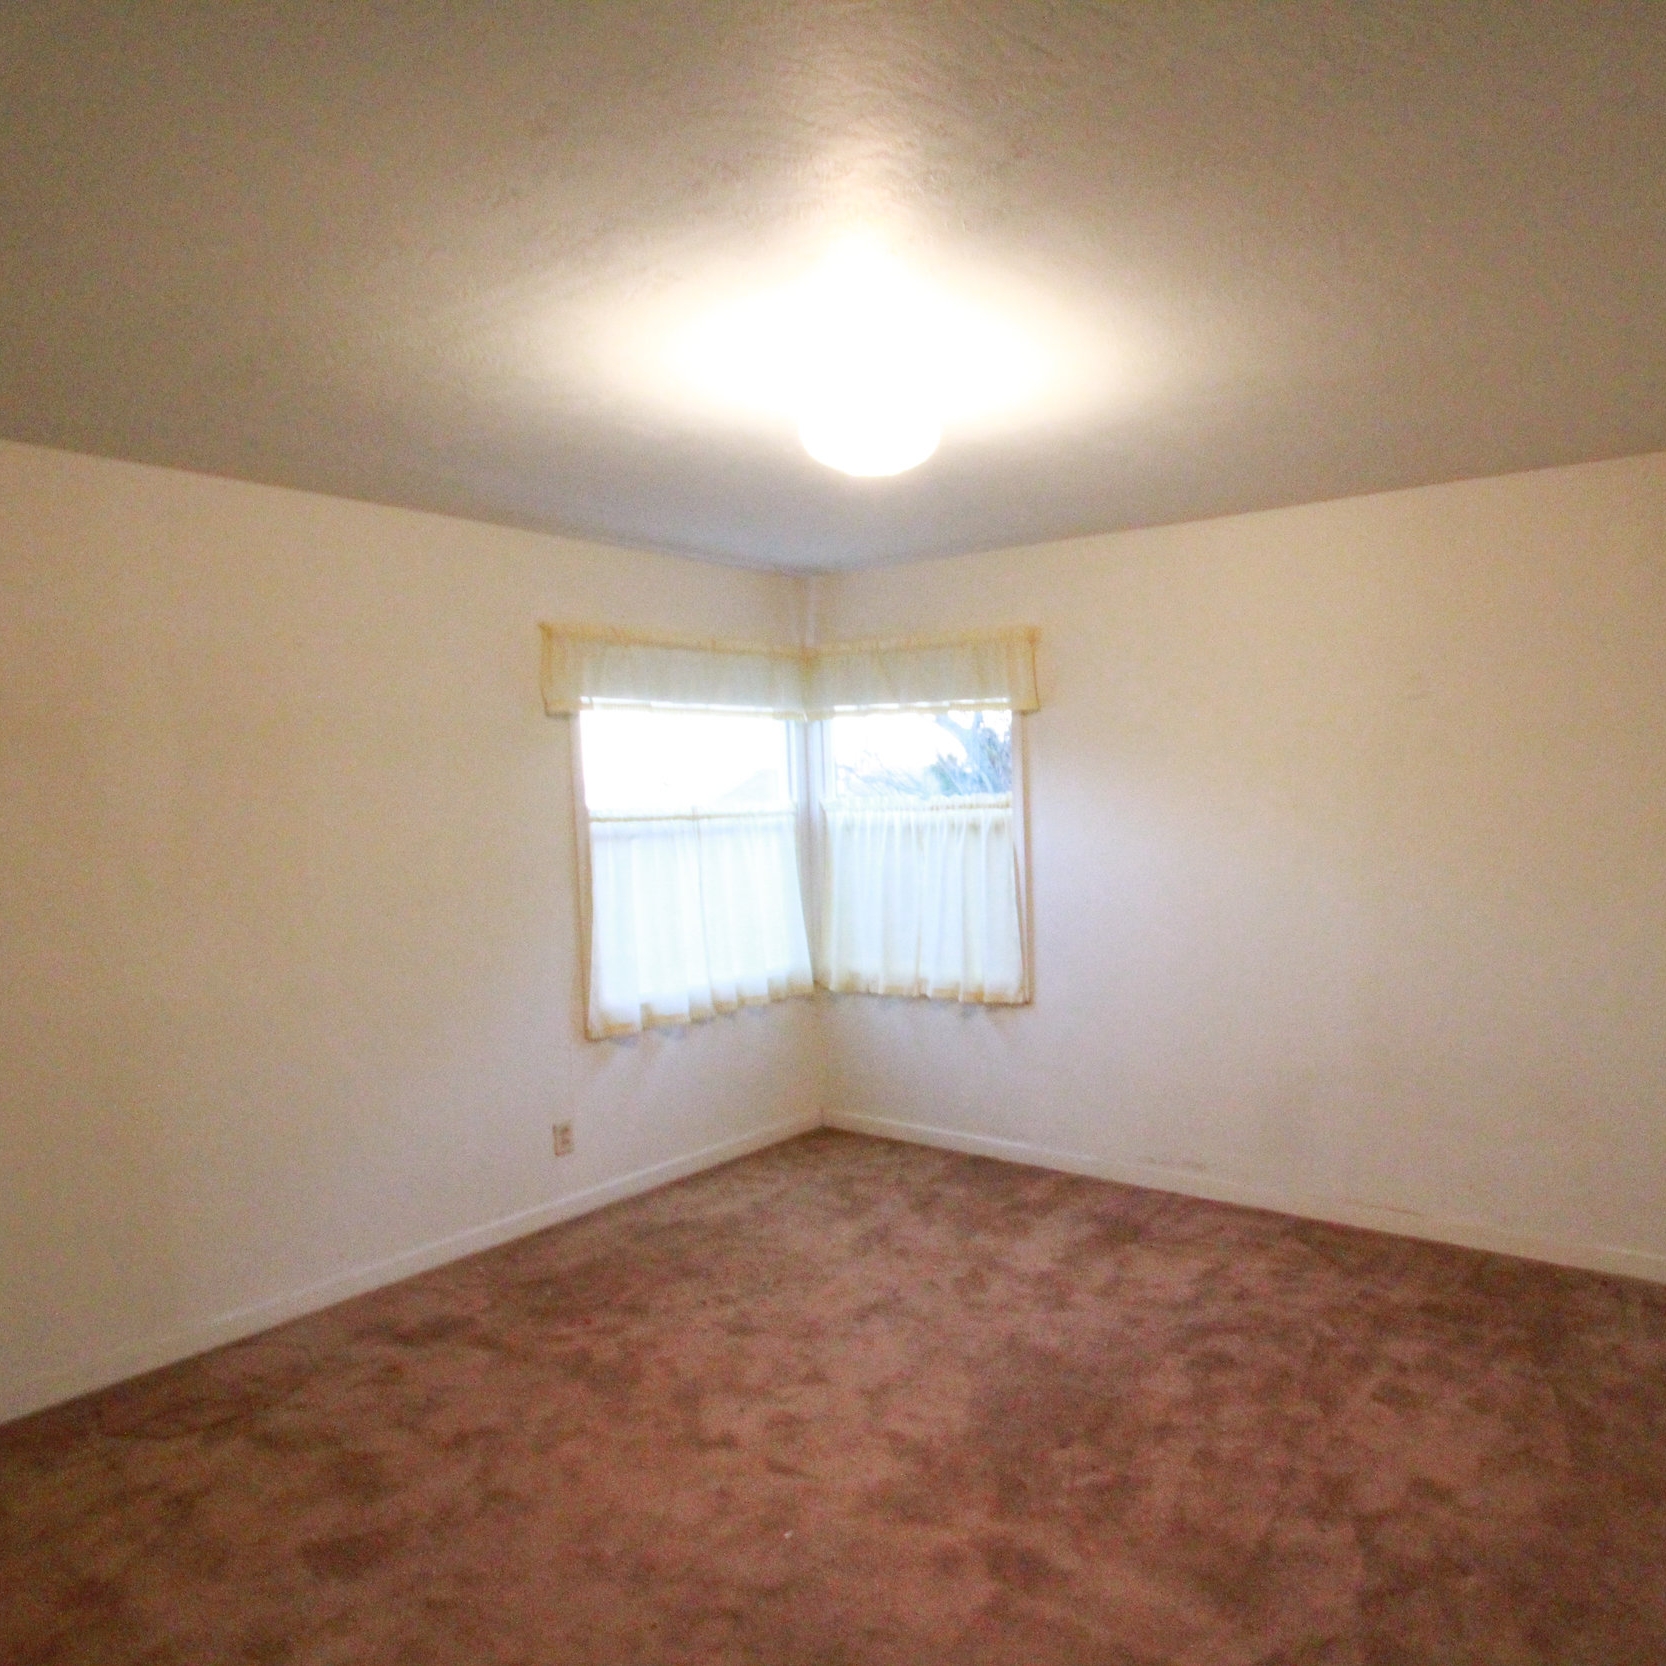
The Before GallerY
Saving & Reusing Materials
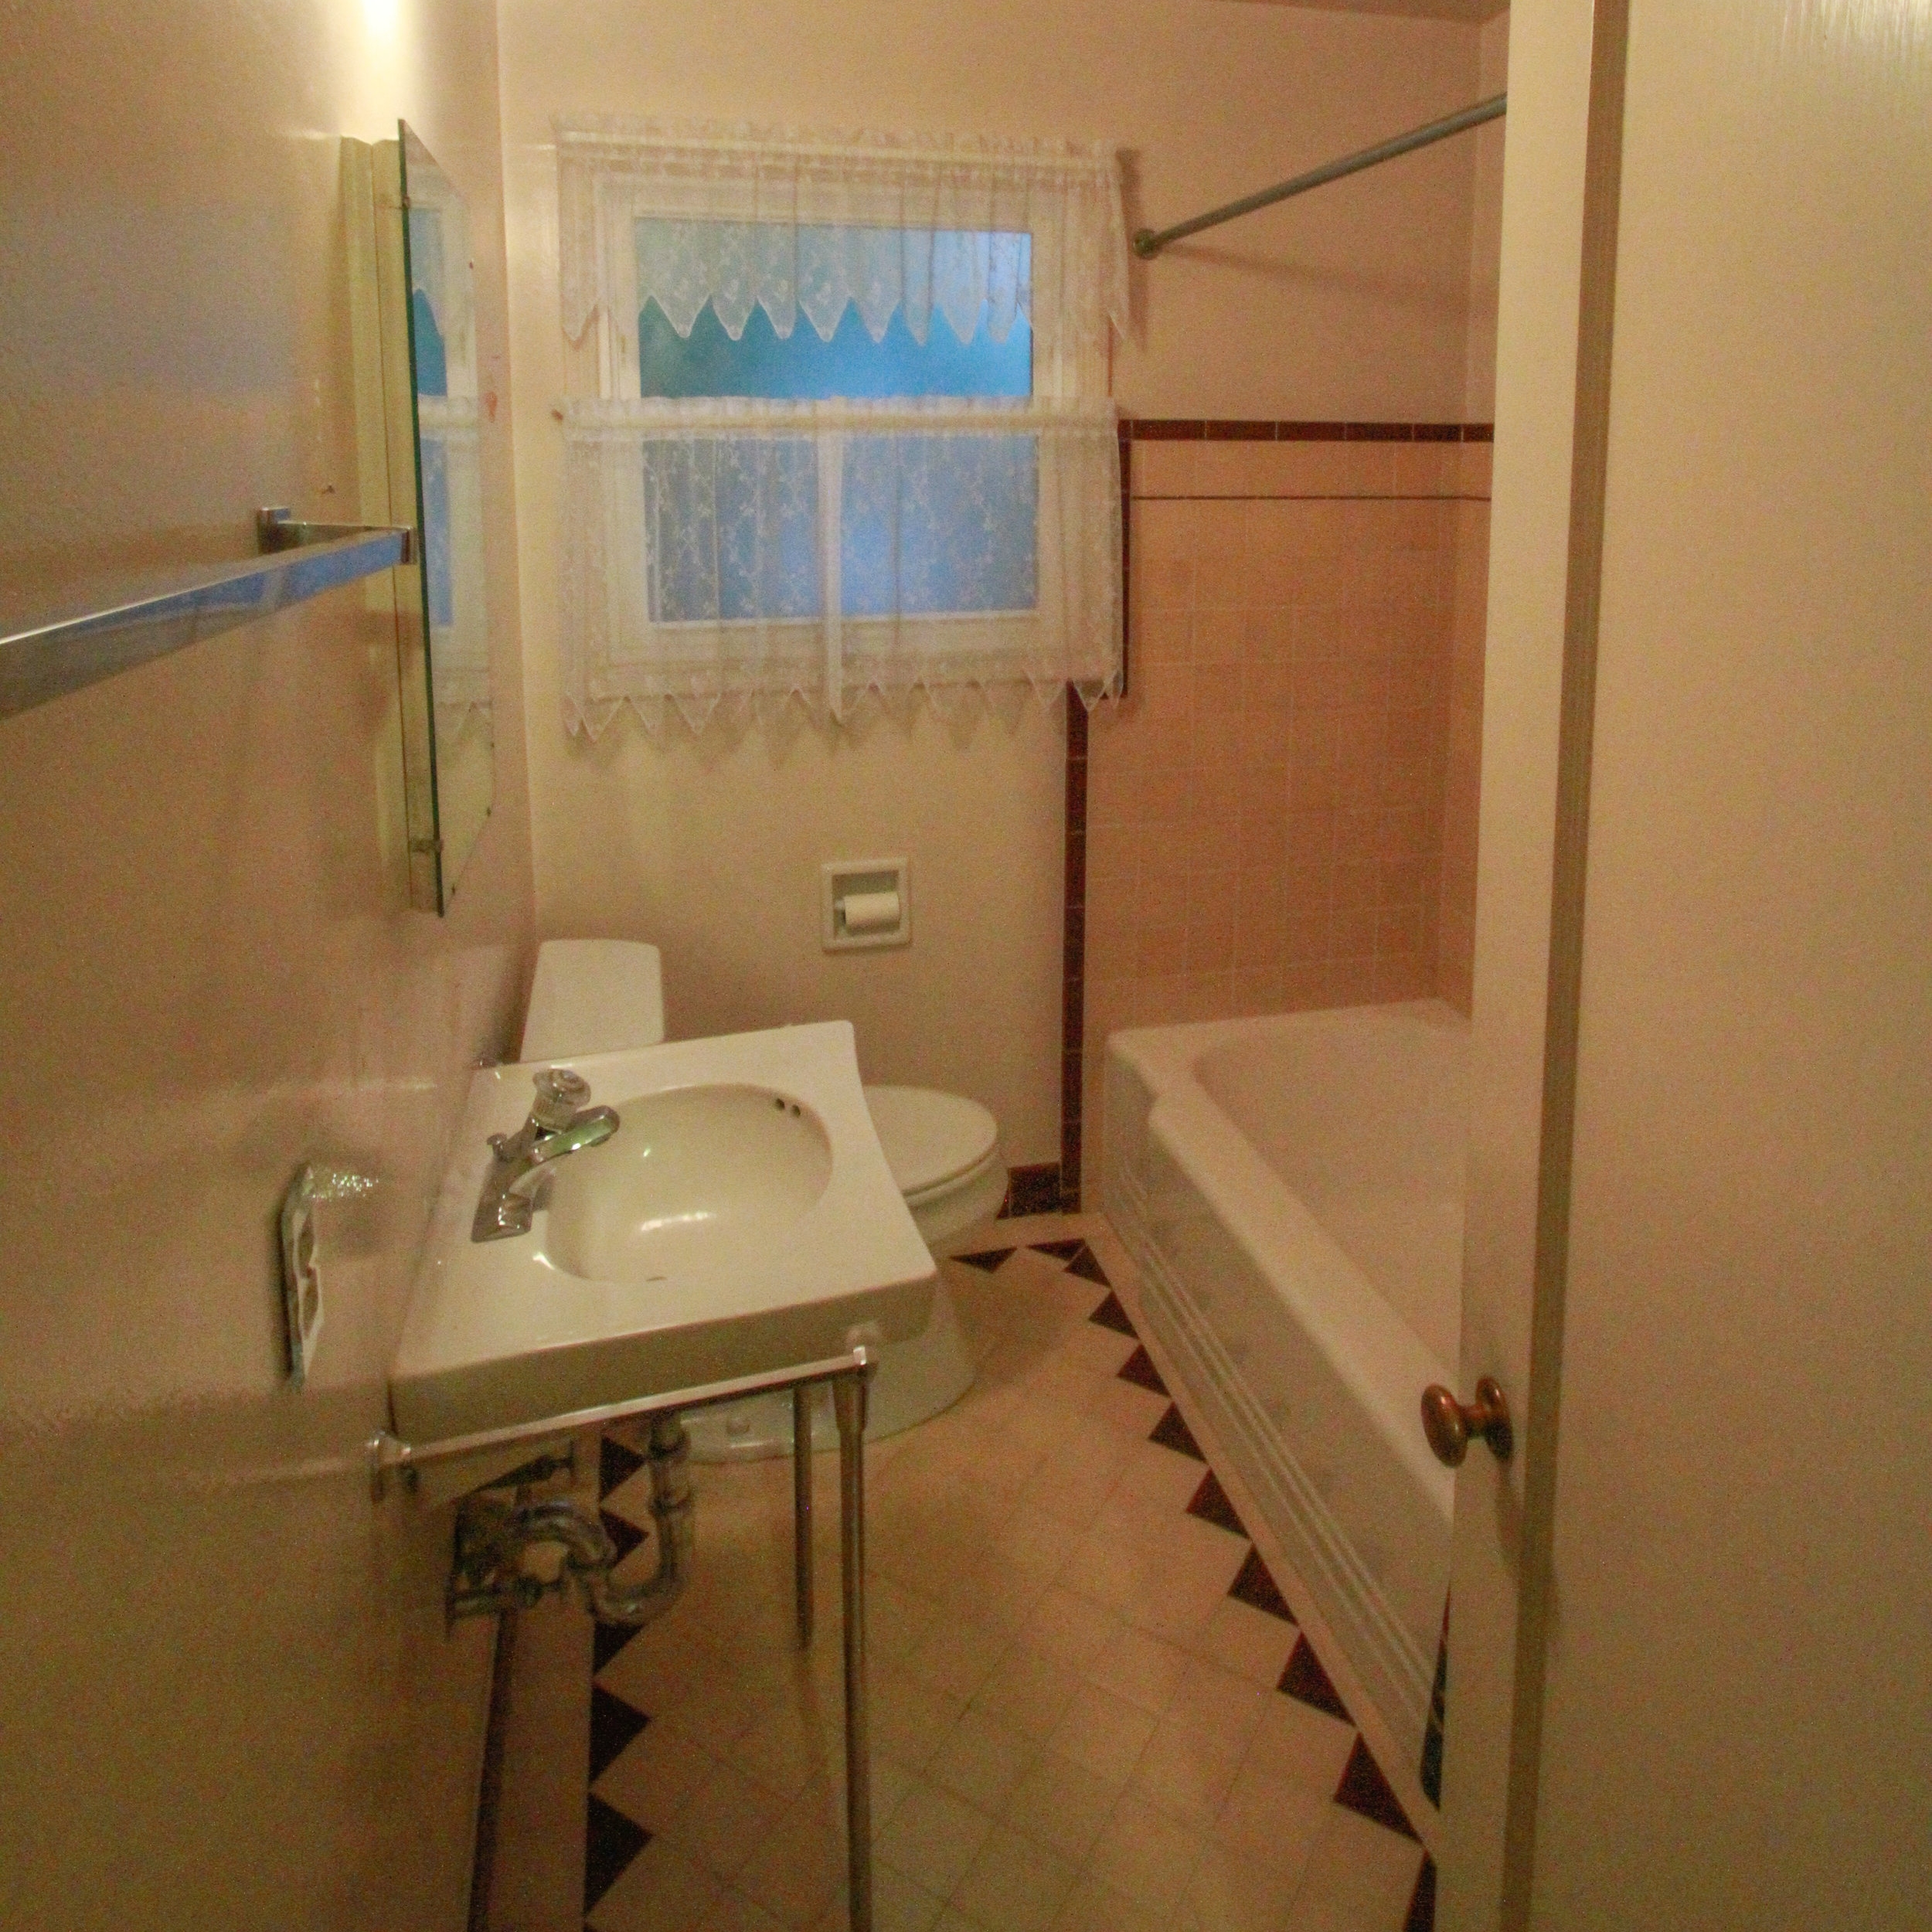
This house was well-built, and the materials used had lasted a long time. Wherever possible, we asked our contractor to save the original materials especially light fixtures, cabinets, doors, etc. Sometimes he complied, and other times he did not (a point of tension in our fraught relationship). We reused the bathroom sink, but he lost pieces of it which I tried desperately to replace. We installed the kitchen cabinetry and countertops in the garage for a great workshop. We salvaged a scrolling detail from the kitchen molding and reused it in several places. And we saved the doors we removed — reusing them as doors on new closets.
But our contractor either threw out or took the vintage light fixtures and other vintage charms.
Lesson learned: if you want it salvaged, do it yourself.
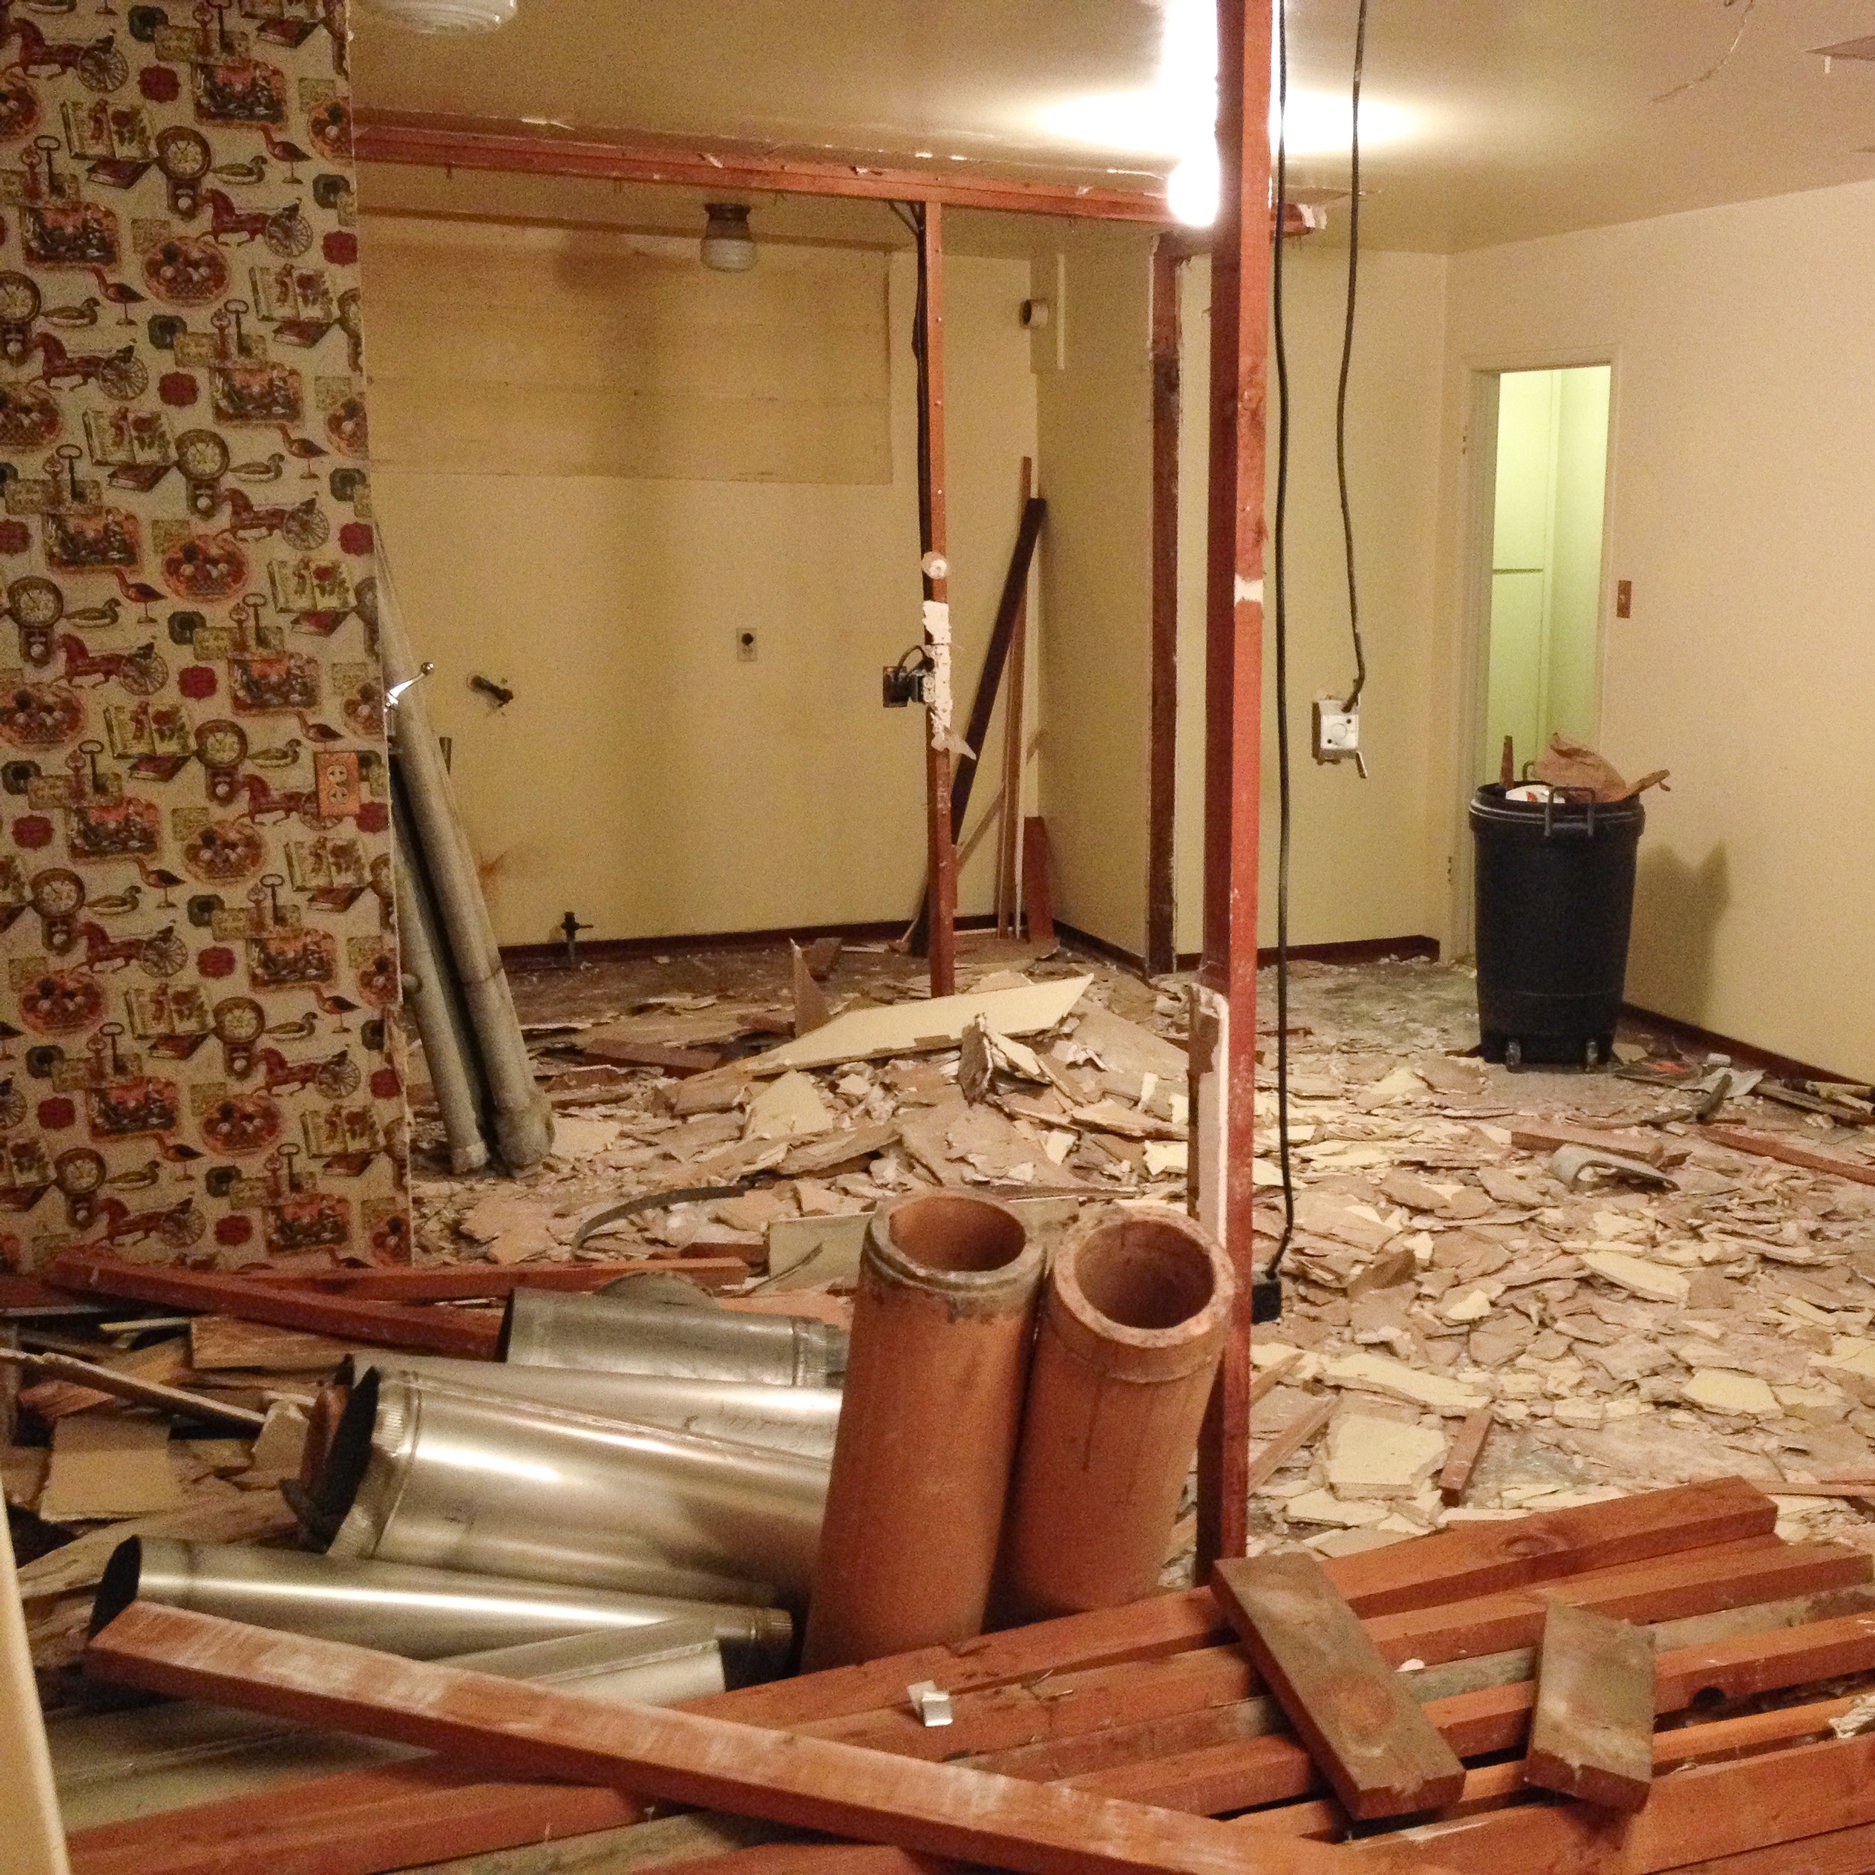
Taking Down Walls
Originally, the home had doorways between the dining room and kitchen as well as a hallway/utility room behind the kitchen. We opened up the wall between the kitchen and dining room, claimed a small, awkward nook as a butler’s pantry, and took down the wall between the kitchen and utility room. This gave us a larger kitchen area to work with as well as a good traffic flow for the front part of the house.
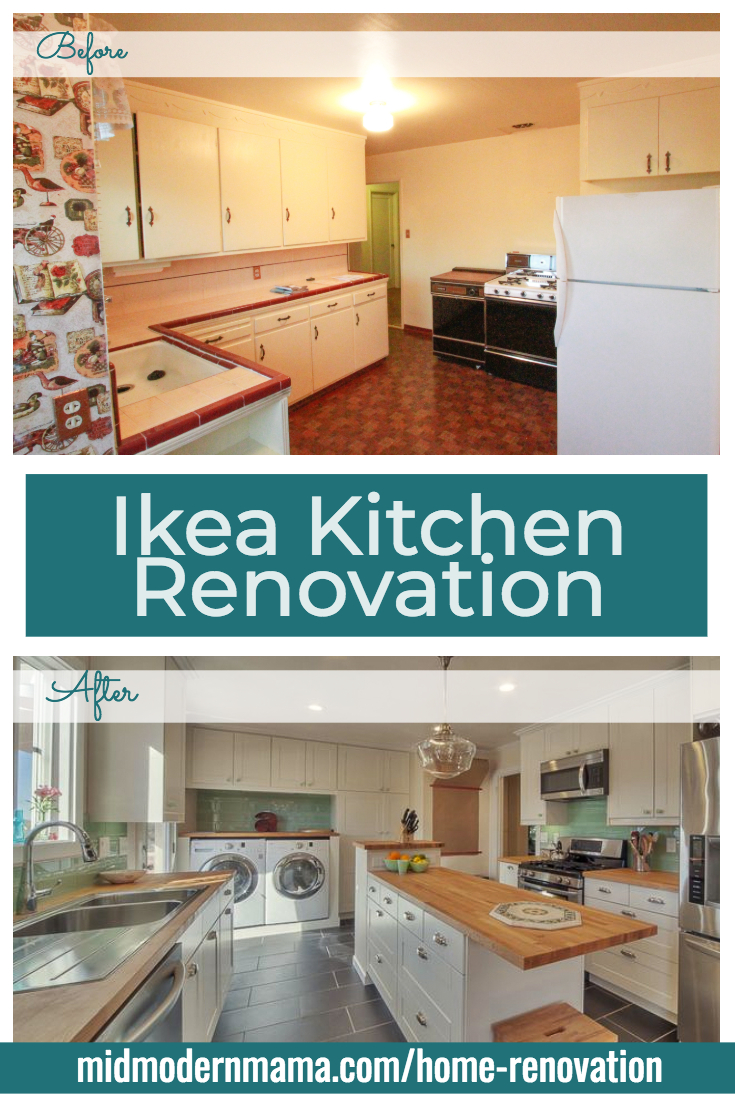
The Kitchen
We installed Ikea cabinetry in our 1980s Cabin in the City, and we loved it. It looked beautiful, and it was so very, very functional. But when you pick up an Ikea kitchen… it means lots and lots of boxes.
To save money and speed up the process, we spent a weekend assembling all of those cabinets and getting them into the right places. It was a lot of work, but we set up an assembly line, and it went fairly quickly — far quicker than if we had asked our contractor to do it, frankly. We also asked them to lay the kitchen floor tile first — wall to wall, even under where the cabinets would go. This uses a little more material, but it is easier for the flooring installers — fewer cuts. And fewer cuts means your tile pattern looks better all the way across.


The kitchen and dining room ended up being my favorite rooms in the house. They were full of light and had so much character. While the kitchen is thoroughly modern in function, we chose details that were perfectly at home in a 1940s house. The color palate was inspired by a set of green jadeite bowls from the 40s that easily found a home on the kitchen island. We chose green milk glass knobs for the upper cabinets and a gorgeous green glass subway tile for the backsplash — both of which echoed that jadeite green.
Light Fixture: Rose City Pendant from Rejuvenation (chrome finish with clear schoolhouse shade)
Drawer Pulls: Large Bin Pulls in Polished Nickel from Historic Houseparts
Cabinet Knobs: 1 1/2 in. Hex Knob in Milk Green from Historic Houseparts
Sources:
Cabinets: Ikea Sektion cabinets and Grimslov cabinet doors
Countertops: Ikea Hammarp butcher block countertops
Tile Backsplash: Mod Walls Lush Glass Subway Tile in Surf
Floor Tile: Daltile Plaza Nova in Black Shadow (12” x 24”)
Appliances: LG
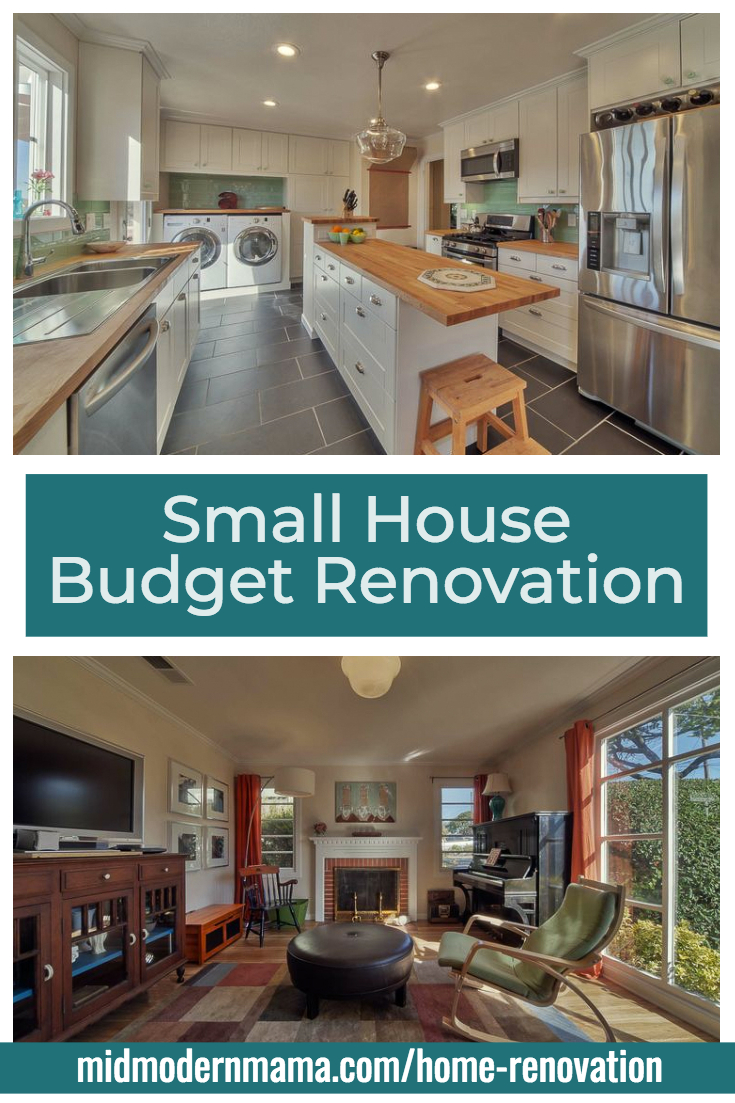
As we did in our 1980s Cabin in the City, we created an alcove at the end of the island, this time perfectly sized for cookbooks.
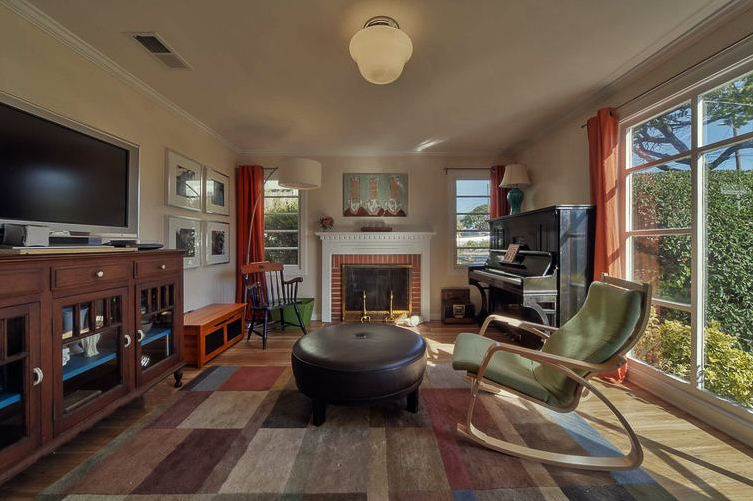
Dining room chandelier: an $80 find on Craigslist which I had rewired. It was perfect for the period, and was just a little jewelry for the dining room.
The Living & Dining Rooms
The best surprise of this renovation were the gorgeous hardwood floors. The entire house had been carpeted except the kitchen, and we pulled back a corner of the carpet to peek, but until they removed all of the carpet — months into the renovation — we didn’t know if they were in good shape — or even if they ran through the whole house. But there they were, sleeping under that carpet for more than sixty years. We had them sanded and then just applied a sealer preserving their gorgeous natural color and character.

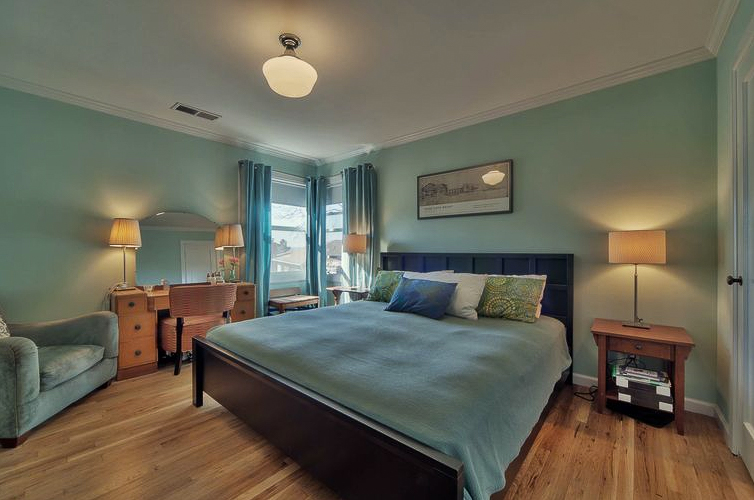
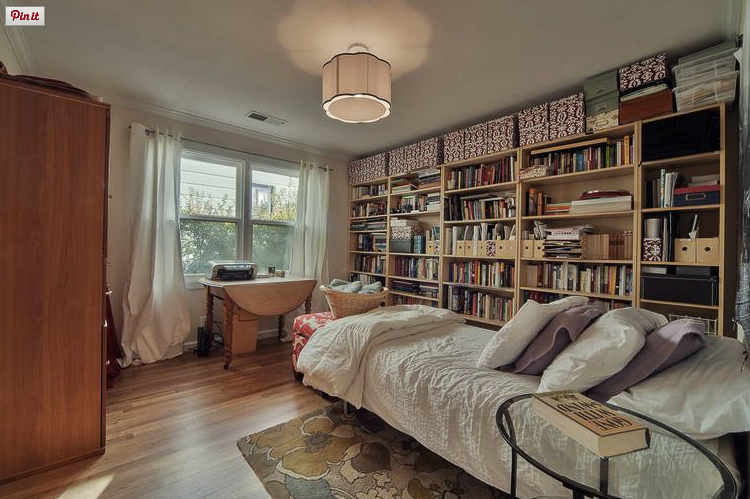
The Bedrooms
Each bedroom got a fresh coat of paint and a new light fixture. We reconfigured the closets in the master bedroom as well as our child’s room — adding a new closet in his room and another in the master bedroom. We also outfitted all of the closets with the Ikea Algot closet system which we LOVE and highly recommend.
Sources:
Master Bedroom: Rose City Semi-Flush Mount Fixture with Opal shade
Child’s Bedroom: Drum Pendant in Green from Crate & Kids
Guest Room: from Lumens warehouse sale

The Bathroom
With just one bathroom — and a small one at that — this bathroom had to be functional, beautiful, and period-appropriate. Painted a pale lavender, we chose a black and white mosaic floor to compliment the original sink which we preserved. I found a vintage hand towel rack as well as vintage-style fittings for over the toilet and sink. And we had an alcove built into the wall into which an Ikea shelving unit fit perfectly to hold towels and necessities.
Sources:
Flooring: Daltile Octagon Matte White with 21 Black Gloss Dot
Mirror: Frameless Mirror from Ballard Designs
Light Fixture: from Lumens warehouse sale
Shelves: Ikea Molger shelving


Pin it!